

Keeping all of your online accounts safe can be tricky, and it can be overwhelming to know that all your personal information is being kept in one place.
That’s why two-factor authorisation (or 2FA) is so important, as it adds an extra layer of security to your online accounts, which will help warn off online scammers and hackers from trying to go after your account.
Setting up 2FA is surprisingly easy on a Google account and only takes a few simple steps, which we’re going to walk you through. So, without further ado, here is the simplest way you can set up two-factor authorisation for your Google account.
What we used
- Huawei MateBook X Pro (2022)
- Windows 11
- Google Chrome
The Short Version
- Go into your Google account
- Select Security
- Scroll down to Signing in to Google
- Click on 2-step Verification
- Click Get Started
- Press Next
- Enter your backup number and press Send
- Enter the code
- Press Turn On
Step
1Go into your Google account
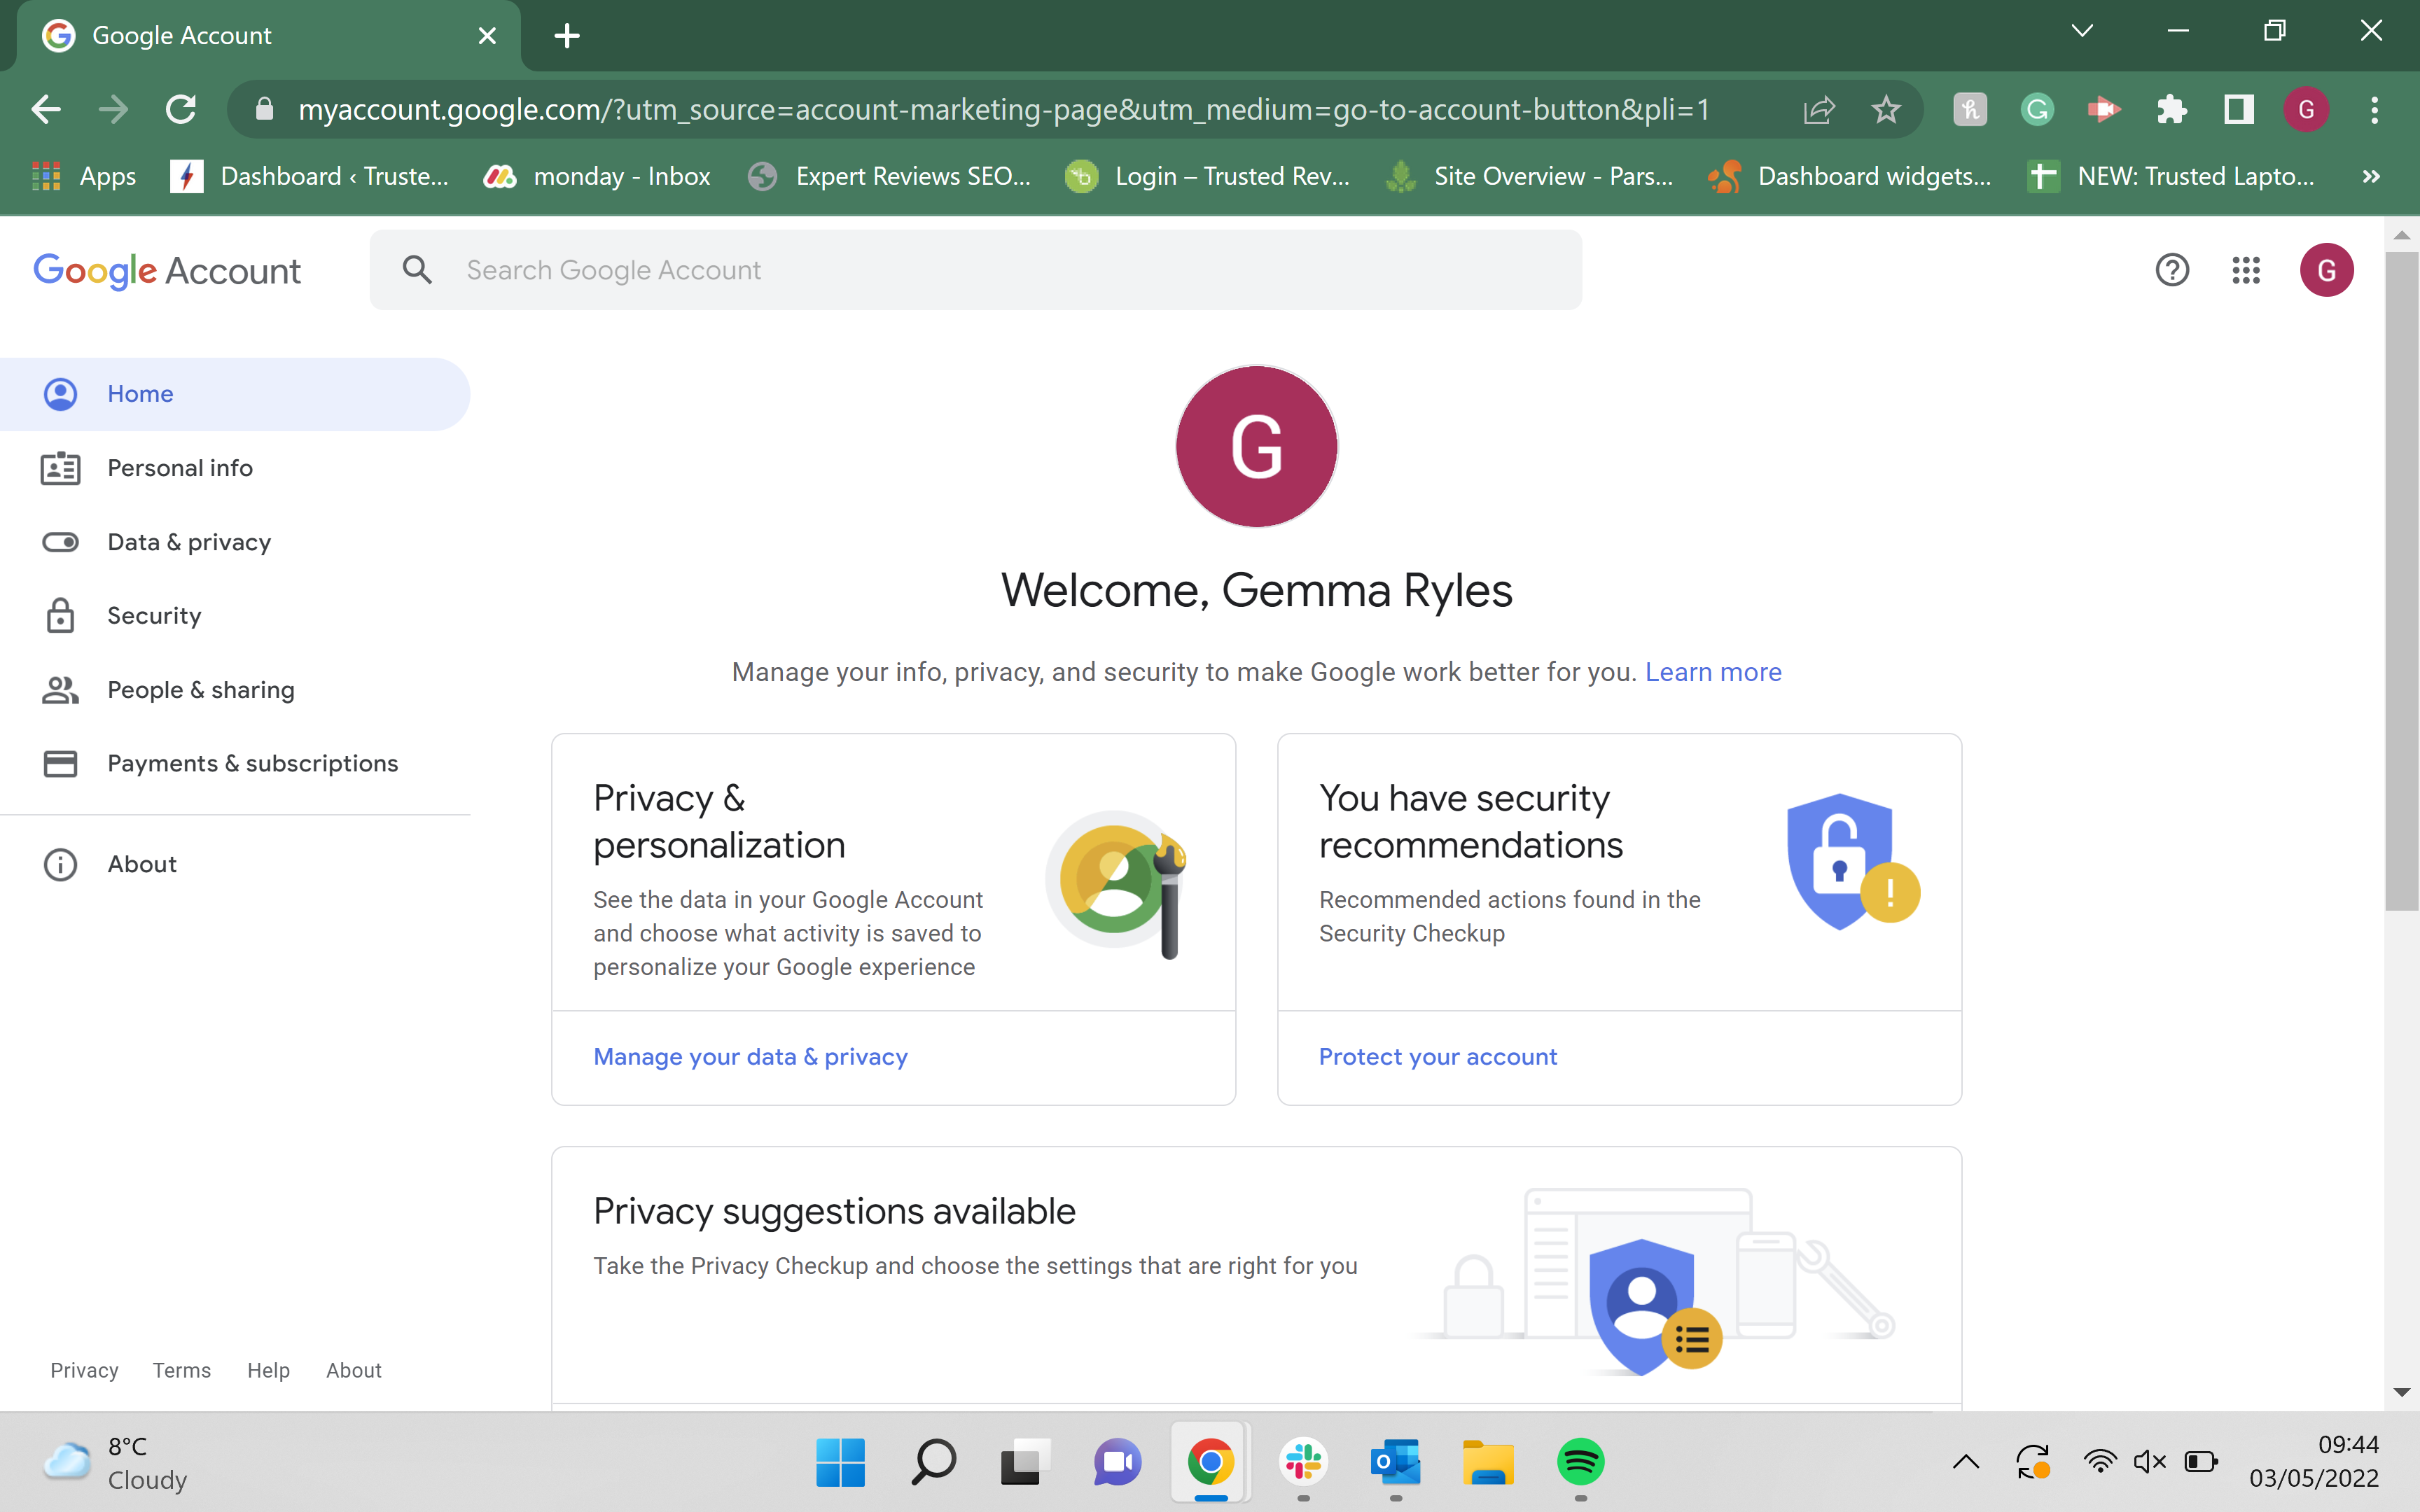
Use this link to access your Google account. You can also type ‘Google account’ into Chrome.
Step
2Select ‘Security’
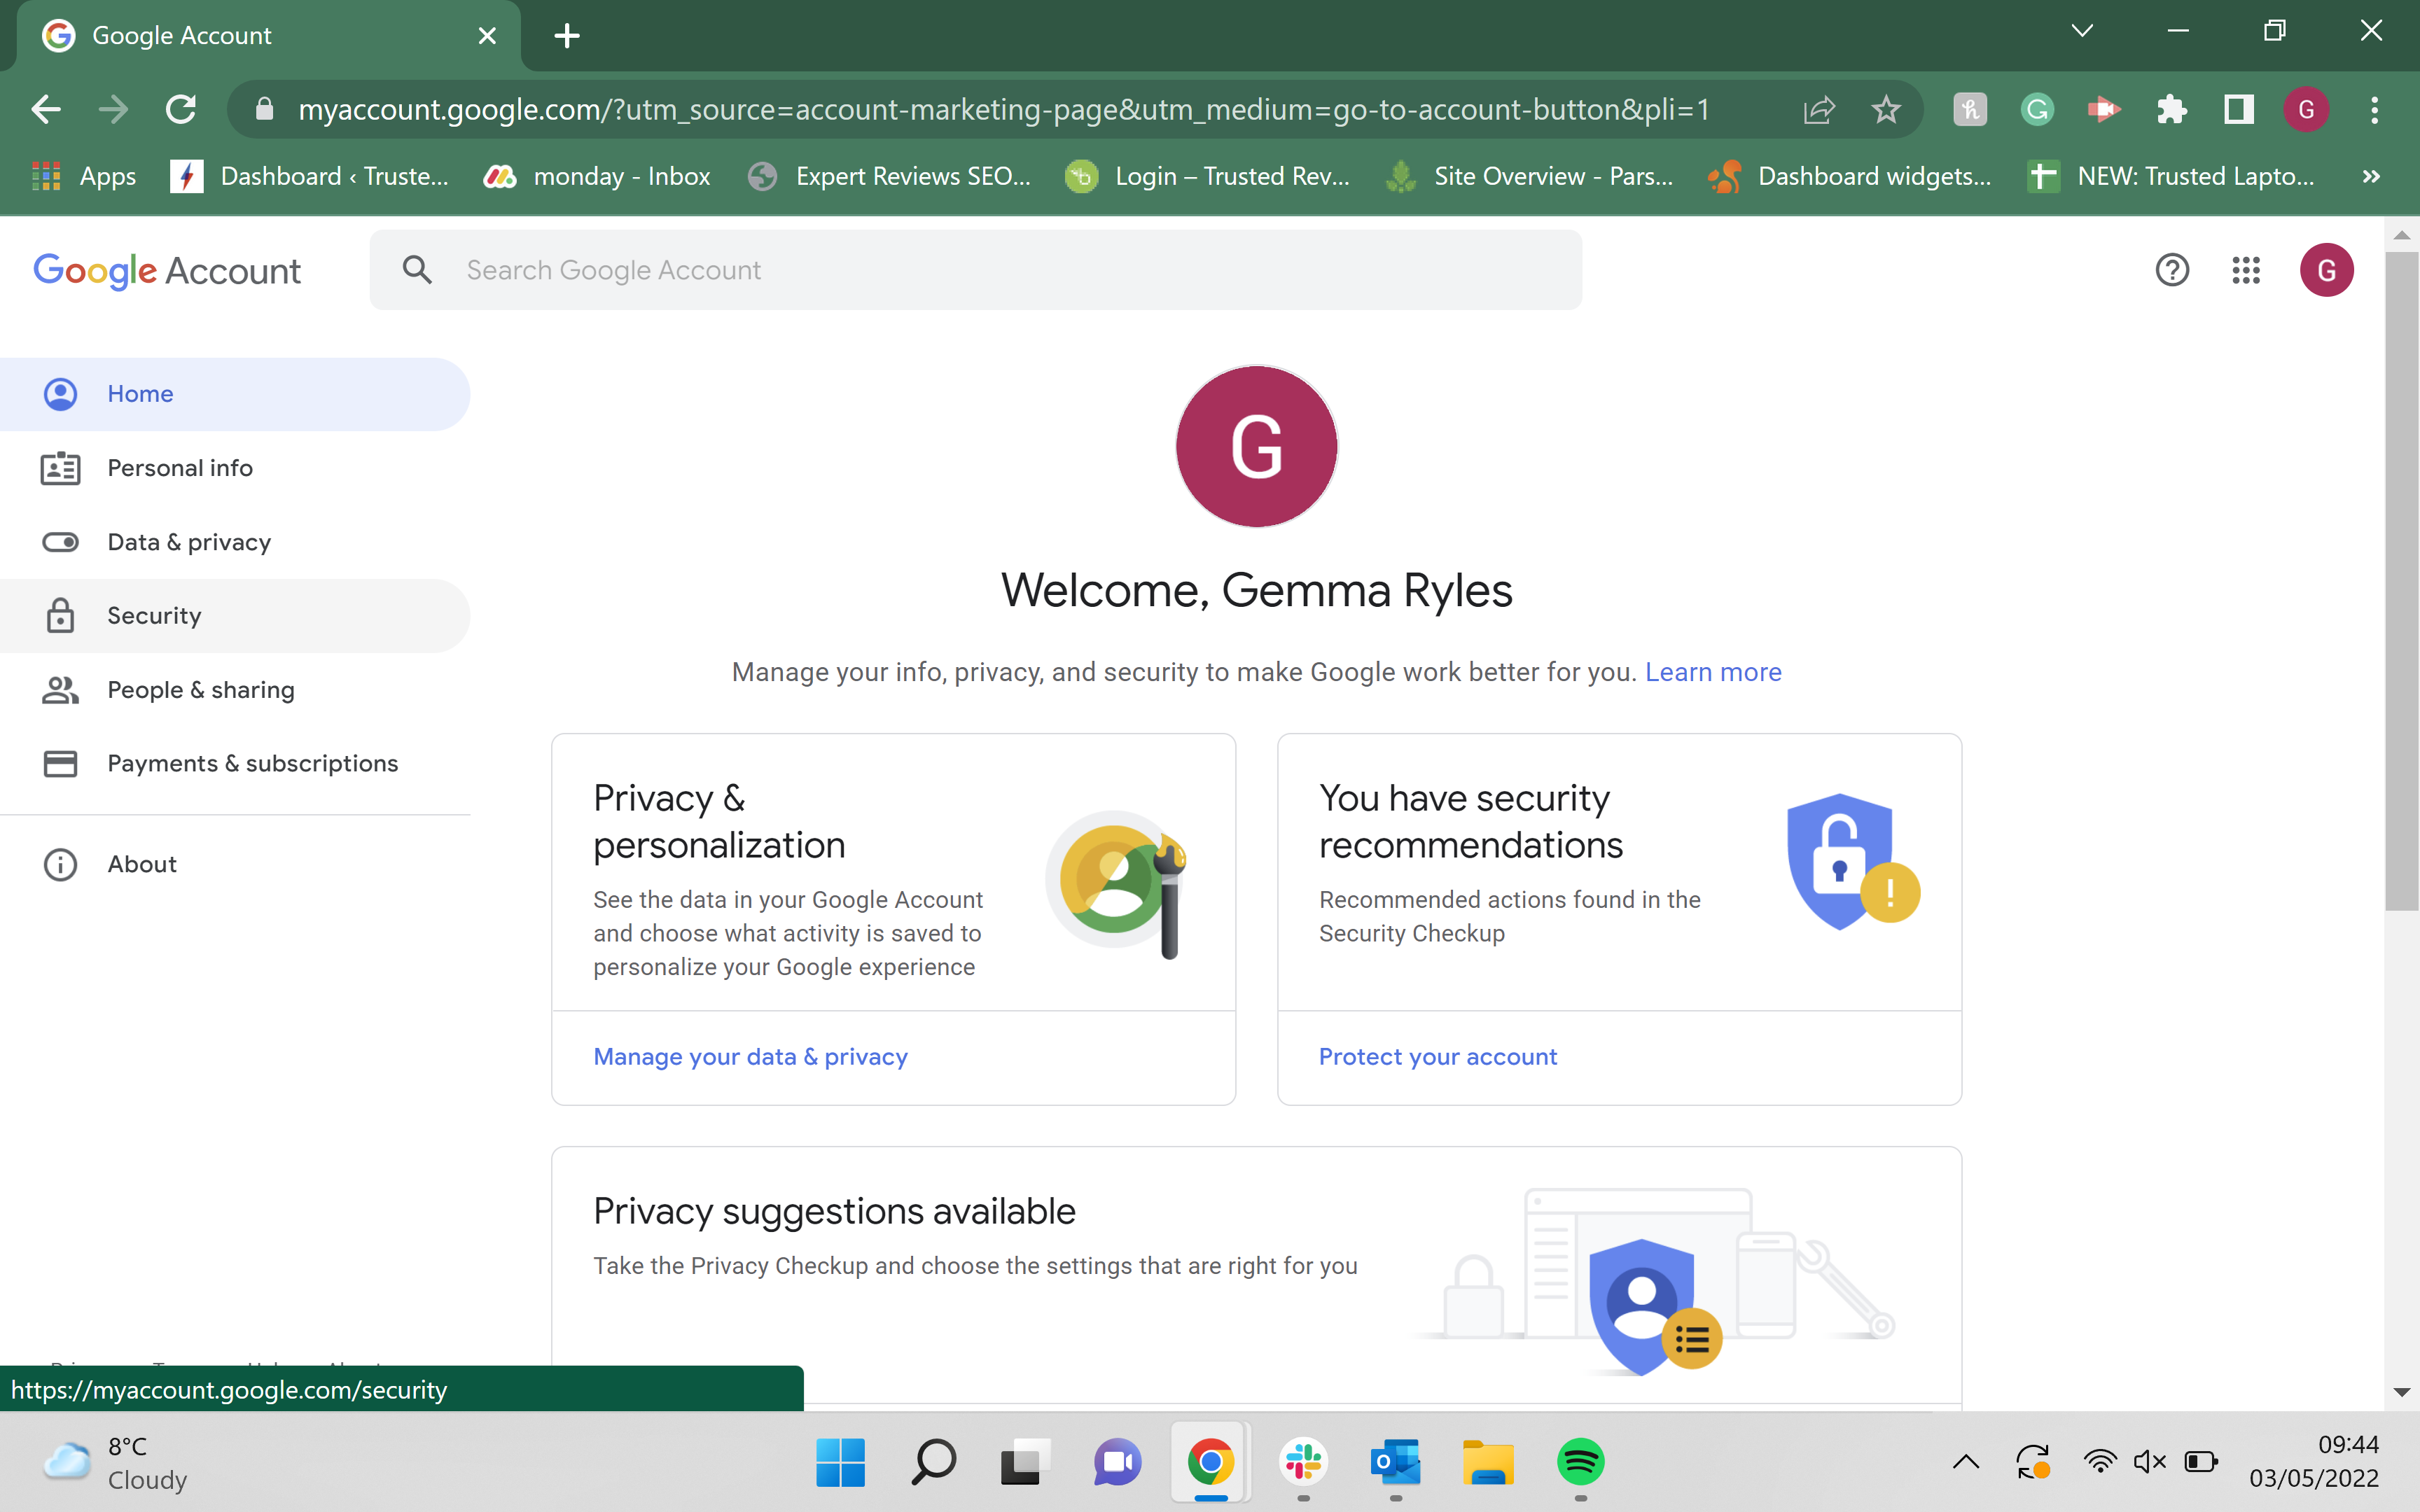
In the menu on the left-hand side of the screen, click on ‘Security’, which will take you to a new page.
Step
3Scroll down to ‘Signing in to Google’
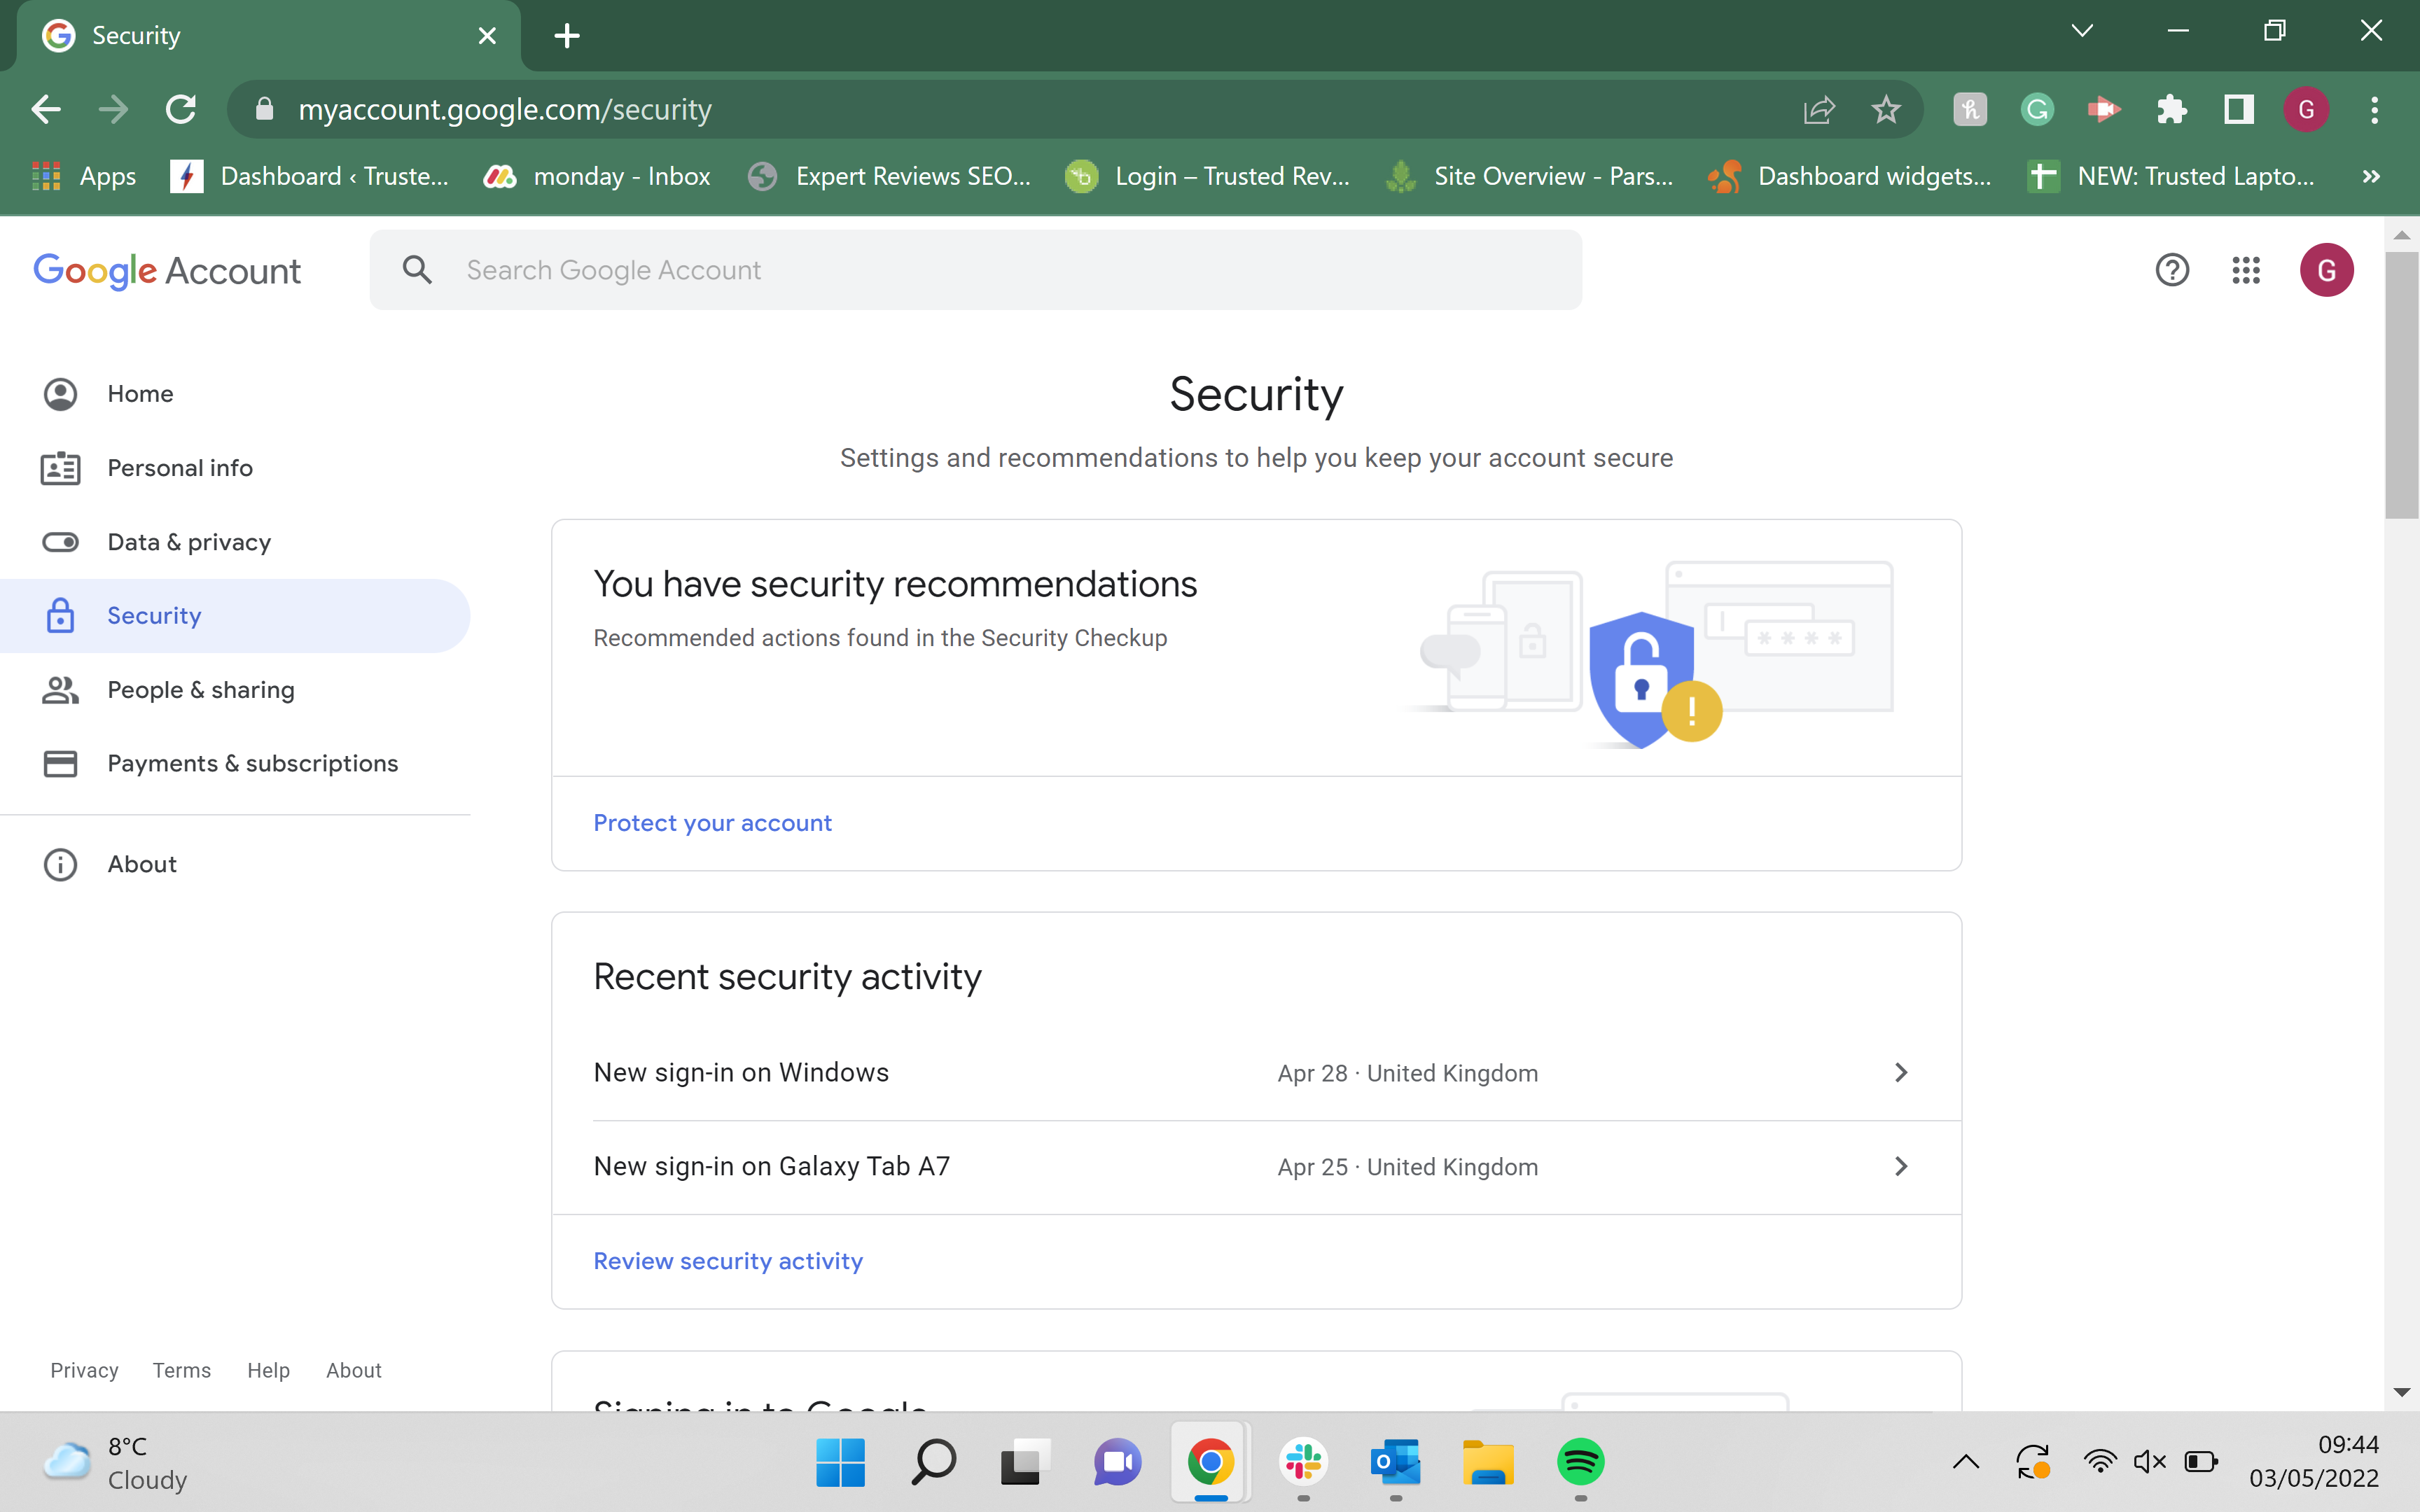
After clicking on Security and being sent to a new page, scroll down to the ‘Signing in to Google’ section of the page.
Step
4Click on 2-step Verification
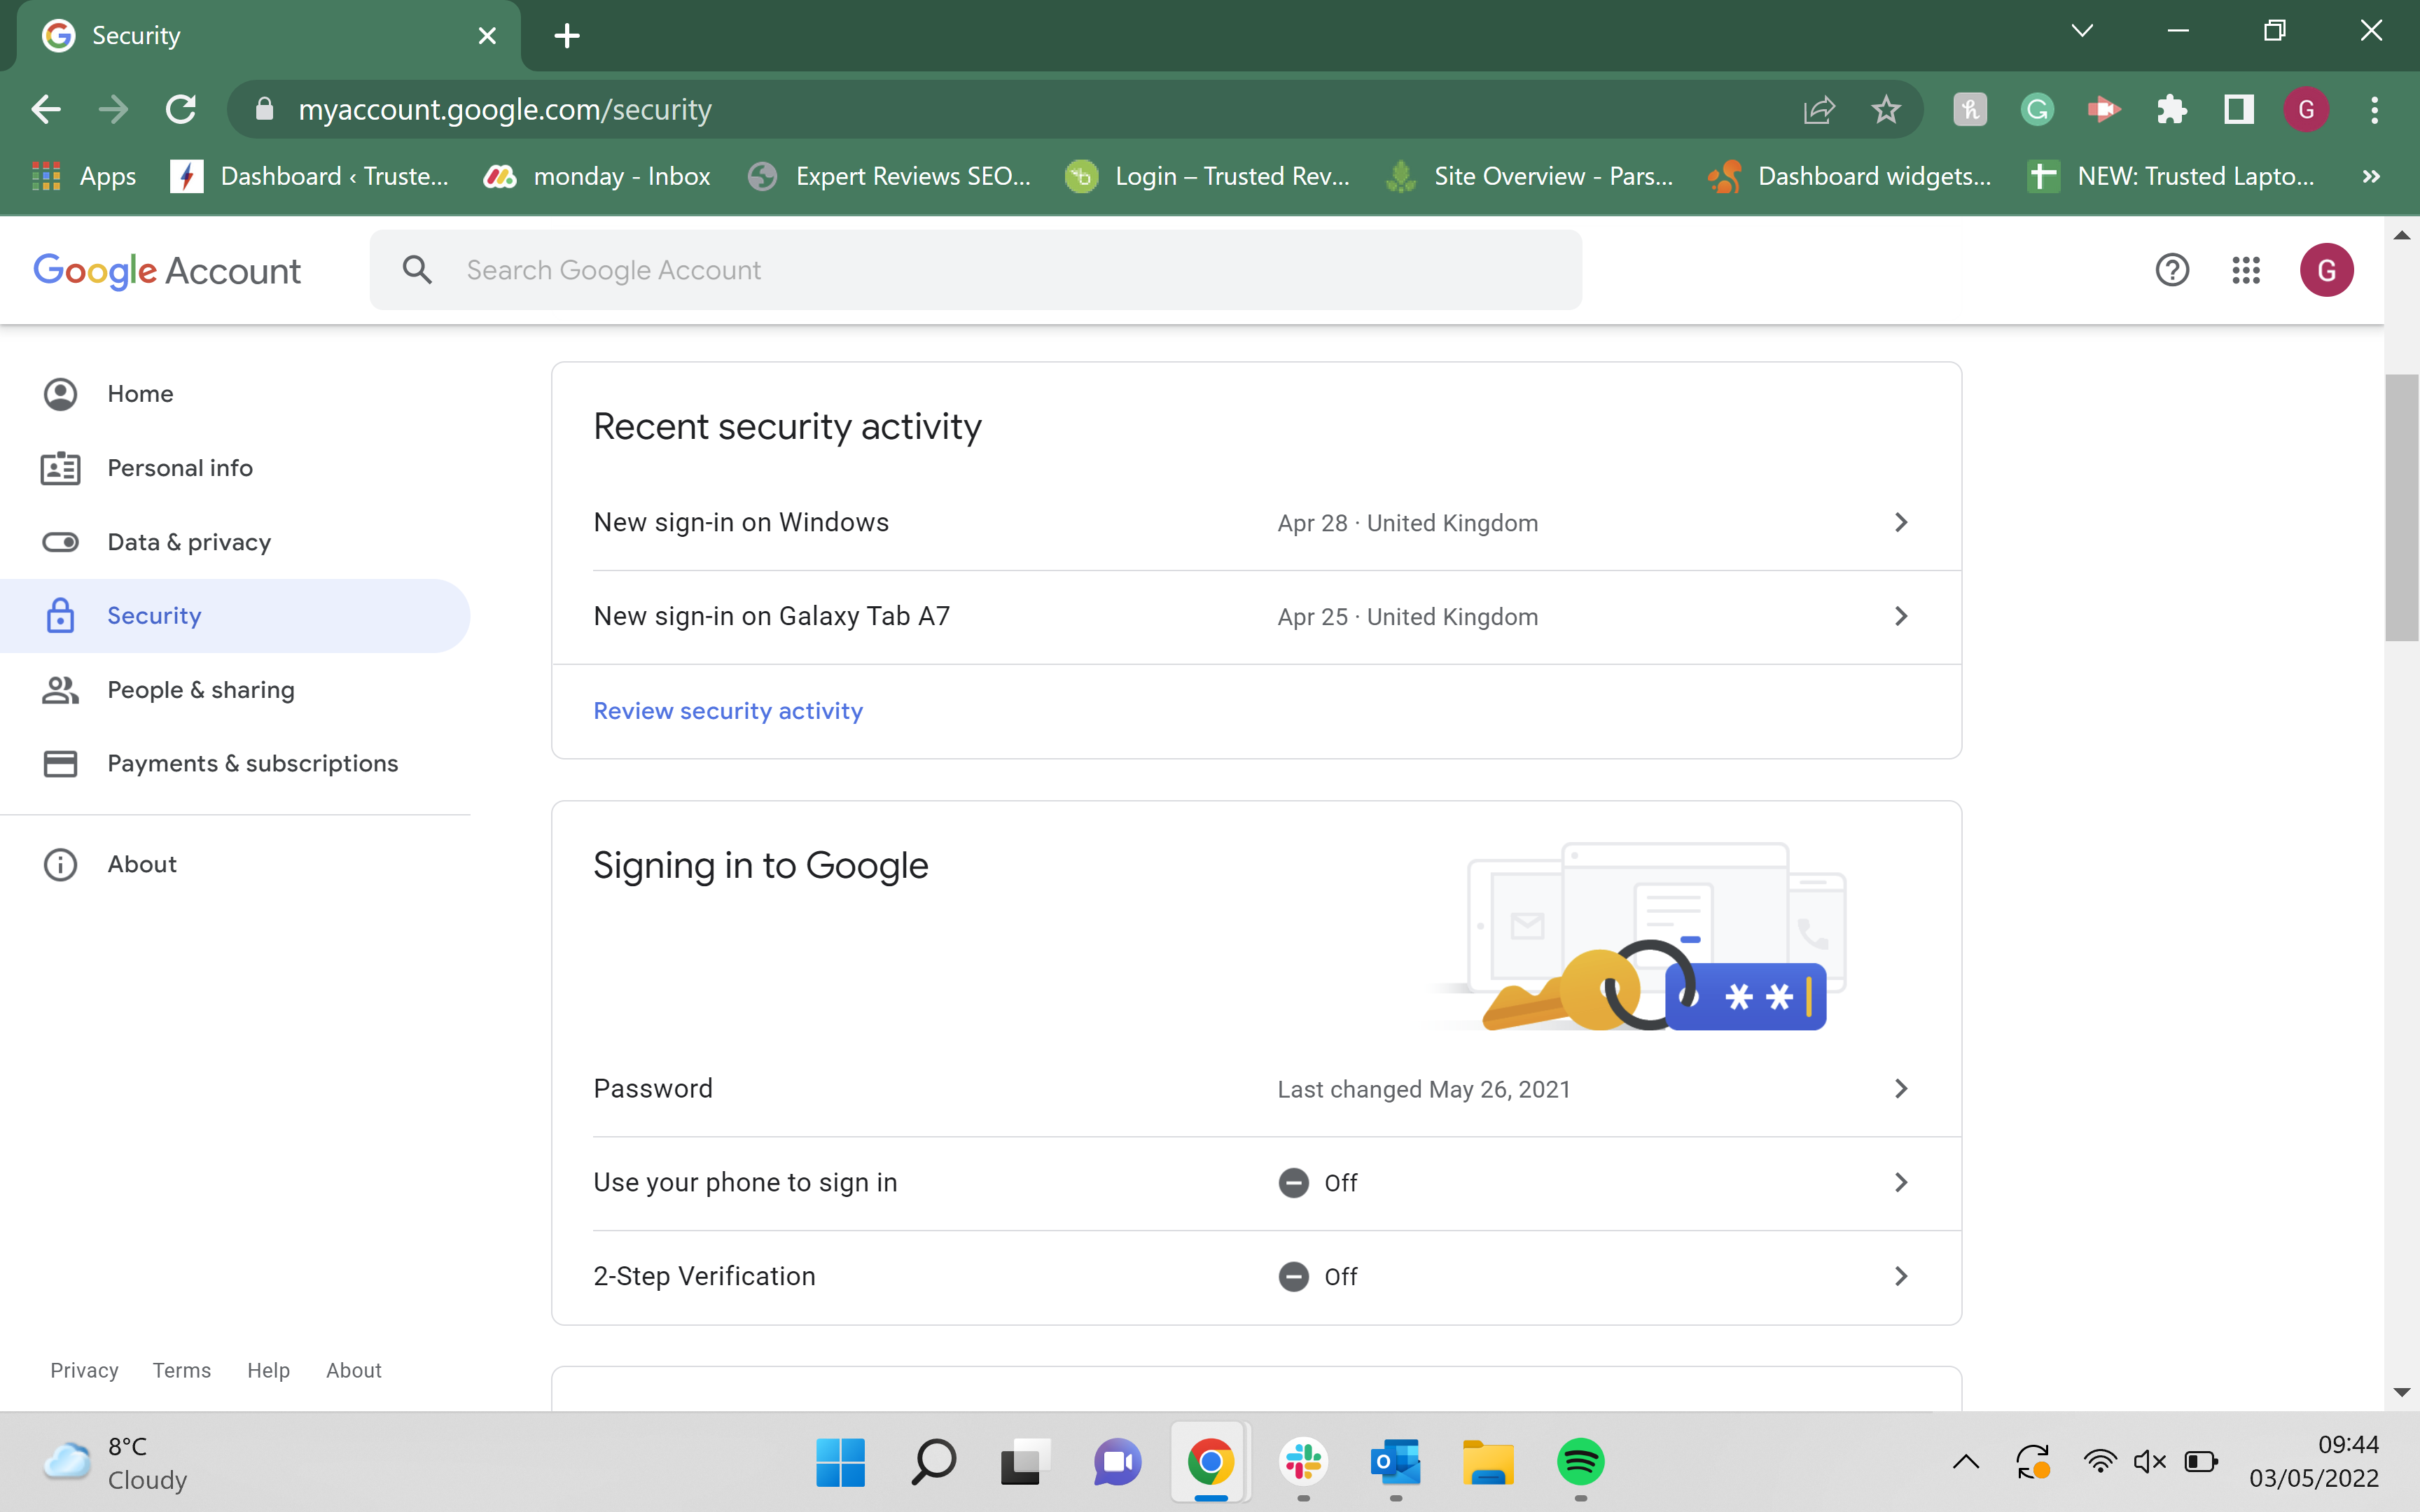
Click on the ‘2-step Verification’ option in ‘Signing in to Google’. It will be the second choice down out of two.
Step
5Click ‘Get Started’
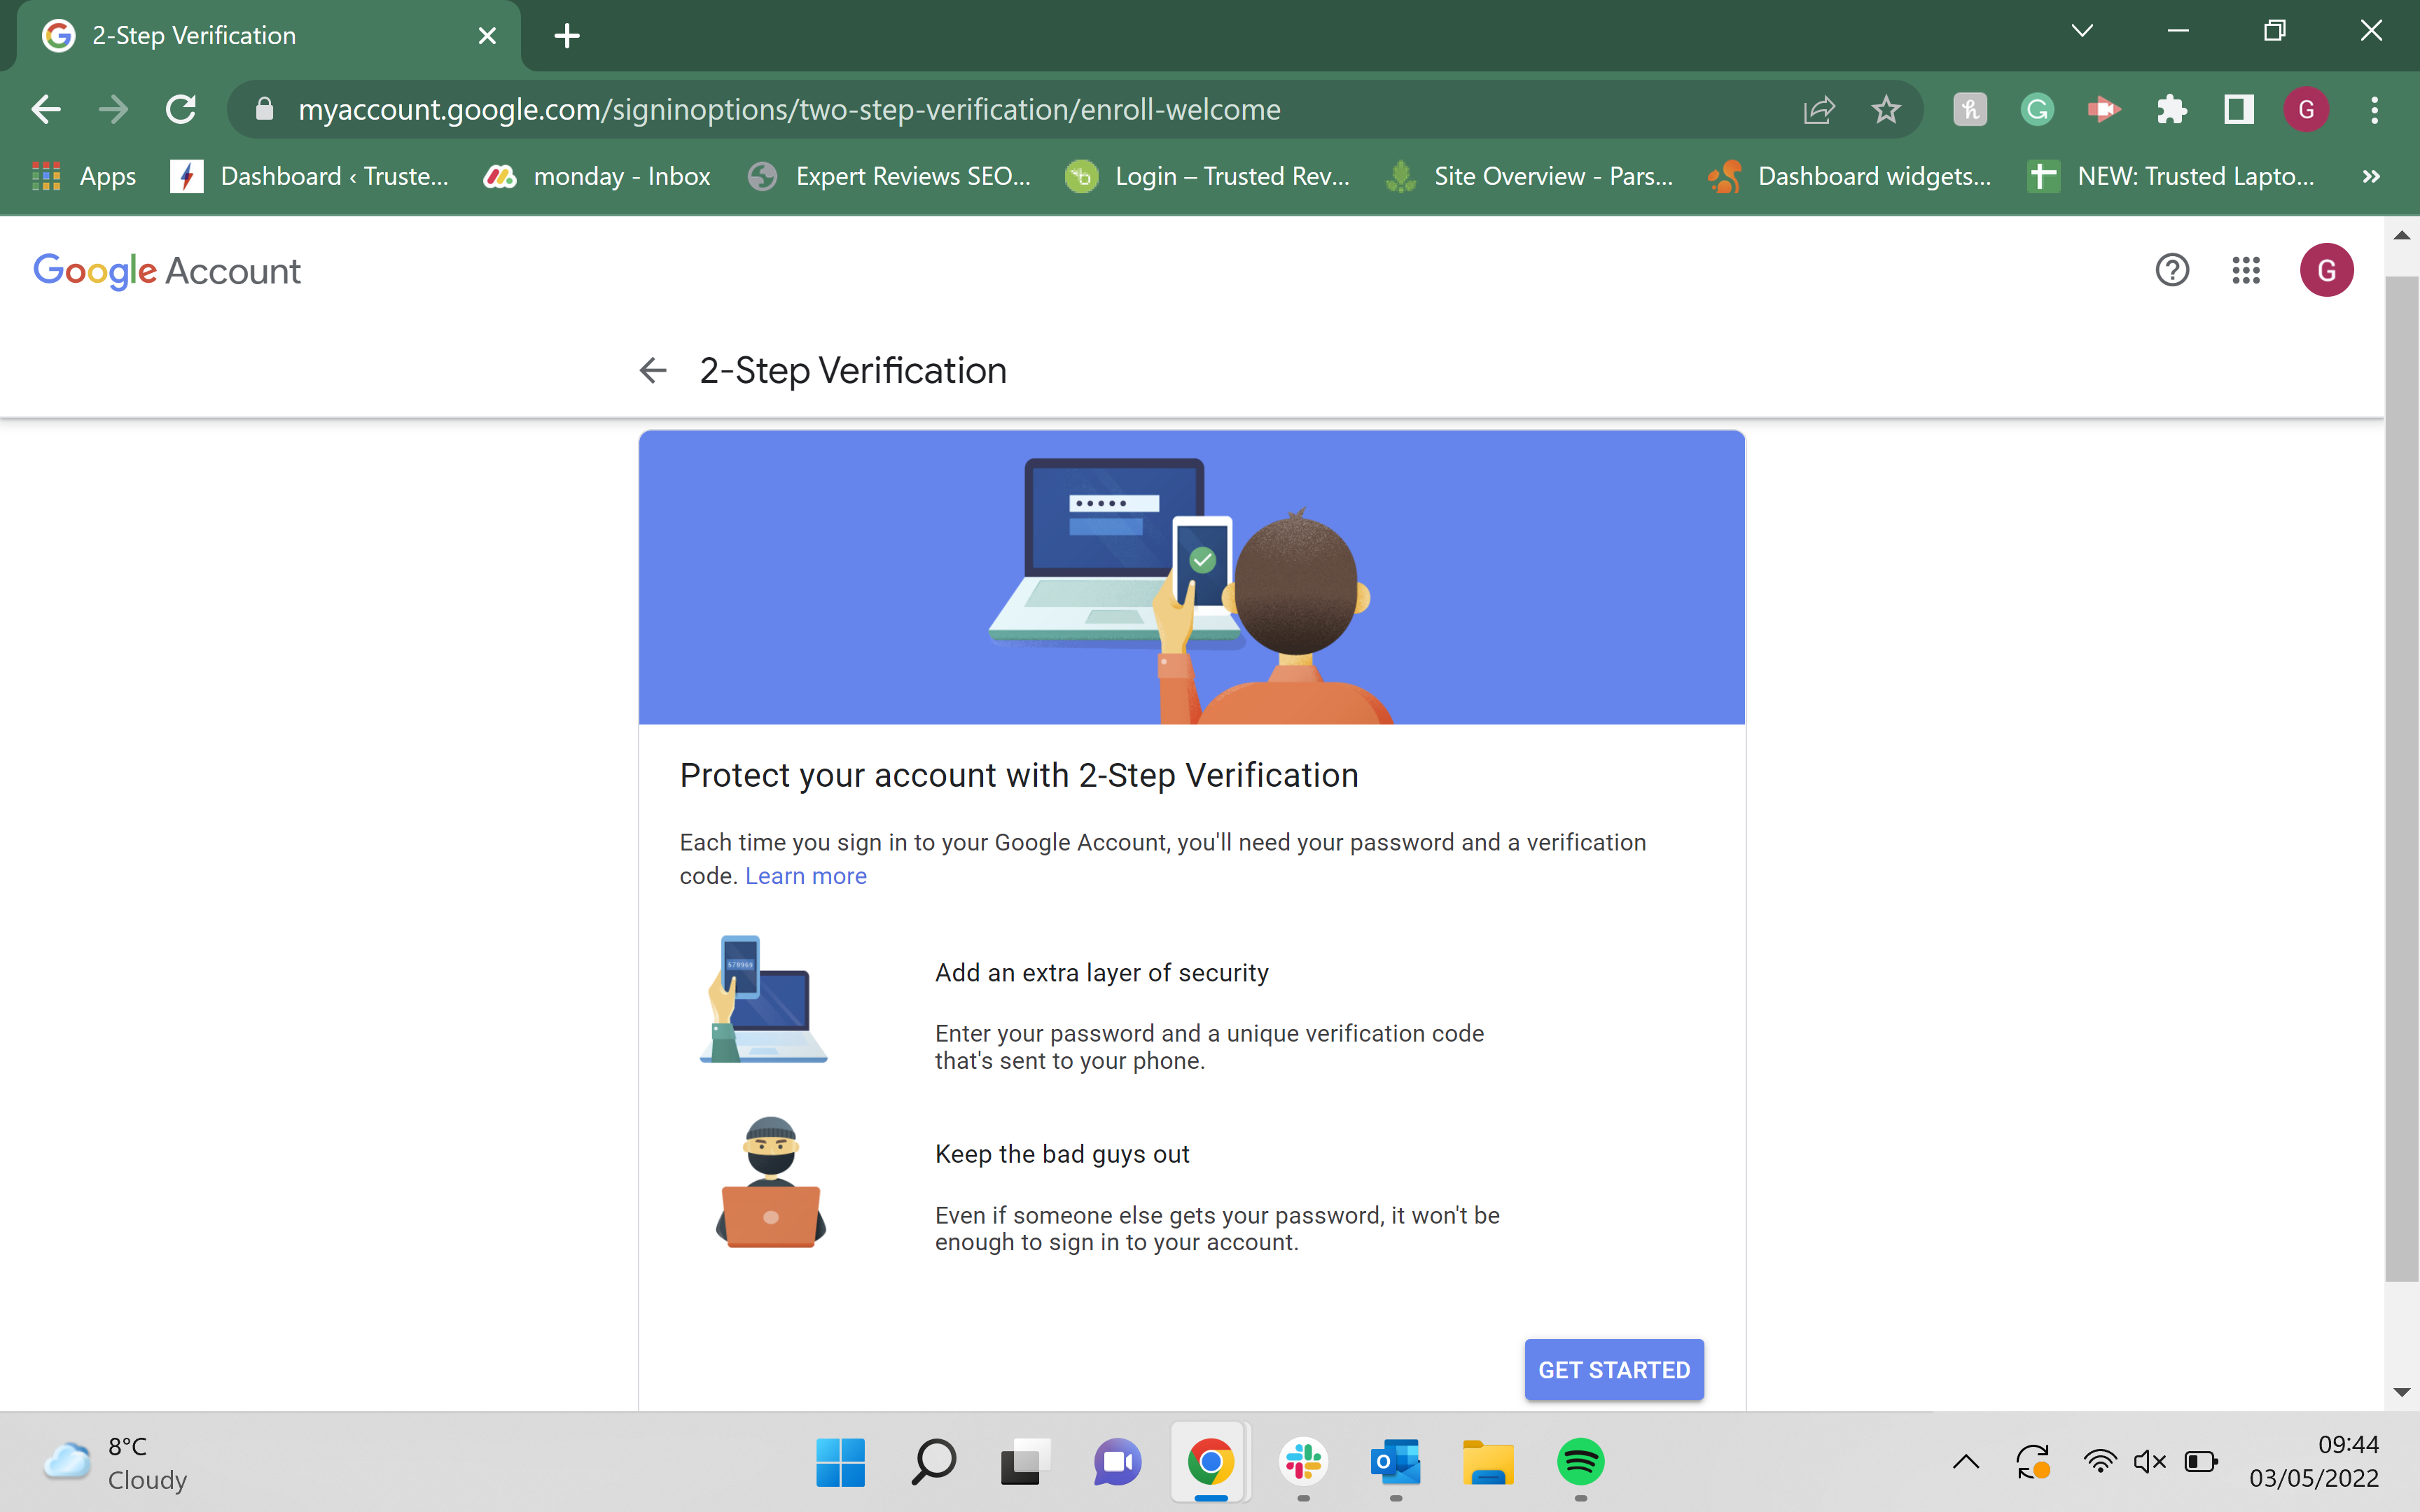
Click the blue ‘Get Started’ button to continue the process.
Step
6Press ‘Next’
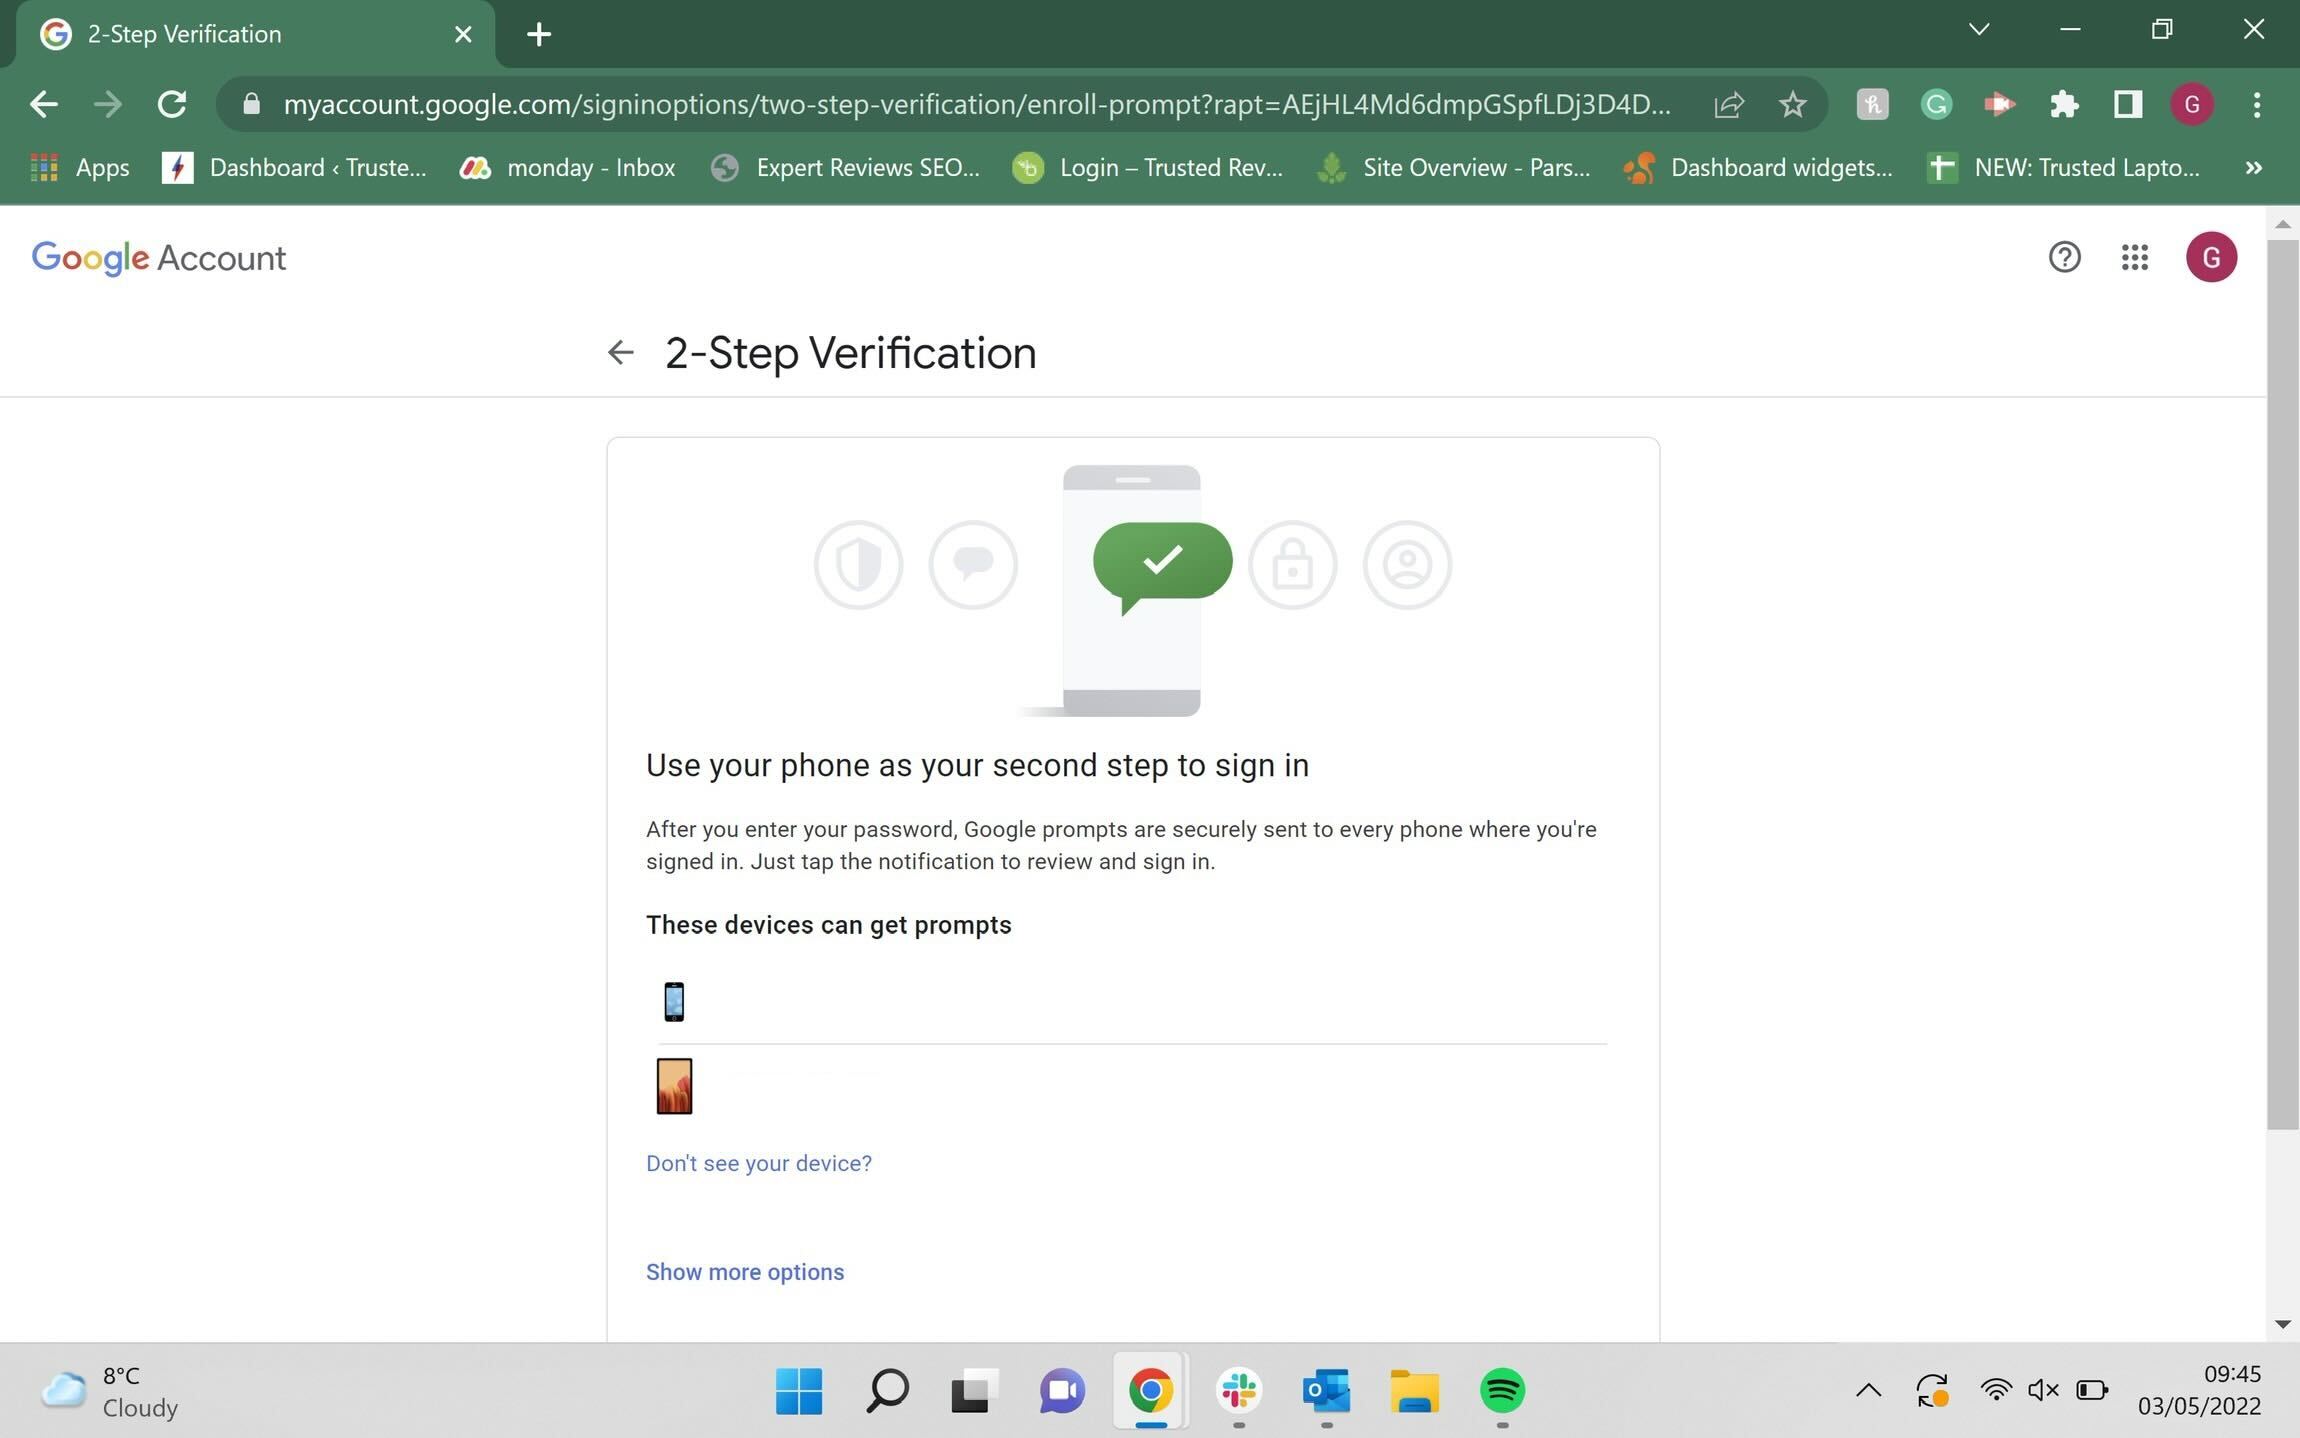
This screen will inform you of all the devices that can be sent prompts for your login. These devices will likely be phones, and they all should be registered to you, making sure that no one else can access your 2FA codes.
Click on the ‘Don’t see your device?’ button if the devices listed don’t look right to you. If everything looks fine, click Next.Step
7Enter your backup number and press ‘Send’
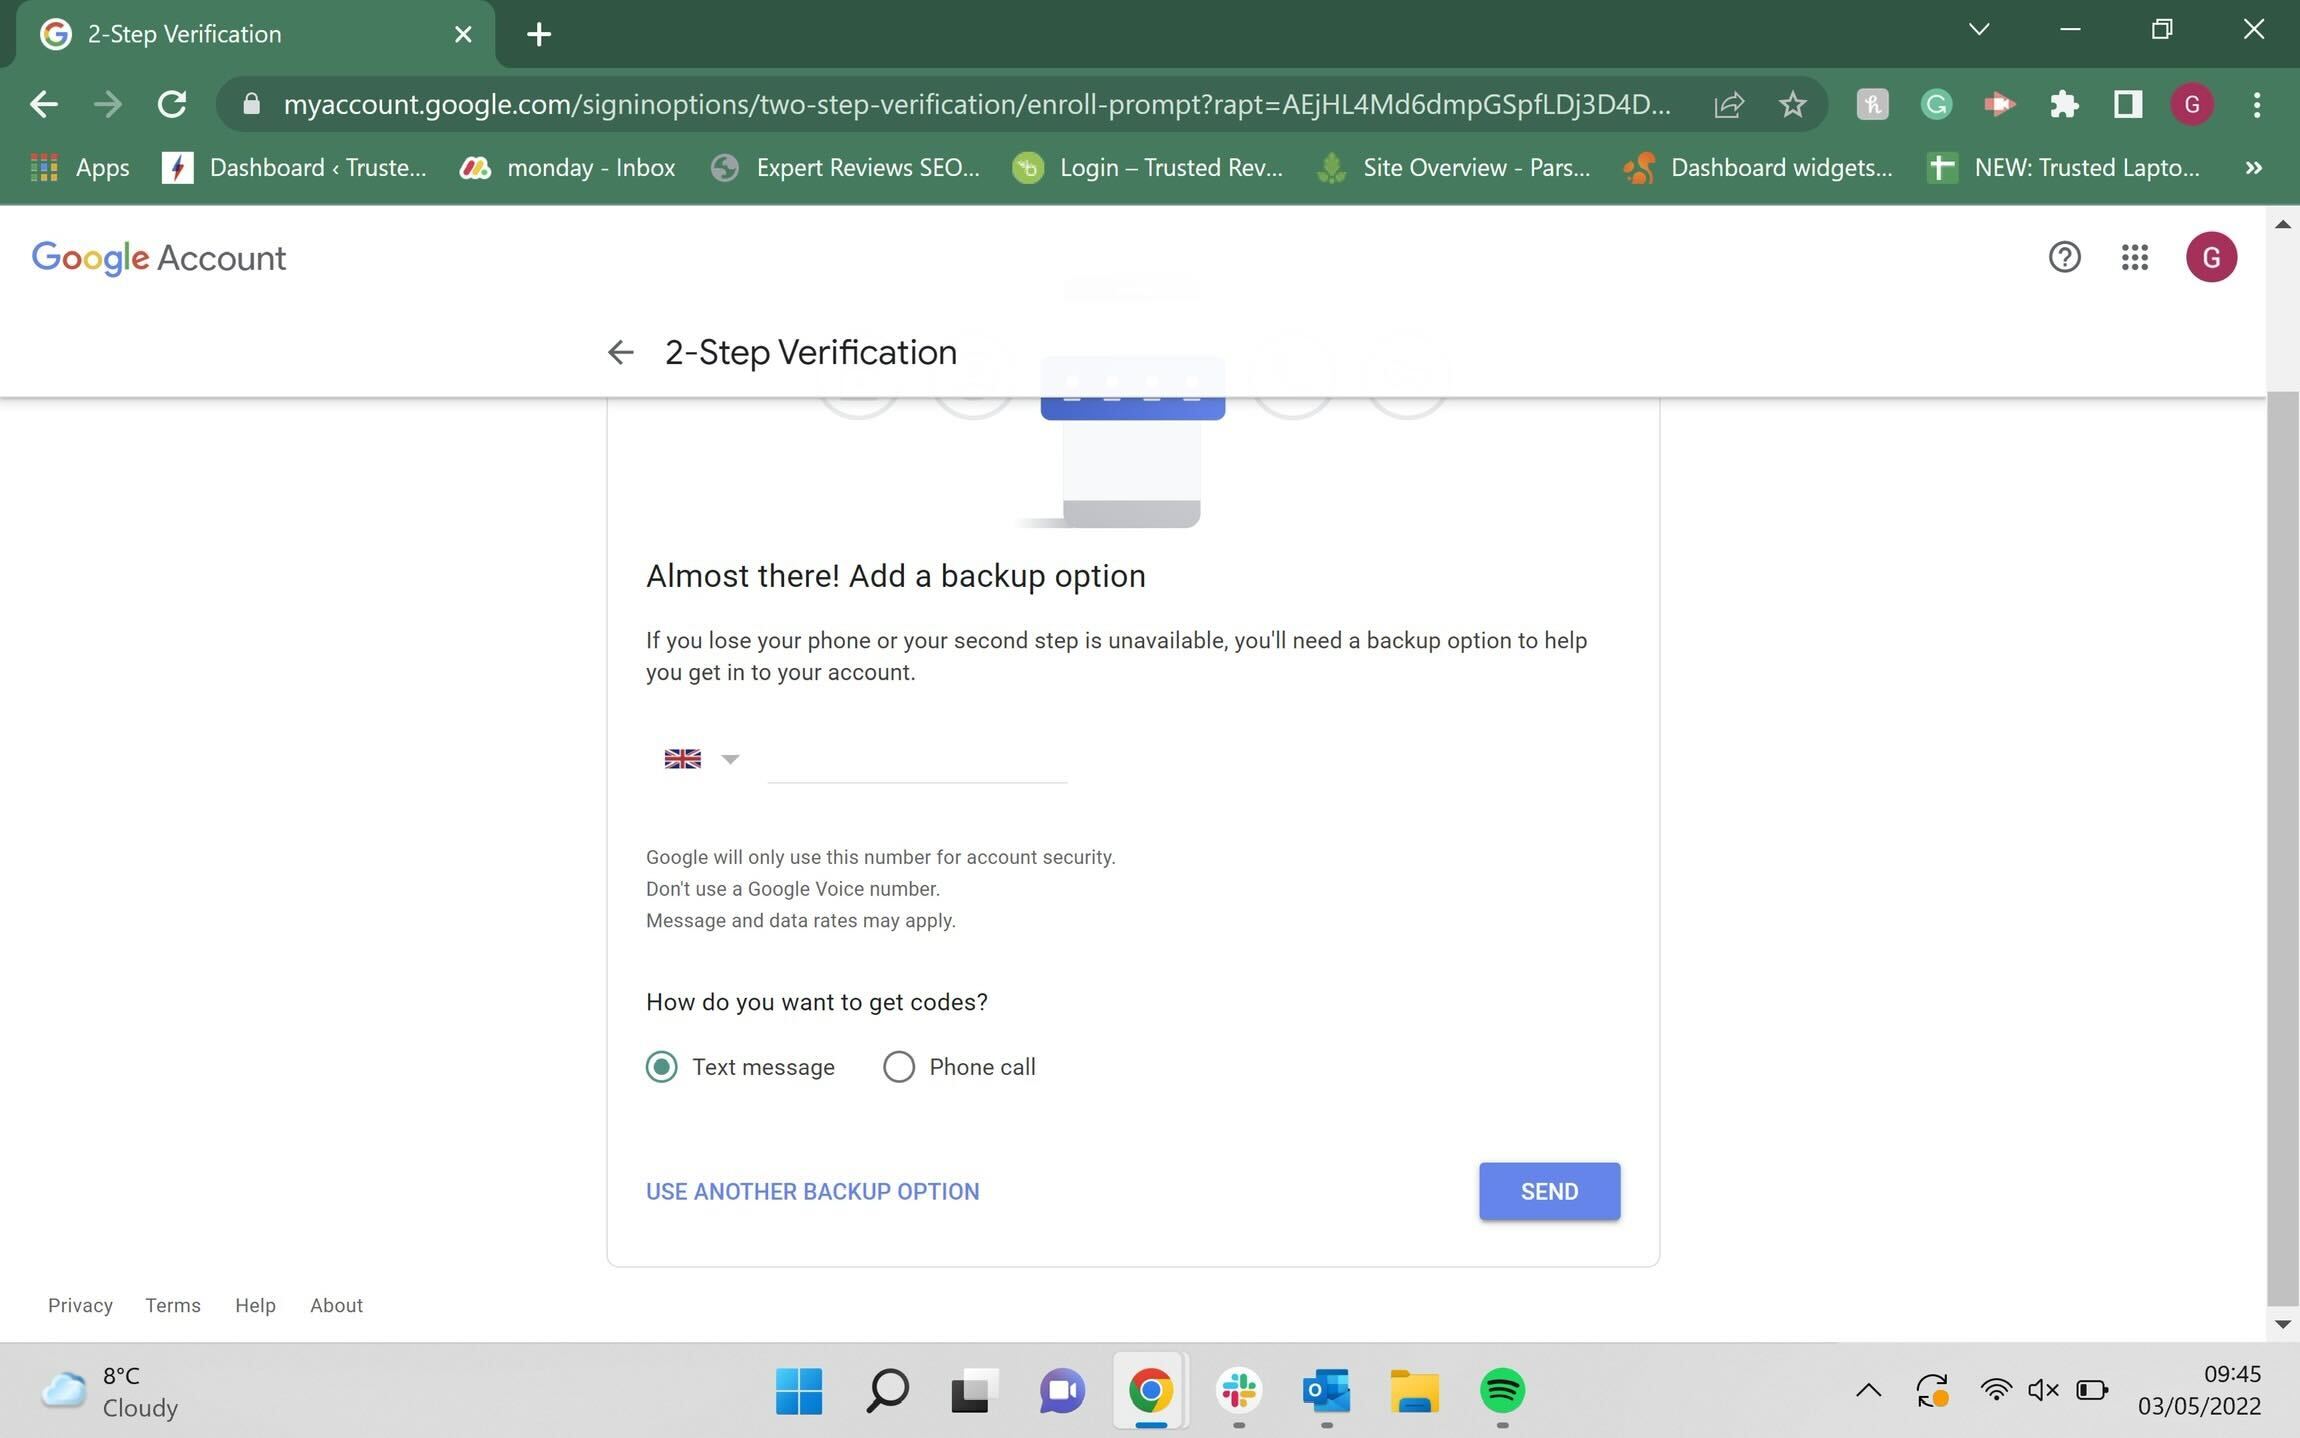
Choose a phone number that can be used in a backup scenario. We recommend using your own phone number here, for more security. After you have entered the phone number, press ‘Send’.
Step
8Enter the code
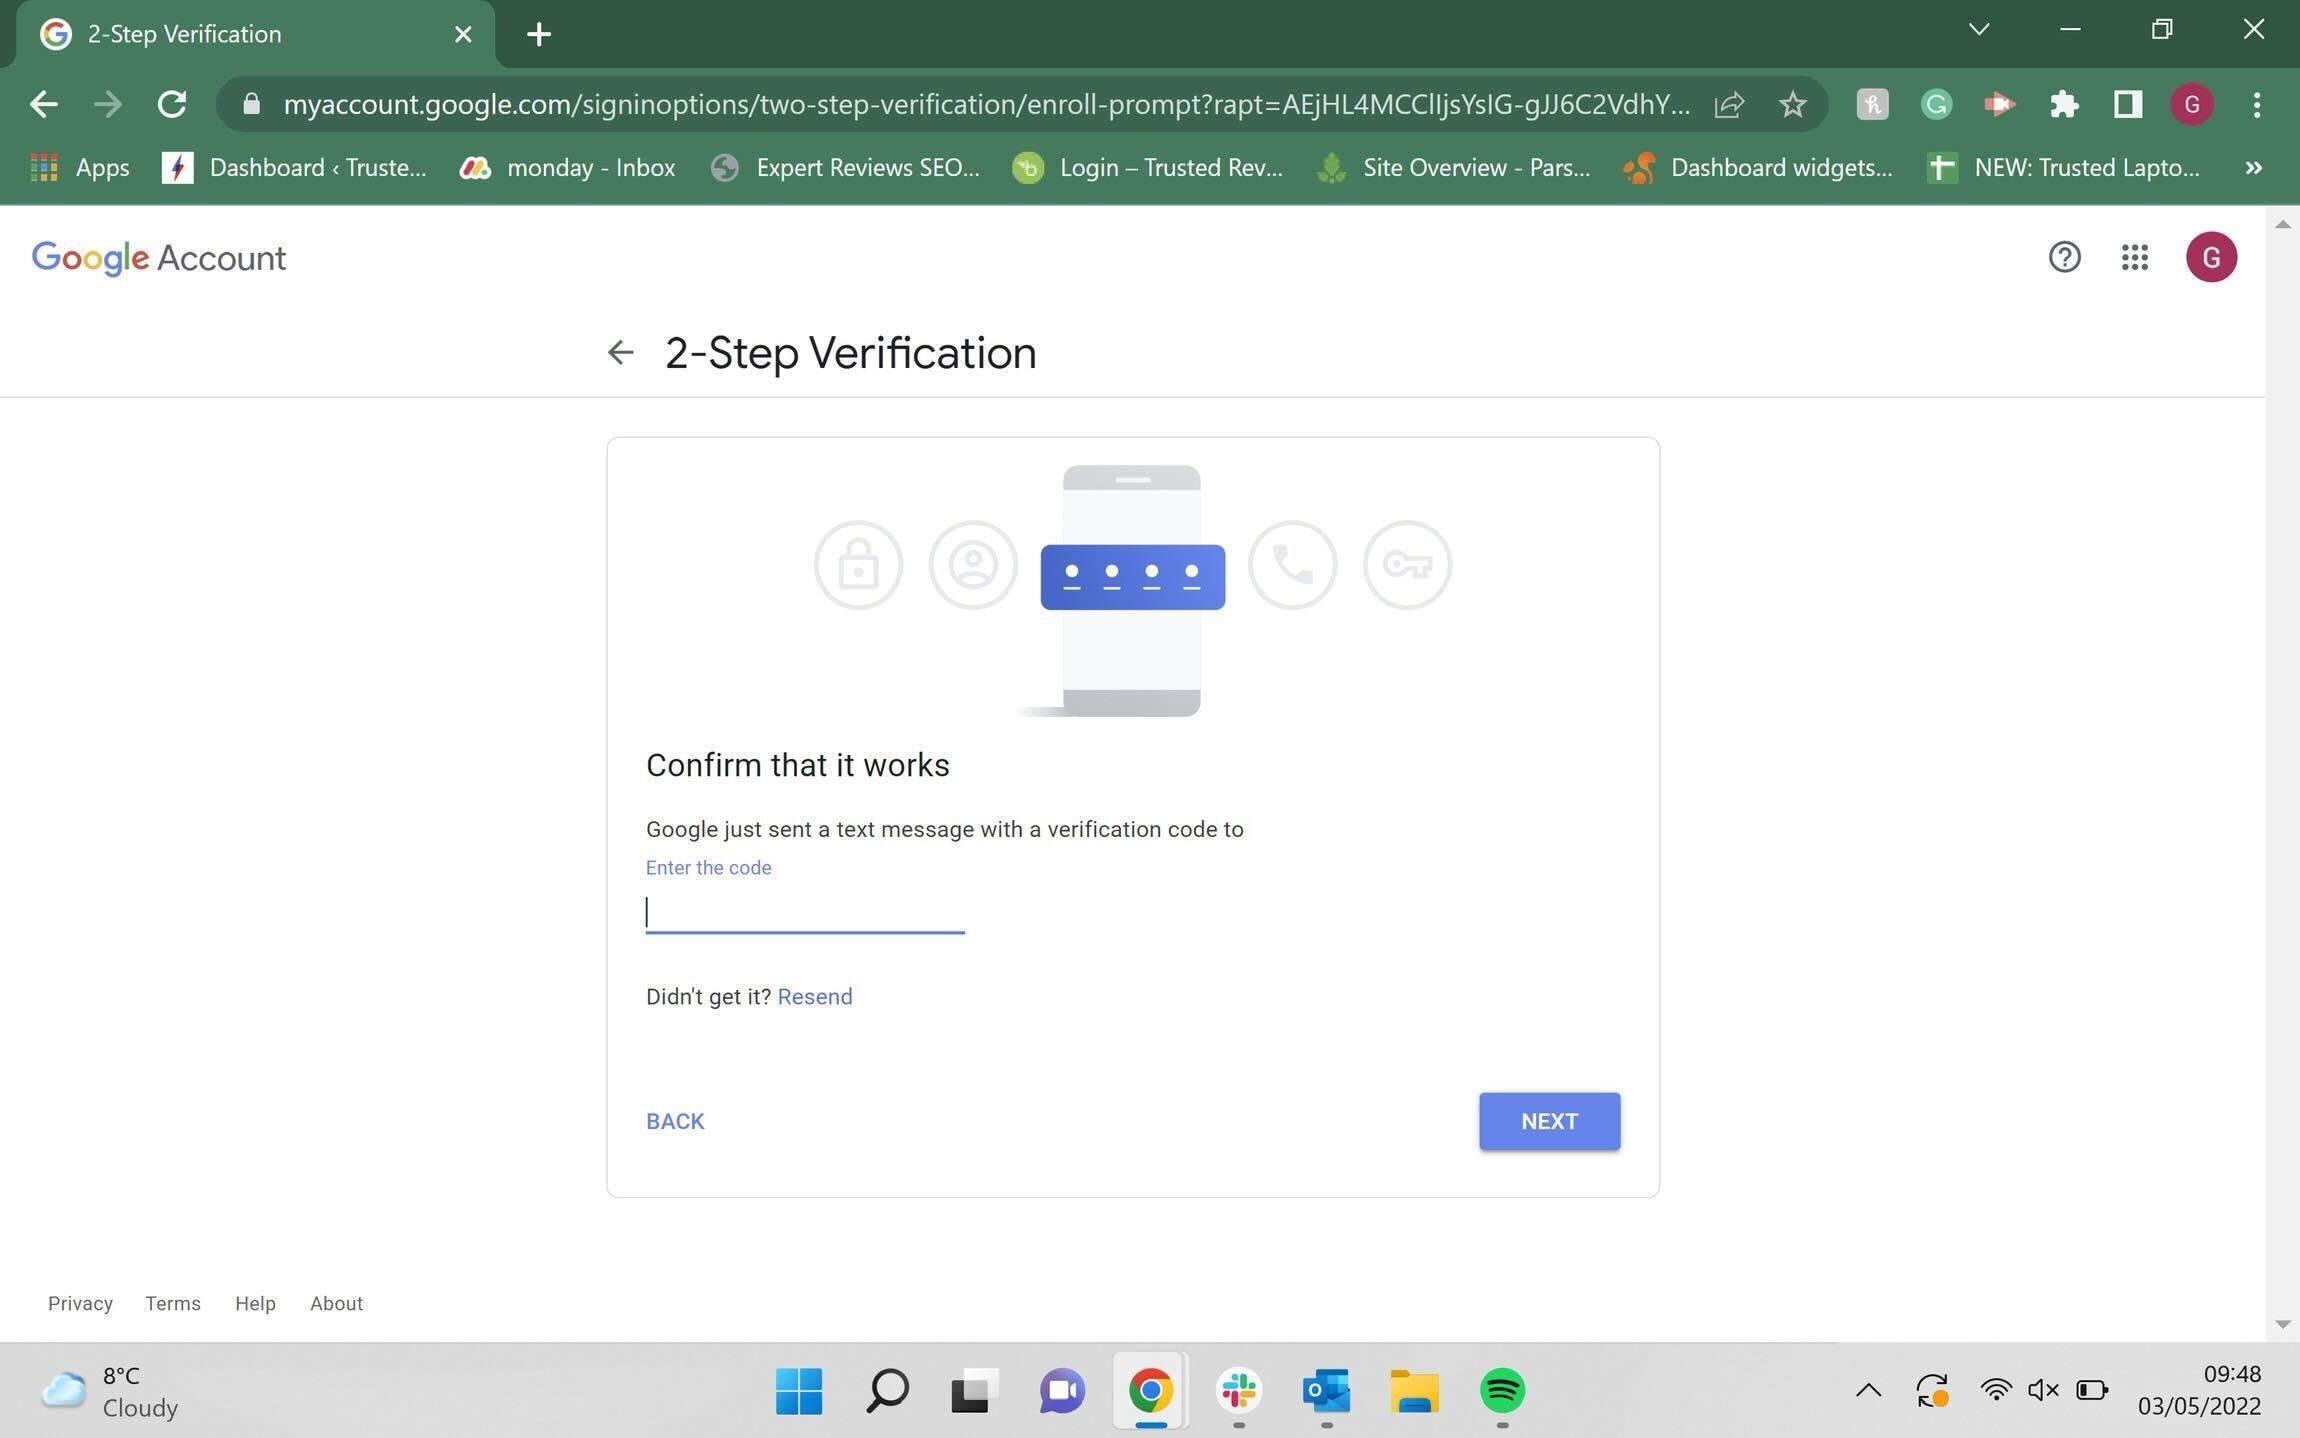
Enter the code that has been sent to the number you used in Step 7. Do not share the code with anyone.
Step
9Press ‘Turn On’
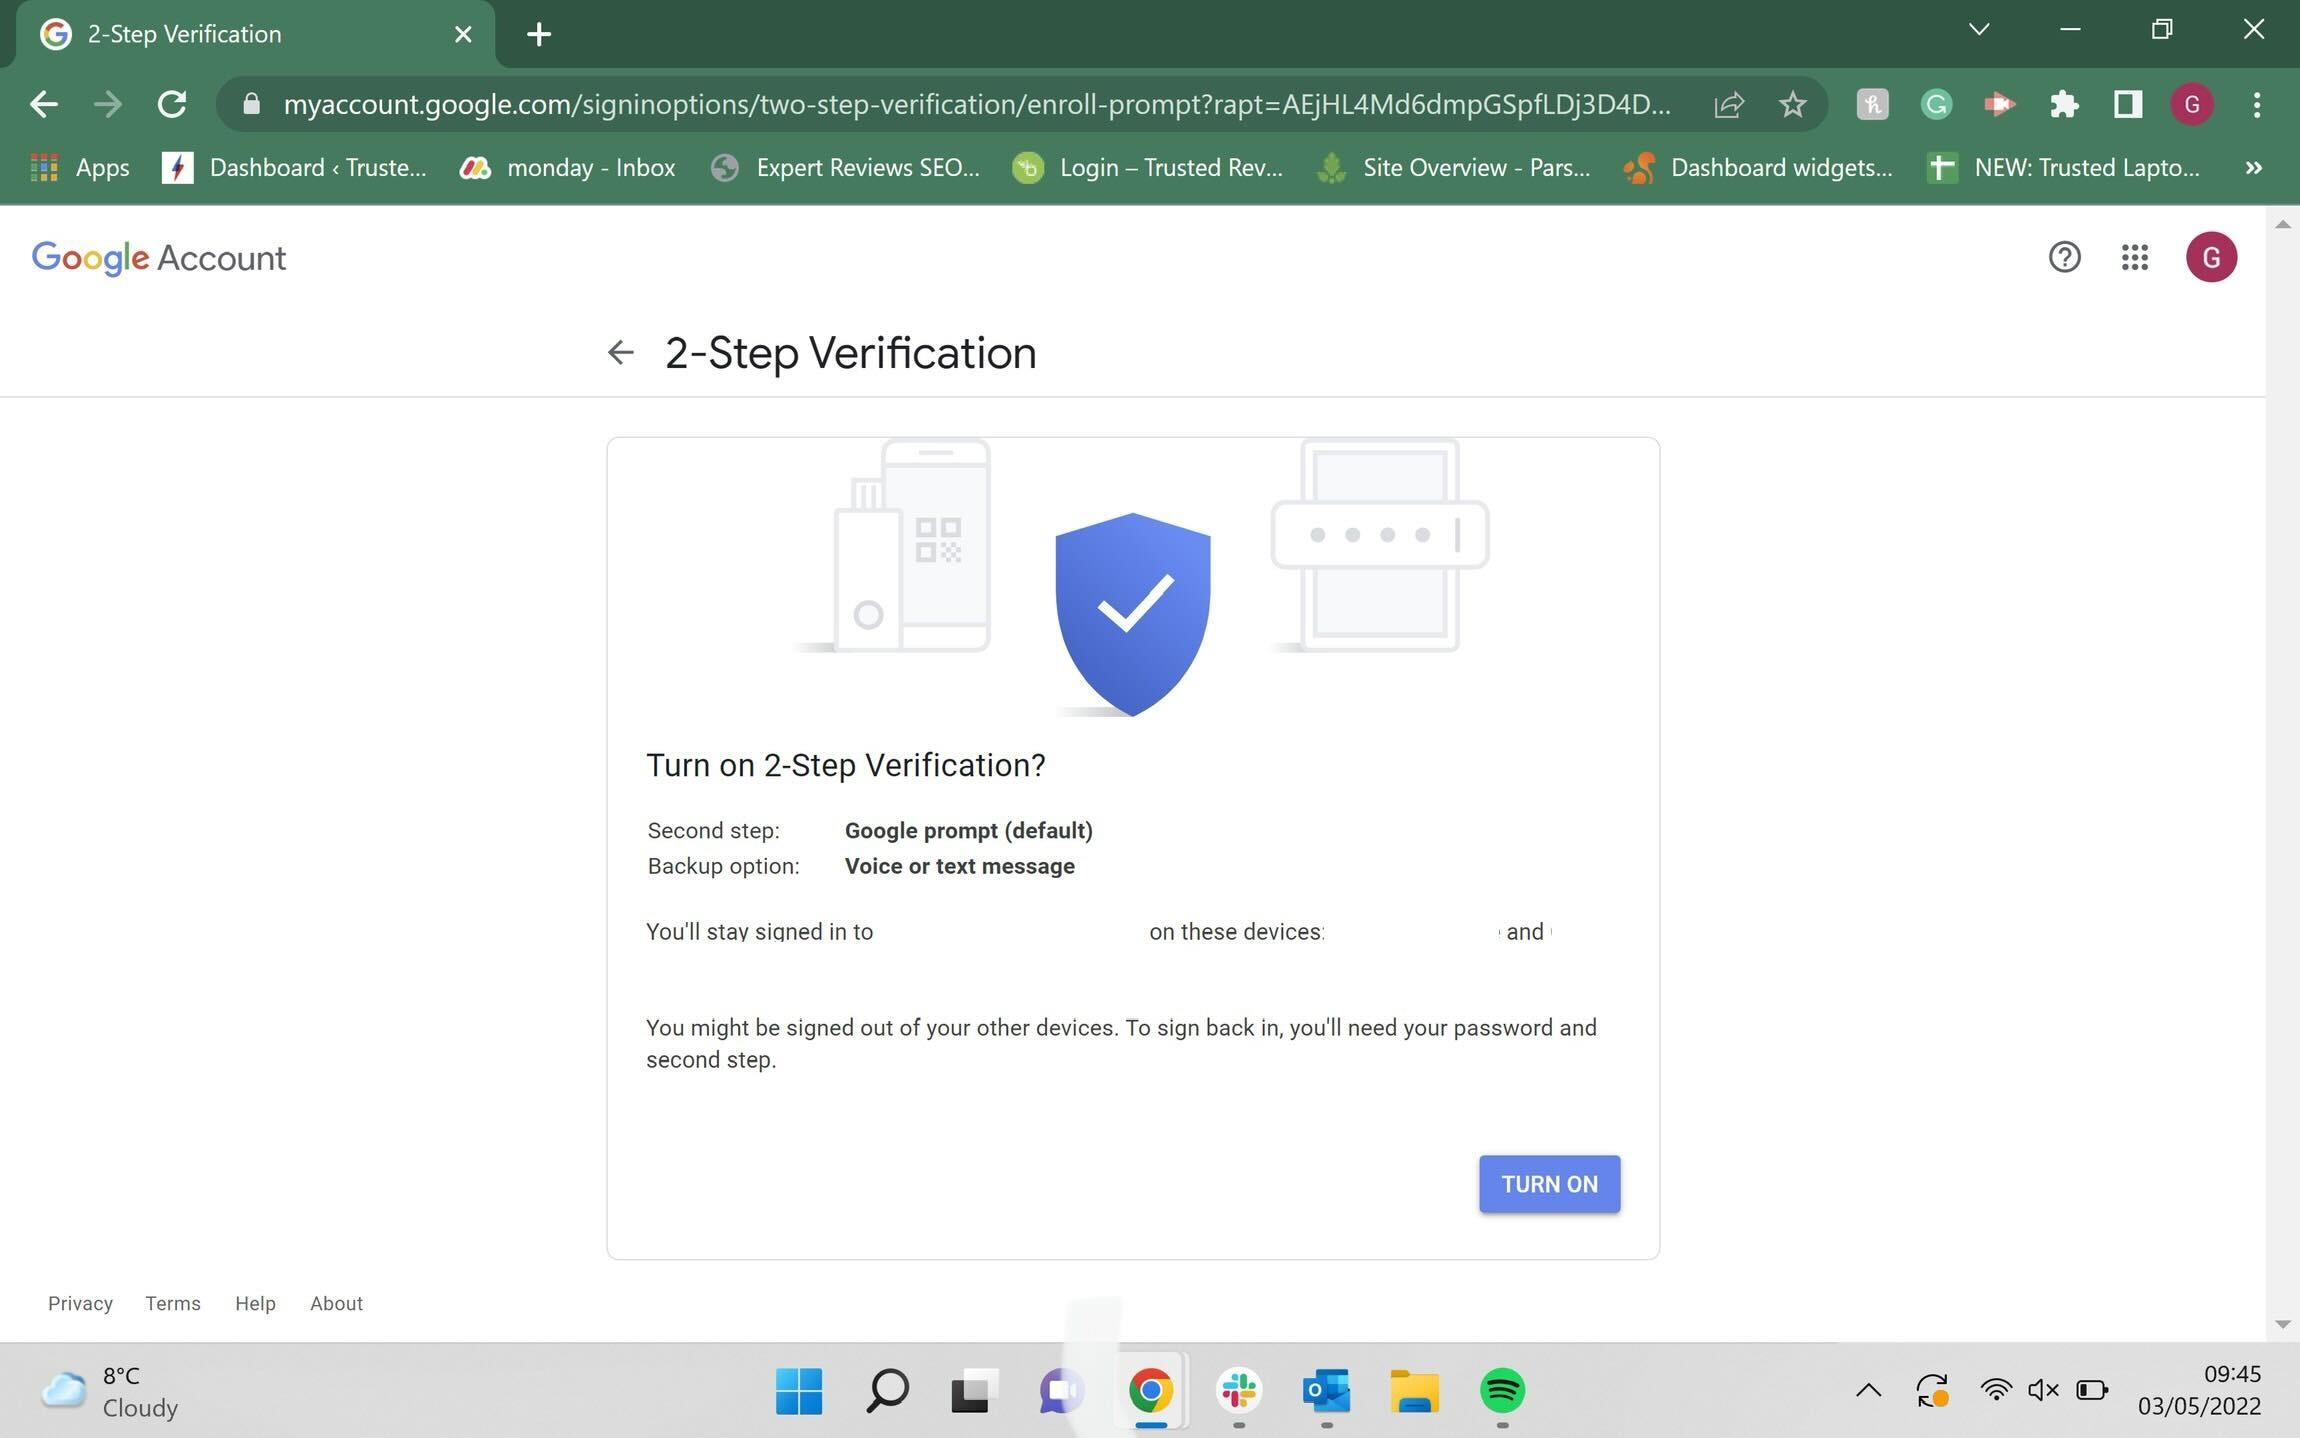
Once you have entered the code correctly, you will have the option to turn on 2-step Verification. Once you’ve done this, the process is completed.
FAQs
Yes, you can always turn two-factor authorisation off if you want to.
Yes, 2FA is another added layer of security that will make it harder for hackers or scammers to access your information since they will need the code sent to your handset to access your account.
You might like…


Editorial independence
Editorial independence means being able to give an unbiased verdict about a product or company, with the avoidance of conflicts of interest. To ensure this is possible, every member of the editorial staff follows a clear code of conduct.
Professional conduct
We also expect our journalists to follow clear ethical standards in their work. Our staff members must strive for honesty and accuracy in everything they do. We follow the IPSO Editors’ code of practice to underpin these standards.