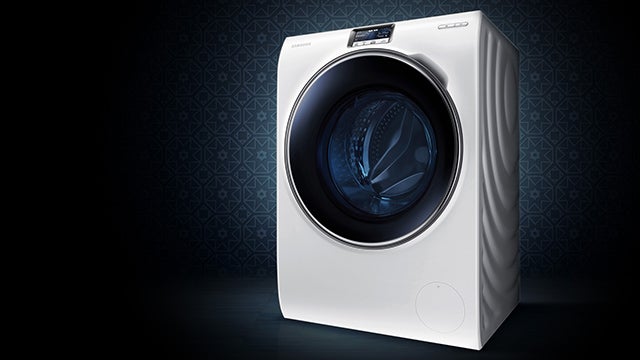
How to disconnect a washing machine
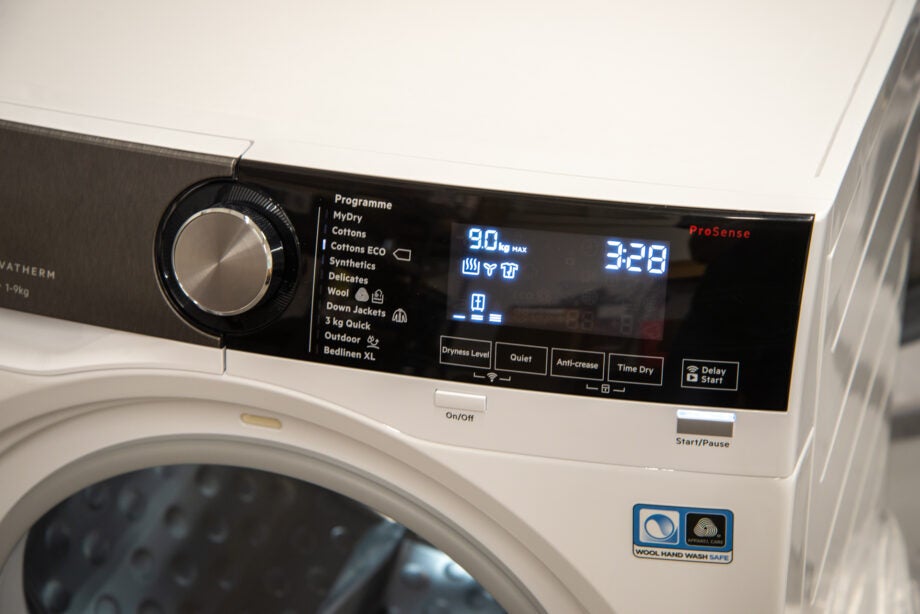
Whether you’re swapping your old one out for one of our best washing machines, moving to a new house, or need to do a bit of decorating, there are times when you’ll have to disconnect your washing machine. Here’s how to disconnect a washing machine the proper way.
To fit a new machine or your old one in a new place, check out my guide on how to install a washing machine.
Tools that we used
Mostly you’ll need some elbow grease and possibly some help from a friend, but it’s useful to have some tools on hand:
- Flathead screwdriver
- Adjustable spanner or spanner set
Short version
- Disconnect the water supply
- Disconnect the drain hose
- Disconnect the plug
- Pull the washing machine forward
- Disconnect the cold water hose
- Refit the transit bolts
Before you start, just be aware that you may need to perform these steps slightly out of sequence, depending on how and where your washing machine is connected. For example, if the plug, water connector and drain are all located behind your washing machine, you’ll need to pull it out first; if they’re in a cupboard (as with most kitchens), then you can follow the steps in the order we have listed.
Step
1Disconnect the water supply
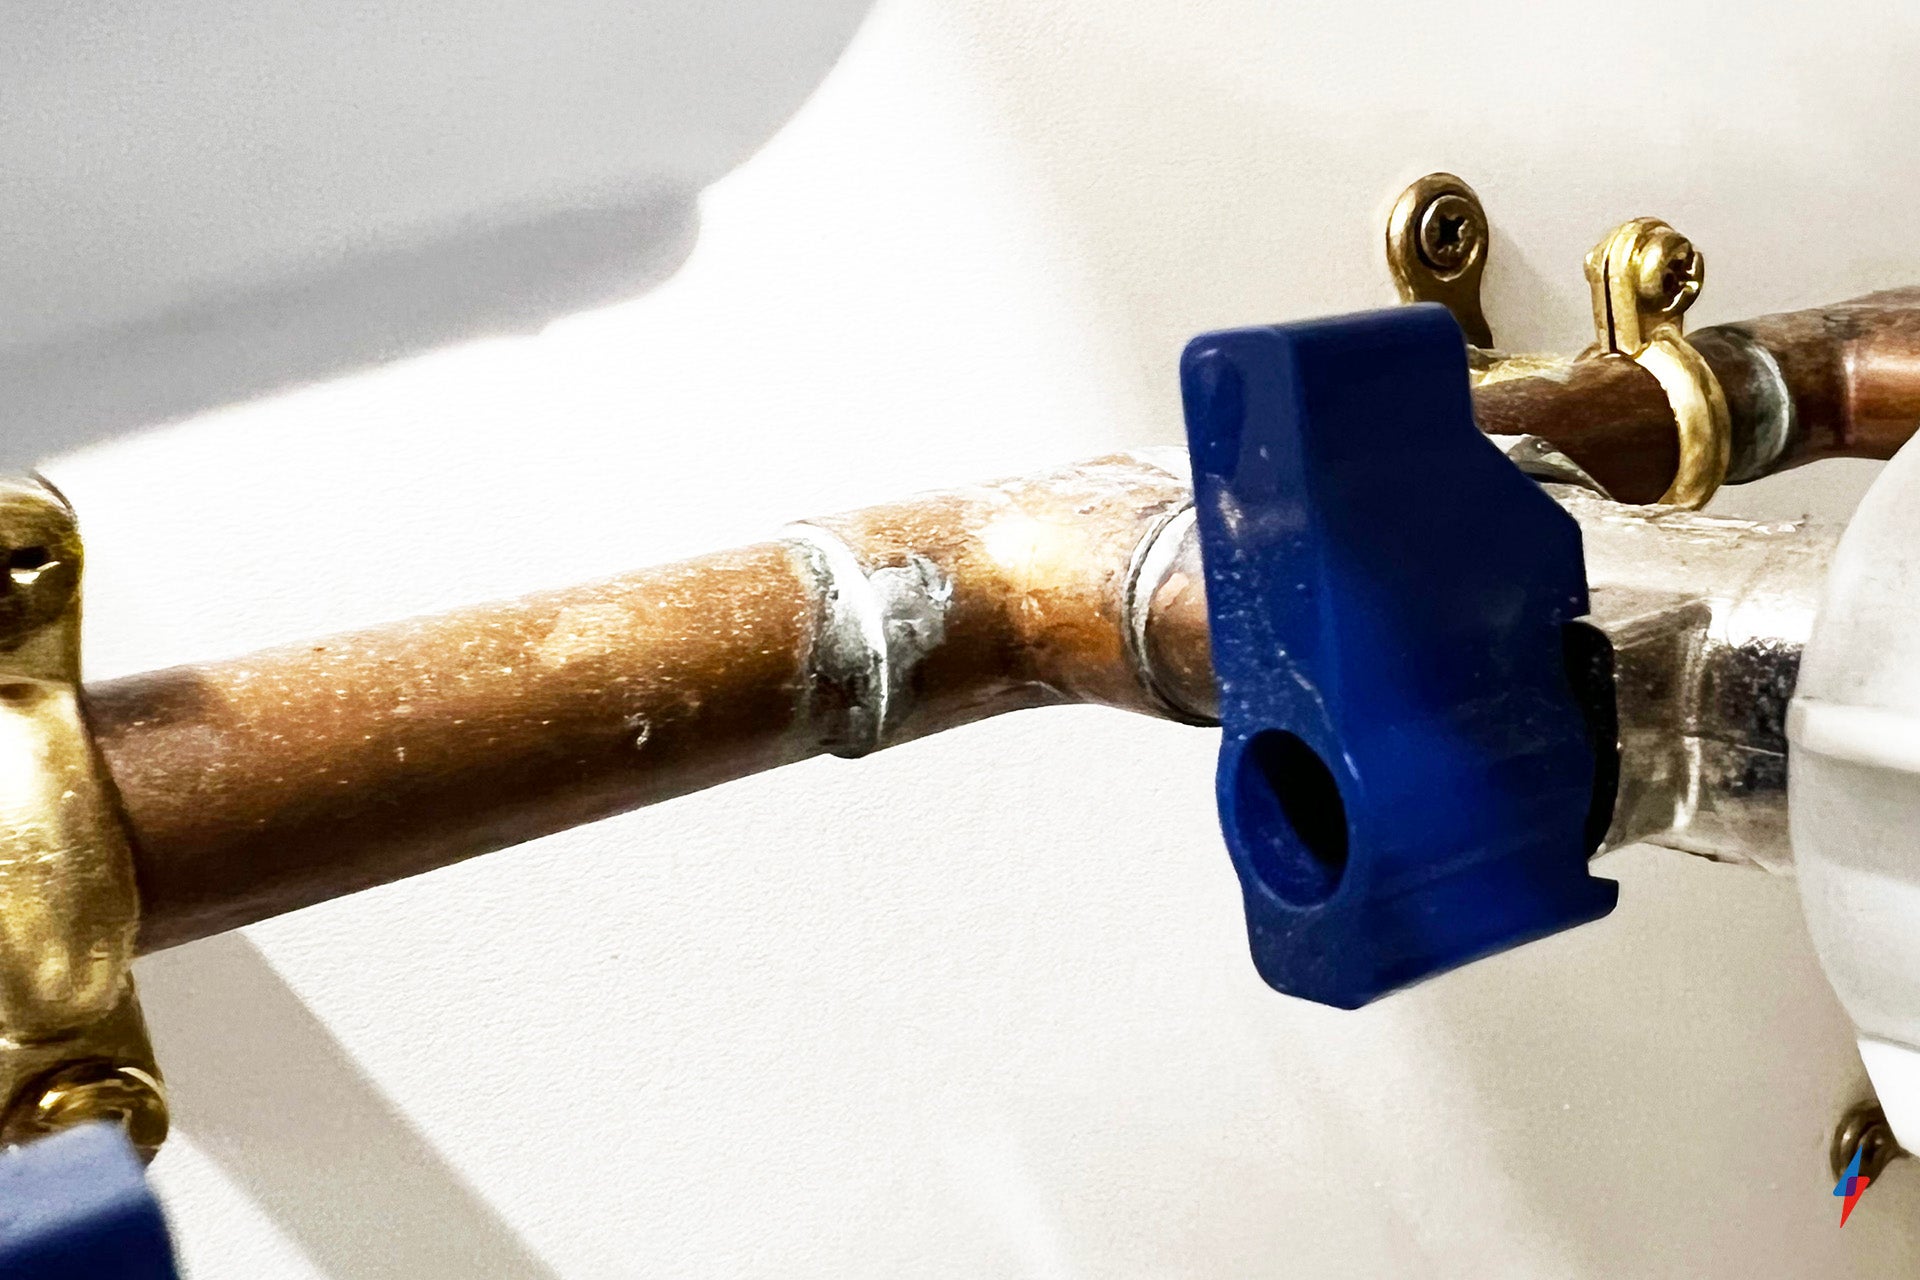
First, you need to turn off the water. You should see a hose connected to a pipe with a small blue tap. Turn this tap so that it sits vertically to shut off the water; if it’s in line with the pipe, then the water is on.
You can unscrew the hose from this end if you don’t need it, or you’re moving your washing machine to a new location. If you’re going to replace your washing machine, you can reuse the hose, so leave it in position. Just be careful not to tug on the hose when you pull the washing machine out.
Step
2Disconnect the drain hose
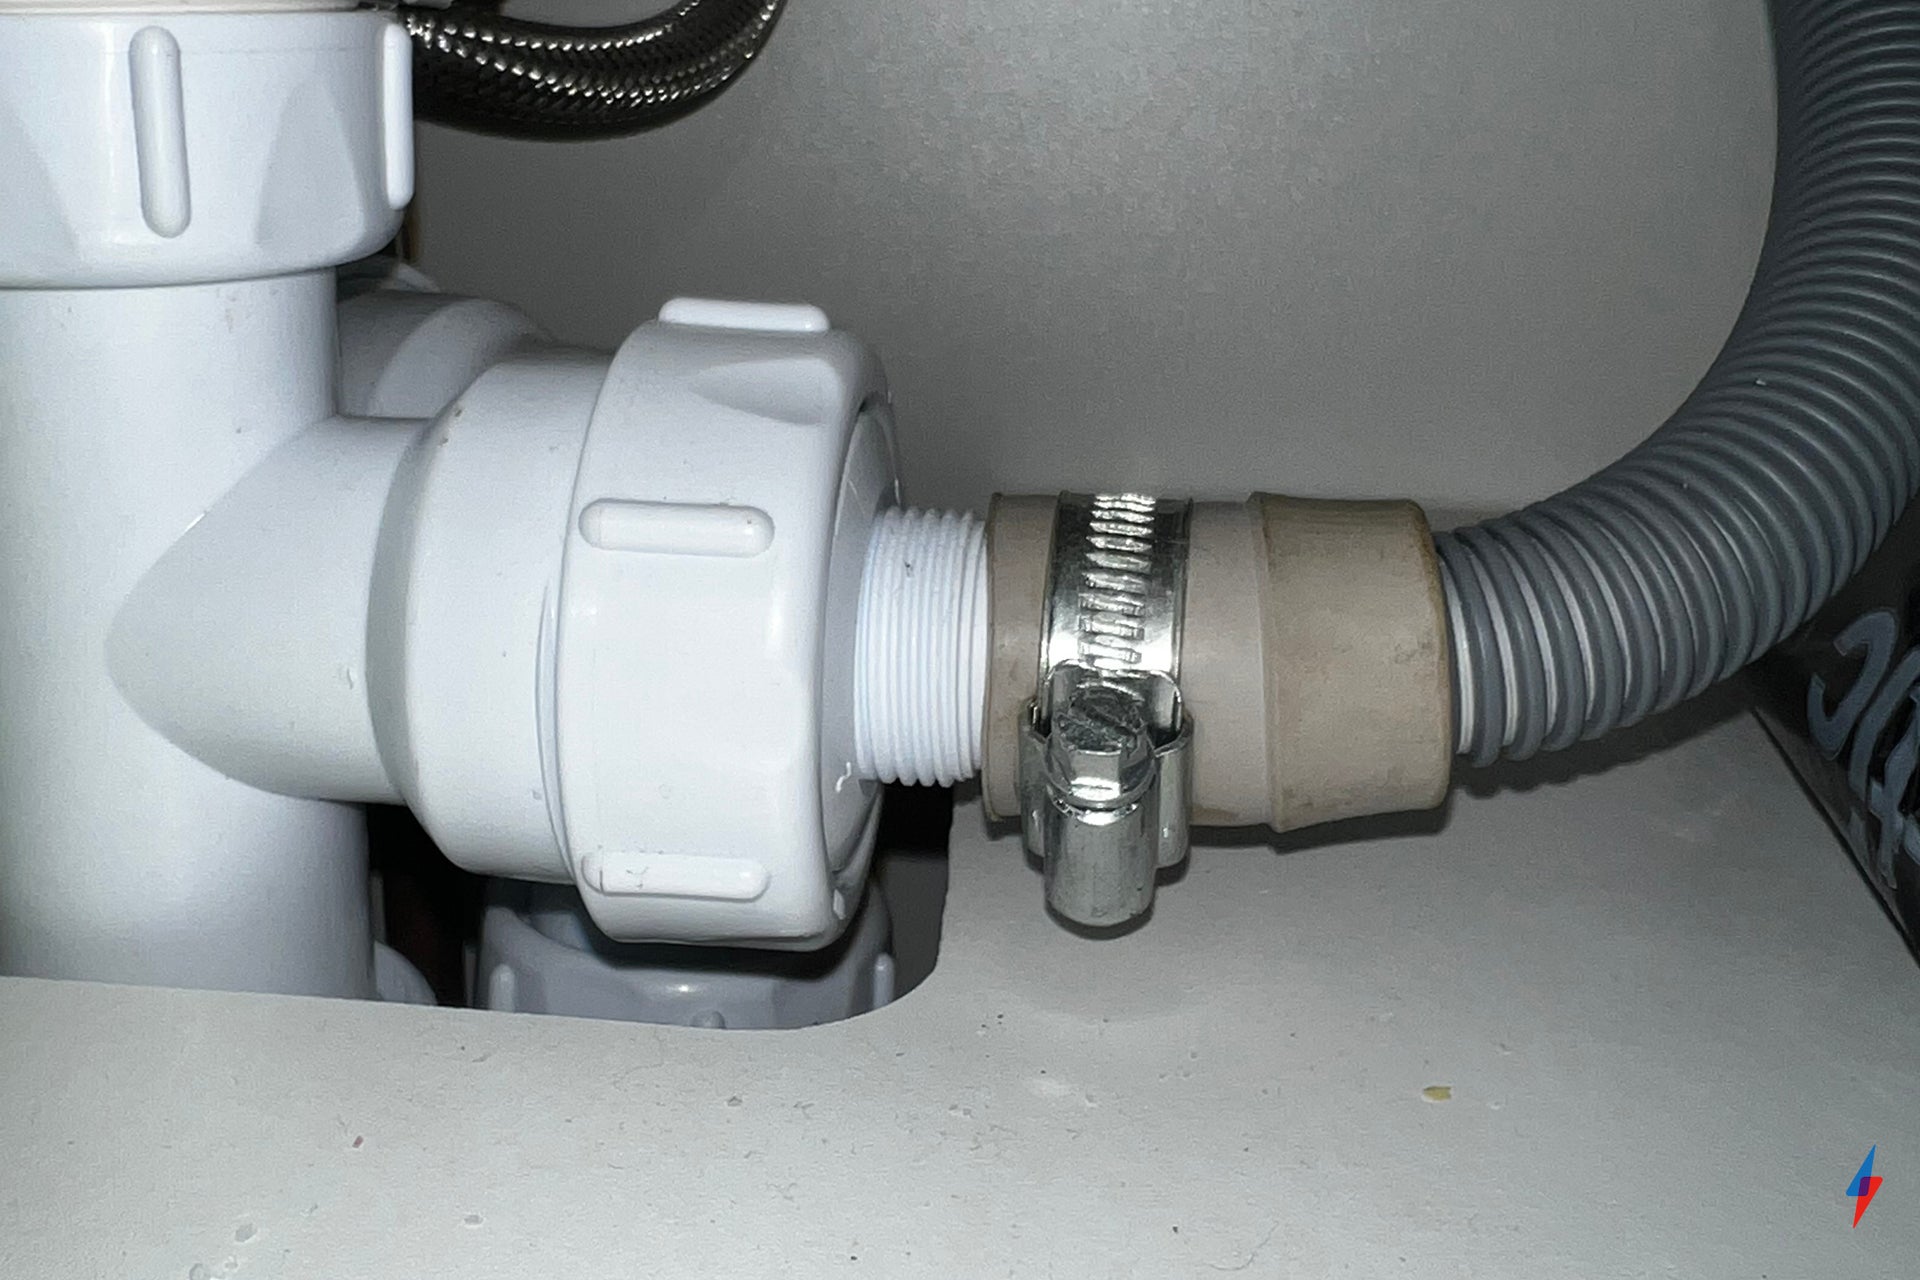
Next, you need to disconnect the drain hose. Some, as with the one pictured, have a retaining collar around them. This must be loosened with a flat head screwdriver.
Pull the hose out to remove it from the drainage point. Be careful, as there’s probably water still in here, so tip the hose down into a container or towel to catch any drips. As drainage hoses are permanently connected to the washing machine, you can’t reuse them, so you have to perform this step.
Step
3Disconnect the plug
Now, you need to turn off the washing machine at the wall socket and remove the plug. Once you’ve done that, make sure that the hose, drainage hose and water hose aren’t tangled.
Step
4Pull the washing machine forward
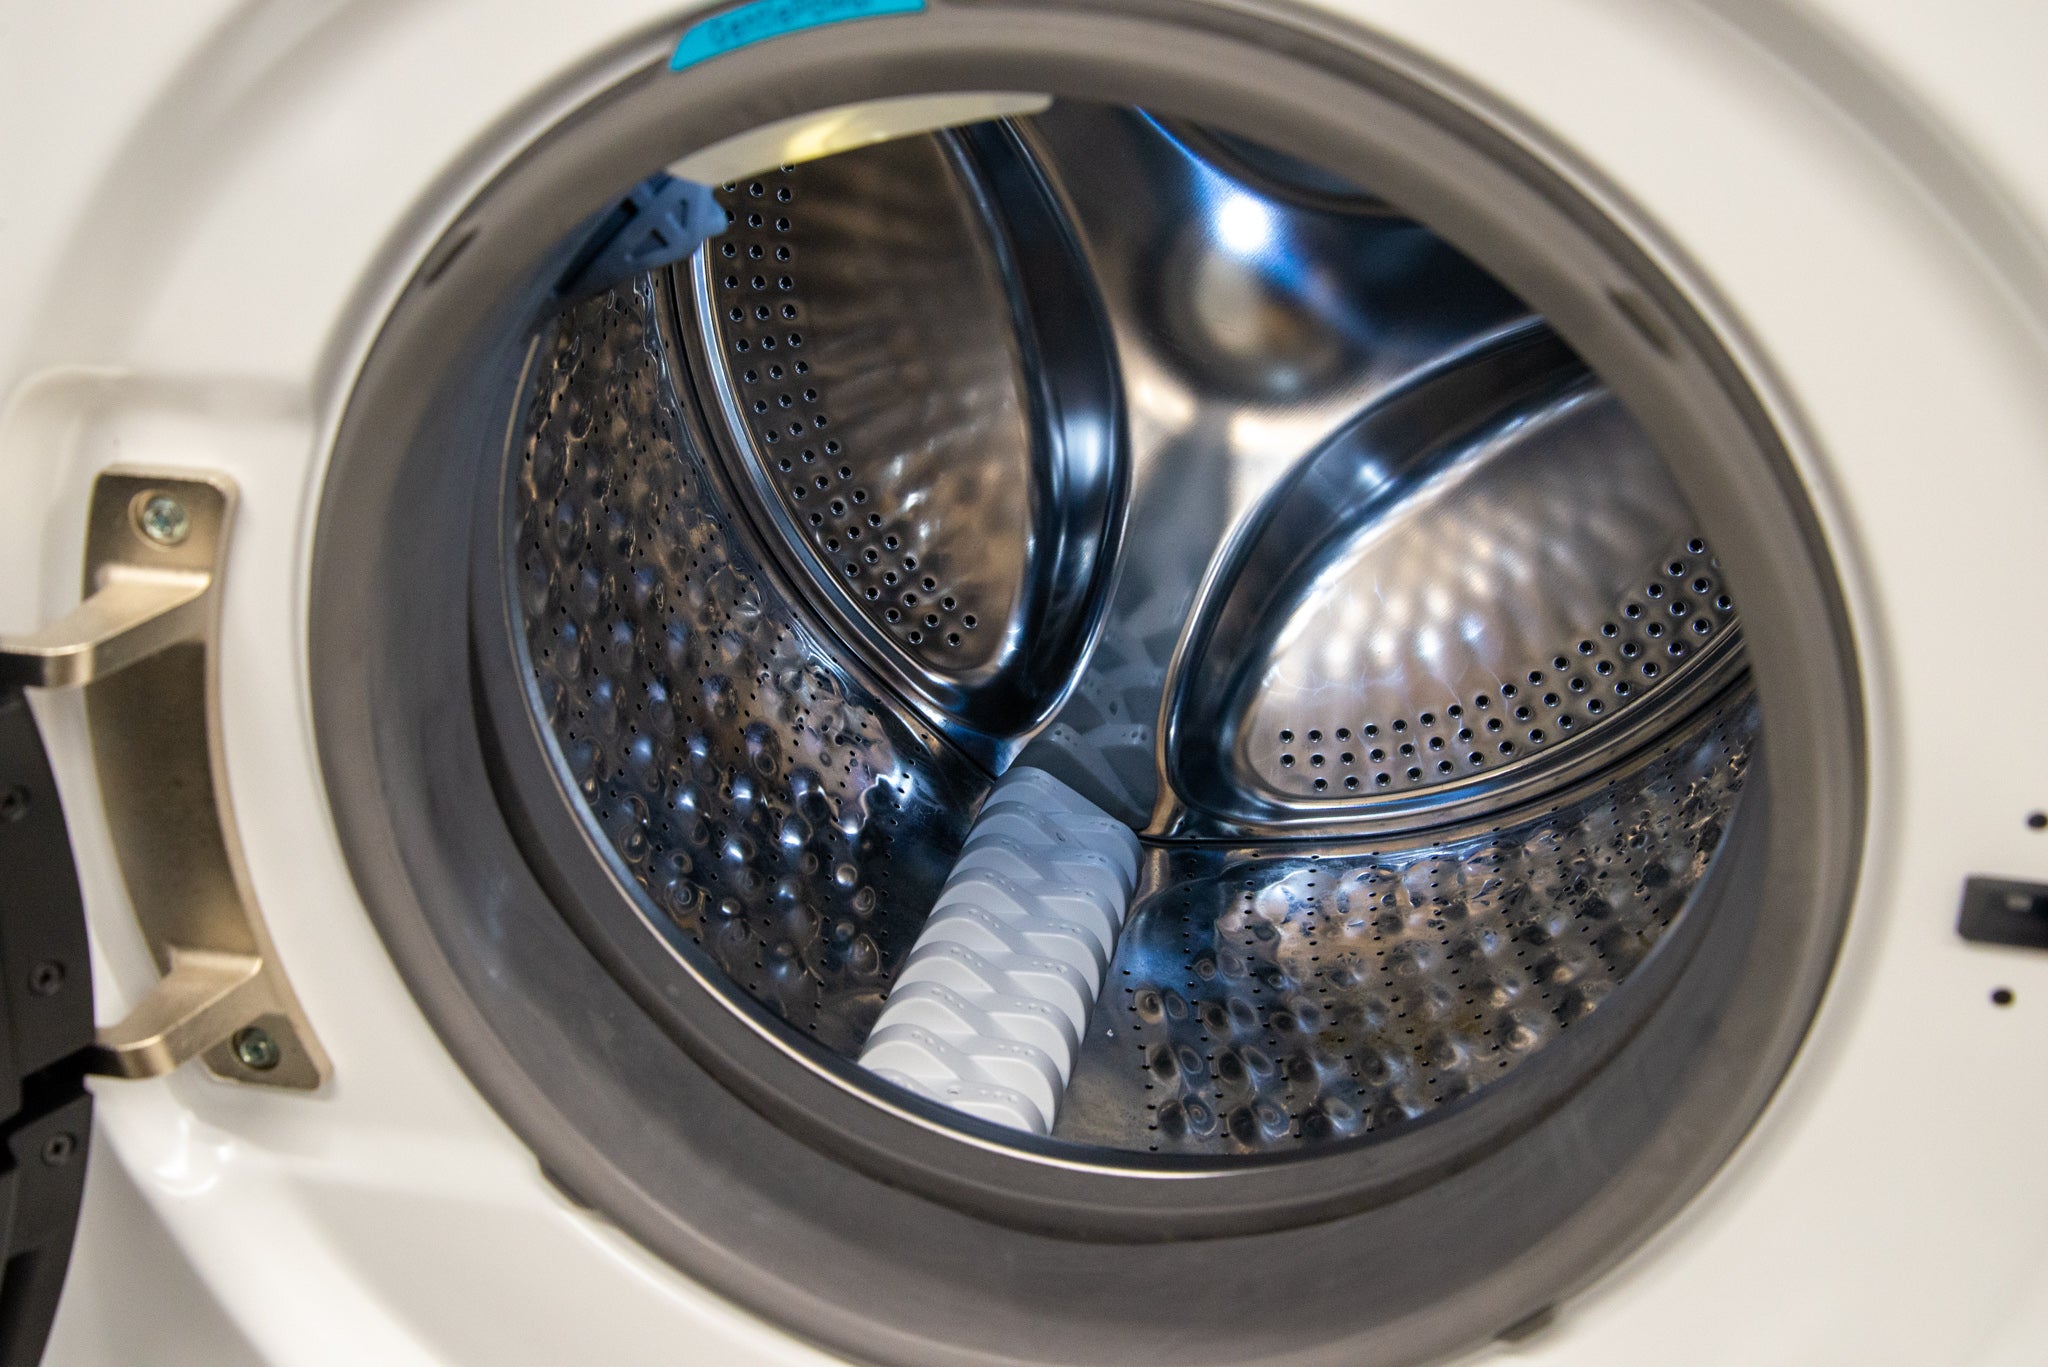
Now, you’re ready to slide your washing machine out. This is the tricky part, as washing machines don’t have many handgrips, and they can get stuck on the floor. Before you do anything then, open the door of the washing machine, and gently lift from under the door opening to get the front feet off the floor.
Next, you (and a friend if needed), can pull on the top of the door opening to start sliding the washing machine out. You may need to lift a little if the feet stick or catch on the floor.
As you pull the machine out, be careful of the hoses and cables. If they’re pushed through a small hole cut into a kitchen cupboard, they may need a bit of coaxing to get them through. Stop regularly to keep feeding; this is particularly important as you get to the plug, as this will have to be carefully pushed through a hole.
If you left the cold water hose attached to the tap, only pull the washing machine just far enough out that you can get around the back of it; if you disconnected everything, you can pull the washing machine all of the way out.
Step
5Disconnect the cold water hose
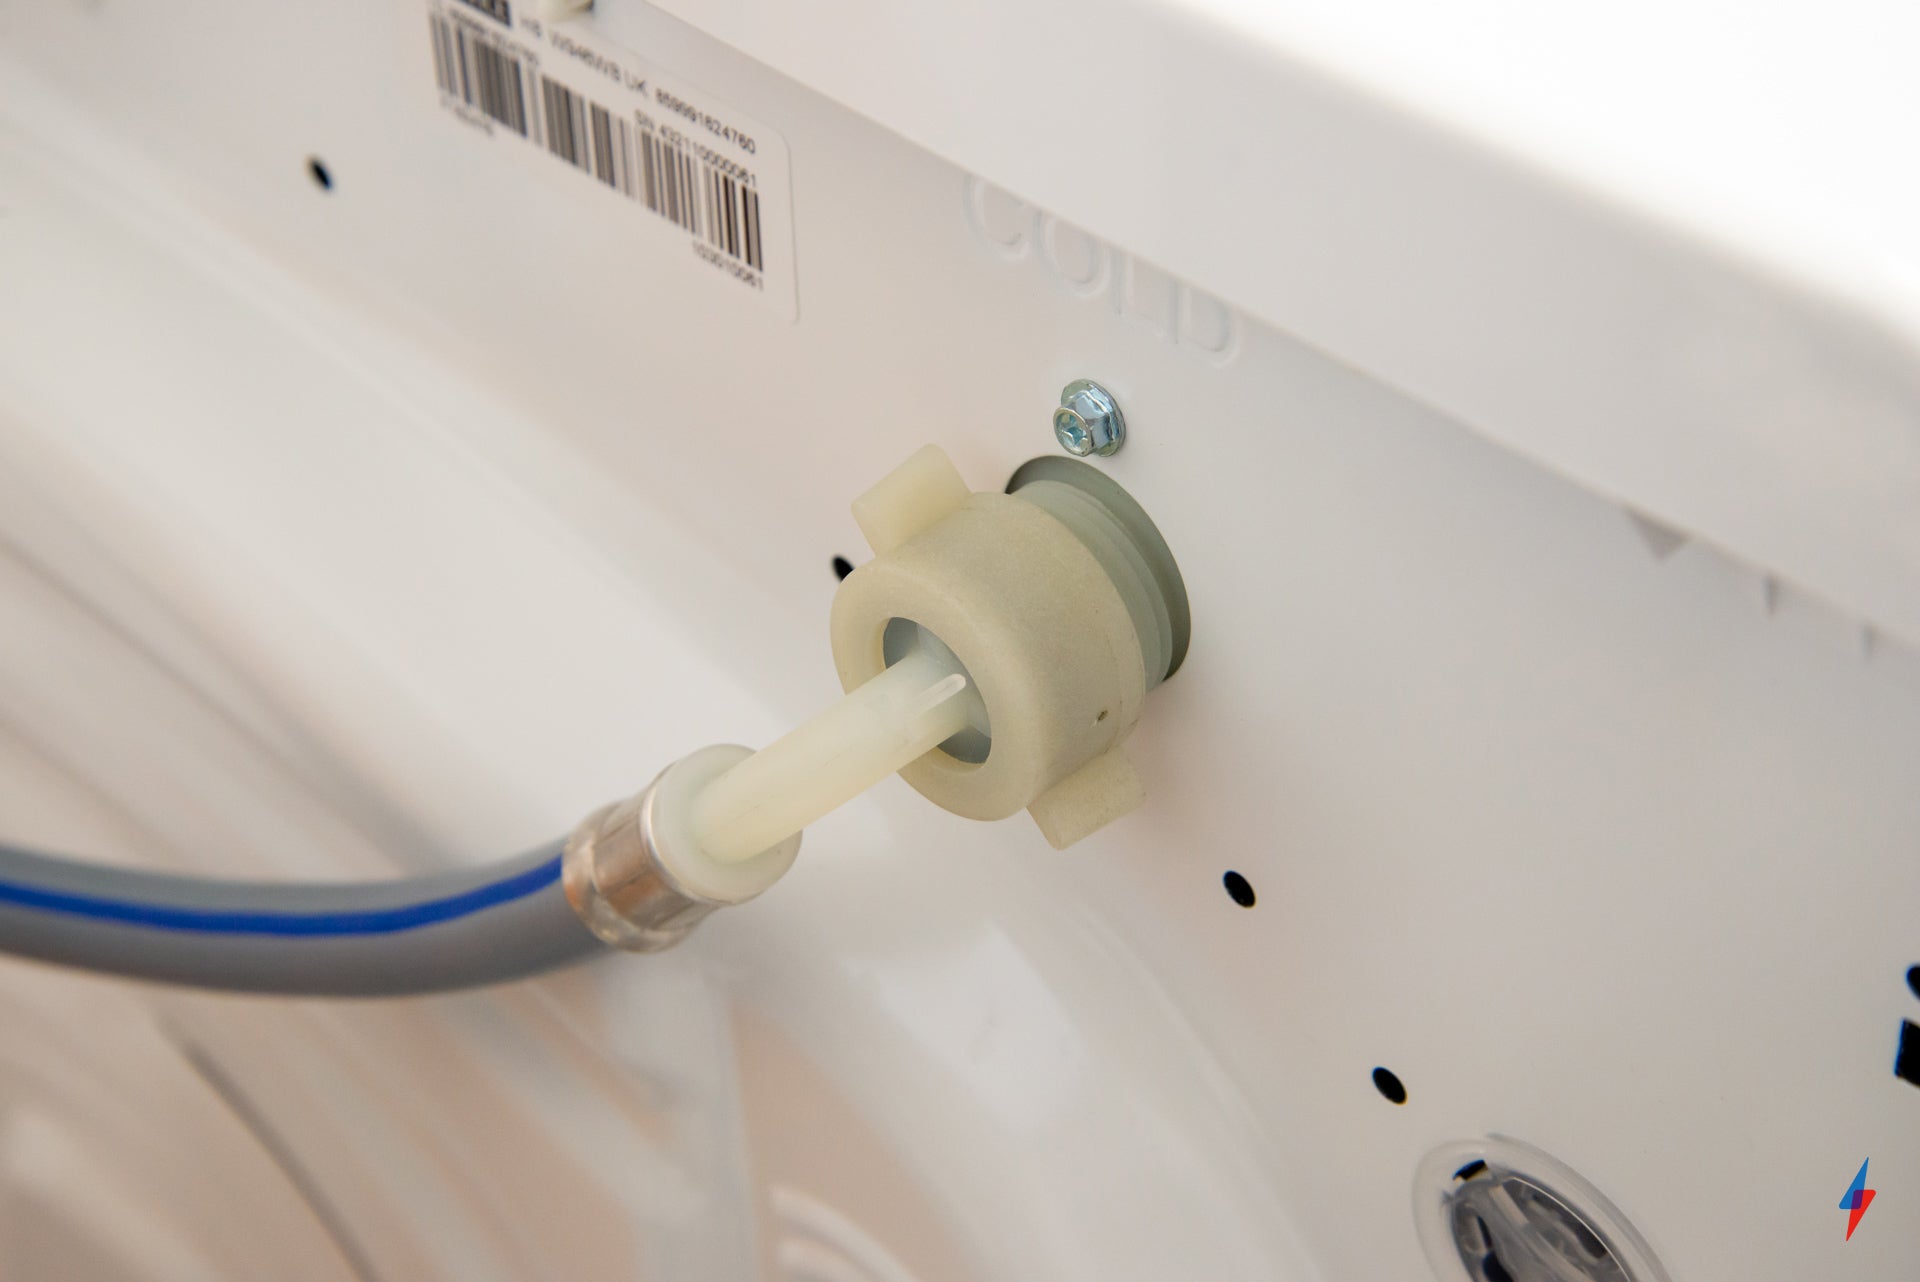
With the washing machine pulled out, you can disconnect the cold water hose from the back. This simply unscrews. There may be some water left in it, so carefully hold the hose vertically over a sink or container to get everything out.

Step
6Refit the transit bolts
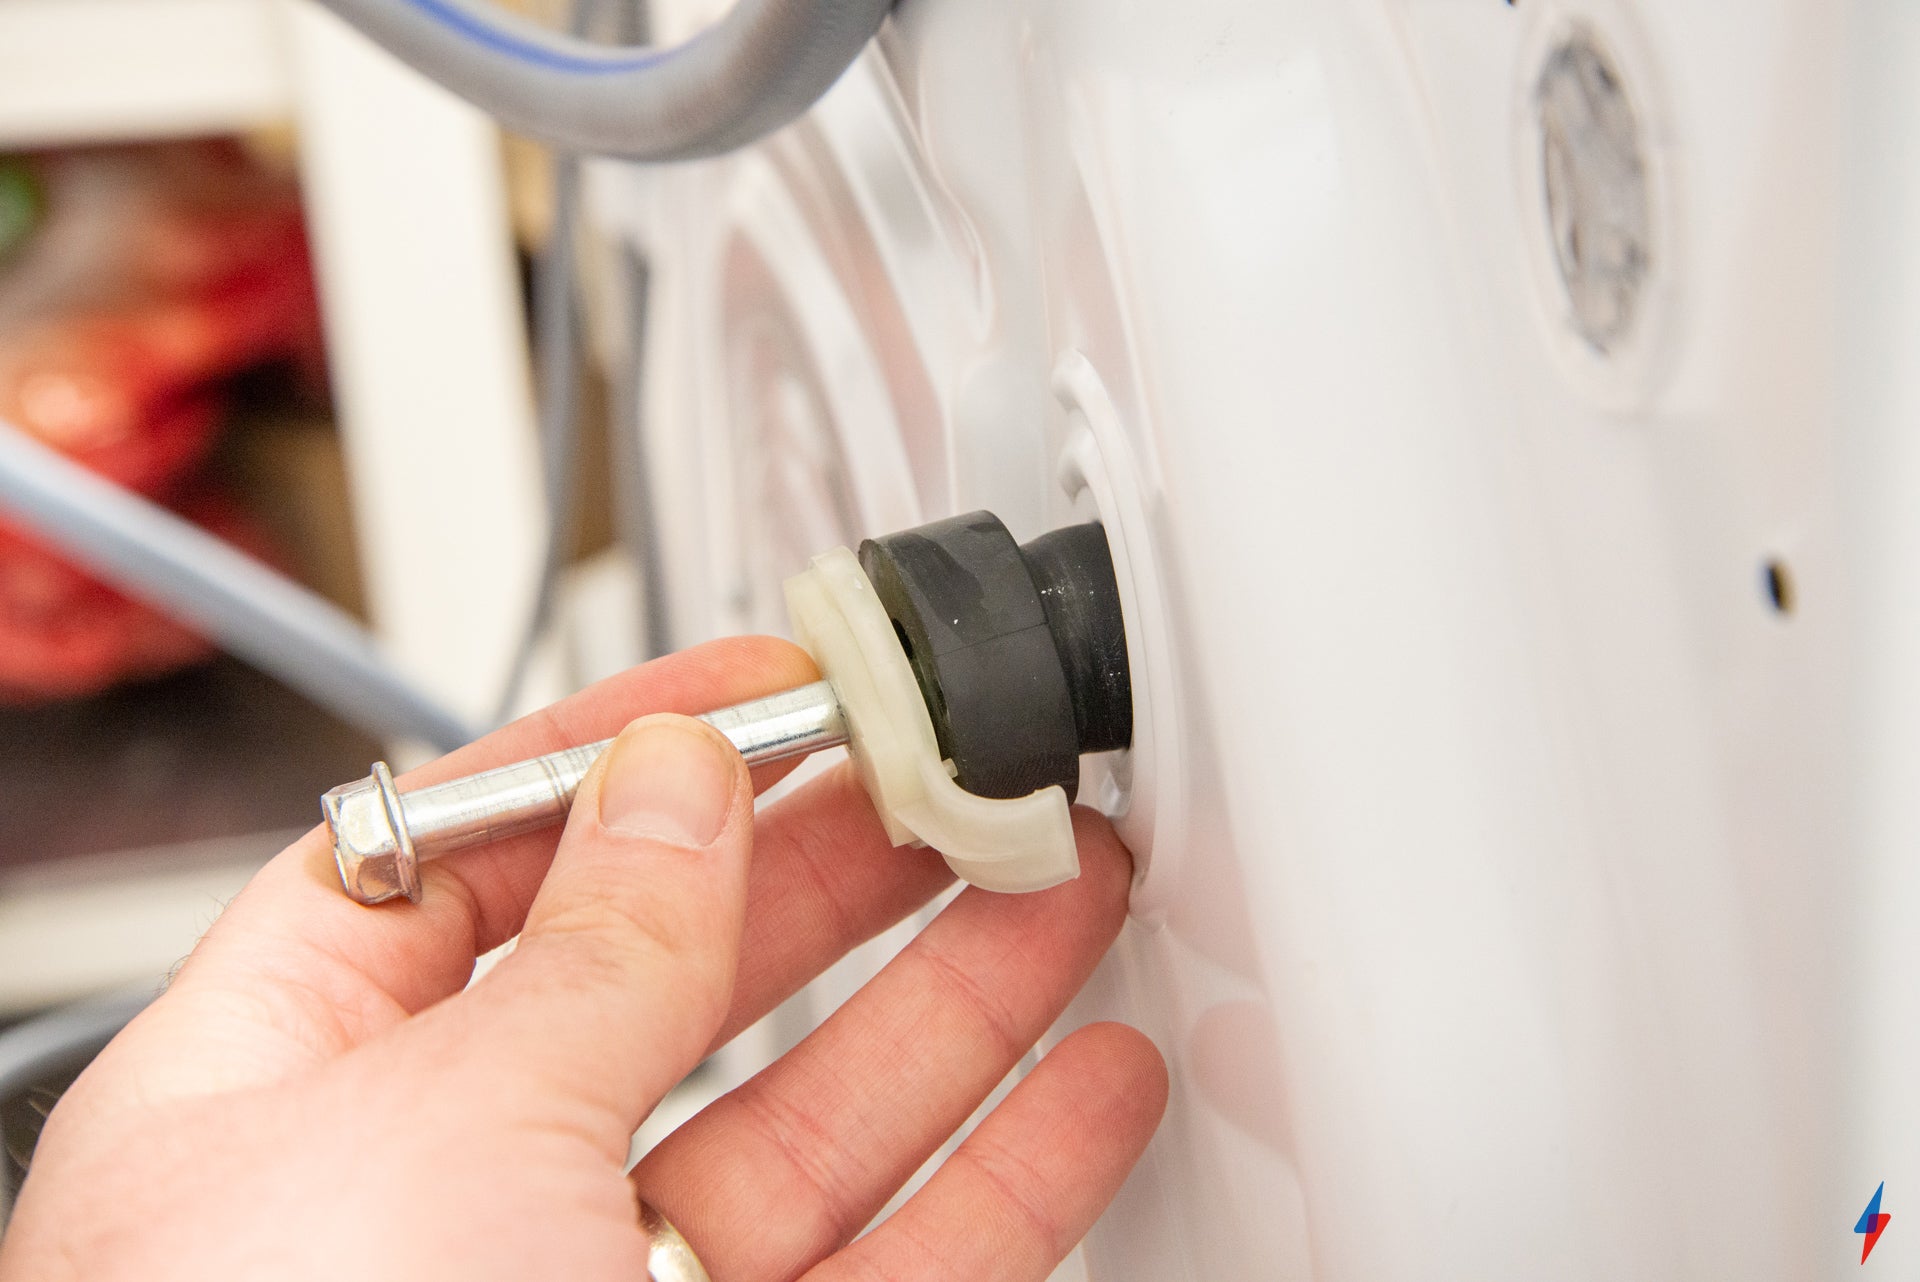
If you’re keeping your machine (or sending it on for reuse elsewhere), you can refit the transit bolts if you kept them. The plastic plug should go in first, followed by the bolt. You can then use an adjustable spanner or spanner set to put the bolts back in. Repeat for all of the bolts.
One word of warning, we’ve seen some washing machines where the bolts won’t screw back in; if you can’t get yours to go in properly, then you can skip this step, but you’ll need to be a little more careful when transporting the washing machine.
FAQs
Transit bolts prevent the drum from moving while the washing machine is in motion. If you have them, you should use them. Replacements can be bought online. If you don’t, you can pack the washing machine with blankets, and make sure that you drive carefully.


