
Creating an Apple ID is an essential part of iPhone ownership. Without it, you won’t have access to Apple’s many services, apps, and tools.
This is why setting up an Apple ID is one of the first things you’ll be invited to do when you first boot up a new iPhone.
However, it’s possible to create an Apple ID from your iPhone at any time. Here’s how it’s done.
What we used
- We used the iPhone 13 Pro, but these methods will work on any iPhone
The Short Version
- Make sure you’re signed out
- Open the App Store
- Create New Apple ID
- Enter email and password
- Add name and birthday
- Enter payment details
- Enter billing address
- Enter phone number
- Verify number and email
Step
1Make sure you’re signed out
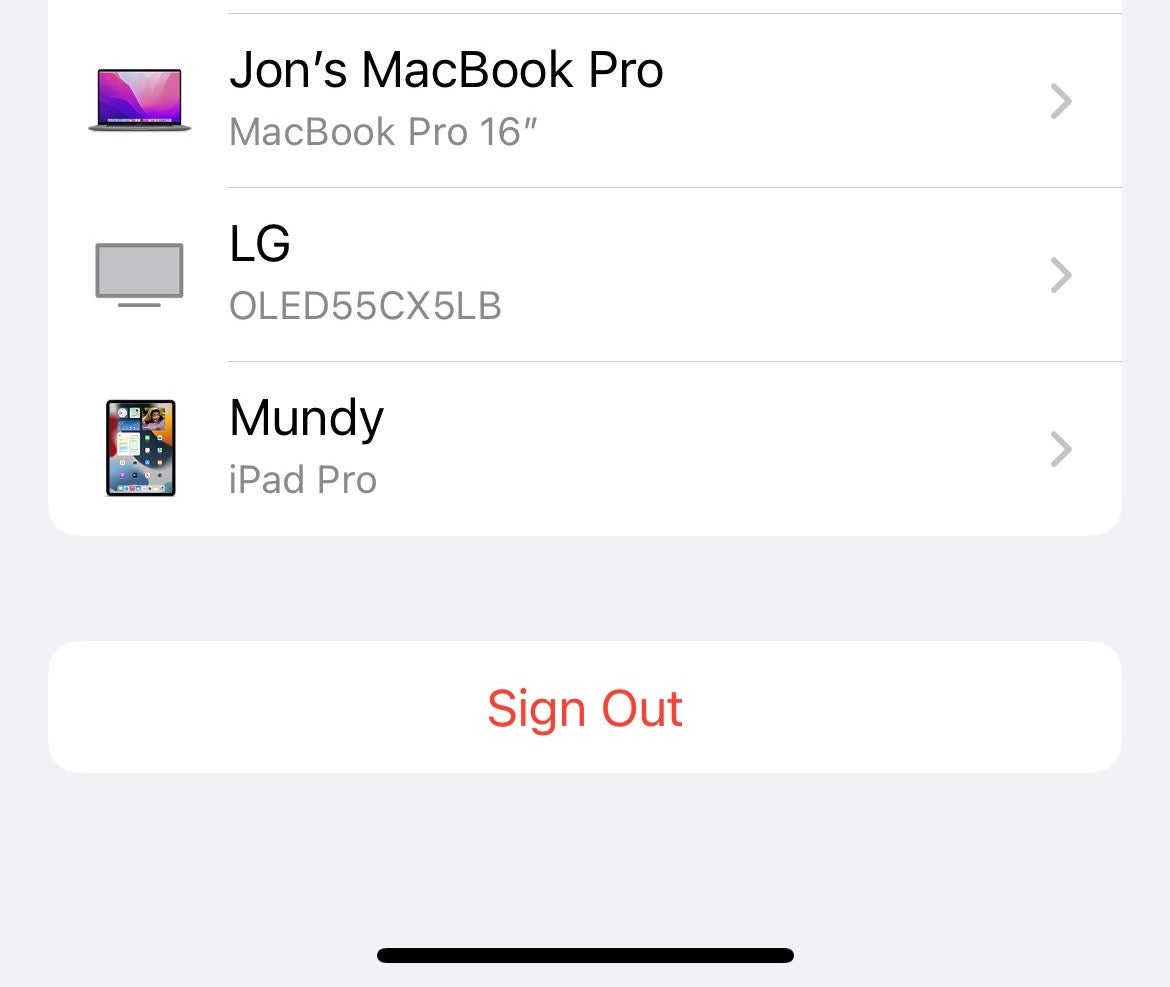
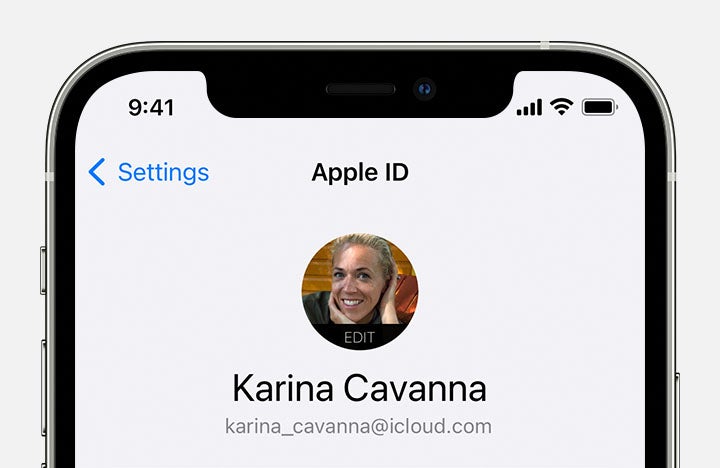
If your iPhone is signed out, you can skip to Step 2. If not, open up the Settings app (the cogwheel icon) and go to Apple ID, scroll down and tap Sign Out. Authenticate with your current Apple ID password, then tap Sign Out twice more.
Step
2Open the App Store
Open the App Store app and tap Continue. Now tap the circular sign-in icon in the top right corner to enter the Account screen.
Step
3Create New Apple ID
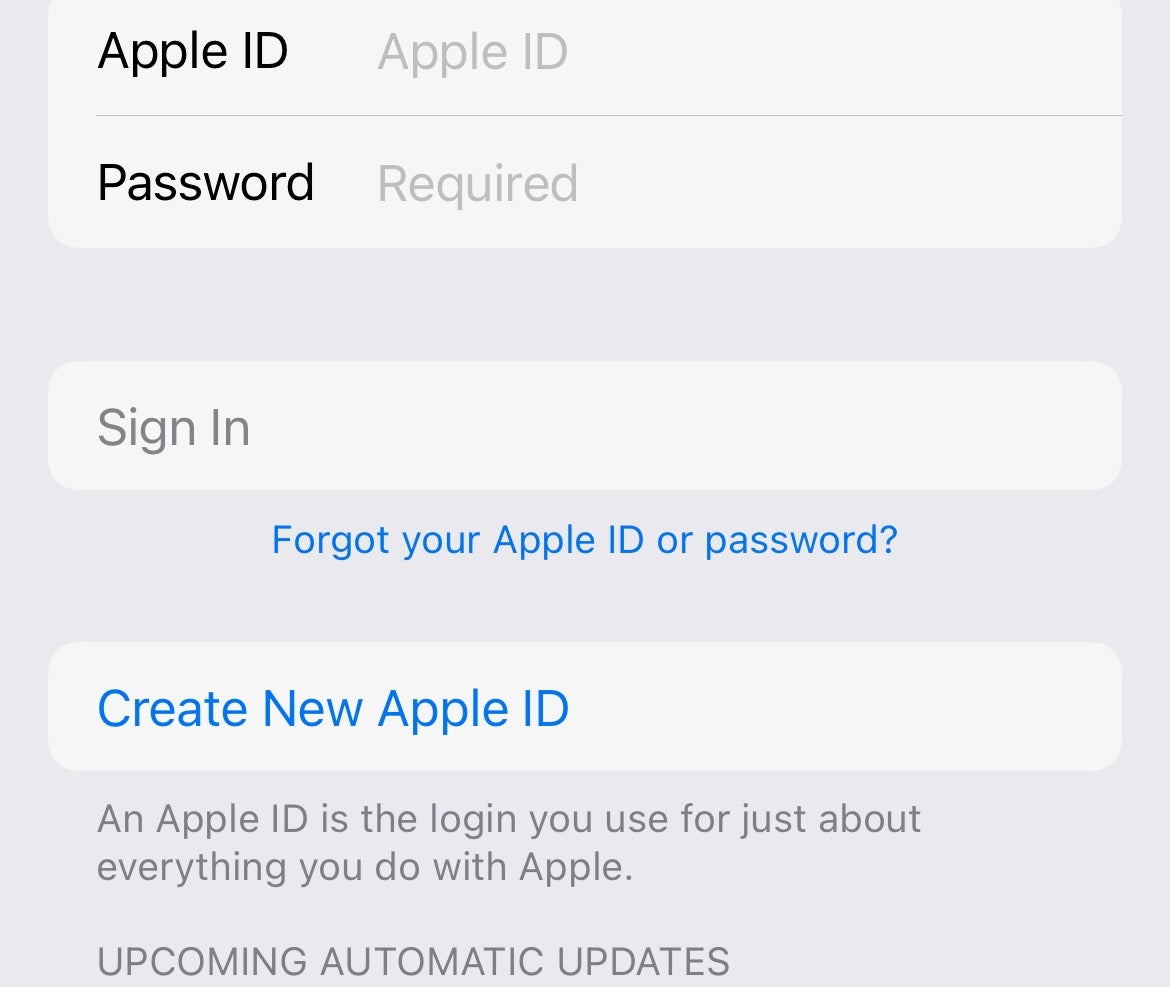
Tap Create New Apple ID in the Account screen.
Step
4Enter email and password
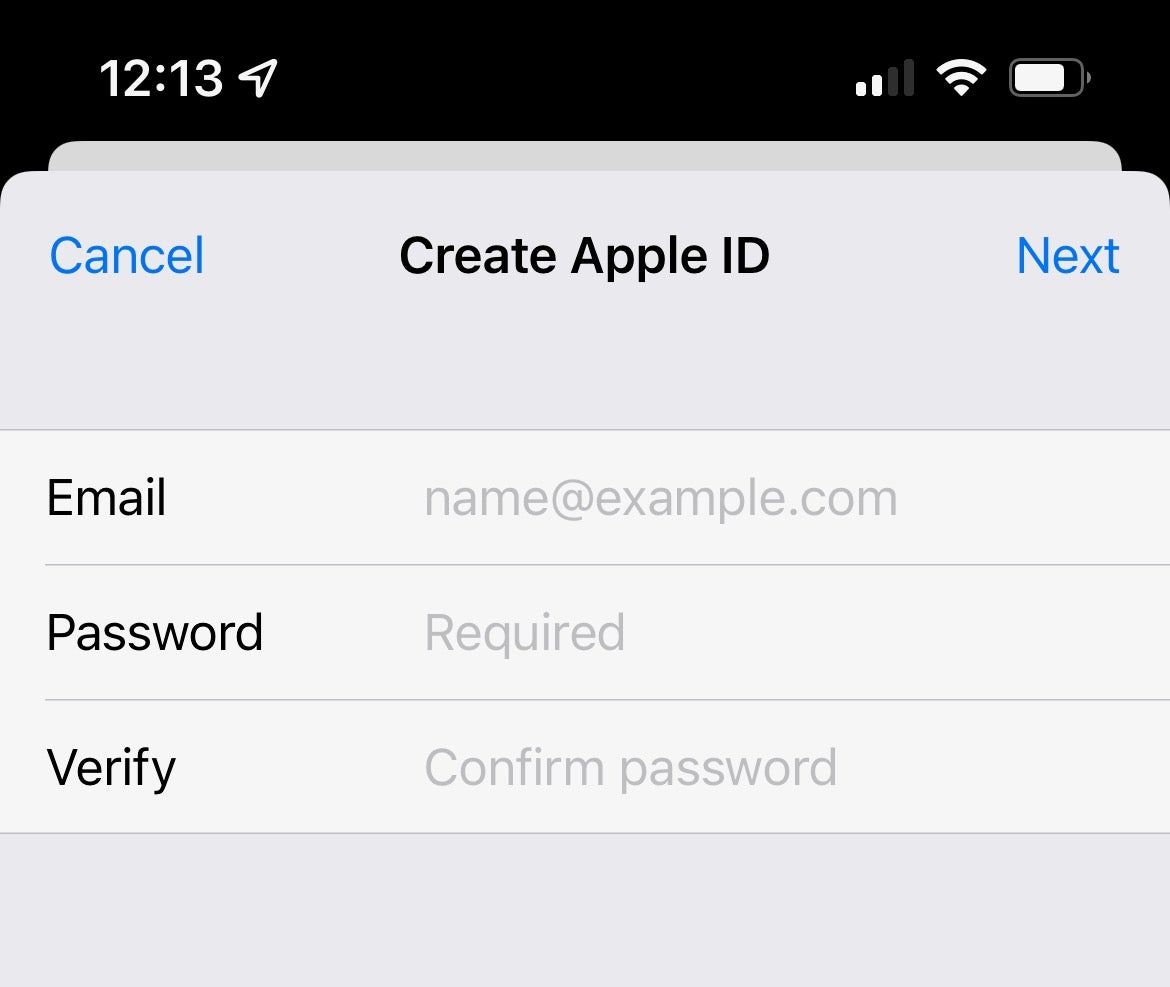
In the next screen, enter the email and password you wish to use for your new Apple ID. Press the Agree to Terms and Conditions toggle, then tap Next.
Step
5Add name and birthday
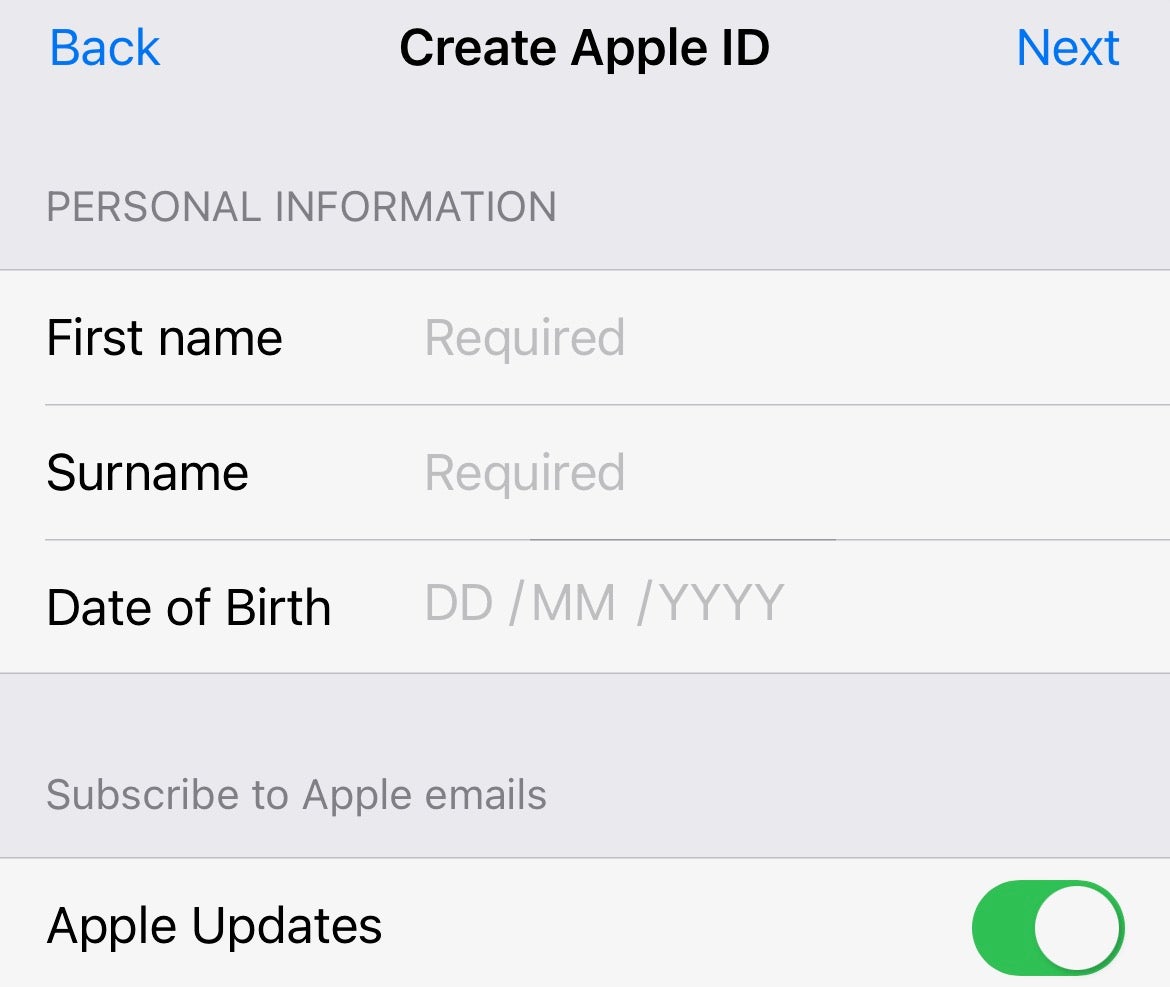
On the next screen you’ll need to add your first name, surname, and date of birth in the appropriate fields. Untick the Apple Updates toggle if you don’t wish to be contacted by Apple. Tap Next when you’re done.
Step
6Enter payment details
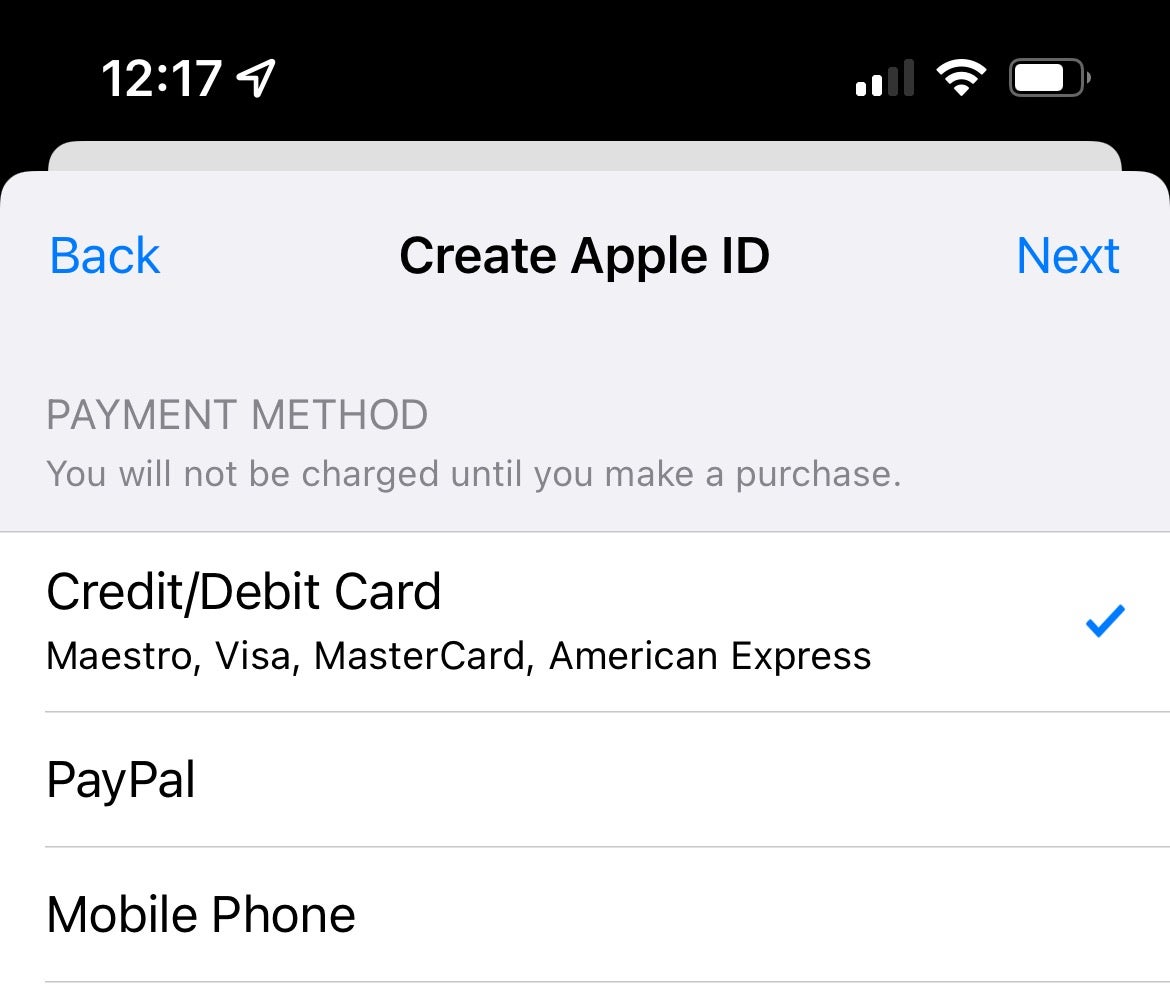
On the next screen enter the credit or debit card or PayPal account you wish to associate with your new Apple ID as the primary source of payments. You can also choose None if you don’t wish to associate a payment method at this time.
Step
7Enter billing address
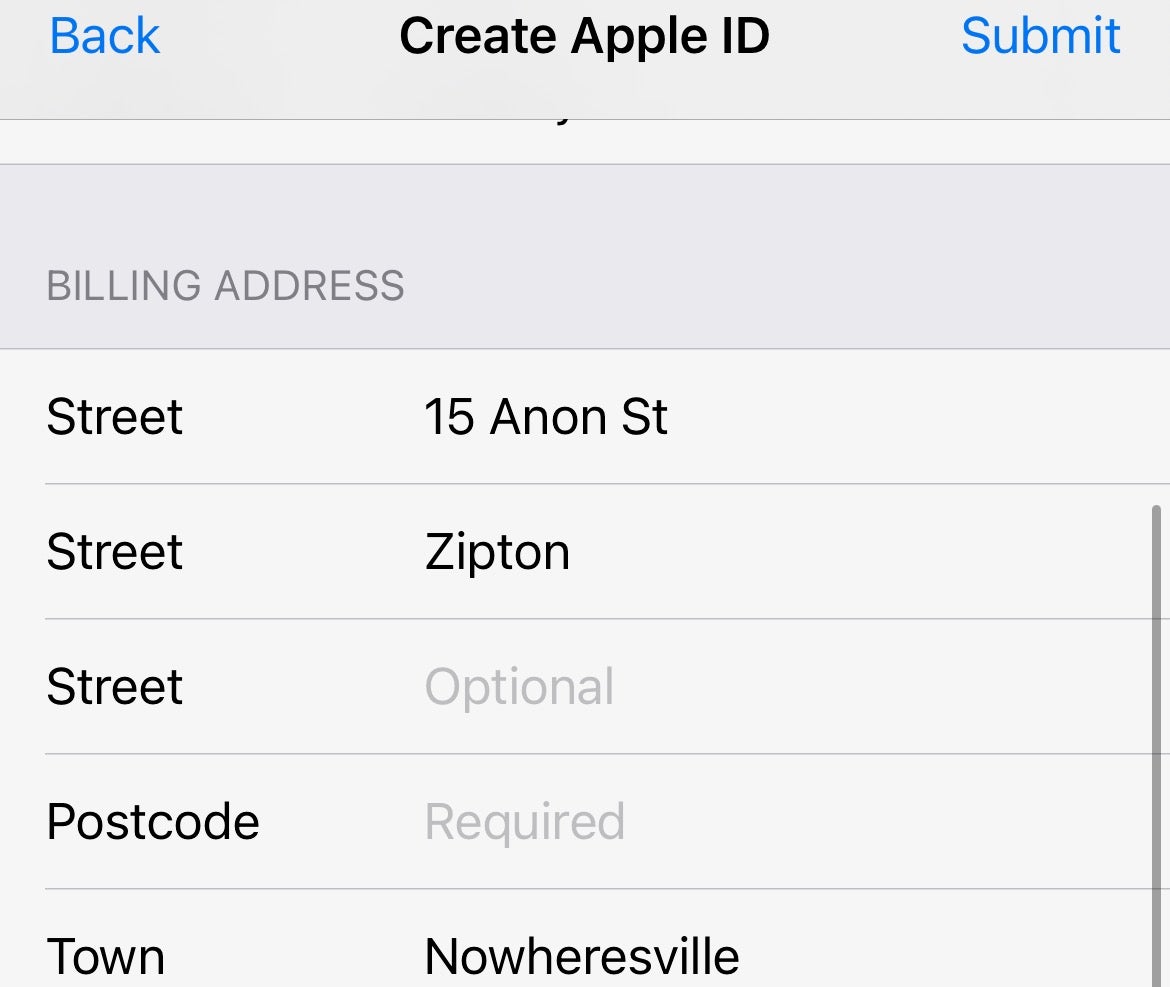
Even if you opt for None under Payment Method, you’ll need to provide a Billing Name and Billing Address in the relevant fields below.
Step
8Enter phone number
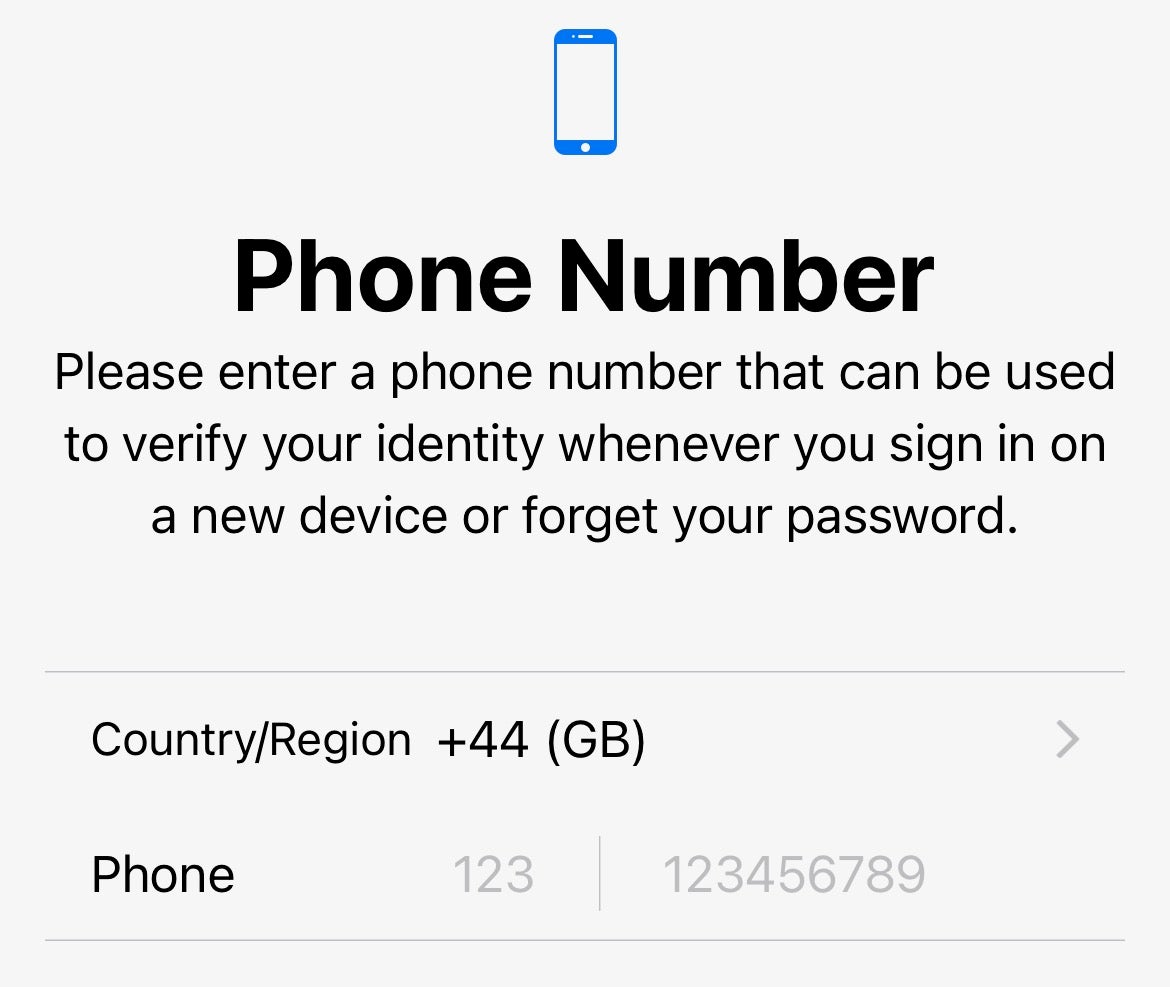
In the next screen, enter your phone number. This will be the number that’s used to verify your identity at various points, so choose where you wish the verification method to be a text message or a phone call by default. Hit Next.
Step
9Verify number and email

Enter the verification code that’s sent to the provided number, then the code that’s sent to your email address. Hit Verify. Once done the Apple ID will be active and usable on your devices.
Troubleshooting
You’ll need your Apple ID to sign into all Apple’s services, such as the iTunes Store, the App Store, and iCloud.
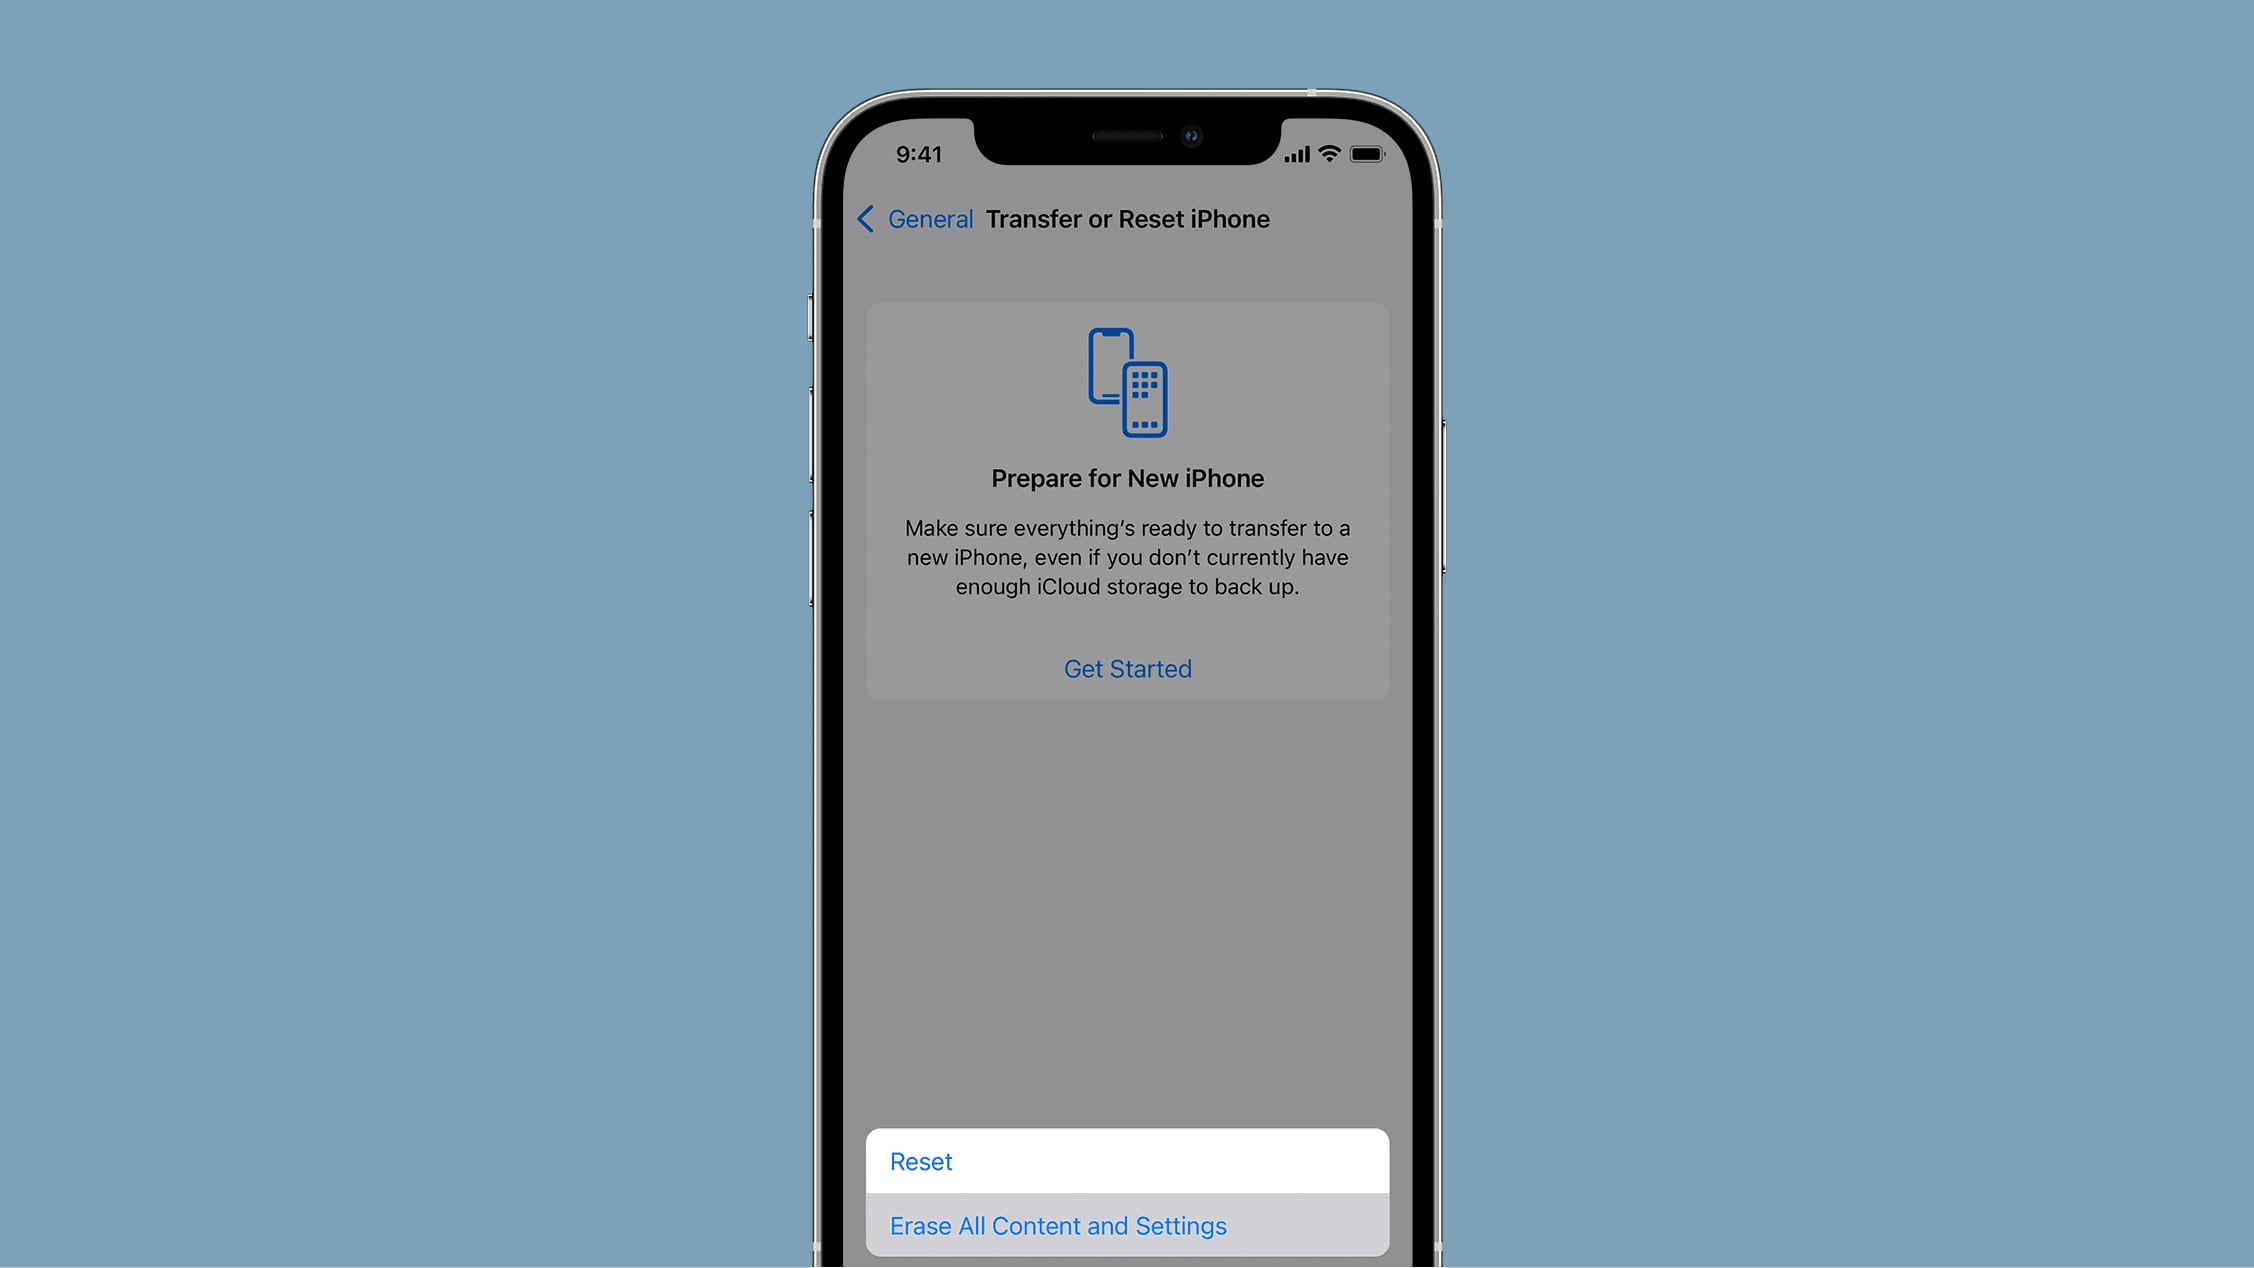
Follow our How to factory reset and restore an iPhone guide.
You might like…


Editorial independence
Editorial independence means being able to give an unbiased verdict about a product or company, with the avoidance of conflicts of interest. To ensure this is possible, every member of the editorial staff follows a clear code of conduct.
Professional conduct
We also expect our journalists to follow clear ethical standards in their work. Our staff members must strive for honesty and accuracy in everything they do. We follow the IPSO Editors’ code of practice to underpin these standards.