
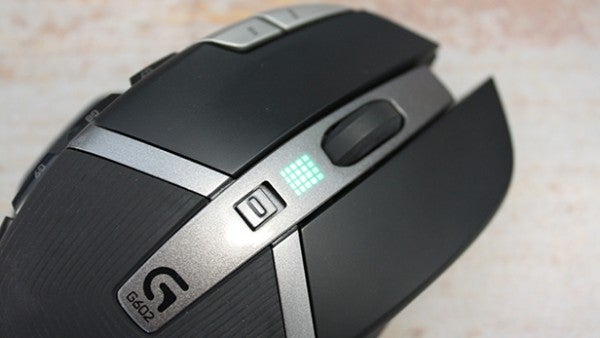
If your mouse is a bit grimy, a bit oily, or perhaps even somewhat sticky then it is time to clean it. Follow our guide to make it gleaming clean and hygienic again without damaging it.
A computer mouse is probably the most frequently touched peripheral in common use. A mouse won’t only be touched or tapped, but it will be held, sometimes for prolonged periods of time, and gamers palms can get sweaty when mousing around virtual worlds, surviving horrors, or blasting unspeakable foes. Depending on your setup, you might not be the only one to use a certain PC/mouse, making the question of hygiene even more worrisome.
So, we’ve established it is probably a very good idea to clean a mouse from time to time, depending on how frequently and fervently it is used. So, how do you do it? Today, we are guiding you on how to clean a wired mouse with an optical sensor. Thankfully, mouse balls are history, as they sometimes needed cleaning every few hours…
Hardware used
- A wired optical mouse
- Alcohol wipes
- A microfiber cloth
- A soft toothbrush
- A toothpick
- A q-tip/earbud
Short version
- Thoroughly wipe the mouse top, bottom and tail with an alcohol wipe
- Dry with a microfiber cloth and check what needs further attention
- Use toothbrush on engrained dirt
- Use toothpick on heavy dirt in crevices
How to clean a mouse
Step
1Unplug and prepare
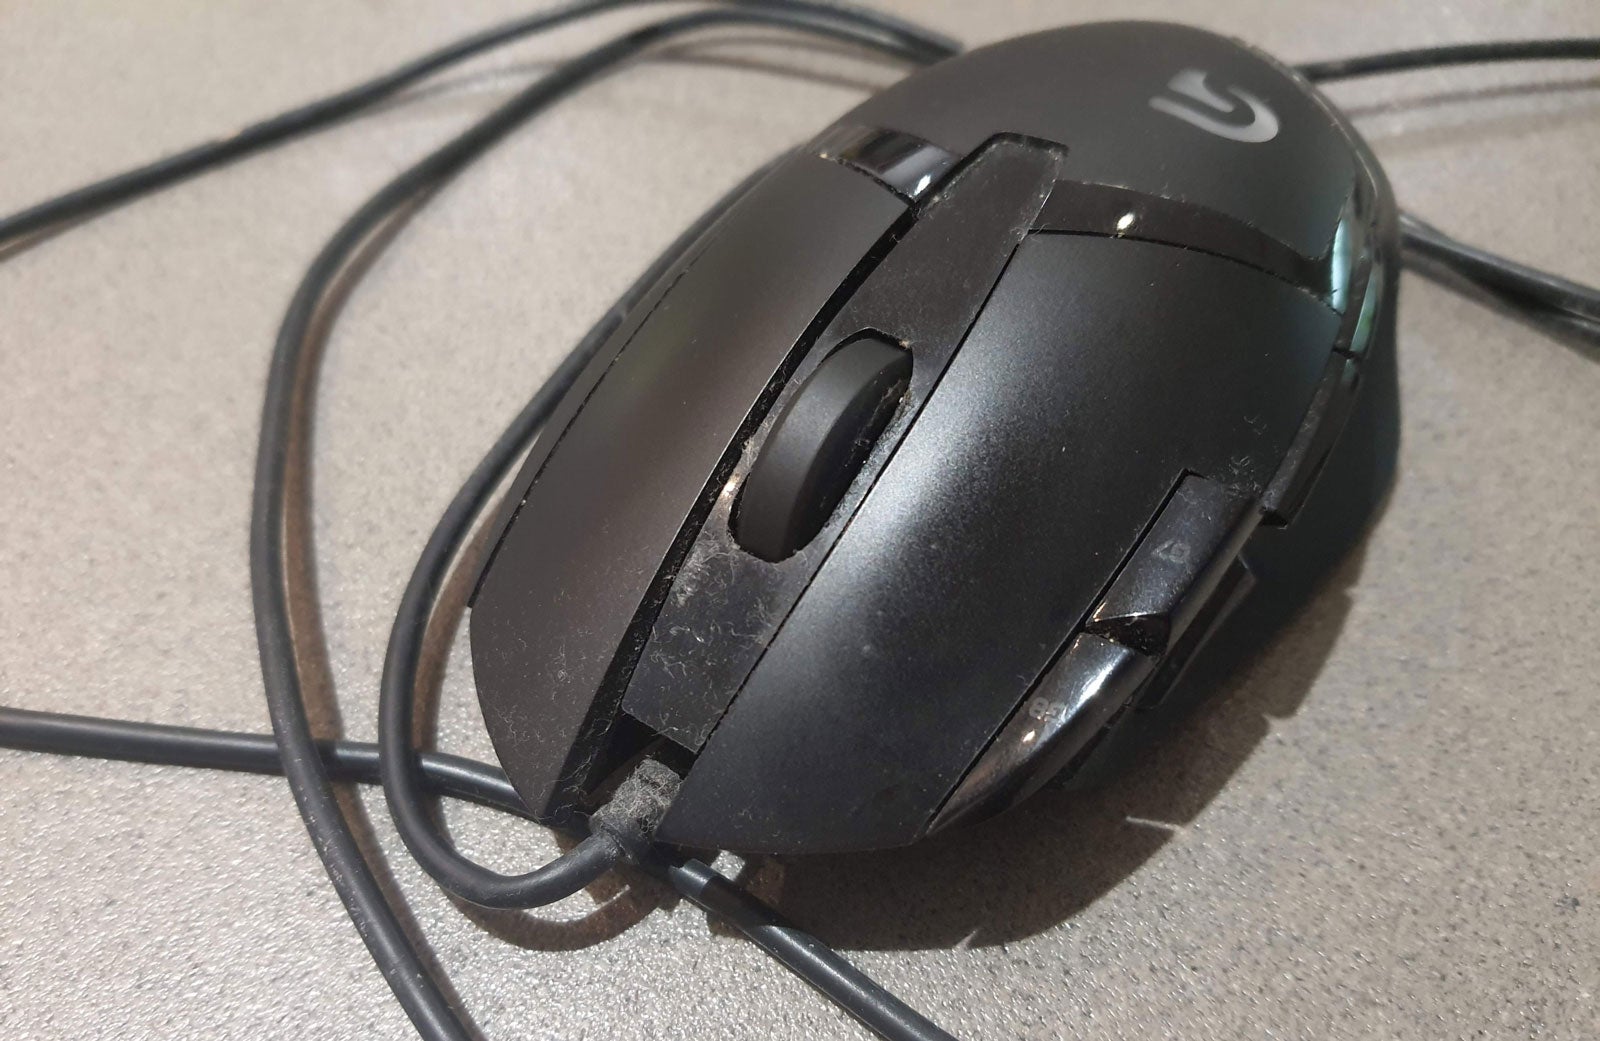
Unplug your mouse from the computer, prepare your cleaning area, and collect your cleaning materials and equipment. Consider what parts of the mouse will need special attention – it will look different once it is ‘wet’ from the alcohol wipe.
Step
2Wipe all over
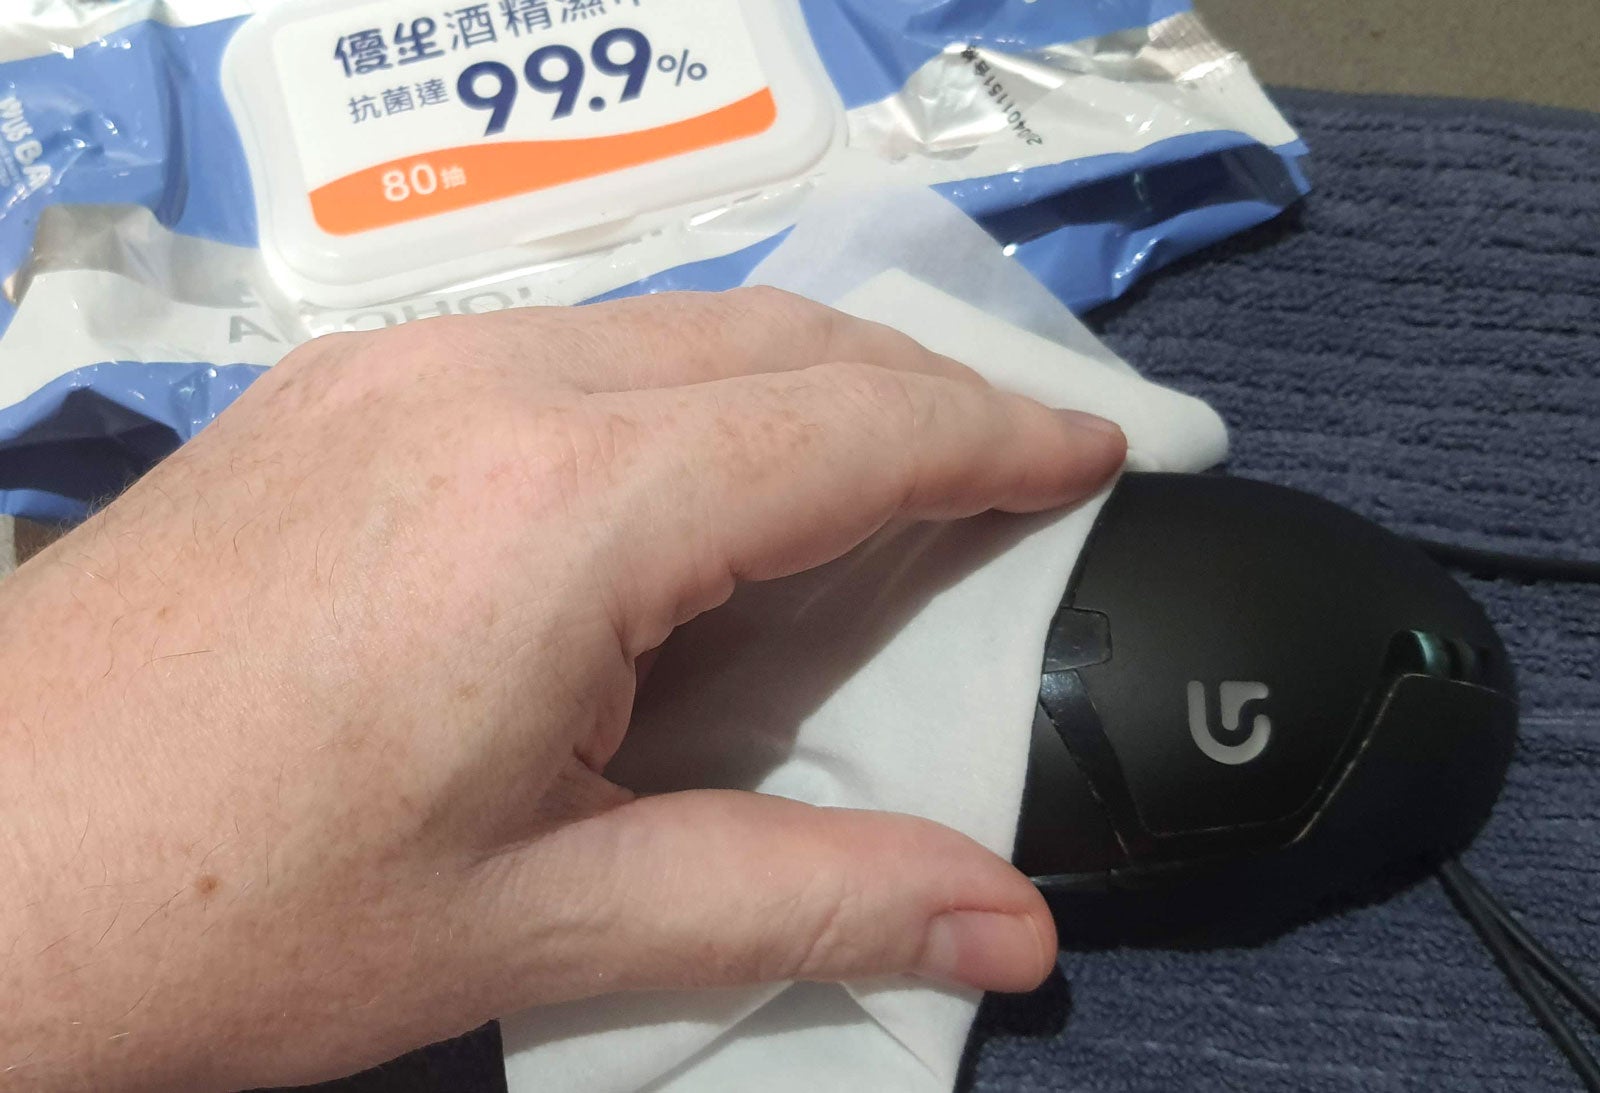
The first major cleaning task will be thoroughly wiping the mouse top, bottom and tail with an alcohol wipe. Then you will look around and see what areas need a bit more of a rub. Then use your microfiber cloth to polish the mouse and see how things look.
Step
3Wheel cleaning
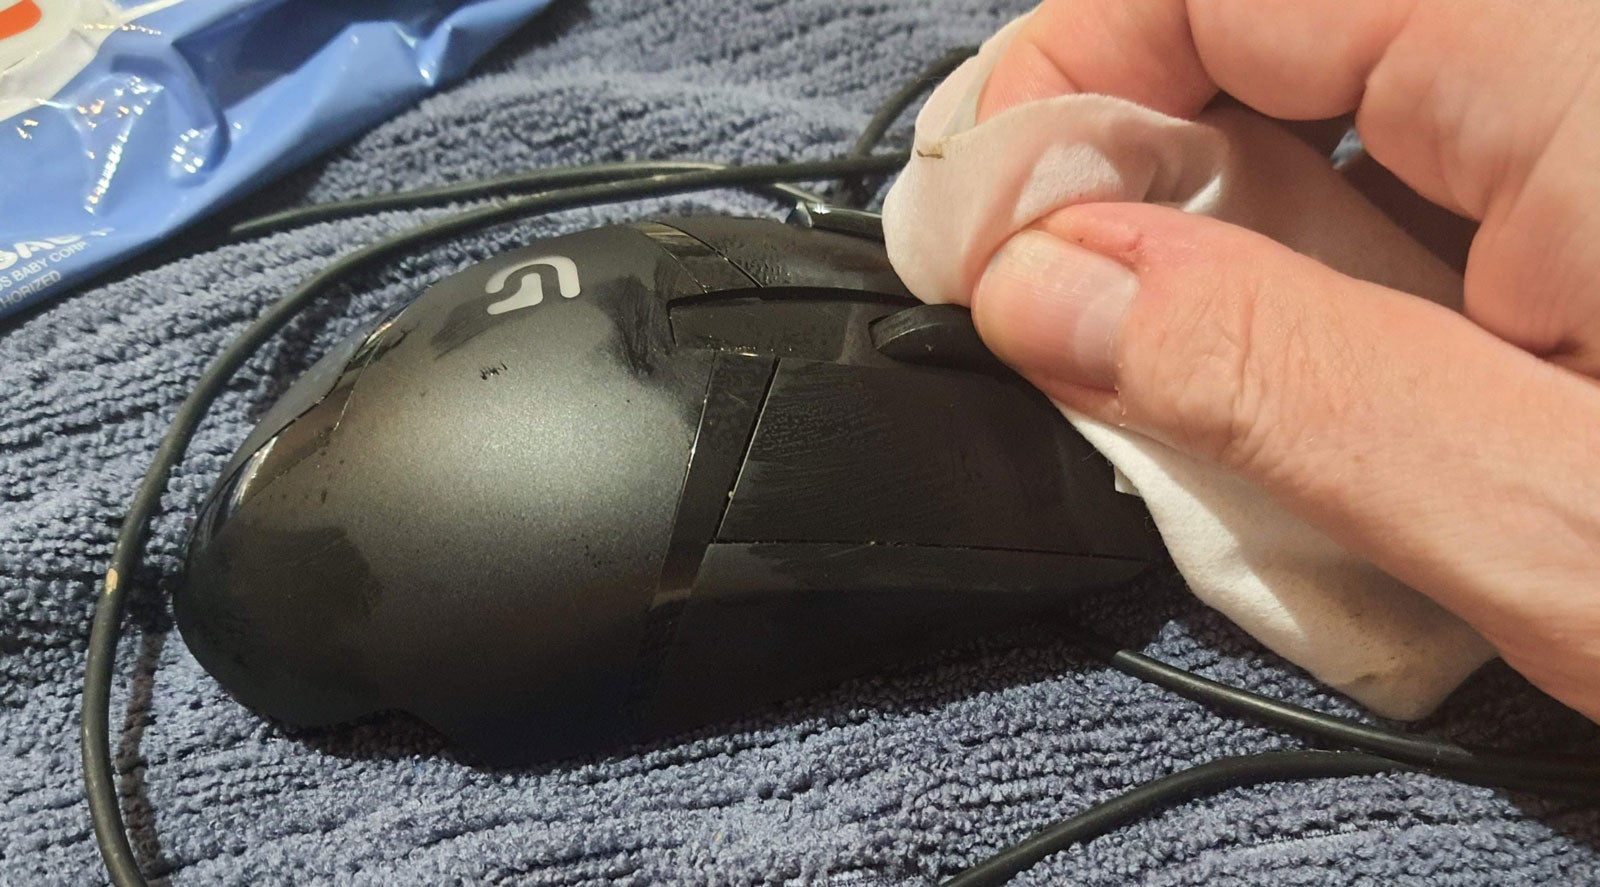
The first place we spent extra time and attention was the mouse wheel; rotating it and wiping it with an outward action. Then clean around the wheel area.
Step
4Target the grooves and crevices
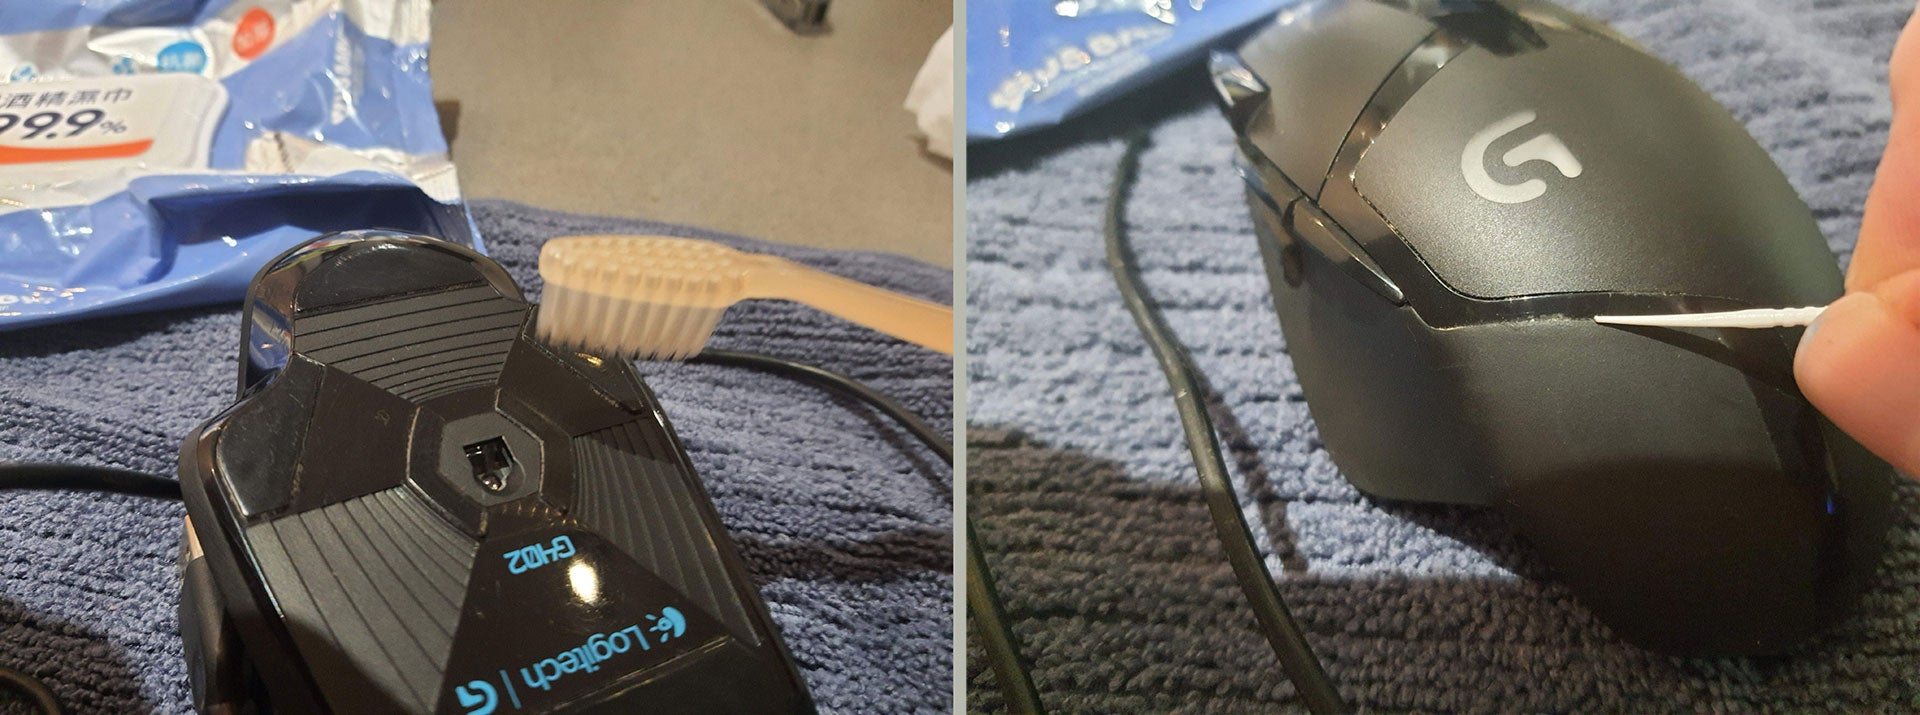
If your mouse is like ours, then there will still be unpleasant looking stuff in the grooves and crevices of the mouse design. We had two tools to deal with these hard-to-access areas; a toothpick, and a soft toothbrush. After a bit of time and attention with these implements, it looked like all the dust and grime was gone.
Step
5Final check and wipe over
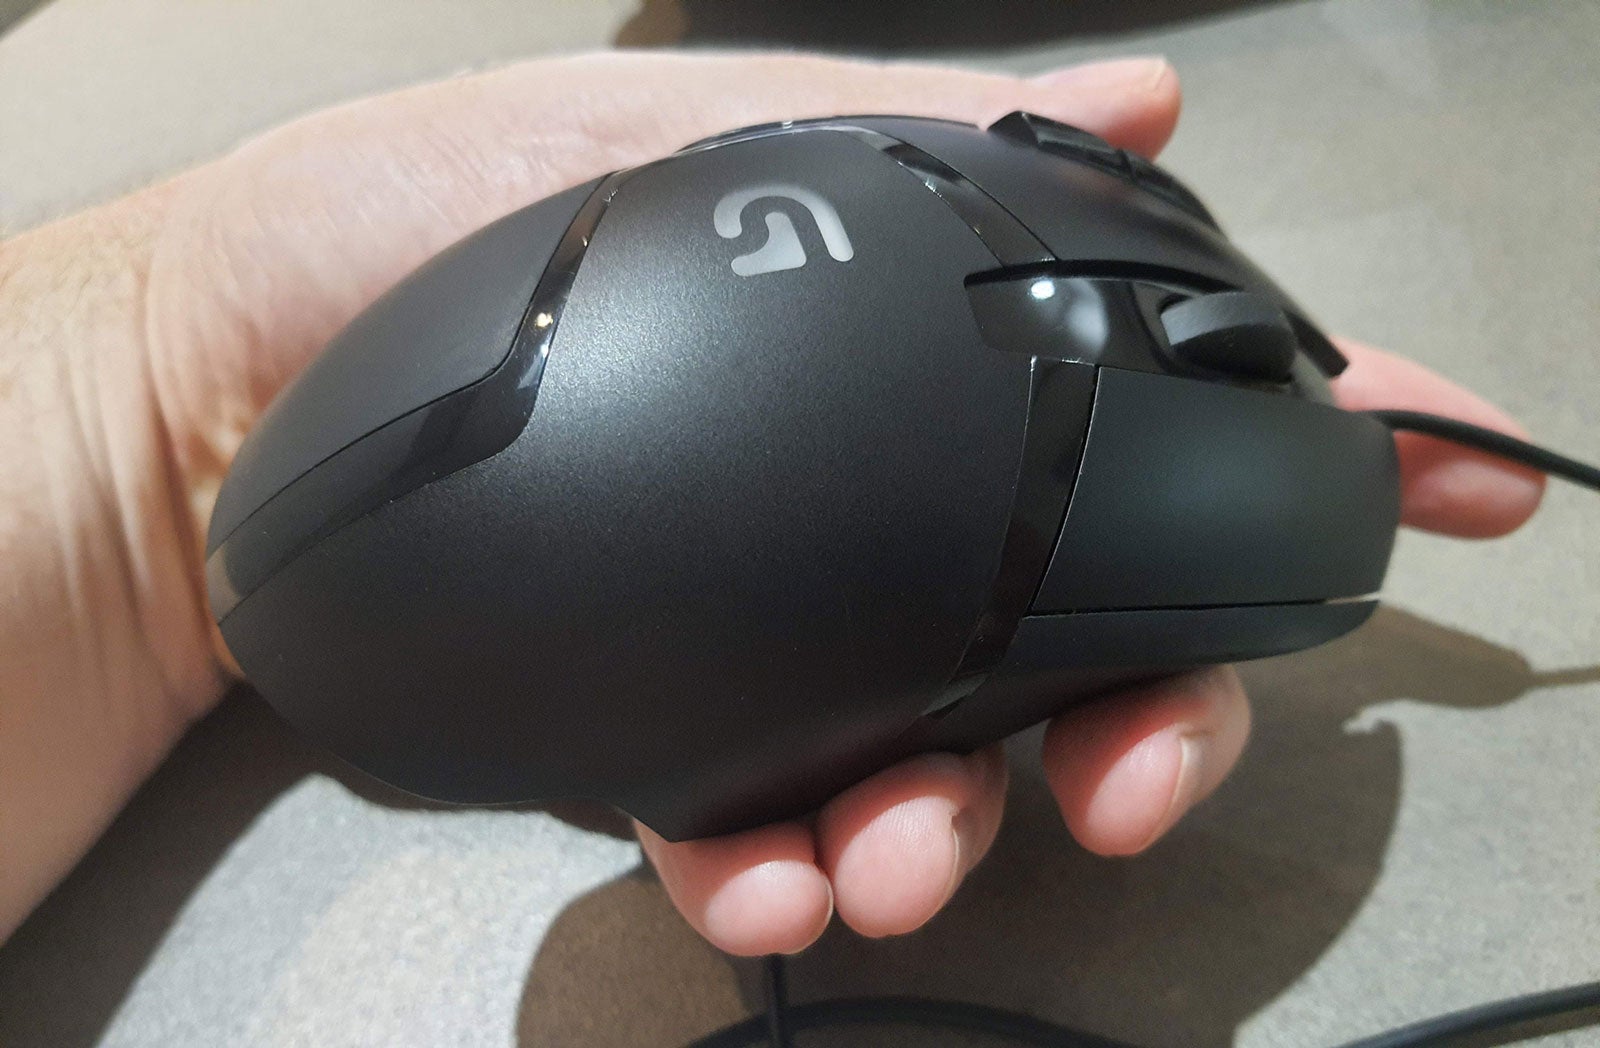
Finally, wipe it all down with your cloth again, and check for any dirt or grime left behind. You have probably done enough now and the mouse will look clean, even if it is not very new and has evidence of wear. A new q-tip / earbud can now be used to make sure the optical sensor portal is clear, as a finishing touch to the job. Please don’t poke the actual sensor.
FAQs
It is slightly dangerous to use water / detergent for cleaning your mouse in case some liquid gets into the shell and onto the electronics. It is therefore best to stick with 99.9% alcohol wipes like we used. If there are some panels that detach from your mouse and they don’t have any electronics attached, feel free to clean them as you see fit.
Everyone has different standards of cleanliness, but since you asked, prevention is better than cure – if you clean your mouse with a quick wipe frequently it will remain pristine and won’t need a deep clean as often.
The procedure will be the same, except for being very very careful with moisture when cleaning the battery compartment and power switch areas (and switch it off before cleaning).
You might like…


Editorial independence
Editorial independence means being able to give an unbiased verdict about a product or company, with the avoidance of conflicts of interest. To ensure this is possible, every member of the editorial staff follows a clear code of conduct.
Professional conduct
We also expect our journalists to follow clear ethical standards in their work. Our staff members must strive for honesty and accuracy in everything they do. We follow the IPSO Editors’ code of practice to underpin these standards.