
If you need to change your username in Windows 11, keep reading, as the process is surprisingly easy.
Windows 11 is the latest version of the Windows platform and has launched a wealth of new features to the operating system. Whether you’ve been using Windows machines for a long time or are just being introduced to the OS now, you will want to make sure that your username is correct.
You may have been using the same username for a couple of years or the one you recently set has a typo. Either way, changing your username in Windows 11 is thankfully easy and only takes a couple of minutes.
Read on to find our simple step-by-step guide on how to change your username in Windows 11.
What you’ll need:
- A Windows 11 account
The Short Version
- Go to Control Panel
- Click on User Accounts
- Click on User Accounts again
- Go to Change your account name
- Enter the new name
- Click Change Name
£30 per month for the Google Pixel 7 and 100GB of data
The Pixel 7 is one of the best phones we’ve reviewed this year, especially for the price. Now you can get it for an incredible price that includes 100GB of data on the Three network for just £30 per month, making it even more affordable. If you’re a keen mobile photographer, it’s an ideal handset for you.
- Affordable Mobiles
- 100GB, unlimited minutes, unlimited texts, and no upfront cost
- £30 per month
Step
1Go to Control Panel
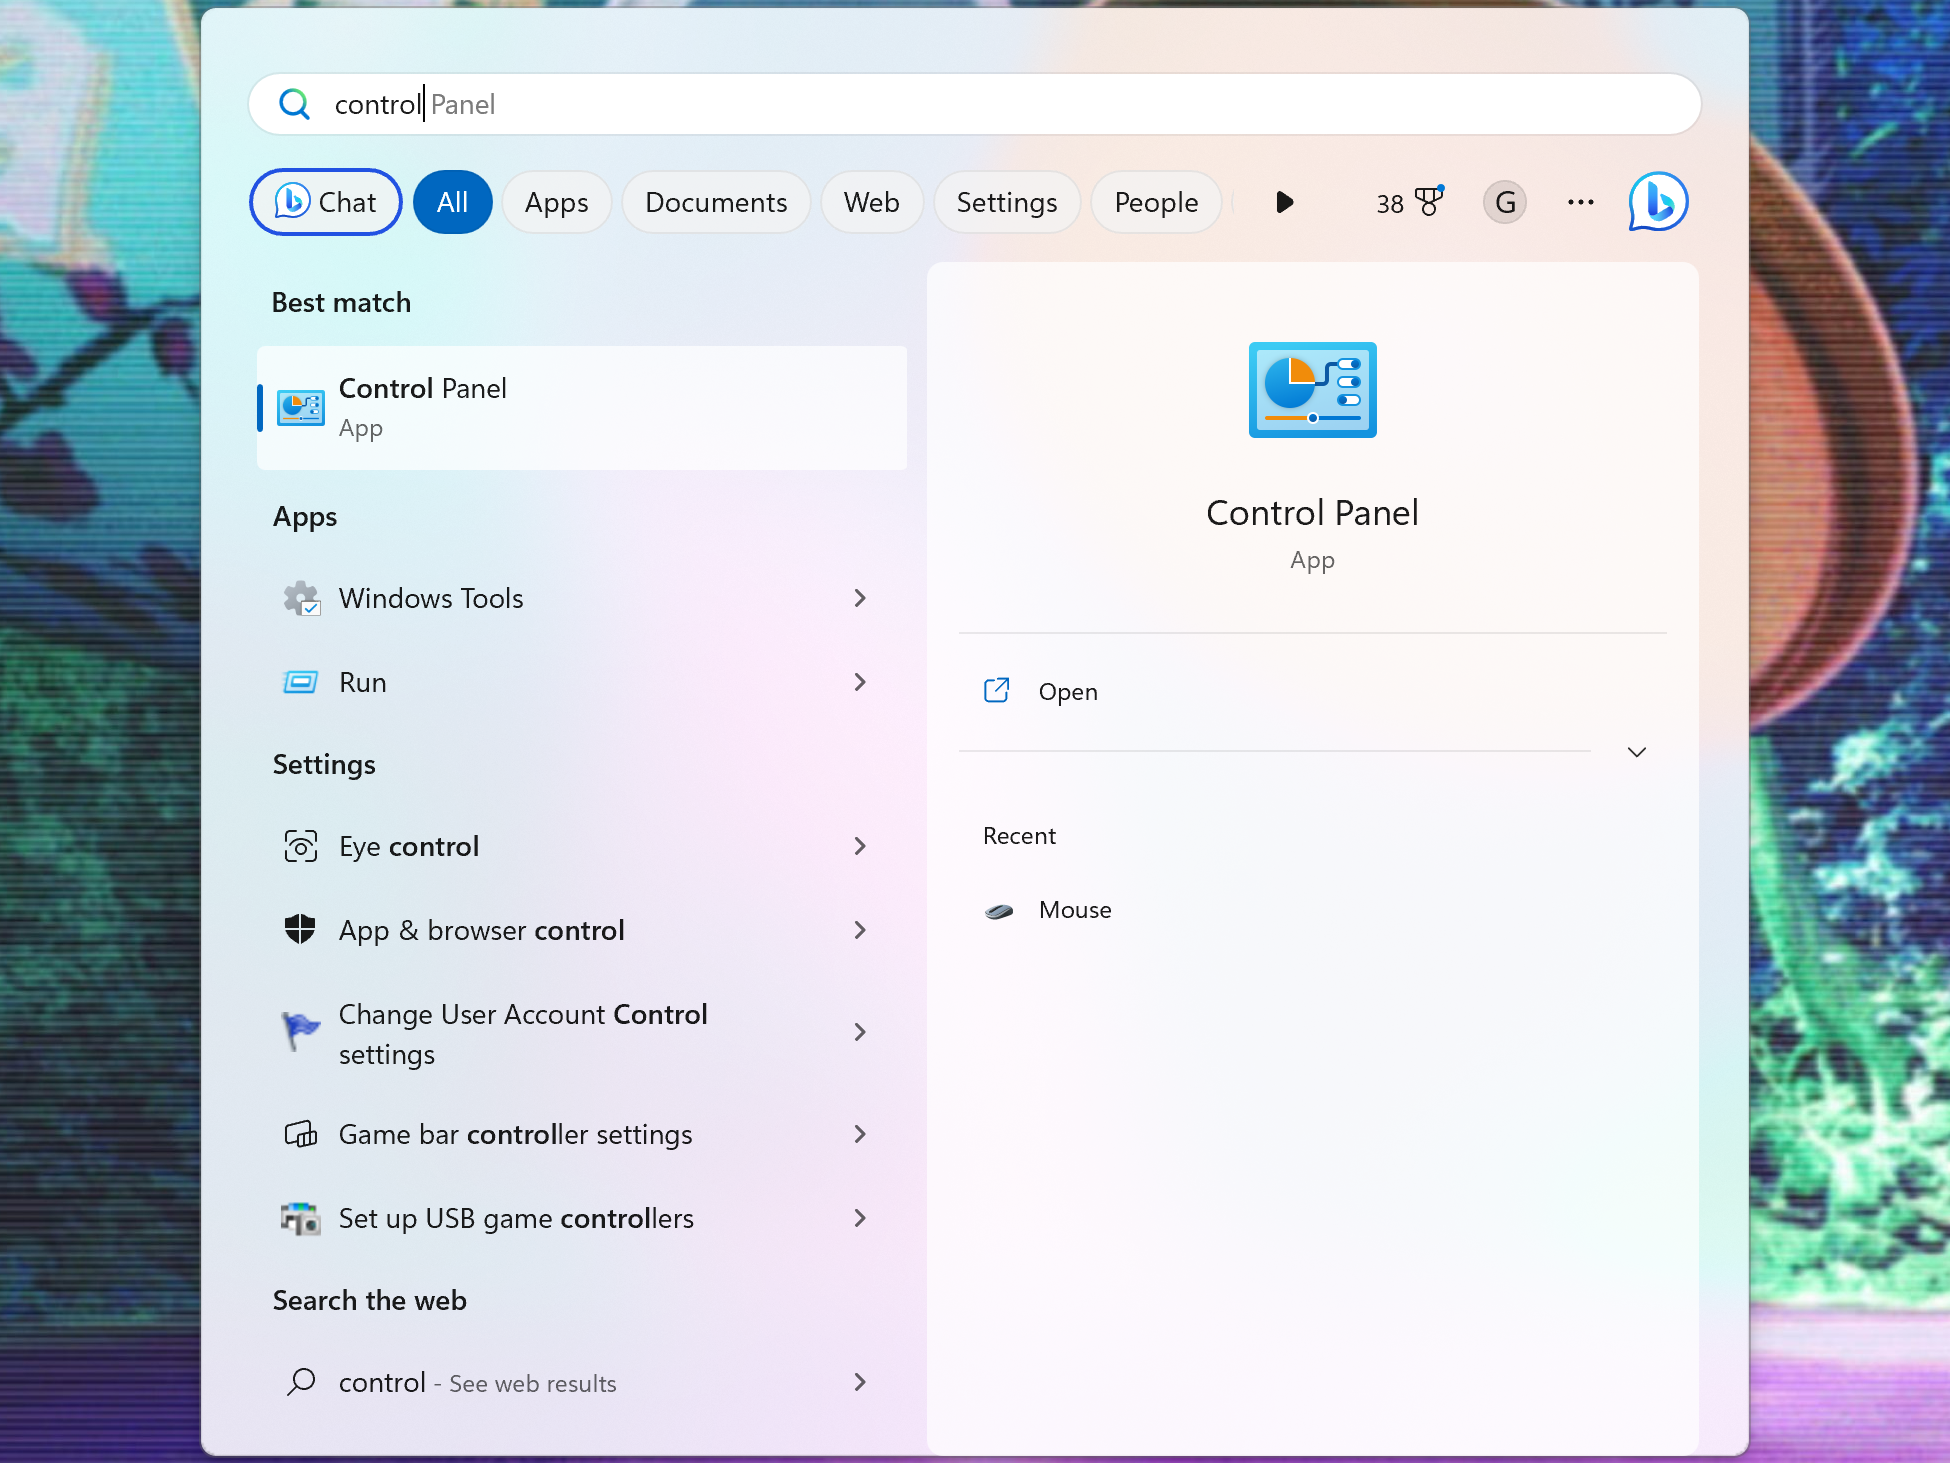
Use the Windows search bar to search for the Control Panel app. Click on it once it comes up.
Step
2Click on User Accounts
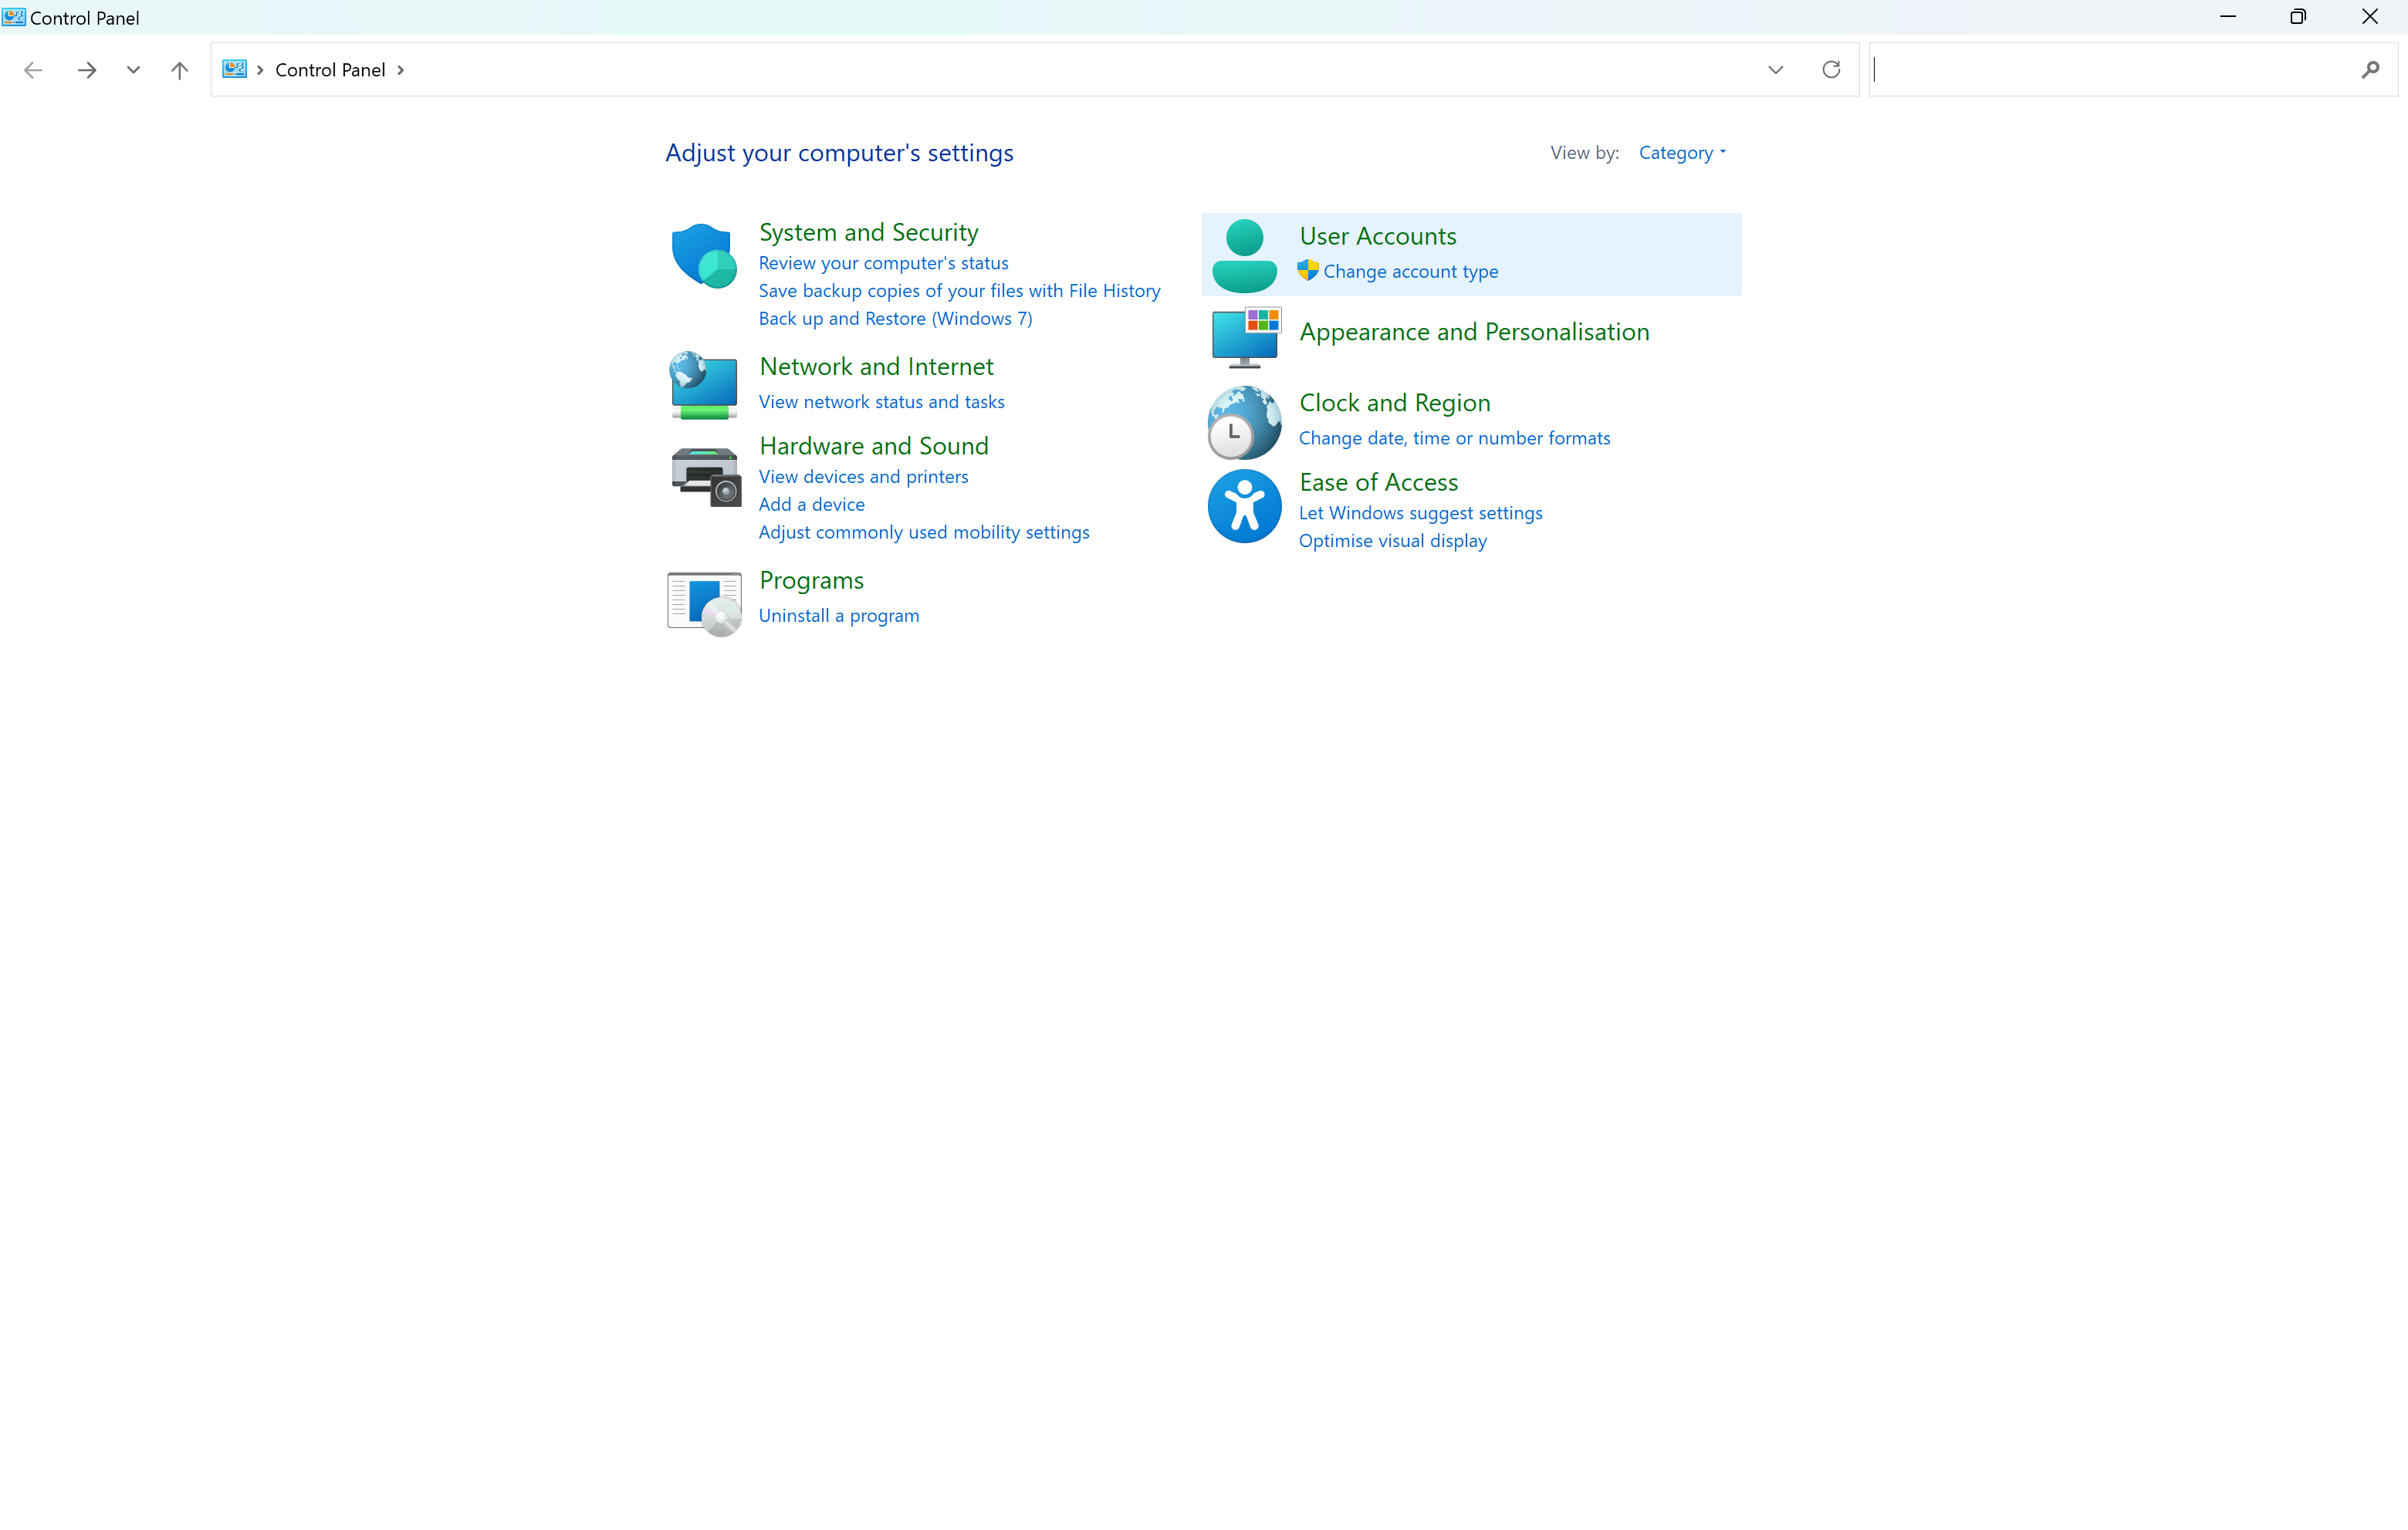
From the menu presented, click on the heading called User Accounts.
Step
3Click on User Accounts again

Click on the heading called User Accounts again to continue.
Step
4Go to Change your account name

There will be several sub-headings presented. Click on the sub-heading called ‘Change your account name’.
Step
5Enter the new name
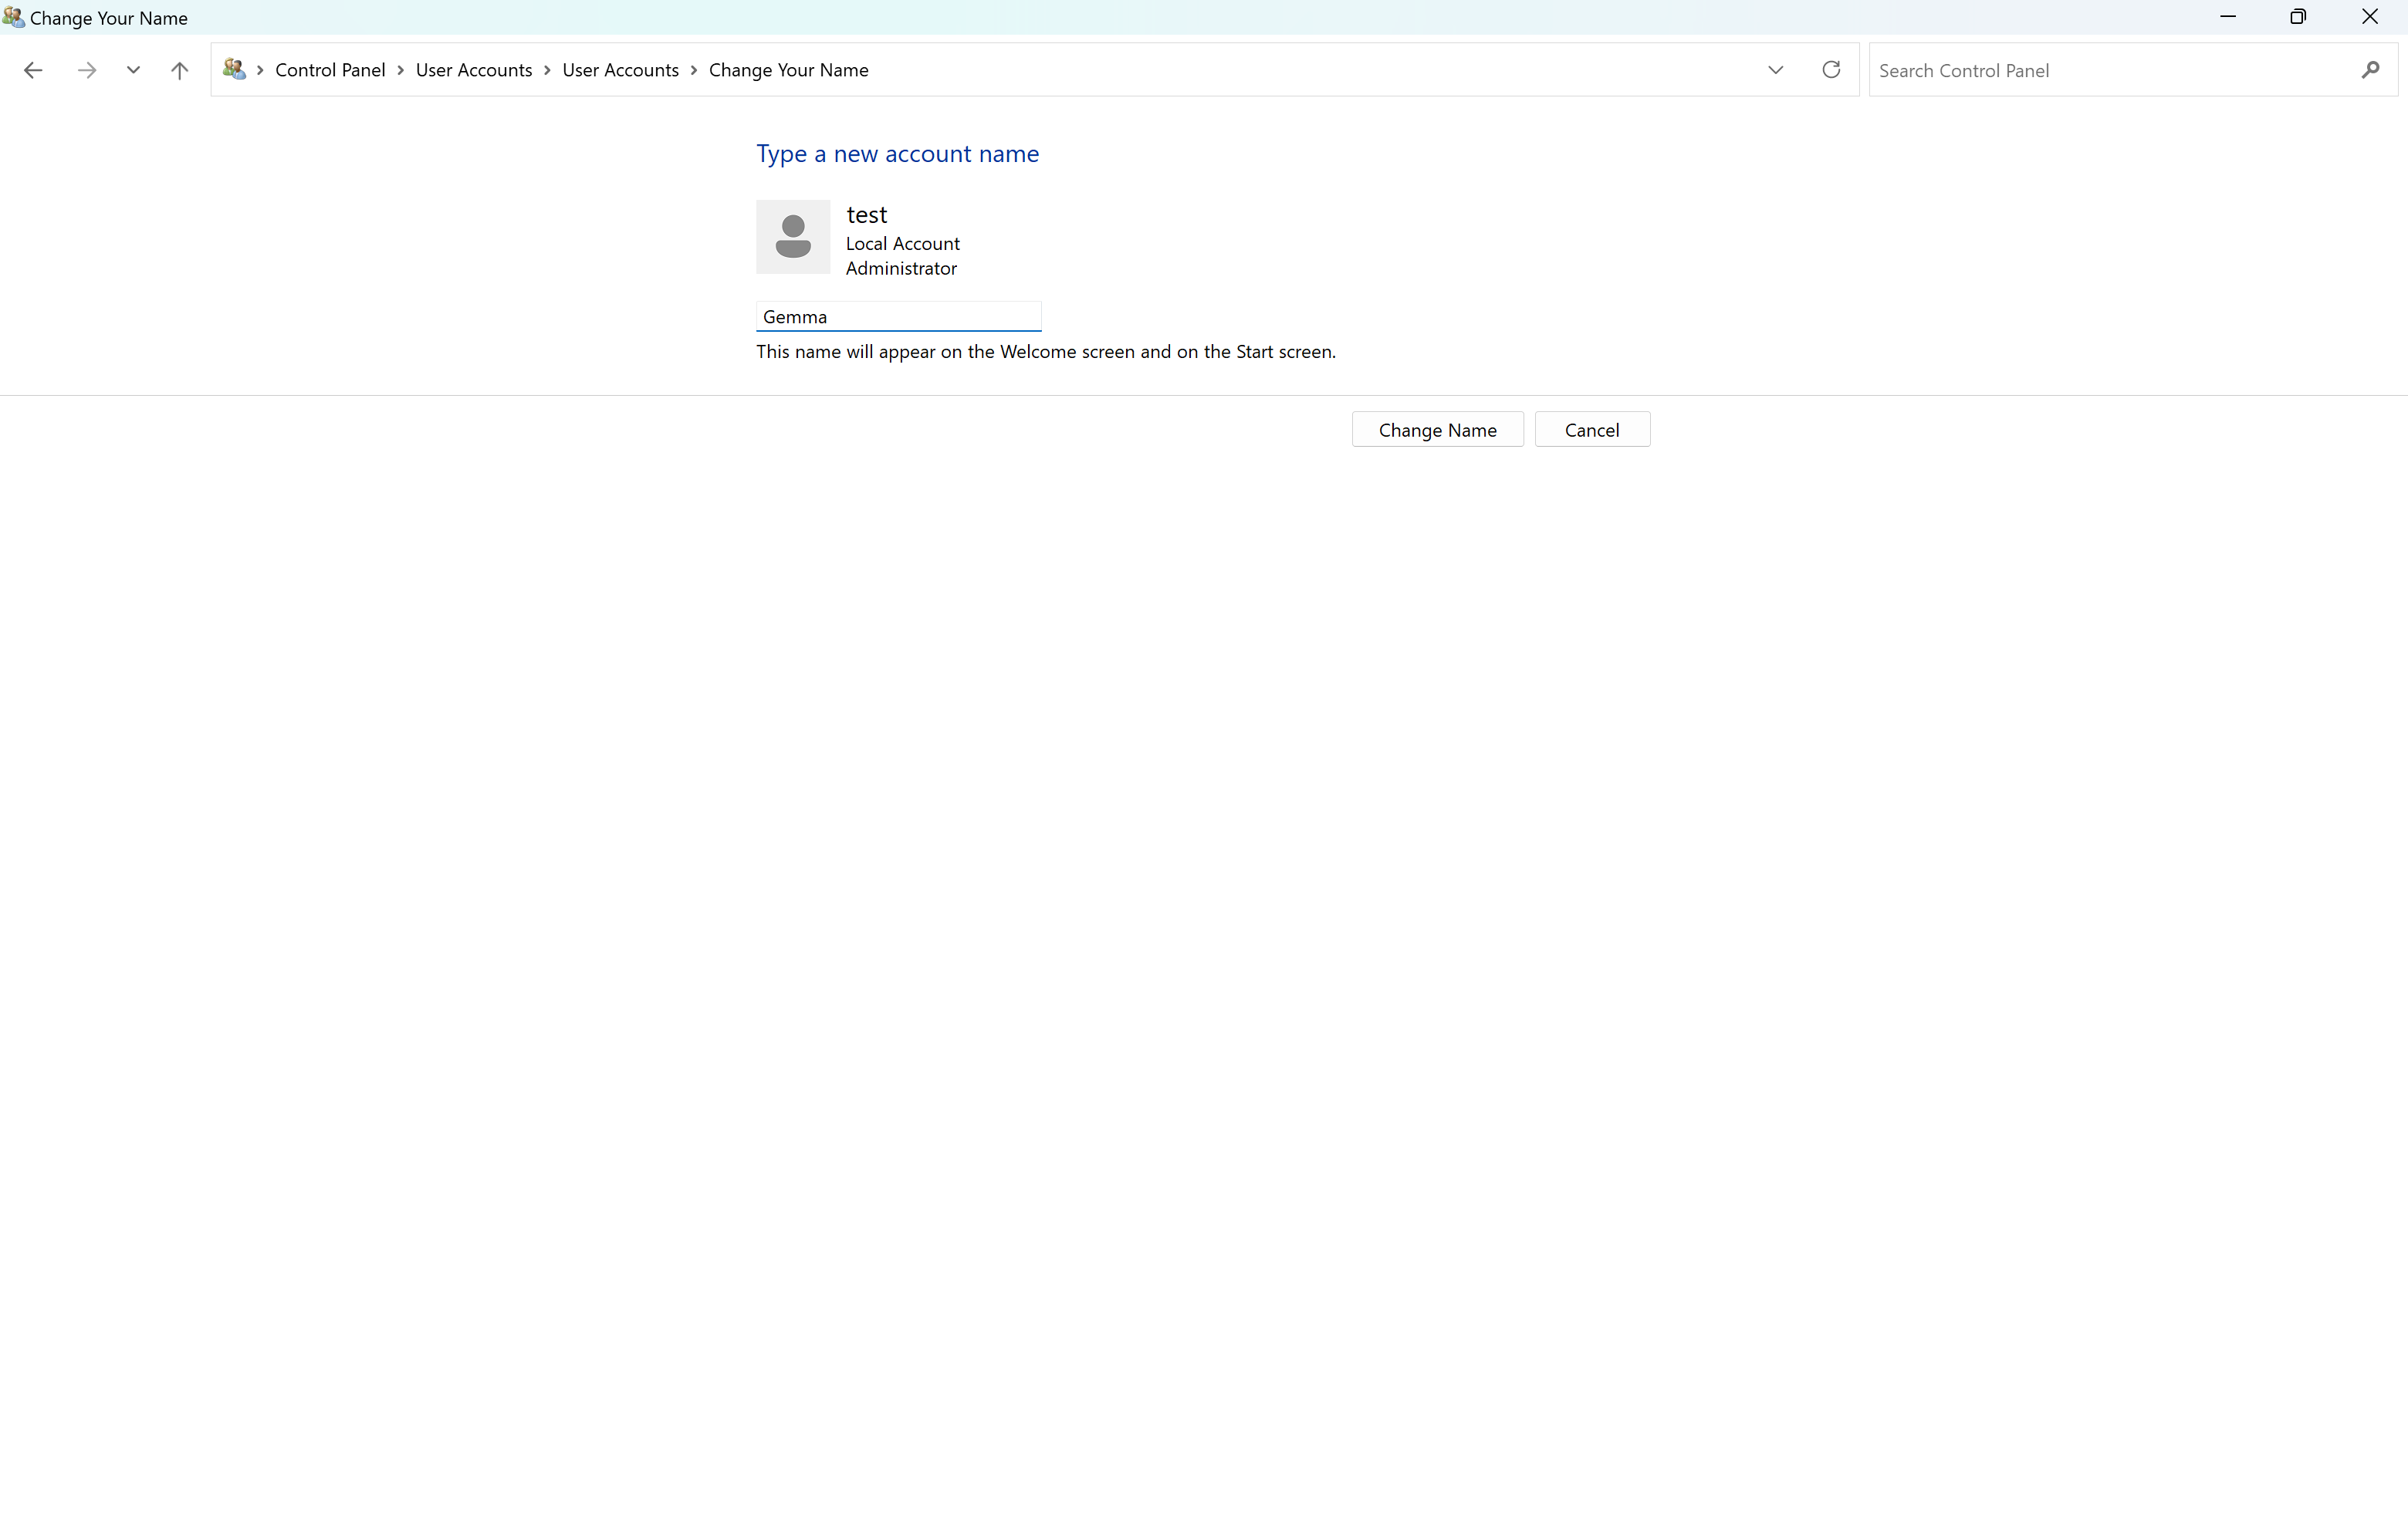
Type in the new username you want on your Windows 11 account.
Step
6Click Change Name
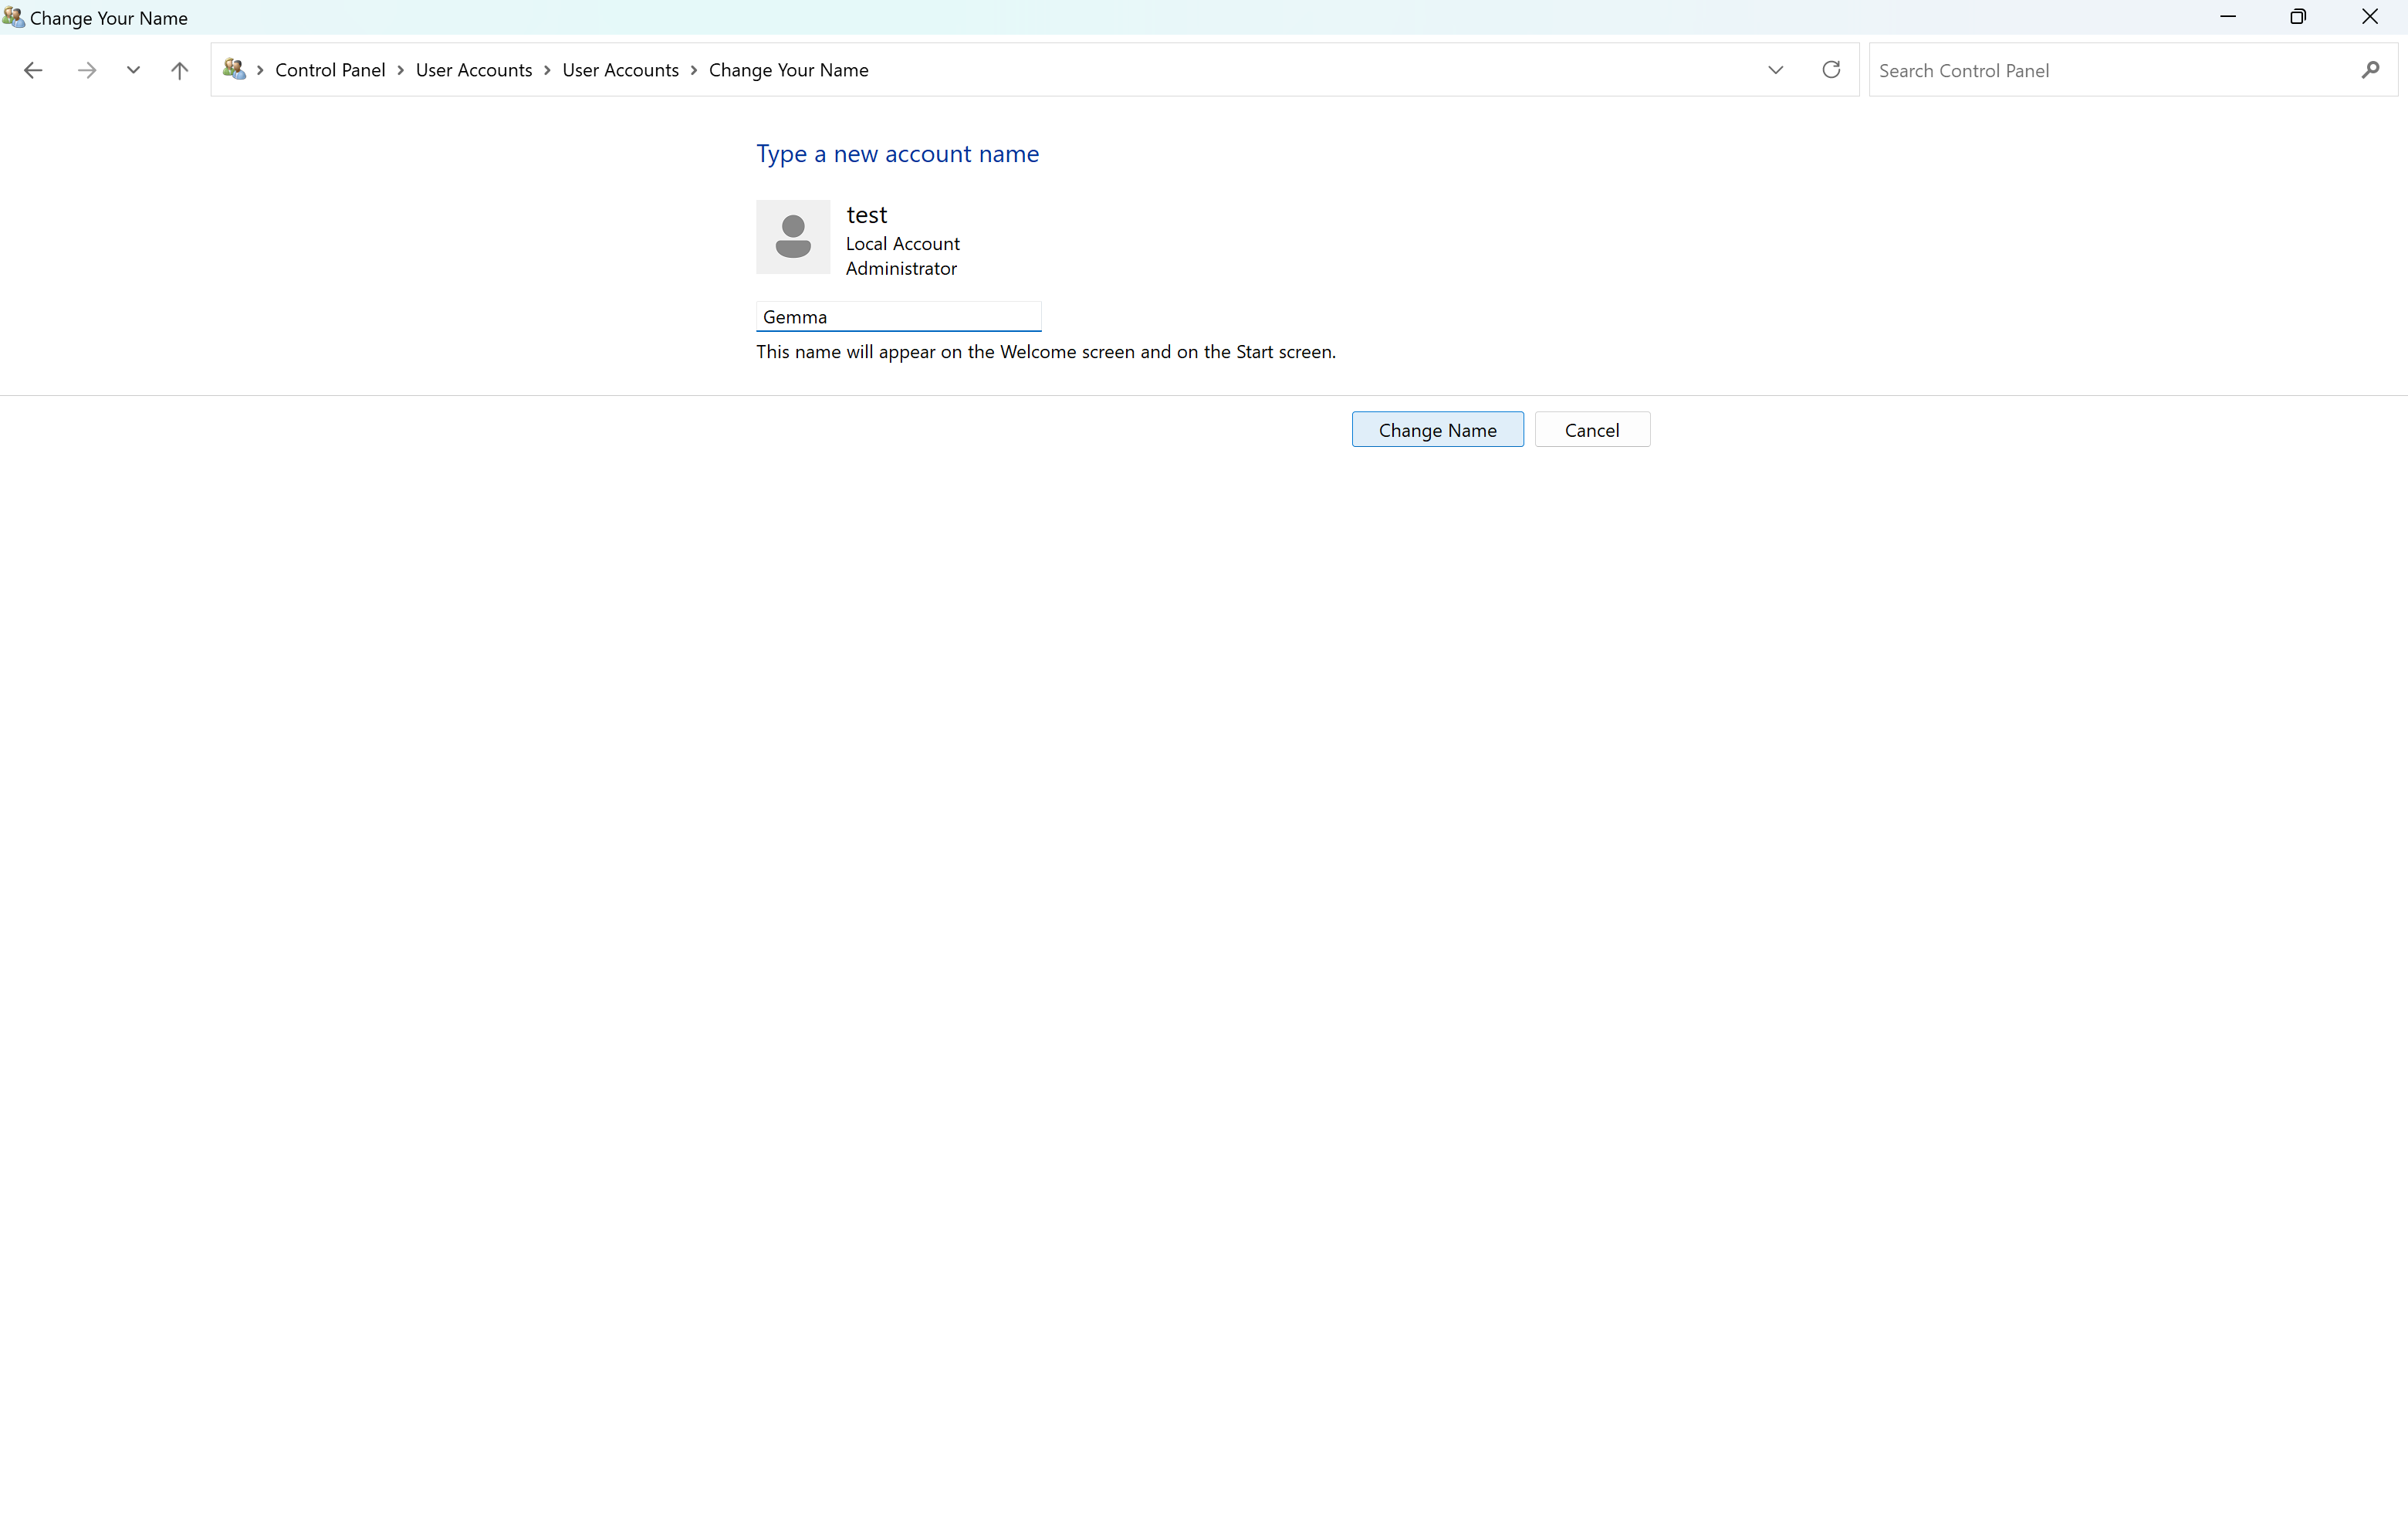
Once you have typed in the new name and you are happy with it, click on Change Name.
Troubleshooting
You can change your name in Windows 11 as many times as needed, there is no limit.
You might like…


Editorial independence
Editorial independence means being able to give an unbiased verdict about a product or company, with the avoidance of conflicts of interest. To ensure this is possible, every member of the editorial staff follows a clear code of conduct.
Professional conduct
We also expect our journalists to follow clear ethical standards in their work. Our staff members must strive for honesty and accuracy in everything they do. We follow the IPSO Editors’ code of practice to underpin these standards.