

The Windows 11 default theme is pretty nice, but everyone likes to feel more at home with their laptop or desktop, and customising the background is a great way to do that. Here’s how.
Windows 11 offers plenty of options to tailor the look of your PC to your liking. The simplest way is to add a dose of your personal style to your background and it’s extremely simple. You can either opt for something like a treasured picture you’ve taken yourself, go for one of Windows’ own selection of backgrounds, pick from a range of solid colours or, if you can’t choose one photograph, settle on a slideshow of memories.
Whatever one of these routes you decide to go down, it is a super simple process that should really take you less than 10 clicks – we know because, of course, we tested it ourselves. This is our step-by-step guide on how to change the desktop background in Windows 11.
What you’ll need:
- A Windows 11 PC or laptop
The Short Version:
- Open Settings
- Click Personalisation
- Select Background
- Choose your preferred option from the “Personalise your background” dropdown
- Select your Picture, Solid Colour or Slideshow of choice
Step
1Open Settings
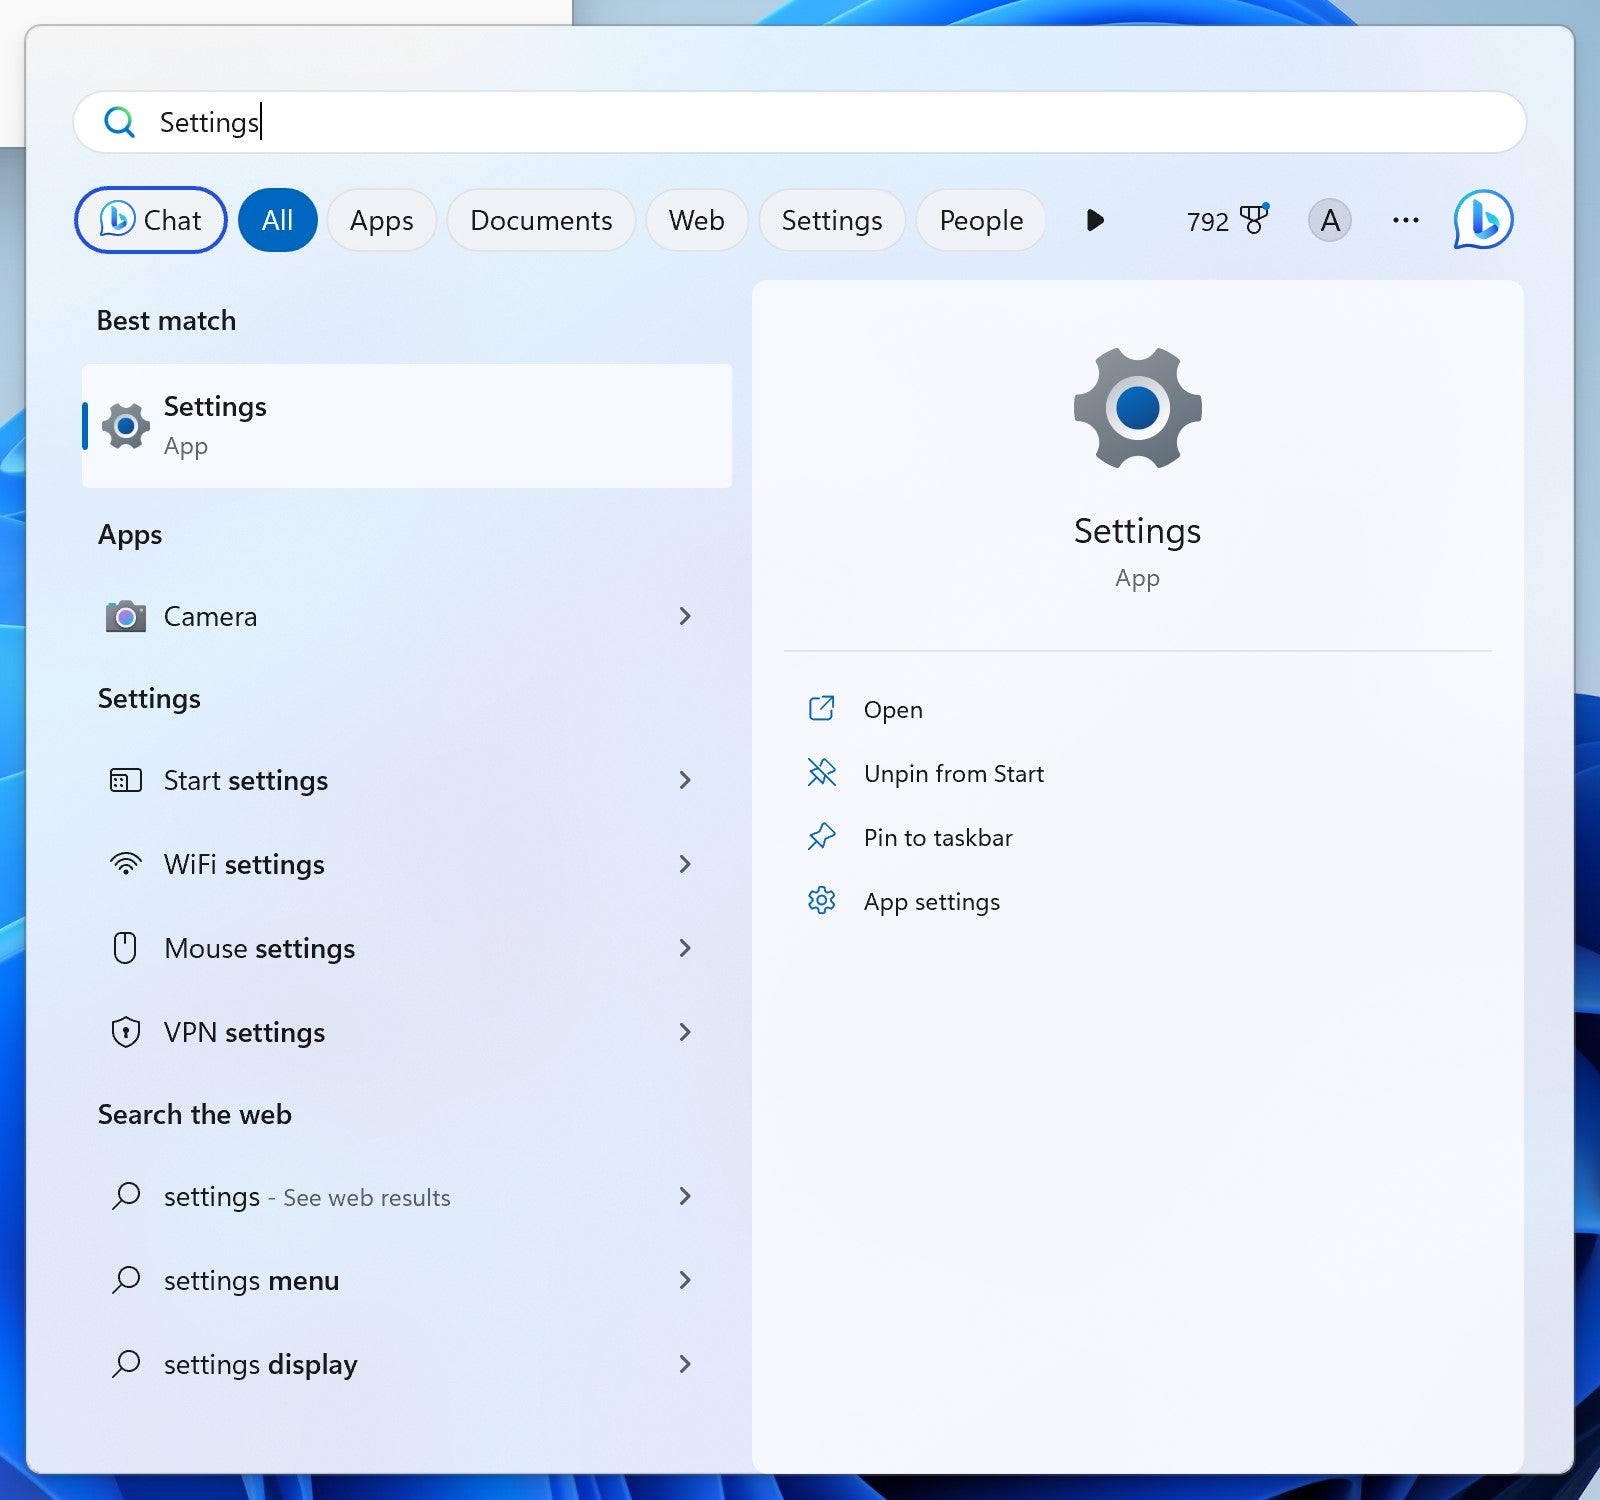
Open the Settings app by selecting Start and searching for Settings. Then, click Settings.
Step
2Click Personalisation
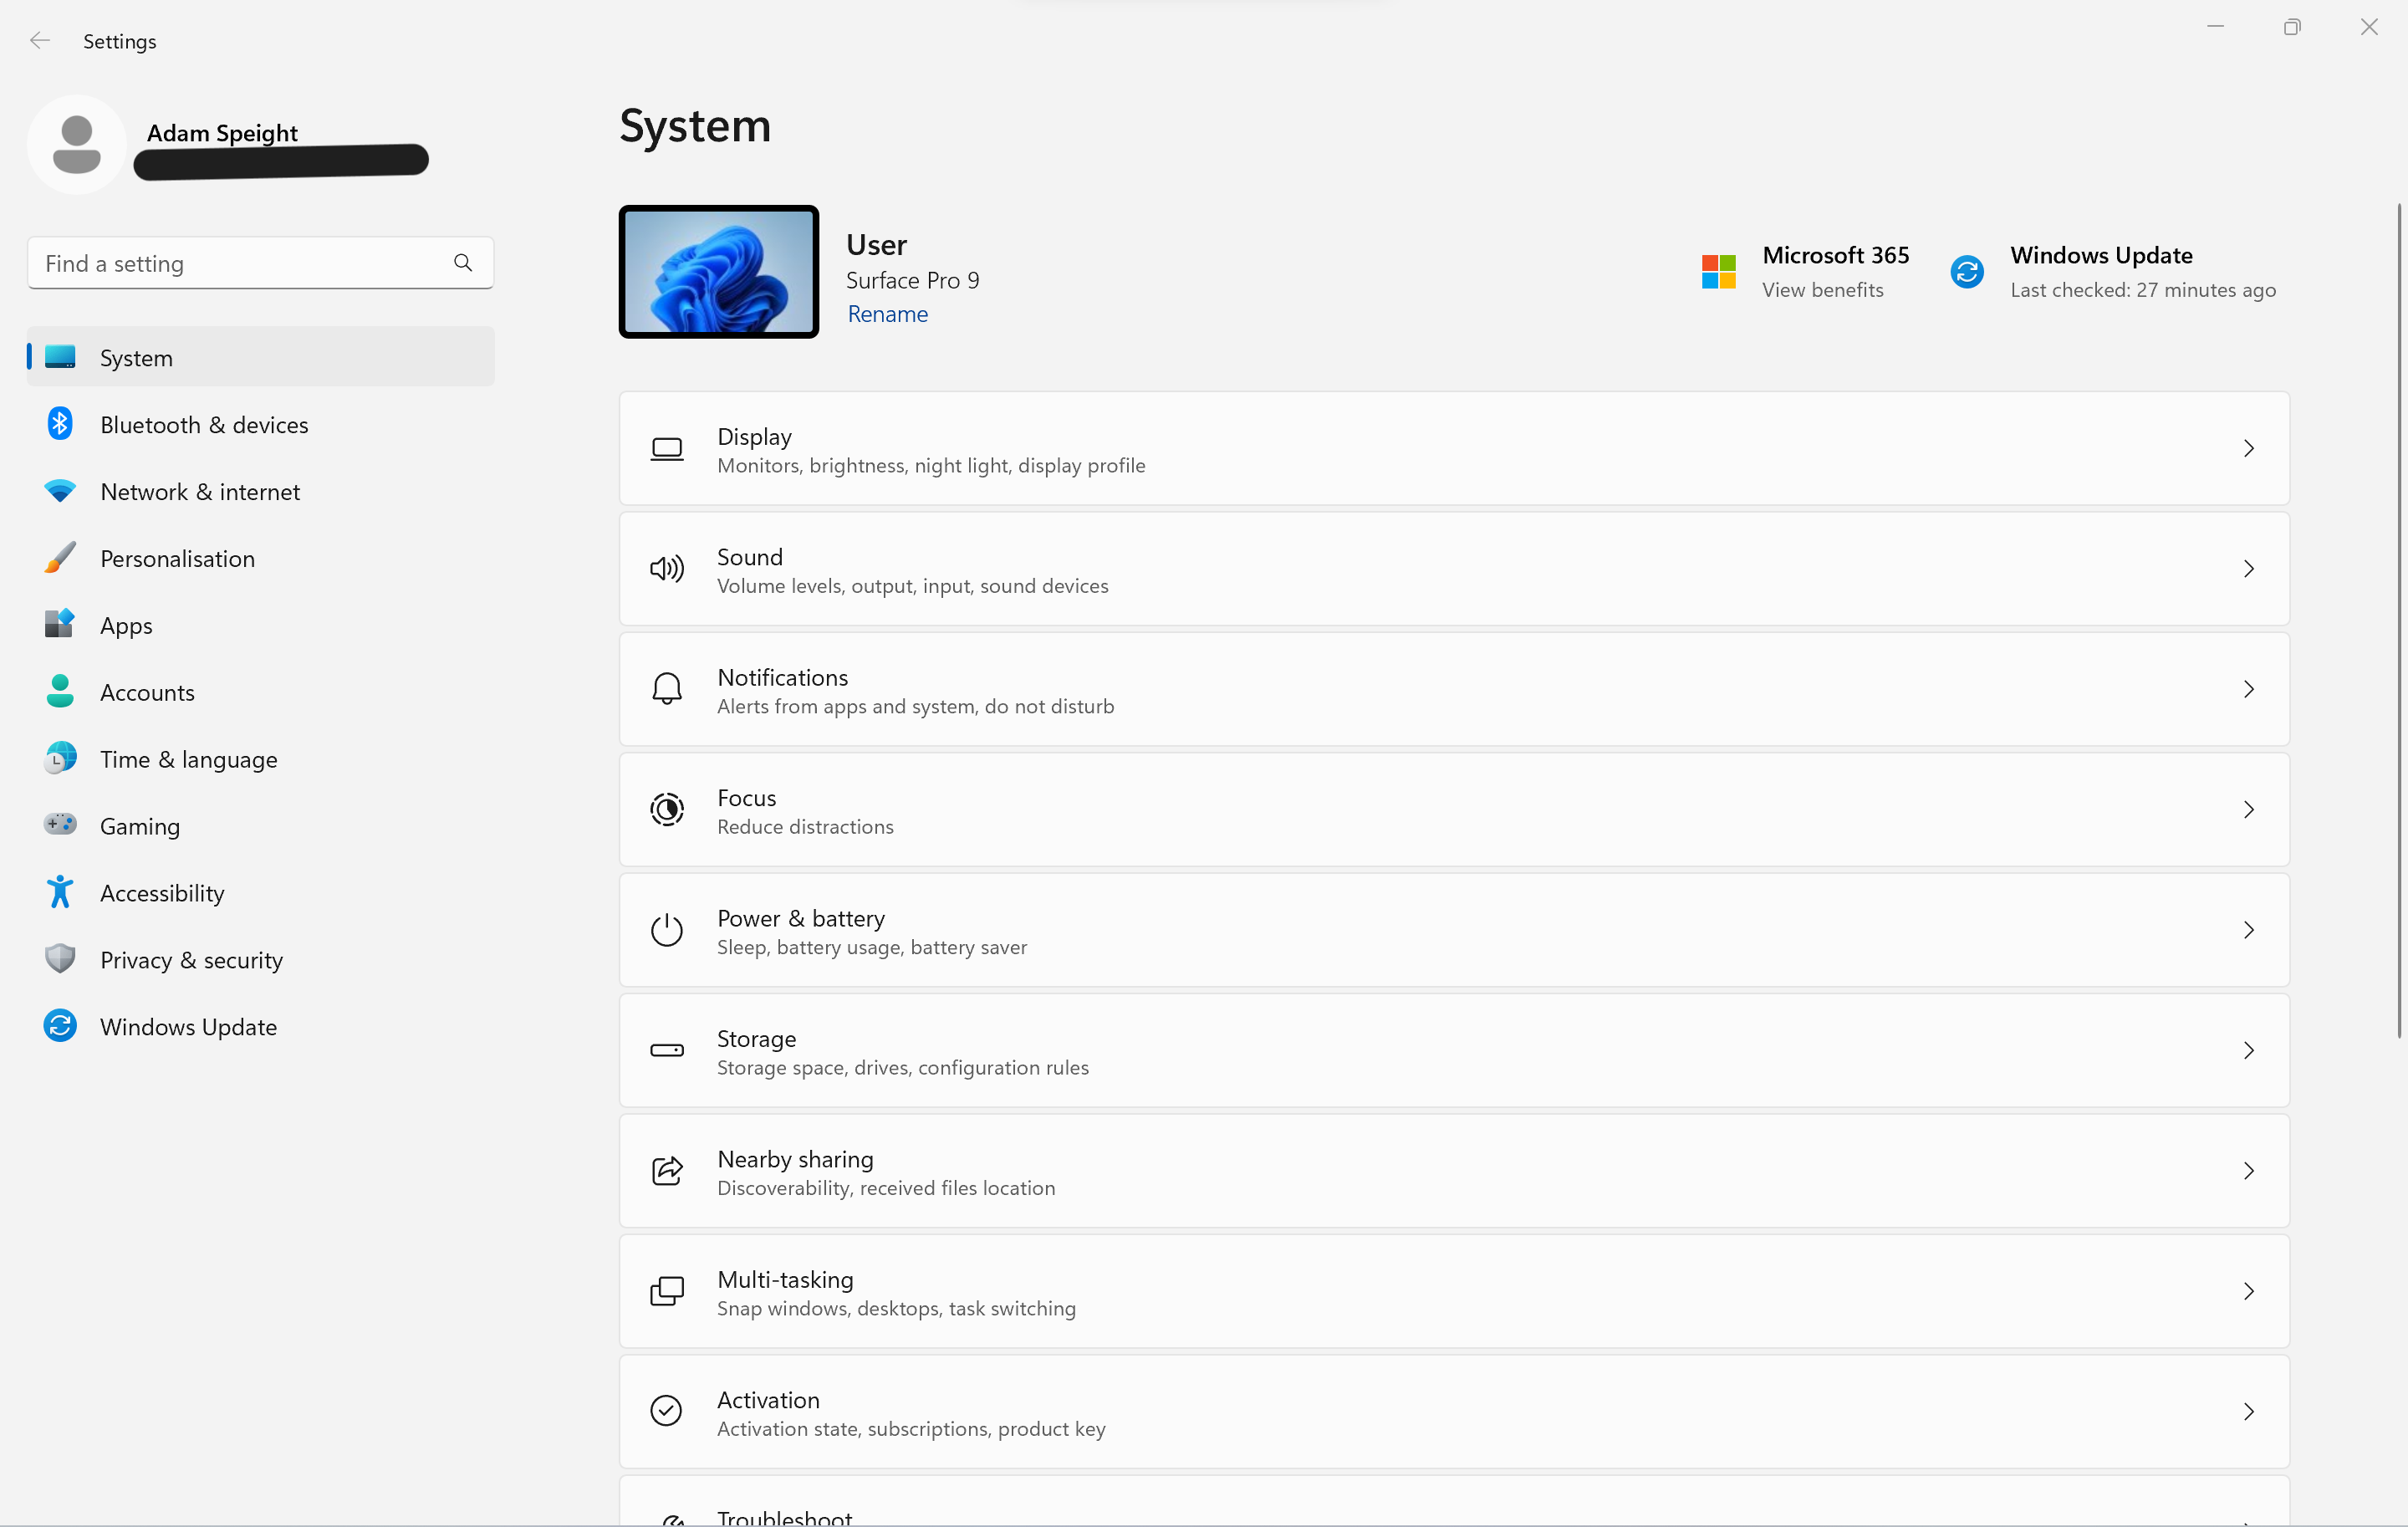
On the left side of the window, select Personalisation.
Step
3Select Background
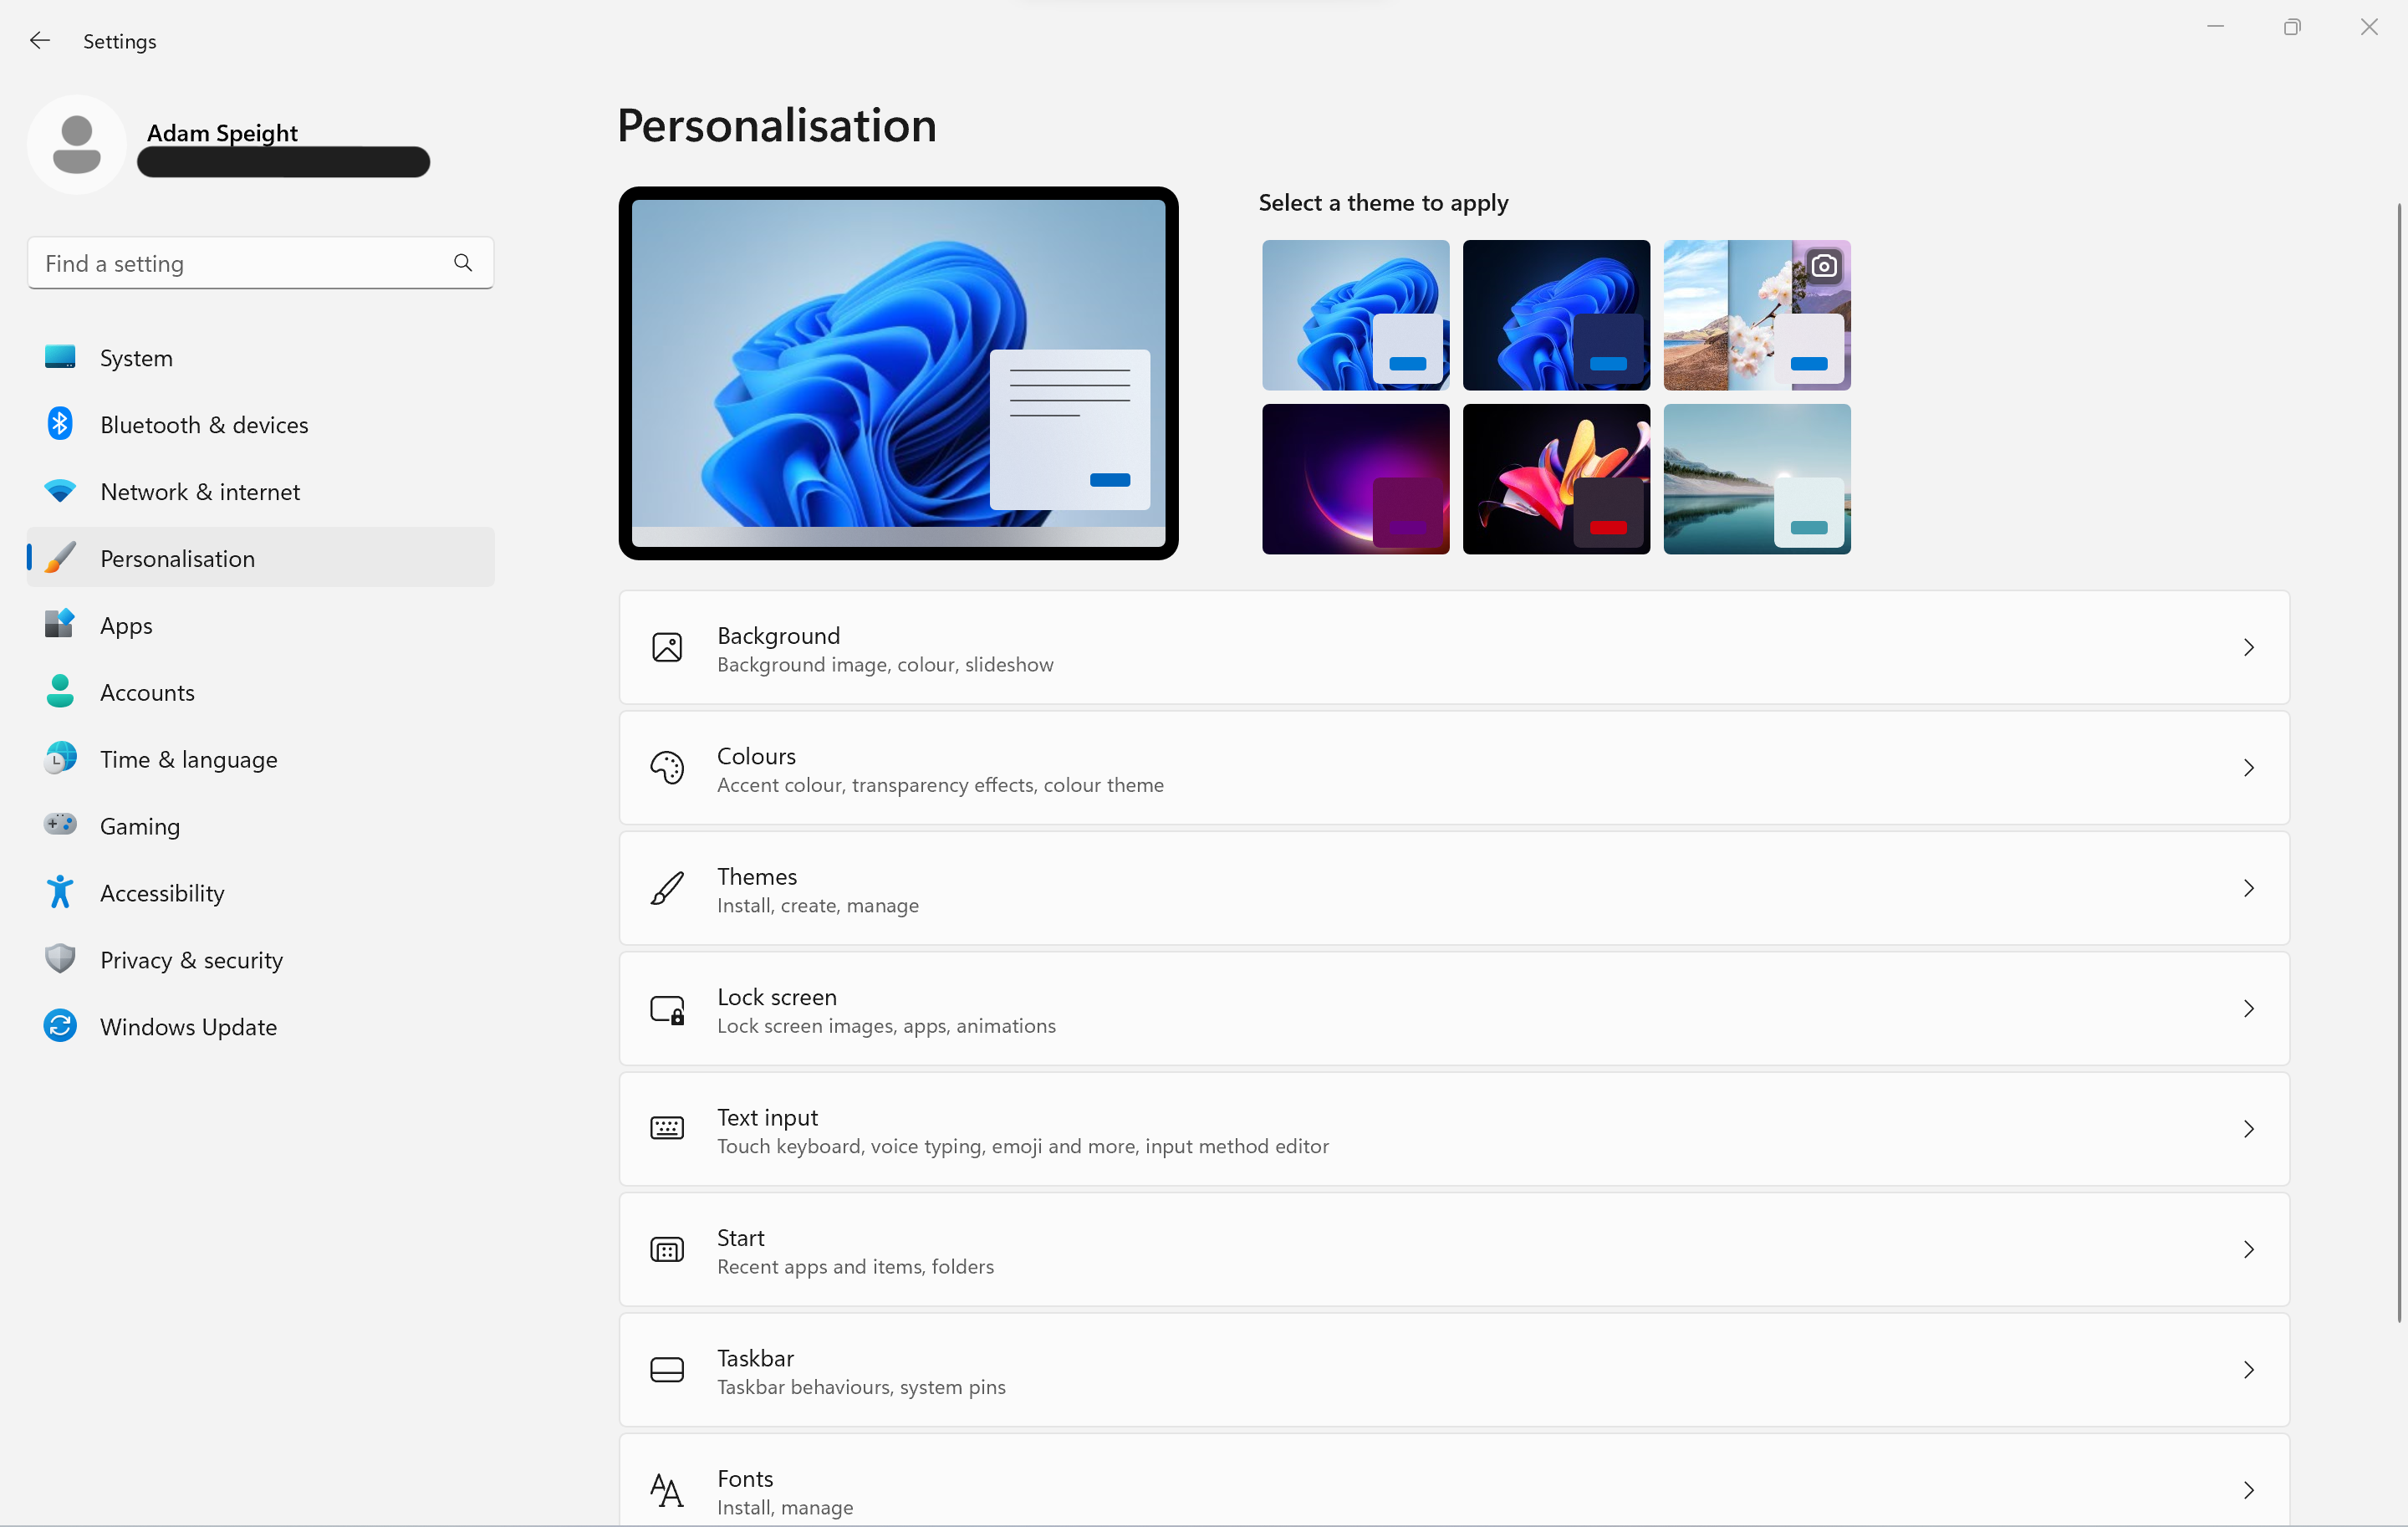
The first option on the Personalisation will be Background, click that.
Step
4Choose your preferred option from the Personalise your background dropdown
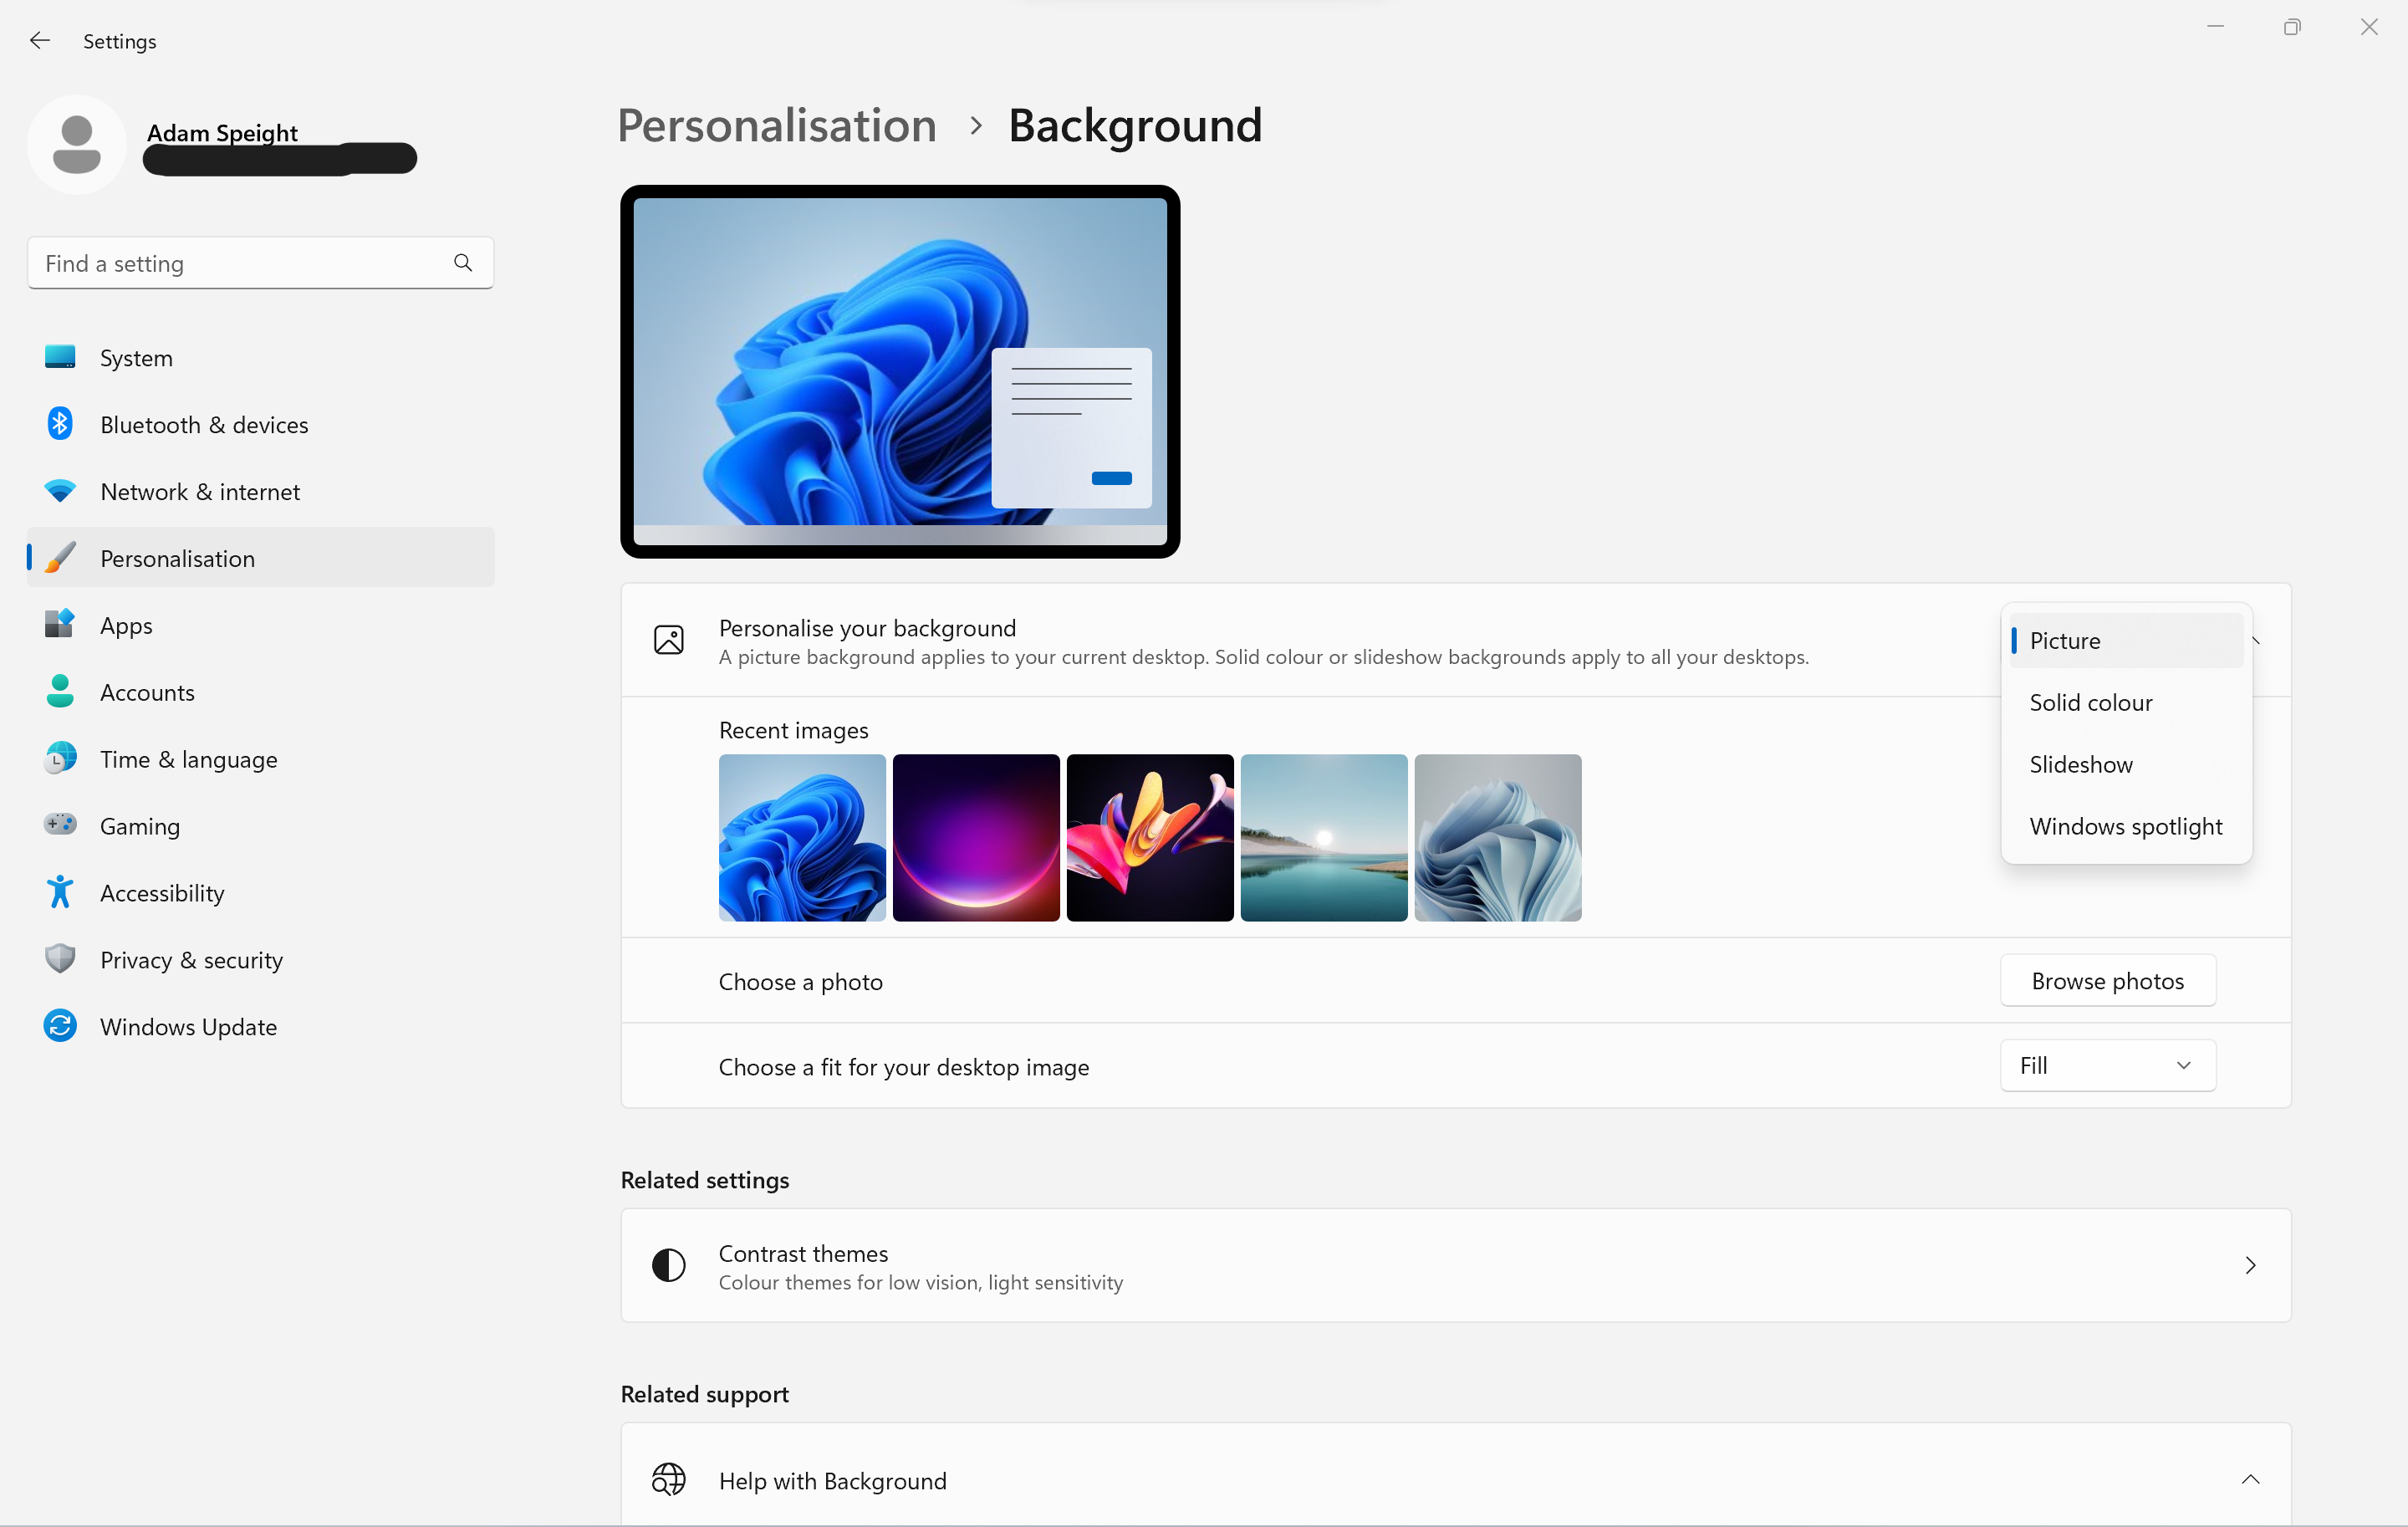
You’ll see a dropdown with options for the type of background you’d like. Choose your preference.
Step
5Select your Picture, Solid Colour or Slideshow of choice
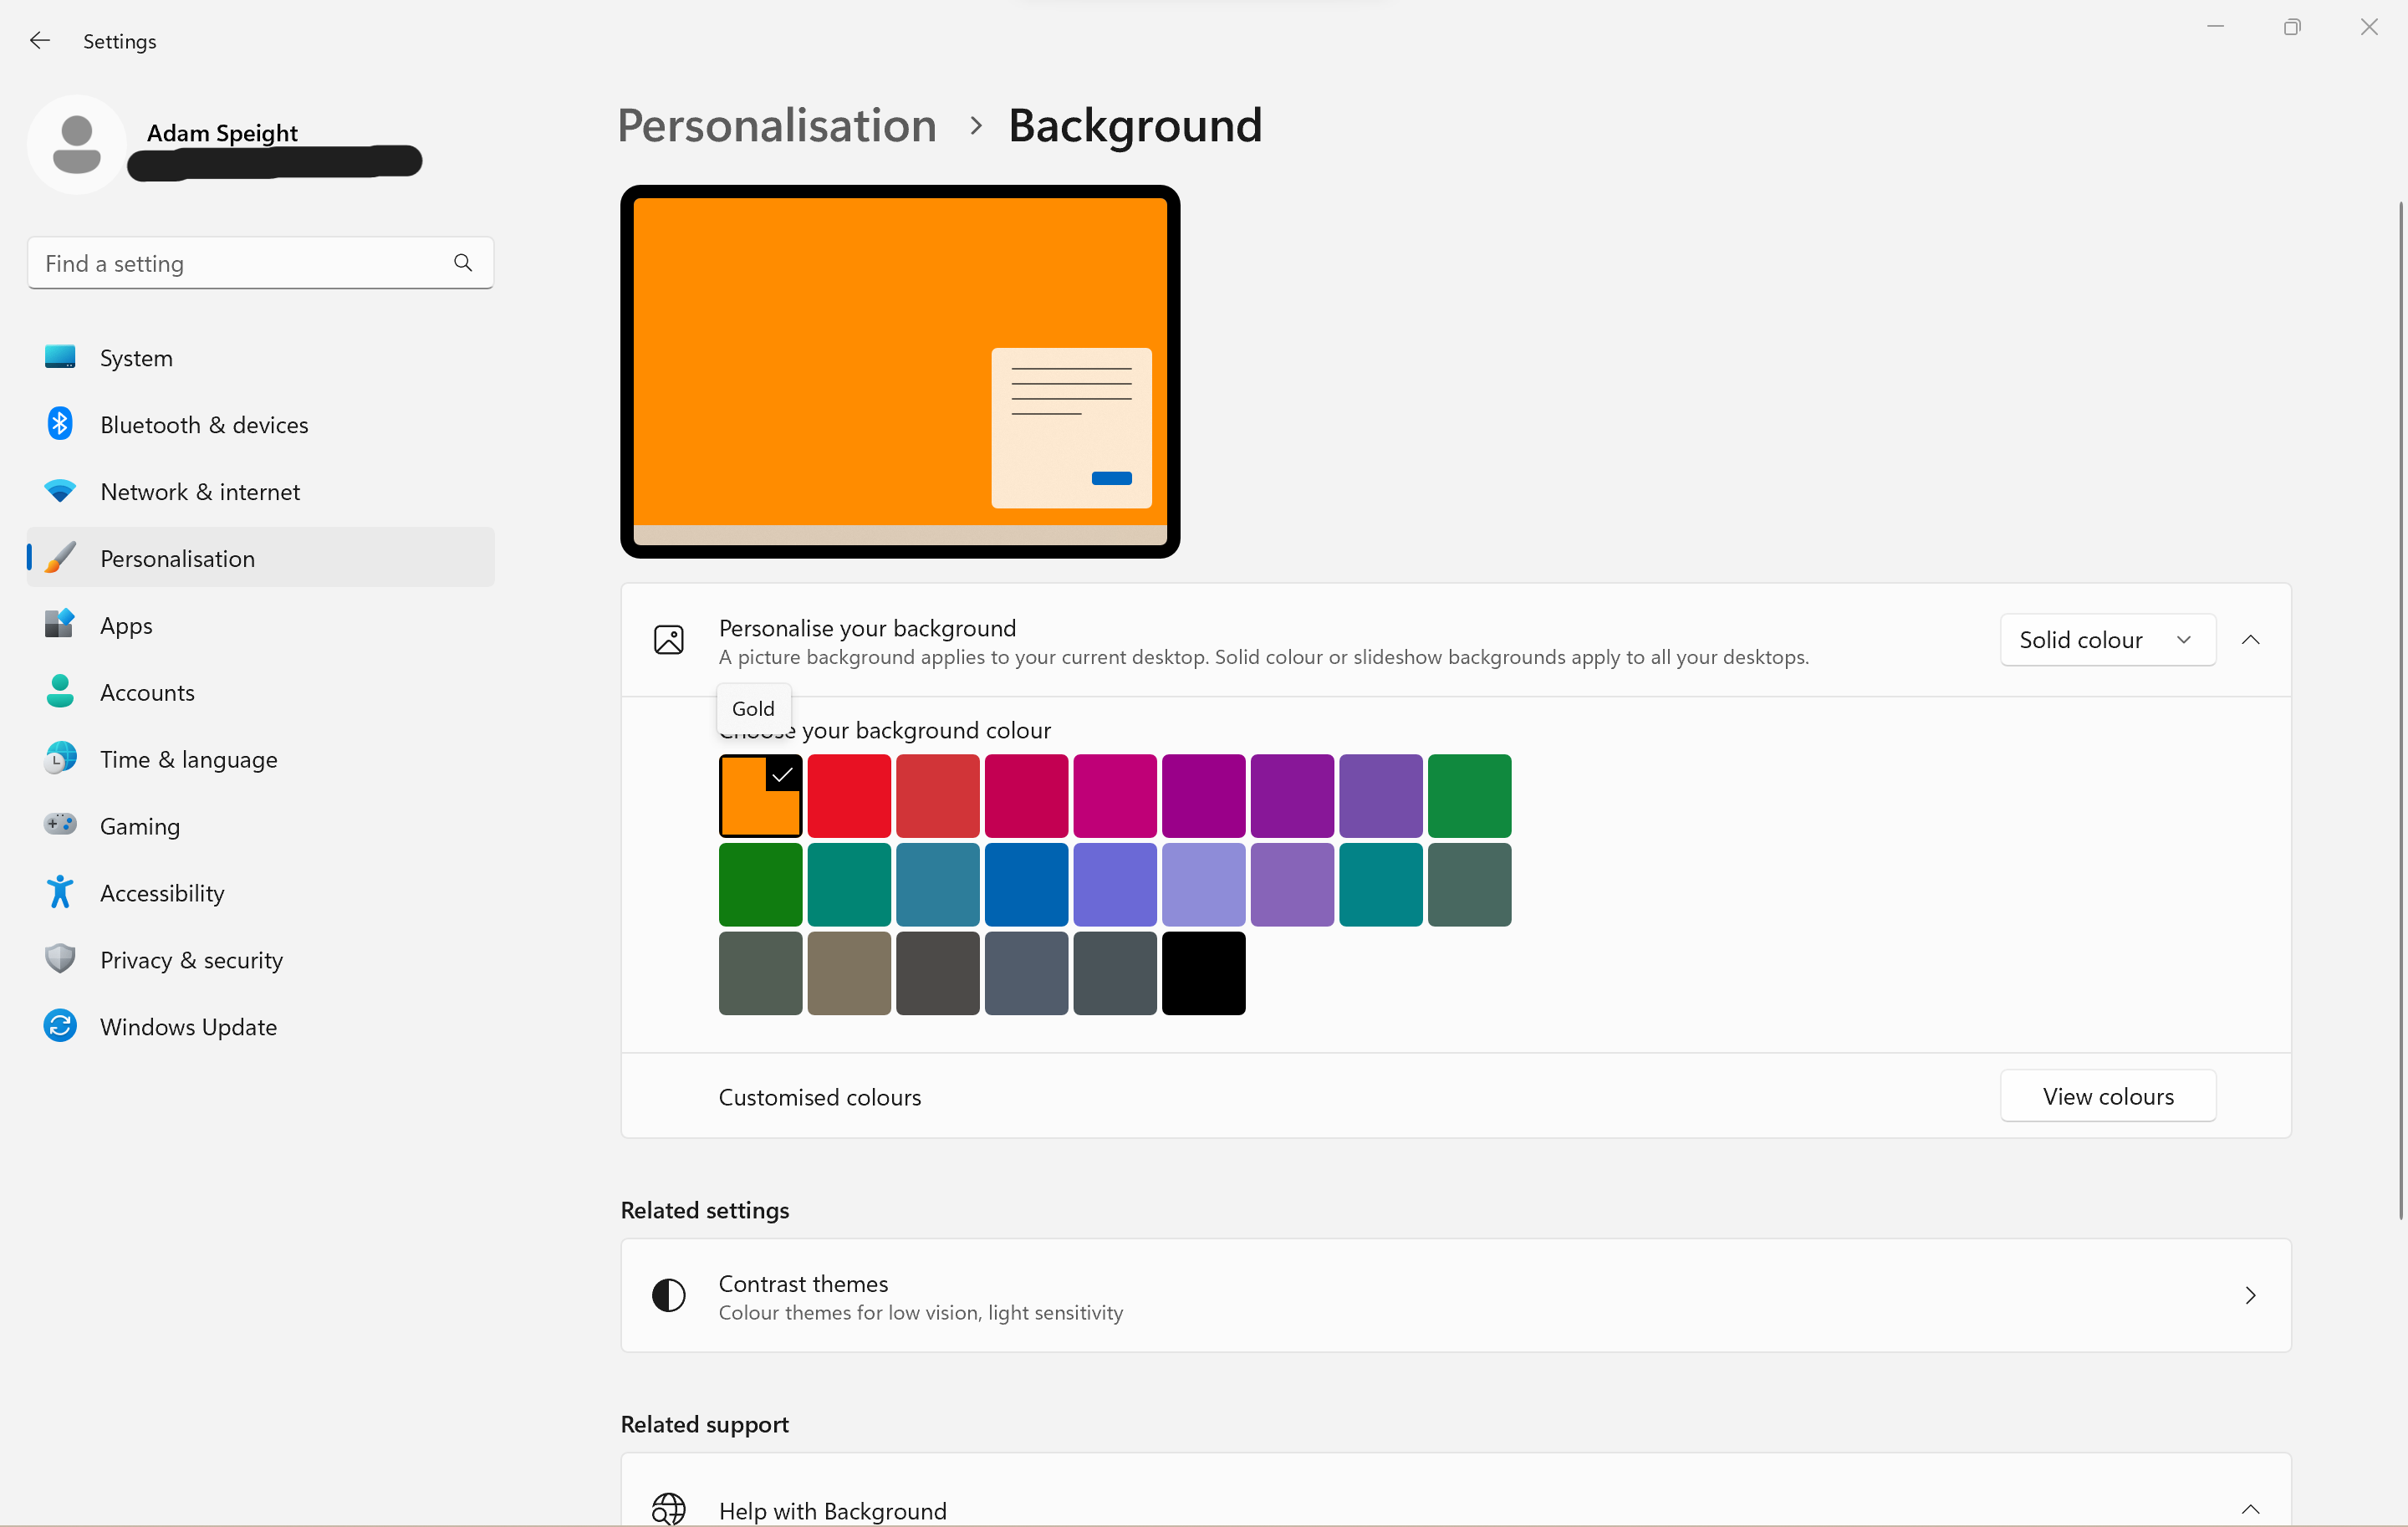
Once you’ve chosen the type of background, select the Picture, Solid Colour, or Slideshow you’d like to use. Windows Spotlight selects a background for you.
Troubleshooting
A speedier way to switch up the look of your Windows 11 machine is to swap the theme. Open Settings, then Personalisation and you’ll be presented with six quick Themes to choose from.
You might like…


Editorial independence
Editorial independence means being able to give an unbiased verdict about a product or company, with the avoidance of conflicts of interest. To ensure this is possible, every member of the editorial staff follows a clear code of conduct.
Professional conduct
We also expect our journalists to follow clear ethical standards in their work. Our staff members must strive for honesty and accuracy in everything they do. We follow the IPSO Editors’ code of practice to underpin these standards.