
If you’d like to know how to add a printer in Windows 10, then you’ve come to the right place.
Adding a printer to Windows can be rather useful, especially if you need to be able to have multiple hard copies of documents – and let’s face it, the chances of that happening are pretty high with a fair amount of people working from home.
Luckily, the process for adding a printer to Windows is rather simple, and there’s a couple of different ways of doing it. We’re here to walk you through the entire process.
Hardware used
- Lenovo Legion 5
- Windows 10 Home
The short version
- Connect your printer to your PC via a USD cable (wired)
- Connect your printer to the same network as your PC (wireless)
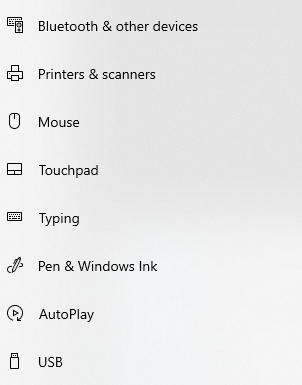
- Open the settings menu
- Head into Devices
- Select ‘Printers and scanners’
- Press ‘Add a printer or scanner’
- Select it from the list
Step
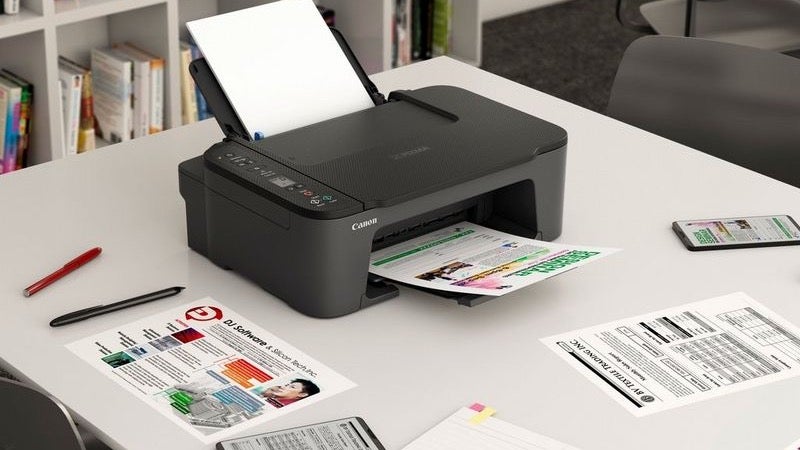
1Connect your printer to your PC via a USB cable (wired)
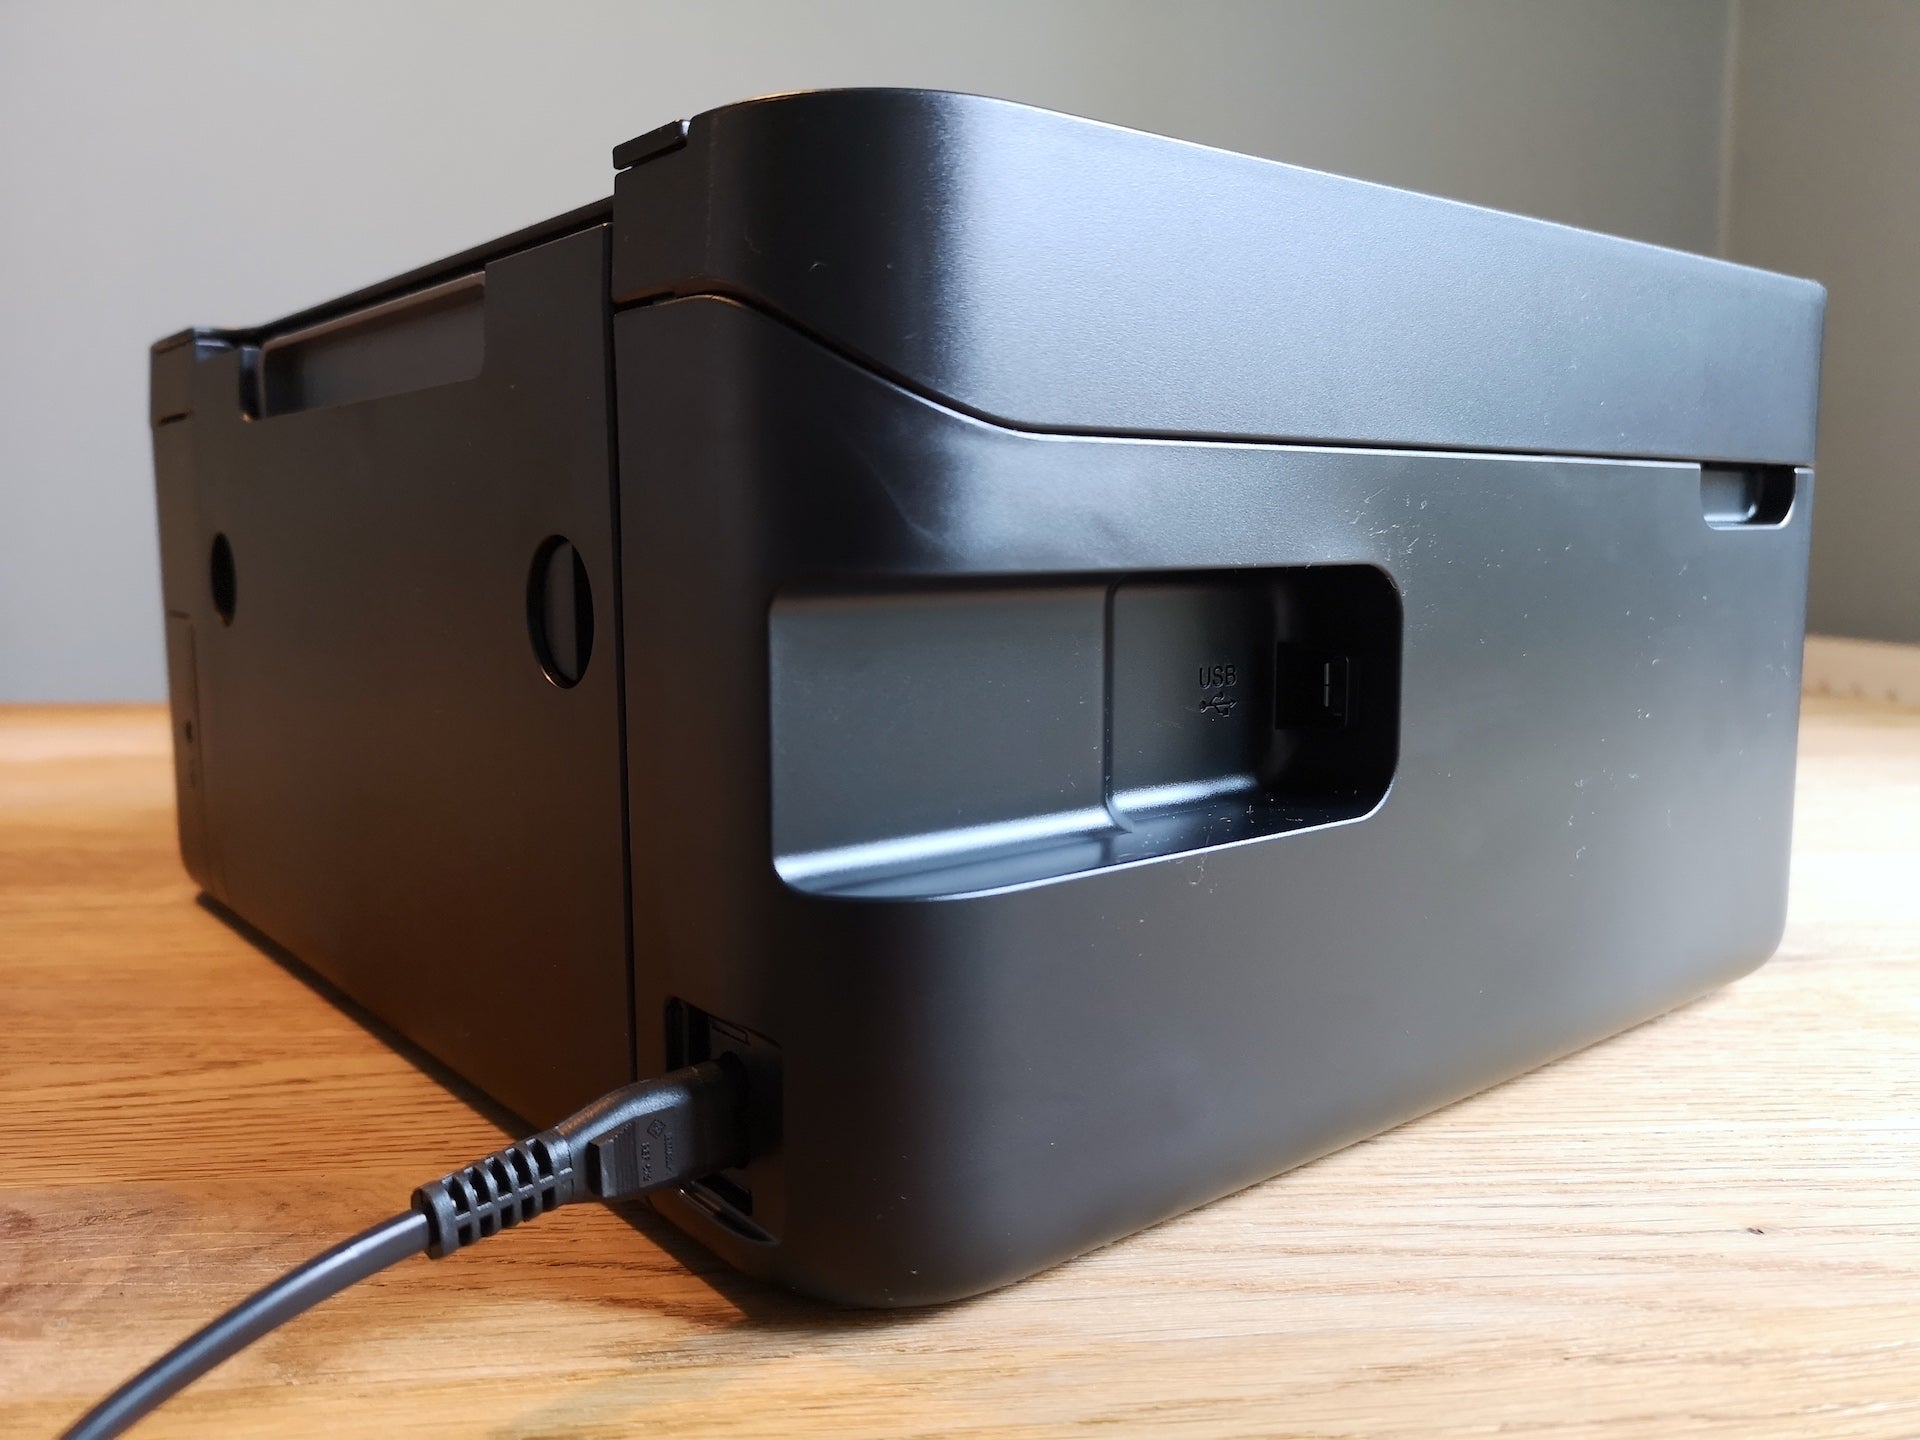
If you’re connecting a printer to your PC via wired means, your first port of call will be need to connect your printer up to a PC via the included USB cable.
Step
2Connect your printer to the same network as your PC (wireless)
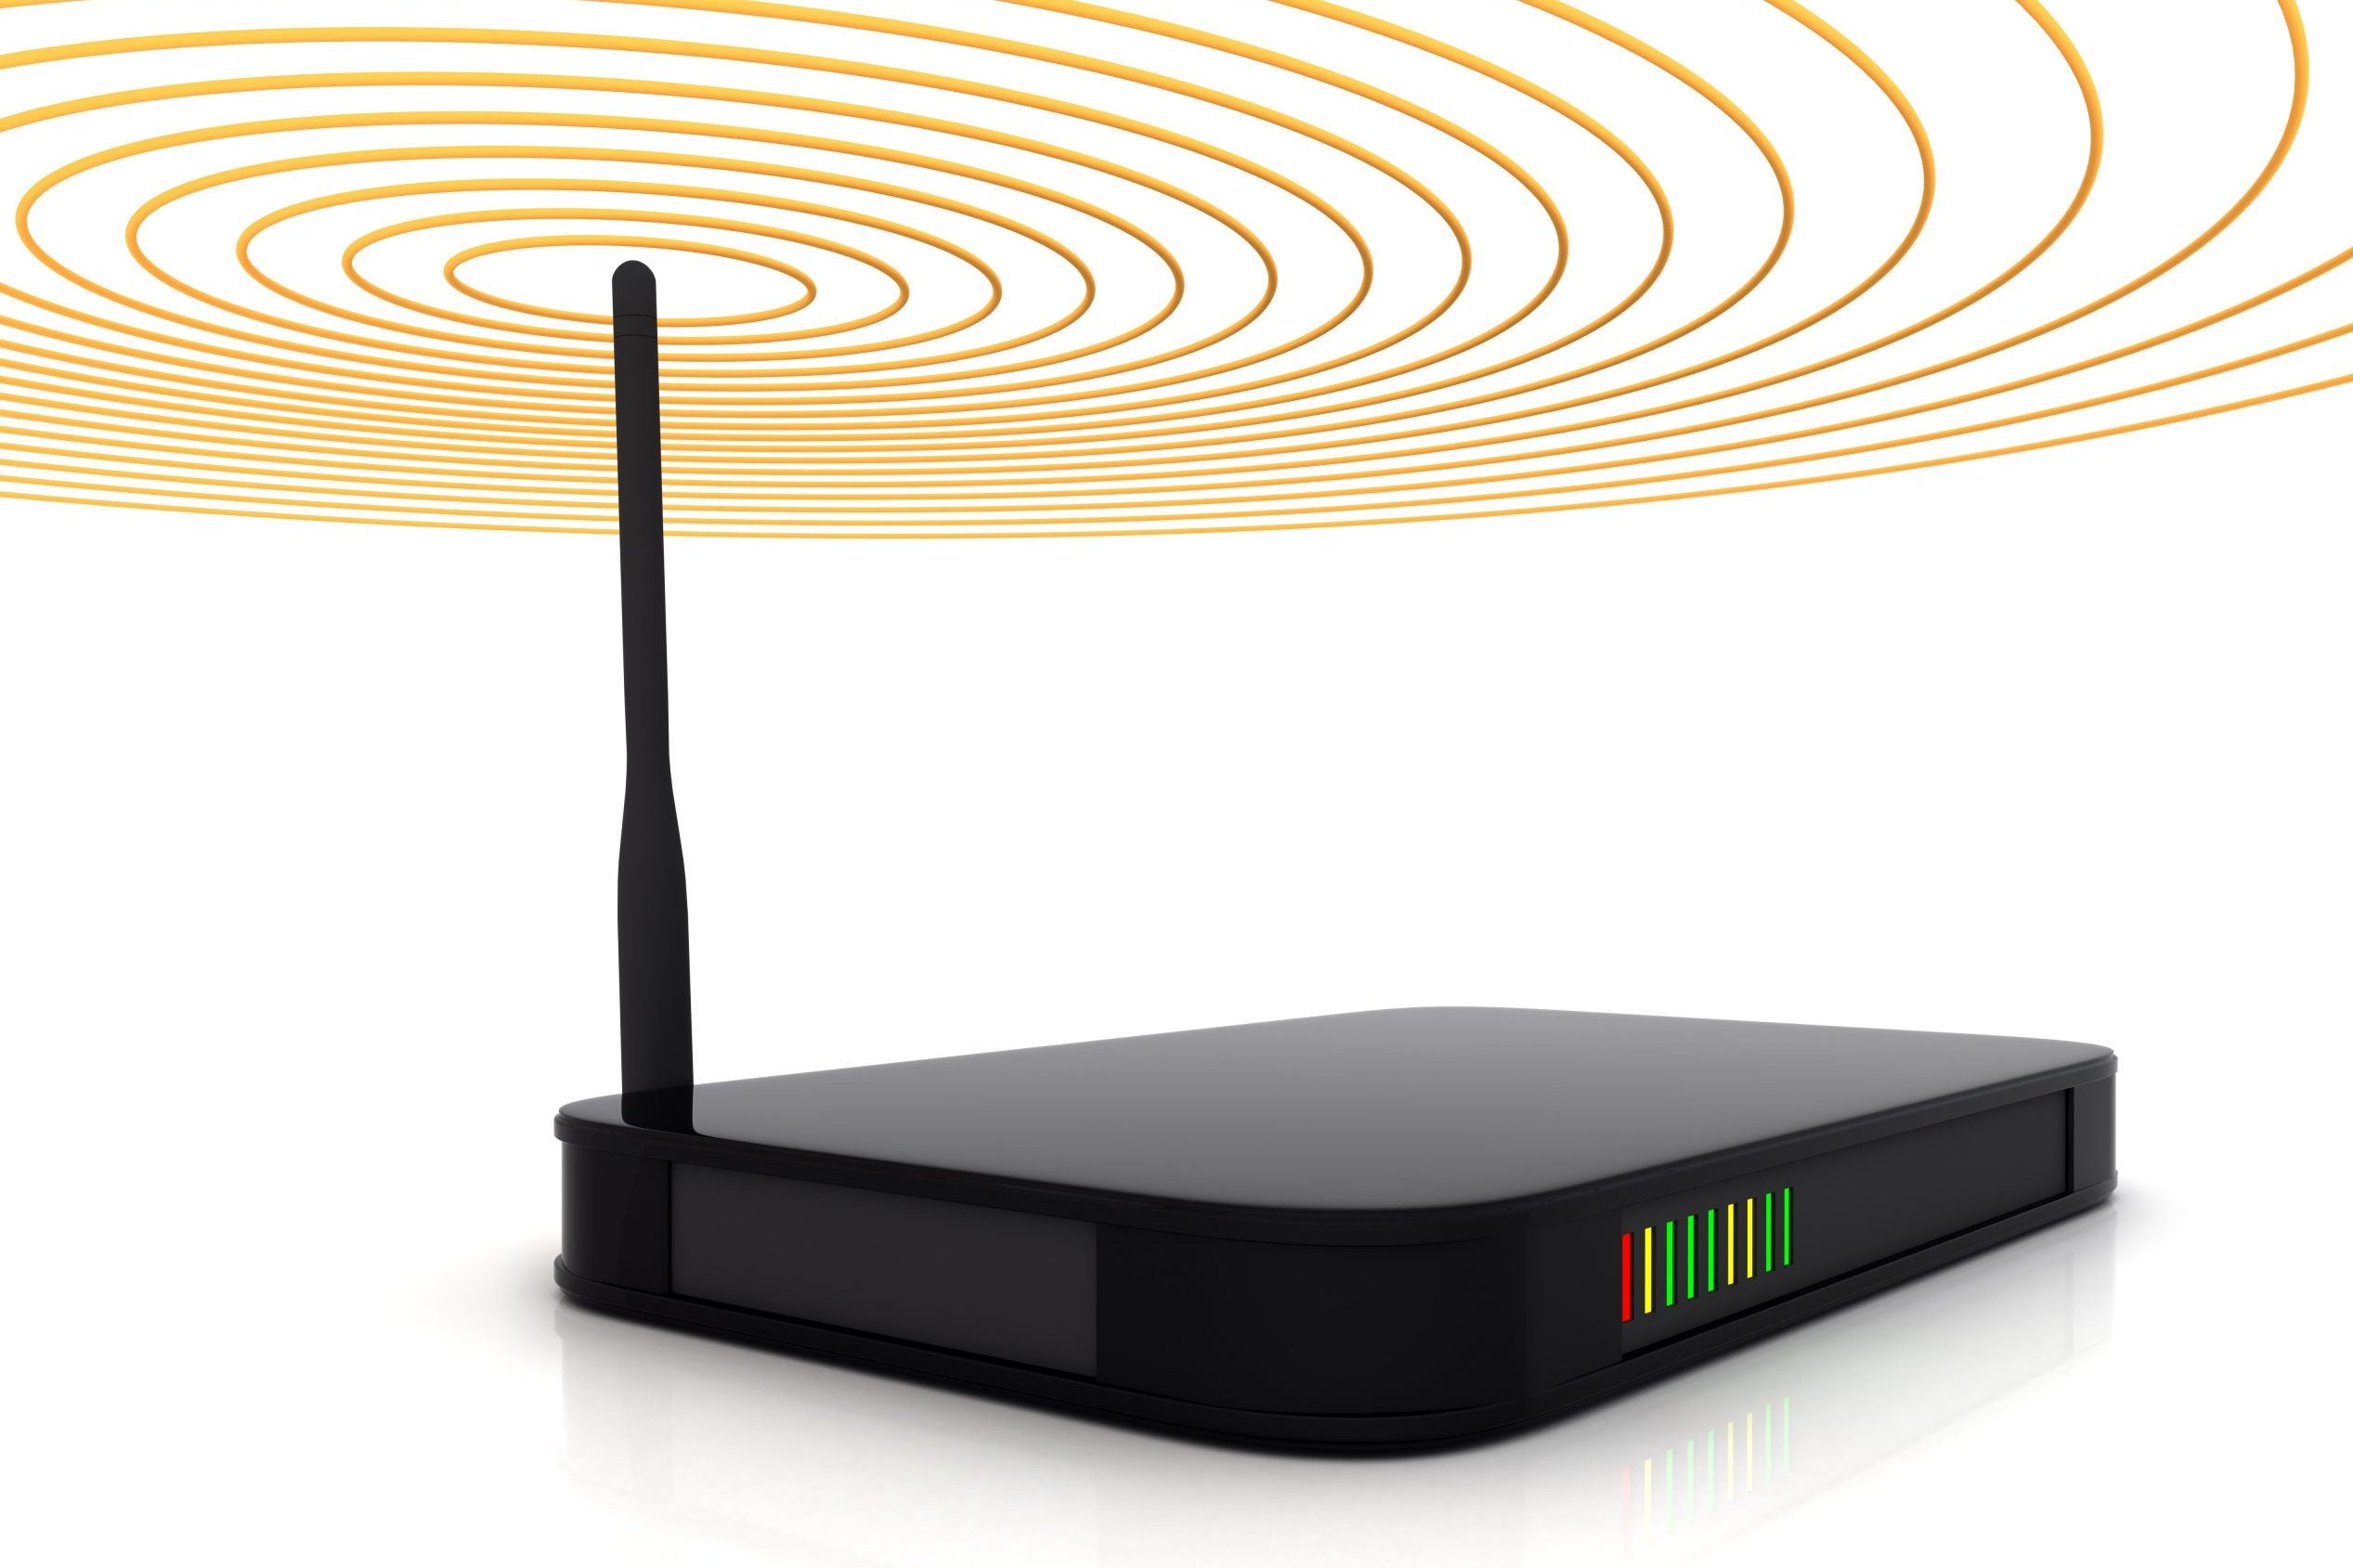
The first step is a little different if you’re intending on doing things wirelessly. You’ll need to connect your printer to the same network as your PC in order for them to be connected via WiFi.
This is usually slightly different for each manufacturer of printers, but will majorly involve you using your printer’s touchscreen to access the network settings, find the name of your network from the list and entering any respective credentials.Step
3Open the Settings menu

Your first port of call is to open the settings menu on your Windows device by either selecting the gear icon in the Start menu, or typing ‘Settings’ into the search box.
Step
4Head into Devices
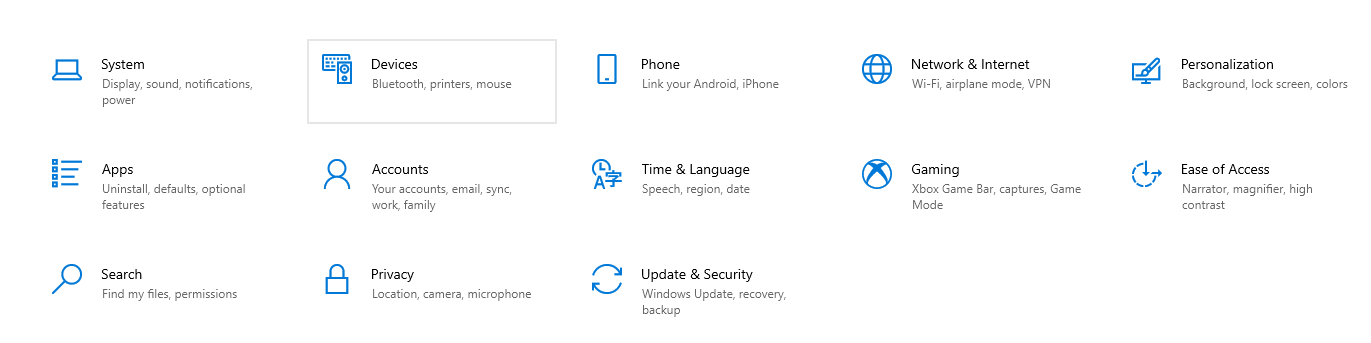
Once inside the main settings menu, you’ll be greeted with a panel of different options. As we’re adding a printer, click on Devices.
Step
5Select ‘Printers and scanners’
When you get into the Devices menu, you’ll have to select the ‘Printers and scanners’ option.
Step
6Press ‘Add a printer or scanner’

When inside that menu, there should be a large button at the top where that says ‘Add a printer or scanner’. Pressing it will cause Windows to scan for devices, and it should bring up any nearby printers.
Step
7Select your printer from the list
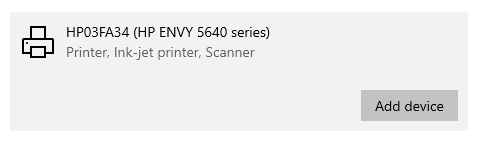
To add your printer to Windows as a functioning device, proceed to click it. Below the name of your printer, it should say ‘Ready’ and be added to the general list.
FAQs
If your printer isn’t popping up as an option for whatever reason, you can add it manually instead. This can be done by clicking “The printer that I want isn’t listed” and then adding the IP address of the printer.
You might like…


Editorial independence
Editorial independence means being able to give an unbiased verdict about a product or company, with the avoidance of conflicts of interest. To ensure this is possible, every member of the editorial staff follows a clear code of conduct.
Professional conduct
We also expect our journalists to follow clear ethical standards in their work. Our staff members must strive for honesty and accuracy in everything they do. We follow the IPSO Editors’ code of practice to underpin these standards.