How to export a file as a PNG in Photoshop

If you’re looking to export your Photoshop project as an image, saving the file as a PNG is one way to go about that process. Here’s how to do it in just a few steps.
Unlike JPEGs, PNGs retain more information and can be transparent. While JPEGs are the best option if you’re short on space or need to save a large number of photos, PNGs are better if you’re making web graphics or any other images you want to stay sharp.
Read on to learn how to export a file as a PNG in Photoshop…
What you will need:
- Adobe Photoshop
- A Creative Cloud subscription
The Short Version
- Click File
- Hover over Export
- Click Quick Export As PNG
- Hit Save
Step
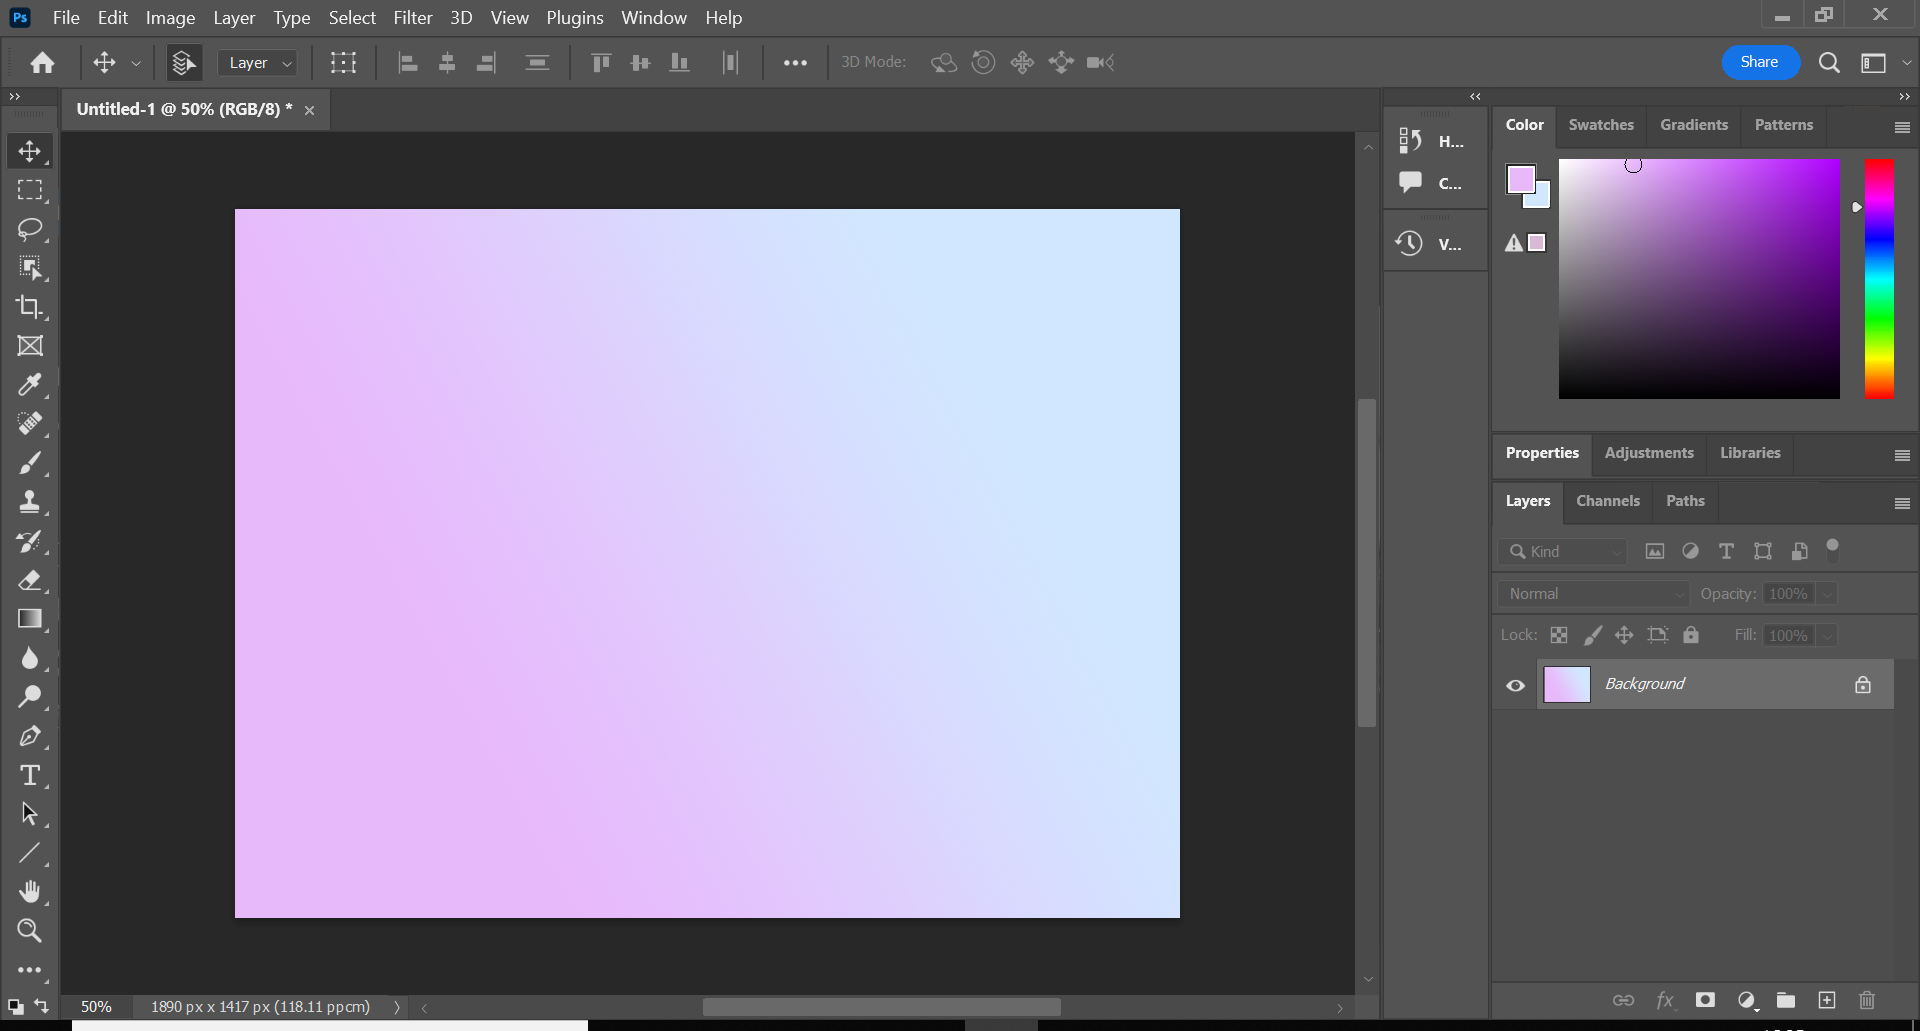
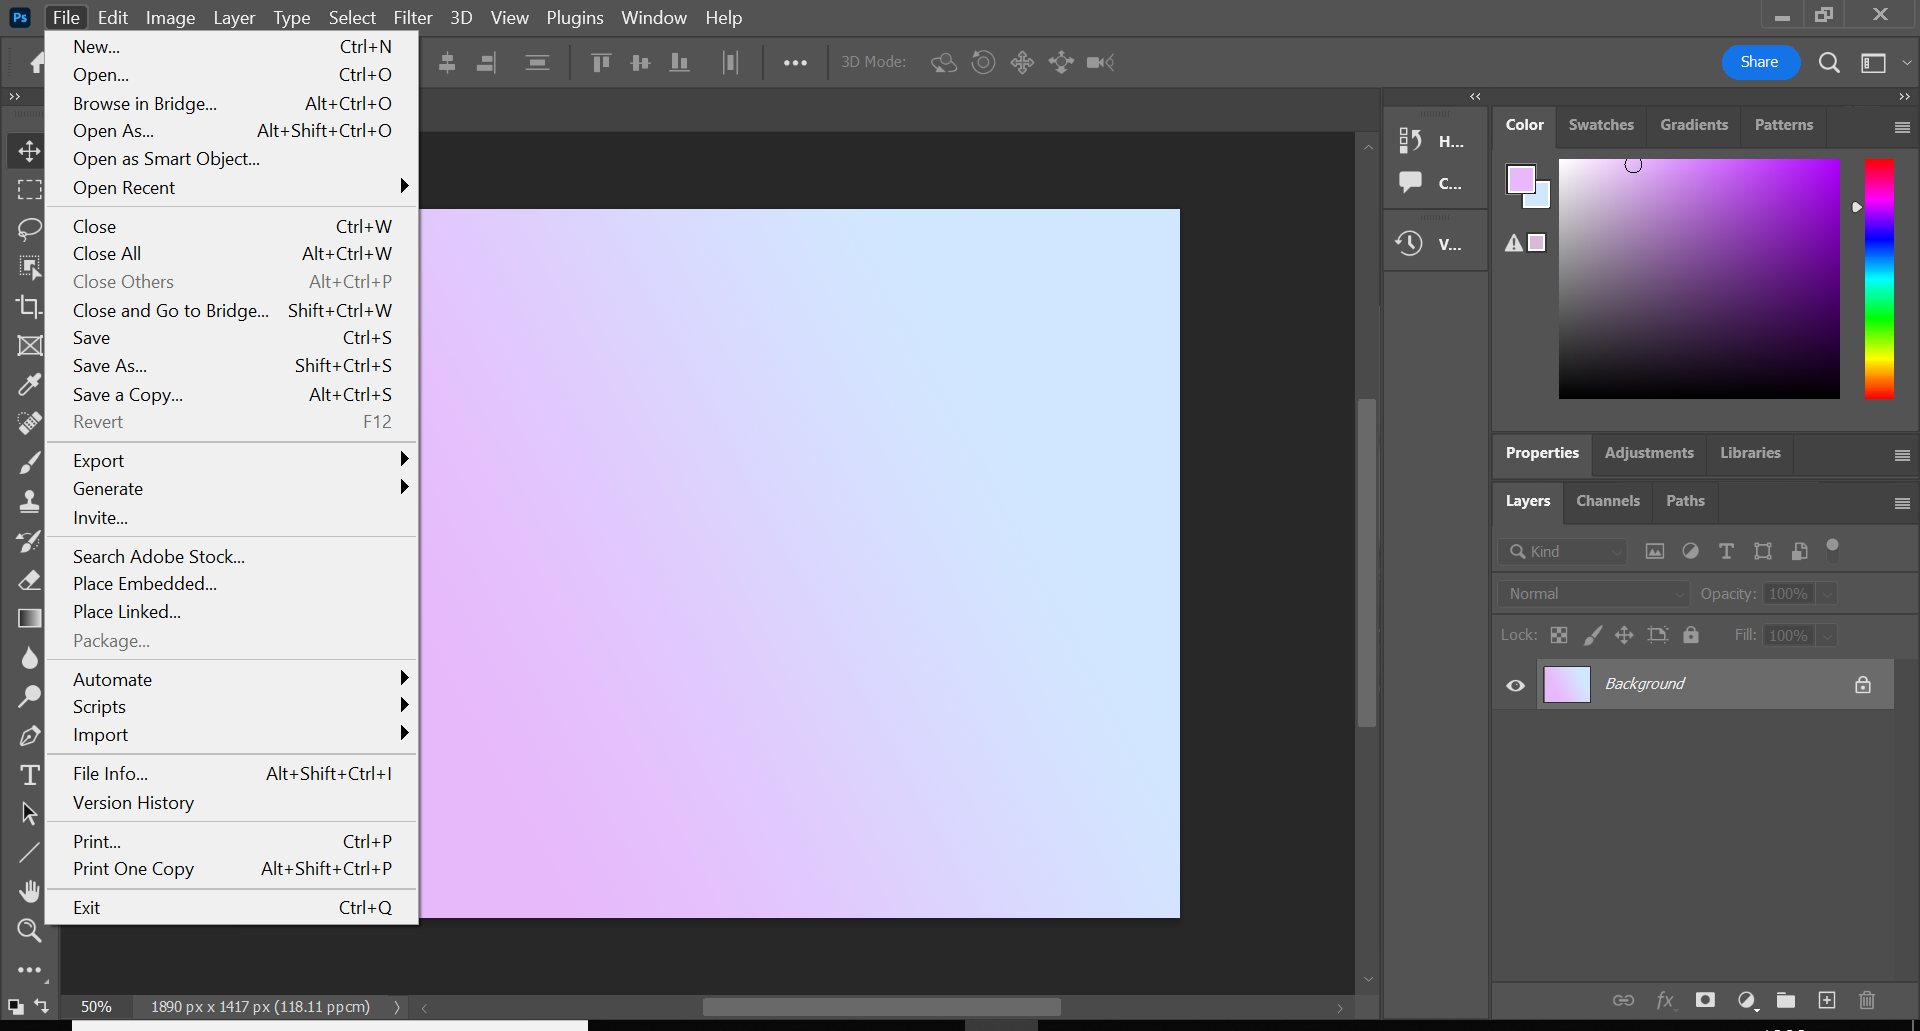
1Click File

This will be in the menu bar at the top of the screen.

Step
2Hover over Export

You can find this option about halfway down the dropdown menu.

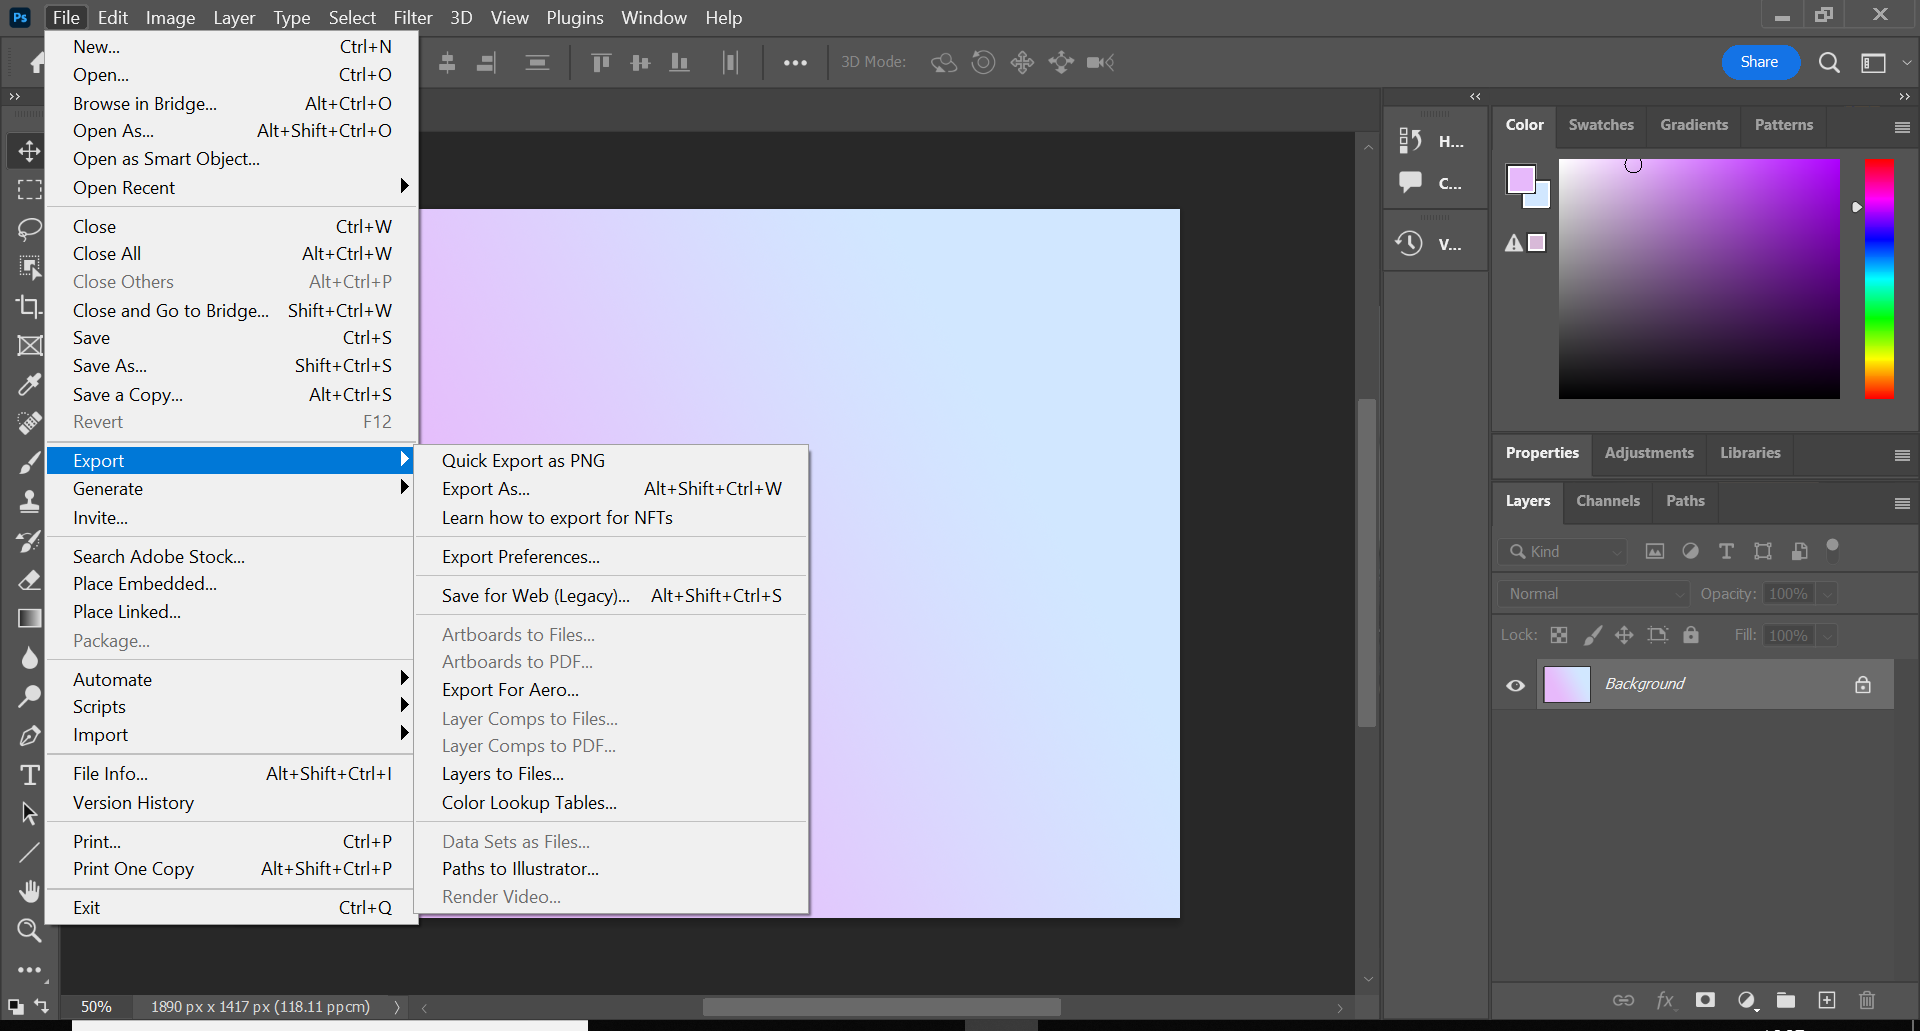
Step
3Click Quick Export As PNG

Alternatively, you can click Export As…, change the format to PNG and hit Export. However, that requires a couple more steps than this method.

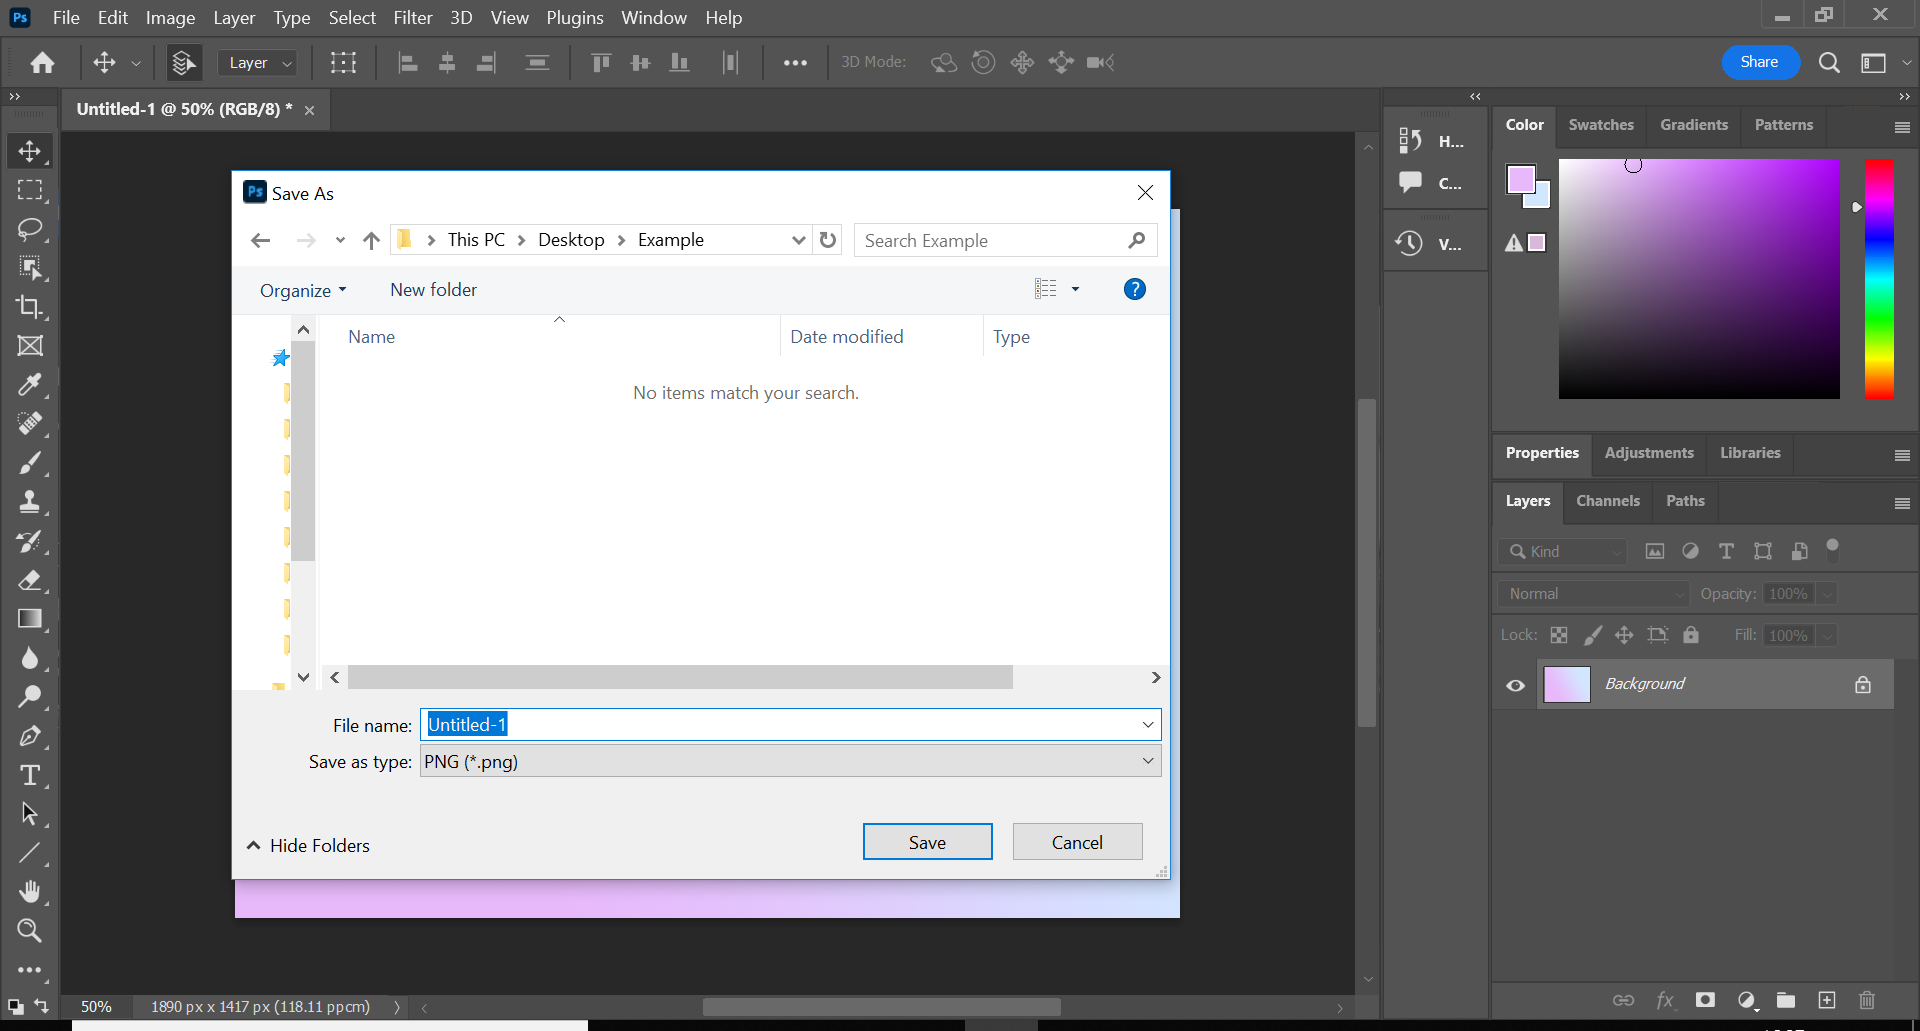
Step
4Choose a location for your file and hit Save

You can also name your file at this stage, but that is optional.

Troubleshooting
If you want to export a file as a JPEG or a GIF, all you need to do is click Export As… instead of Quick Export As PNG during step 3. Then, change the format and hit Export.
Saving your file as a PSD, or Photoshop Document, will allow you to go back and work on the image while keeping all of its layers intact.
To save a PSD, just click File, Save As, On Your Computer and then Save On Your Computer. You can also save the file to the cloud if you prefer.


