Microwaves are a brilliant tool for any kitchen, defrosting, reheating and cooking quickly. Yet, for all their quality, the problem with microwaves is that they can pop and explode food, leaving the interior rather messy.
As well as looking bad, it can lead to strange smells. You can get out the cleaning spray and put some hard graft into it but why bother when there’s an easier way? Here, we’ll show you how to clean a microwave the easy way.
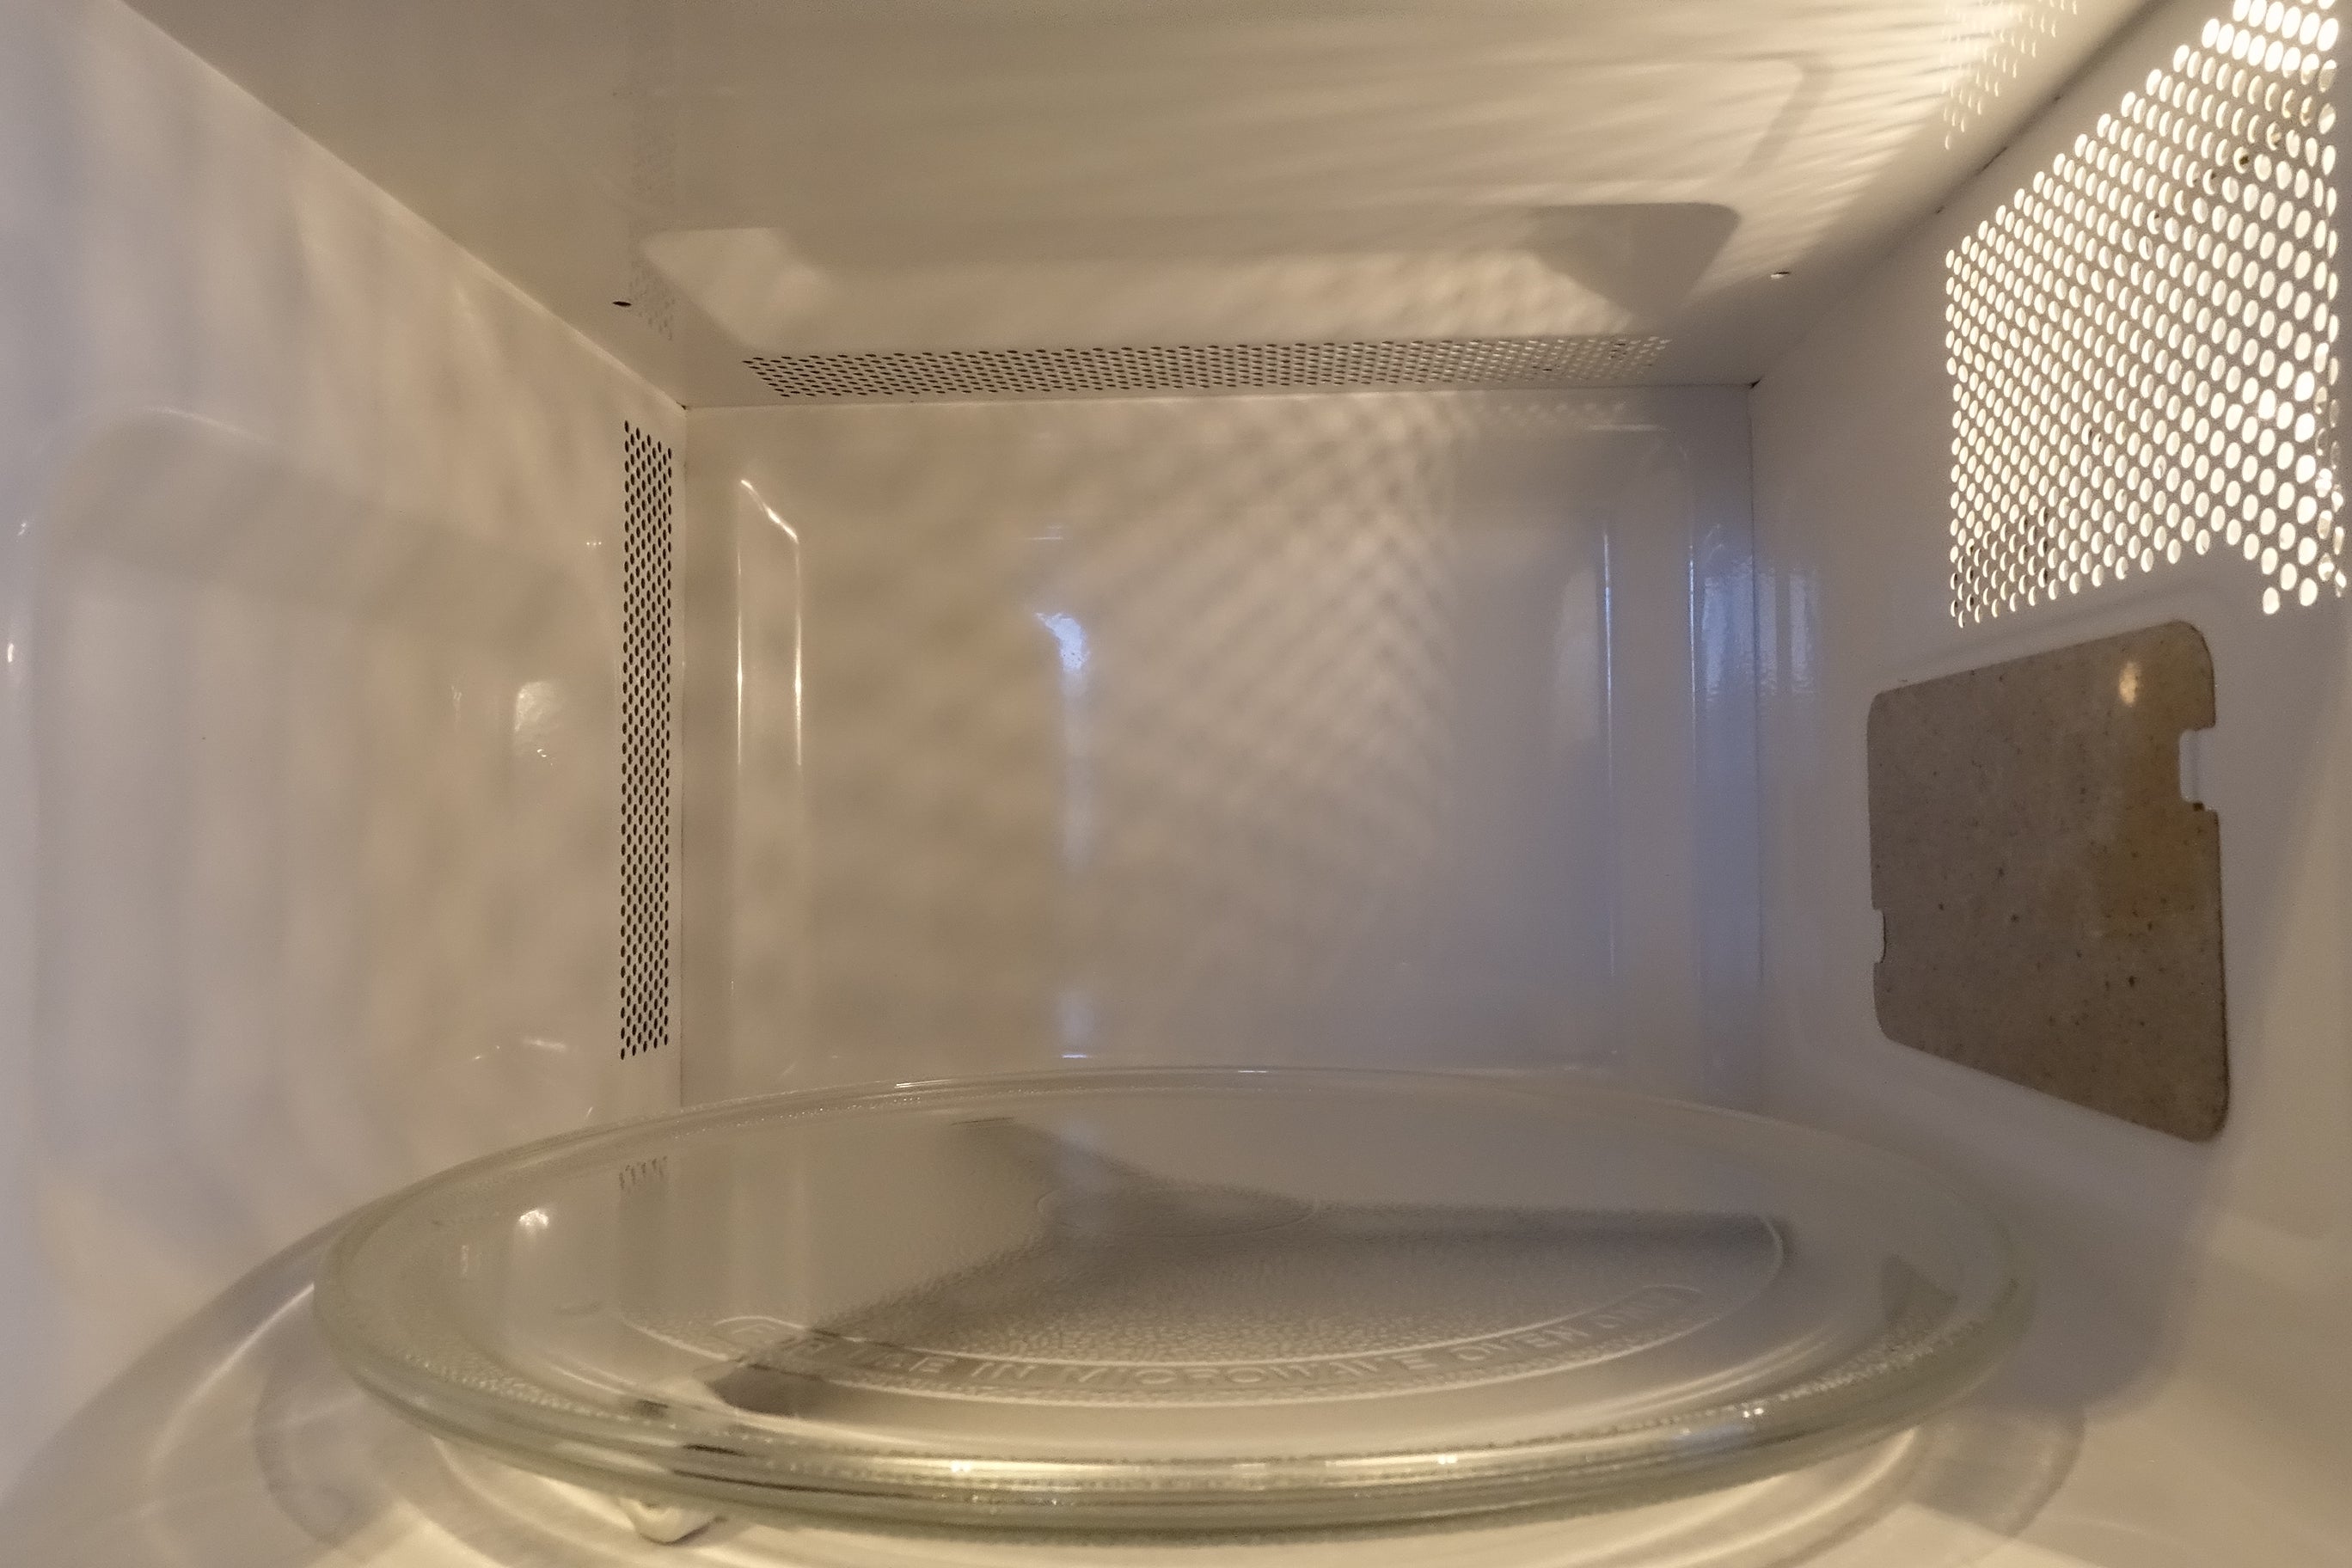
Cleaning the inside
It’s the inside where you’ll get the most mess. While there are a variety of cleaning products available in shops to help clean your microwave, you can complete the job just as well simply by using a cloth and some ingredients found in almost any household. We’ll give you a few options.
Clean a microwave with the microwave and a lemon
Microwaving a lemon, a bit of baking soda or vinegar with some water will help to remove just about any muck. Lemon comes with the bonus of a pleasant scent, but baking soda can eliminate odours as well. Vinegar, too, can tackle a smelly microwave and is great for cutting through grease.
Related: Best microwaves
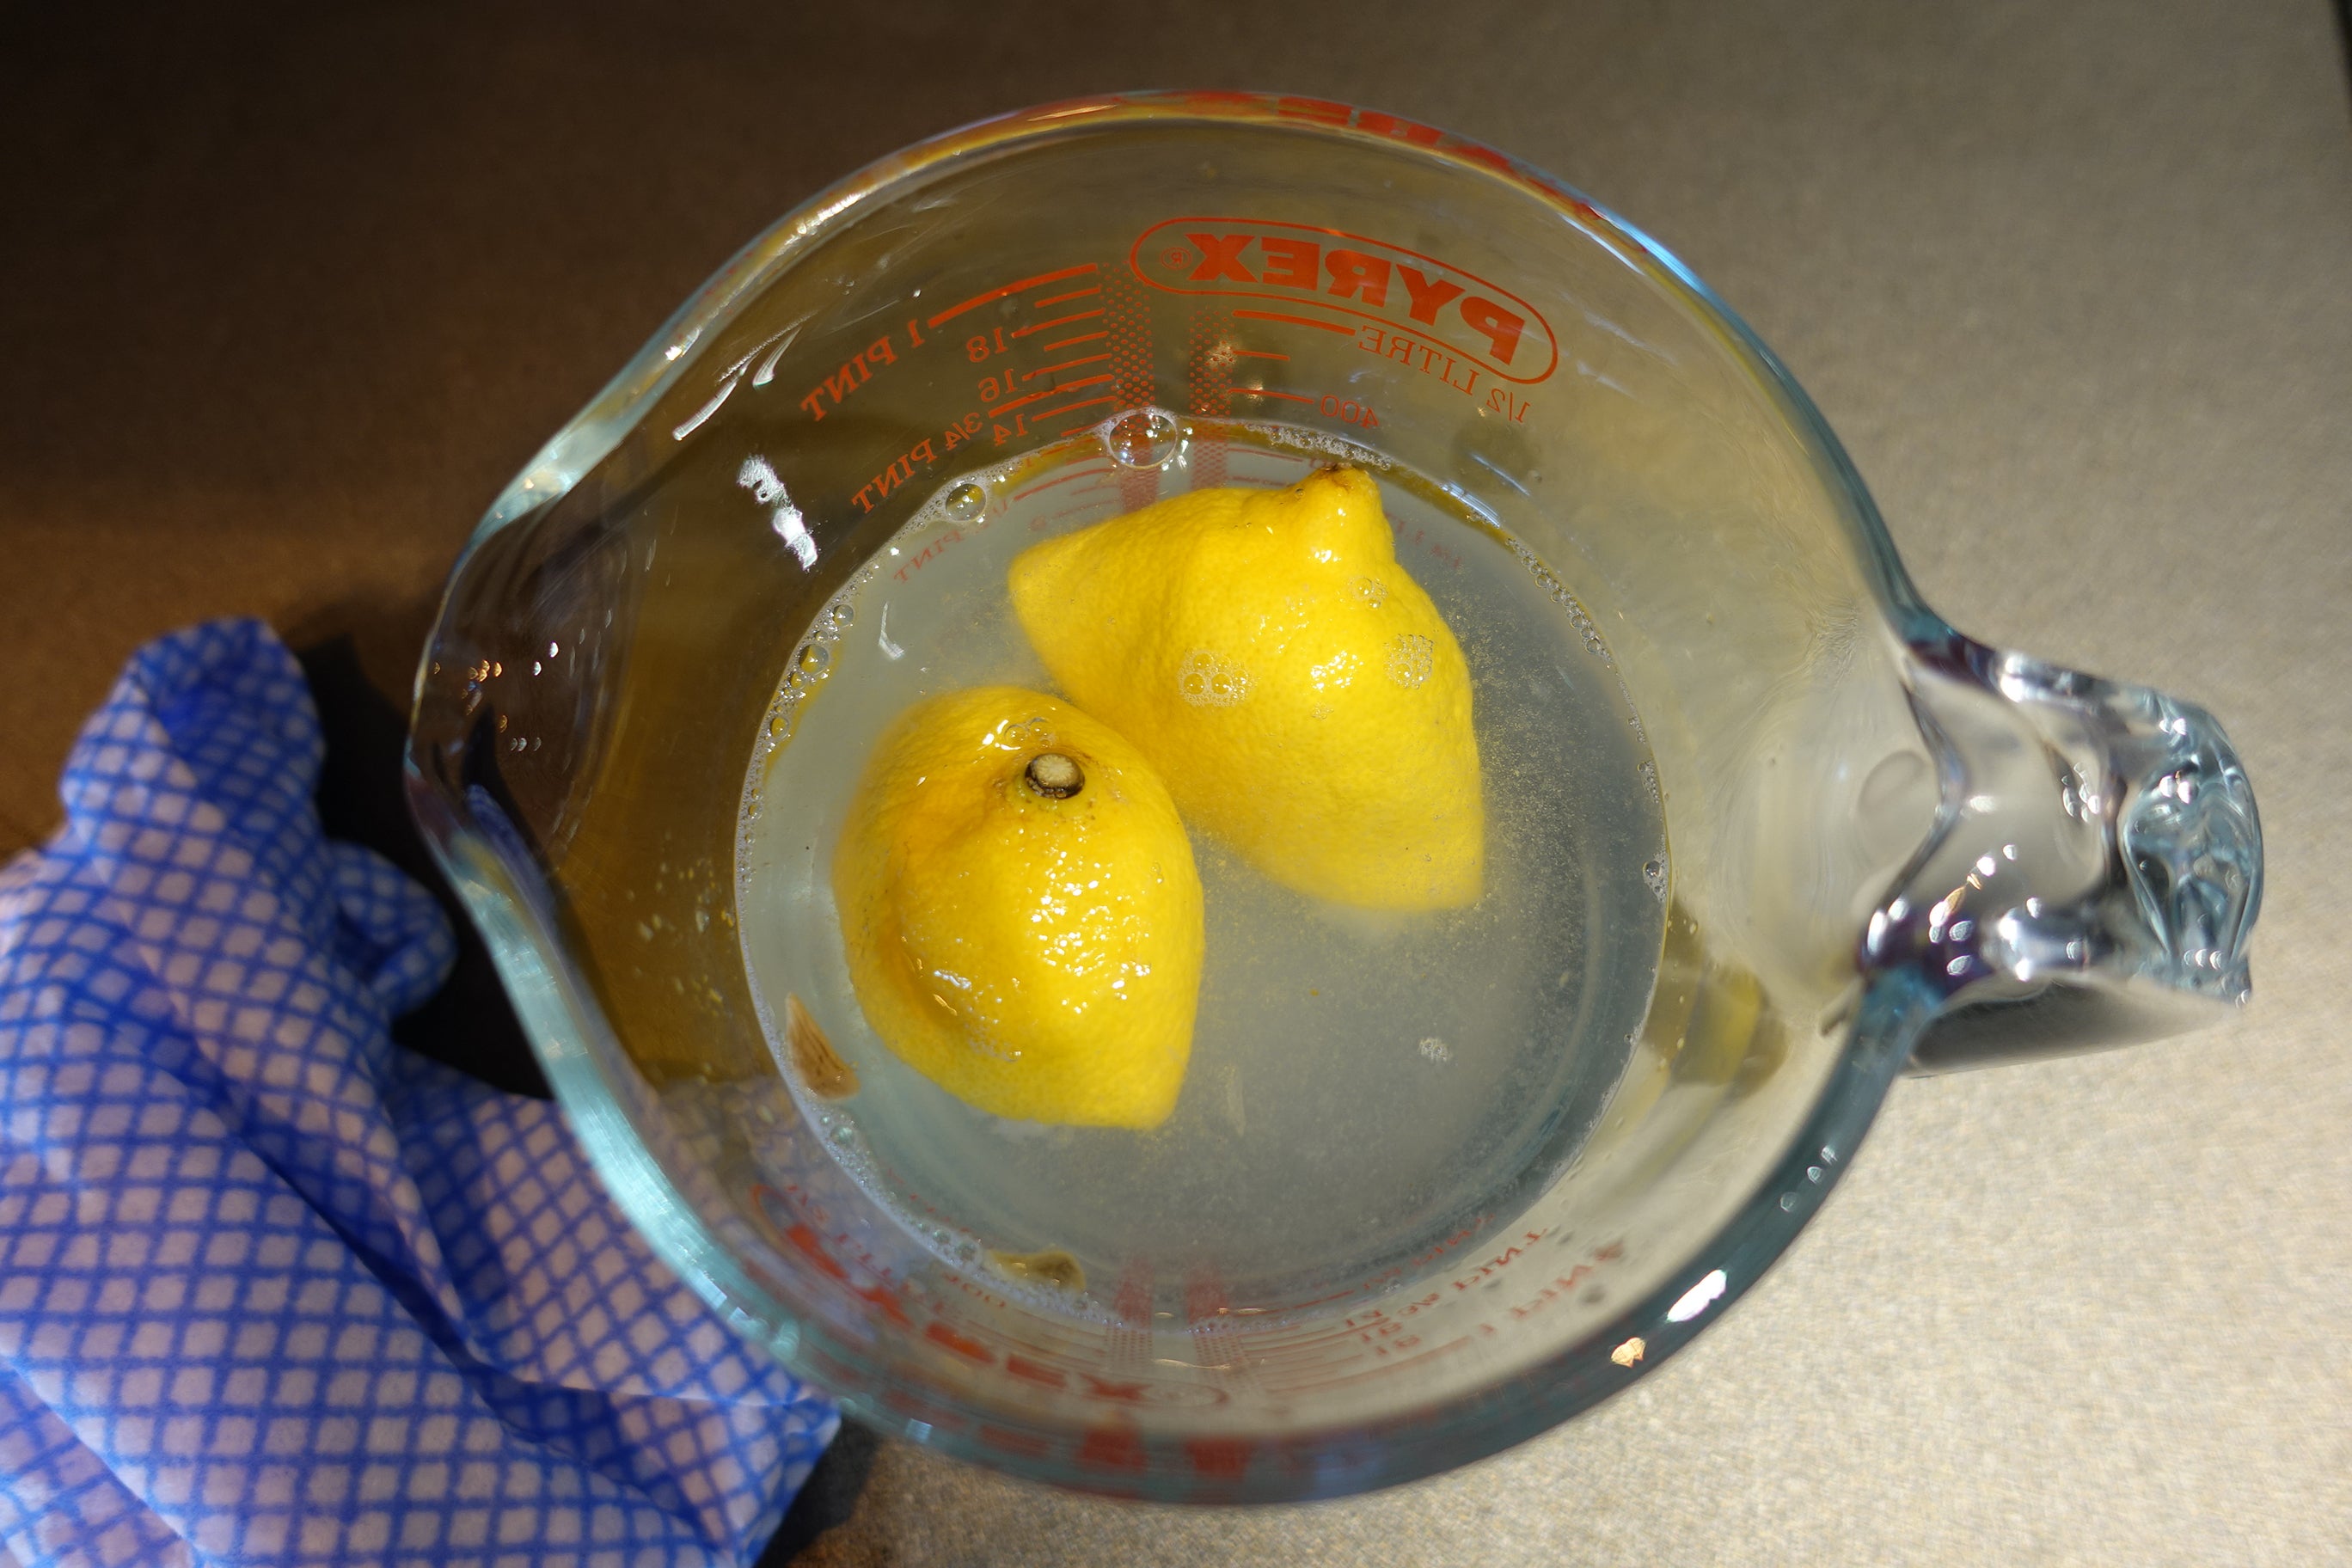
Cleaning your microwave with lemon is an excellent and natural way to rid your appliance of any food splatters and nasty smells. All you need is a large-ish microwave-safe container, a whole lemon and a clean cloth.
Cut the lemon in half and squeeze the juice into the bowl or jug. Add at least 200-300ml of water and the lemon halves, and microwave on high until the water boils. (It took about three minutes in my 800W oven.)
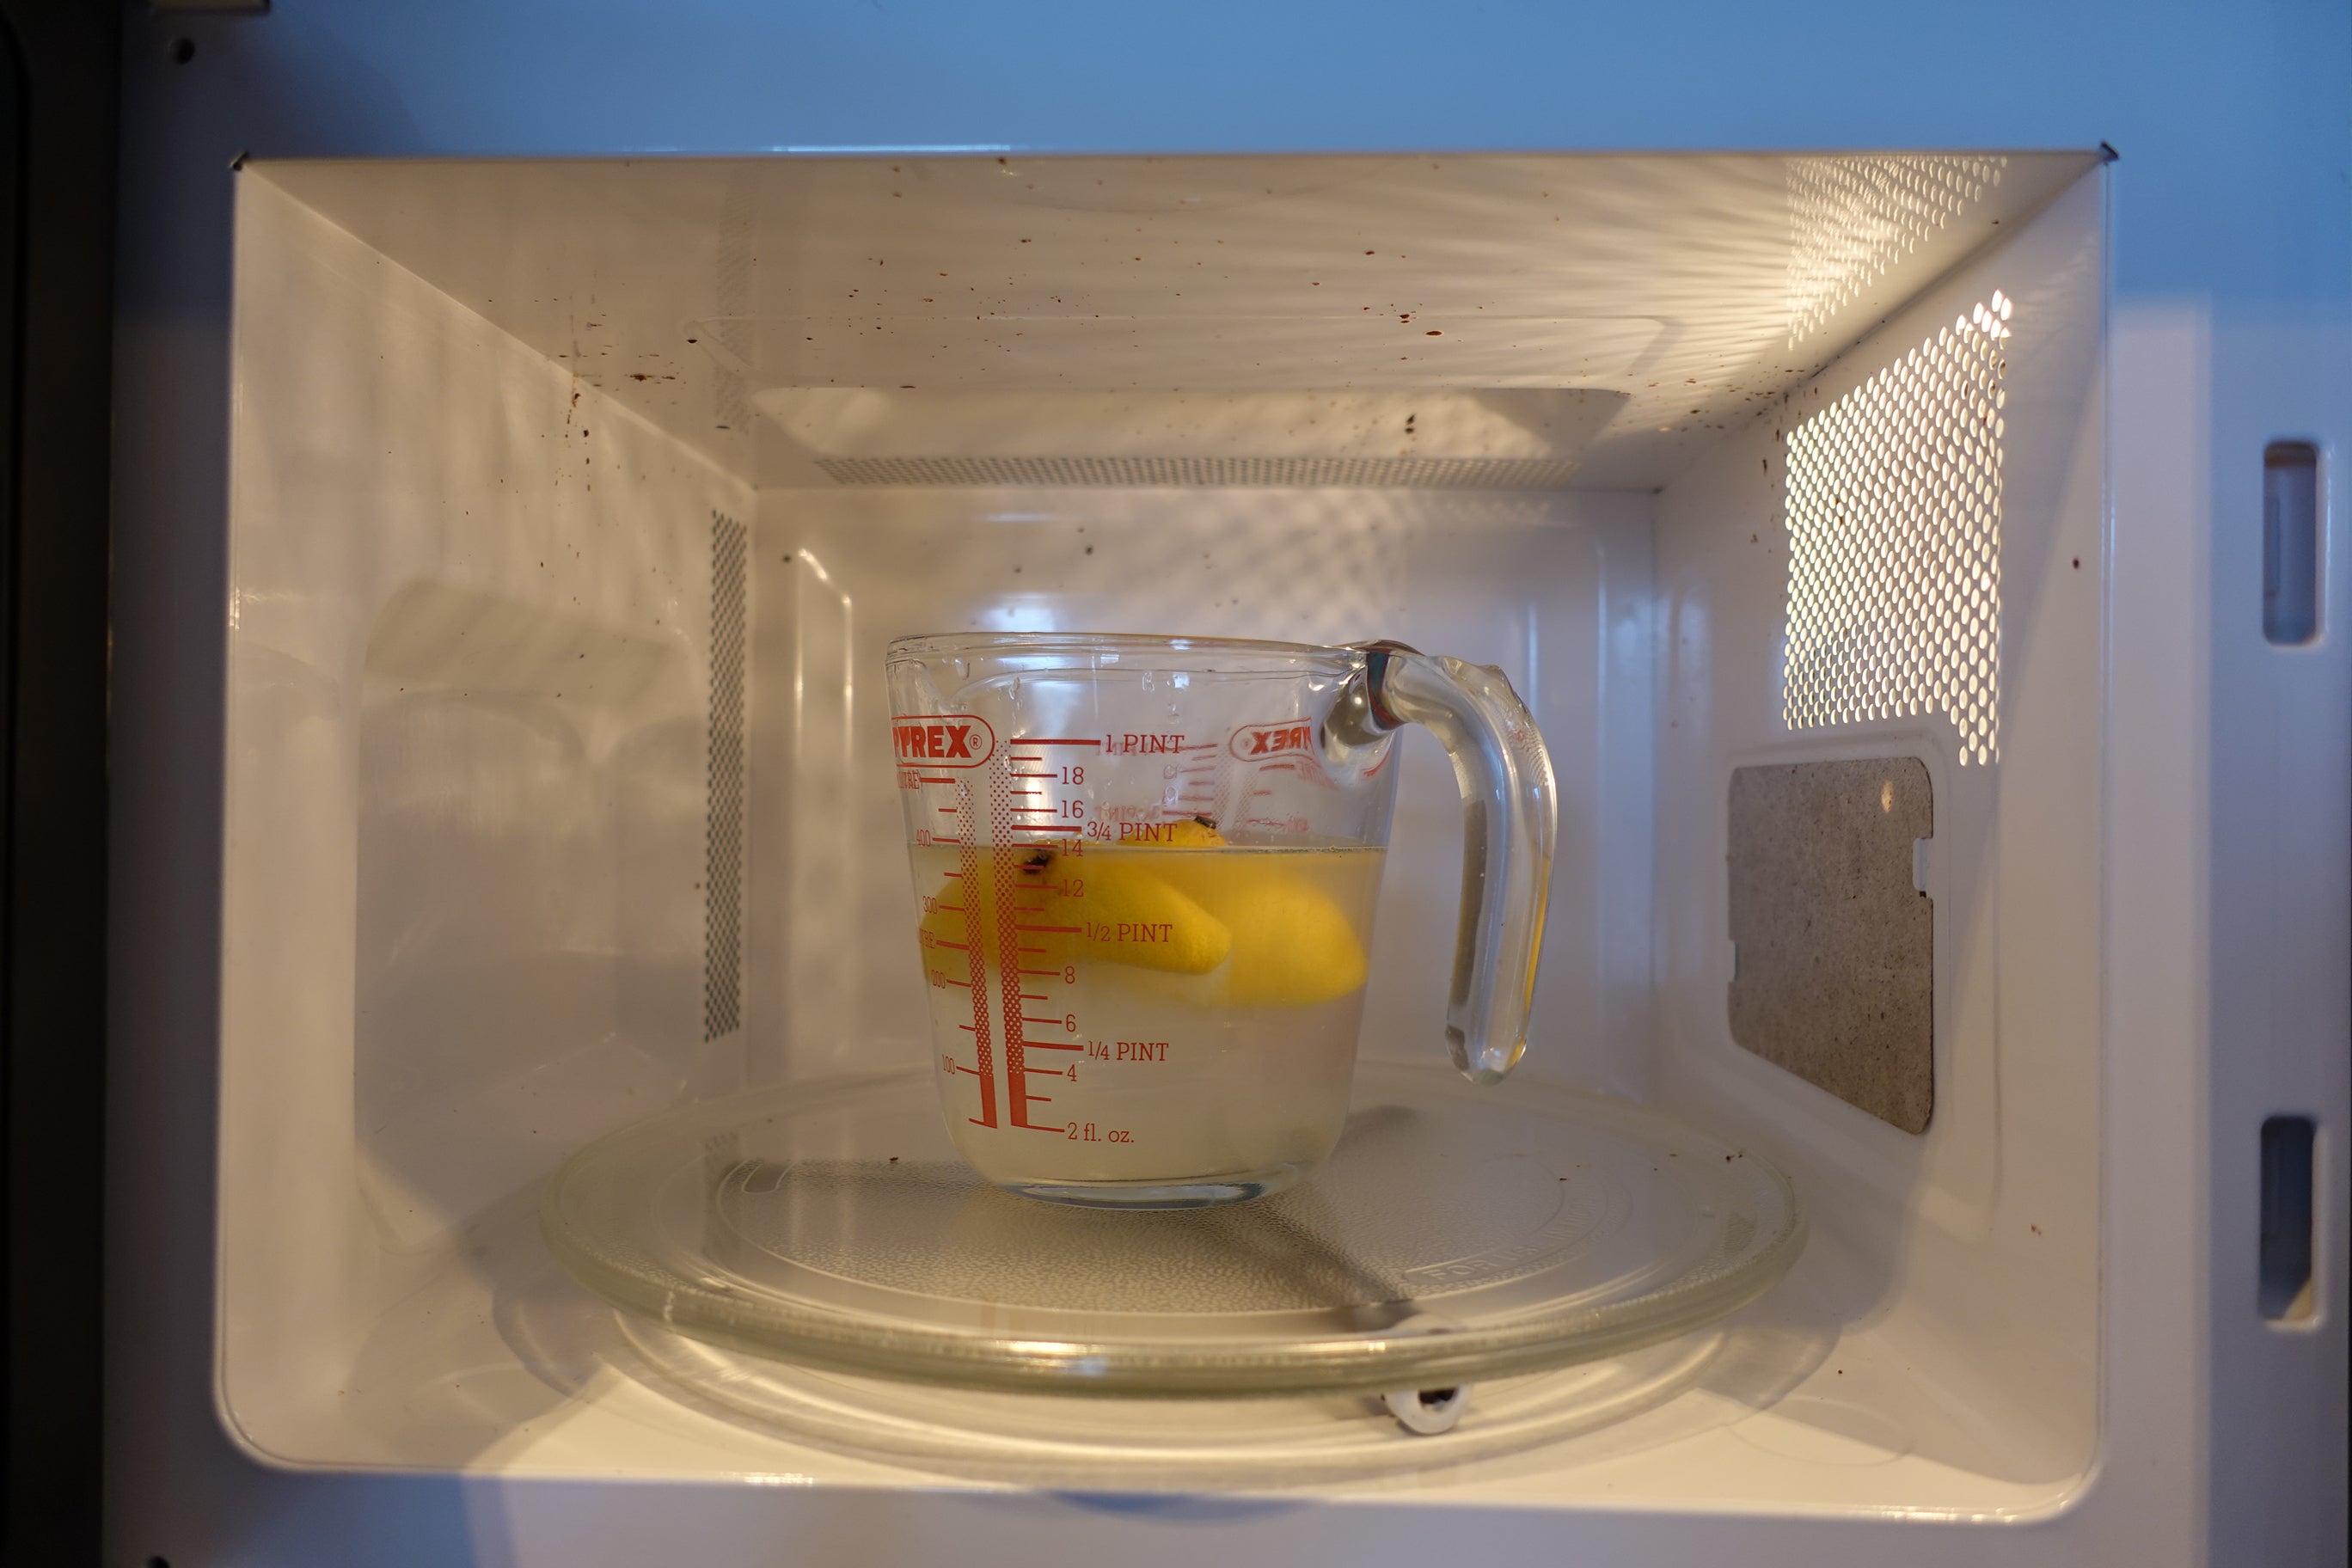
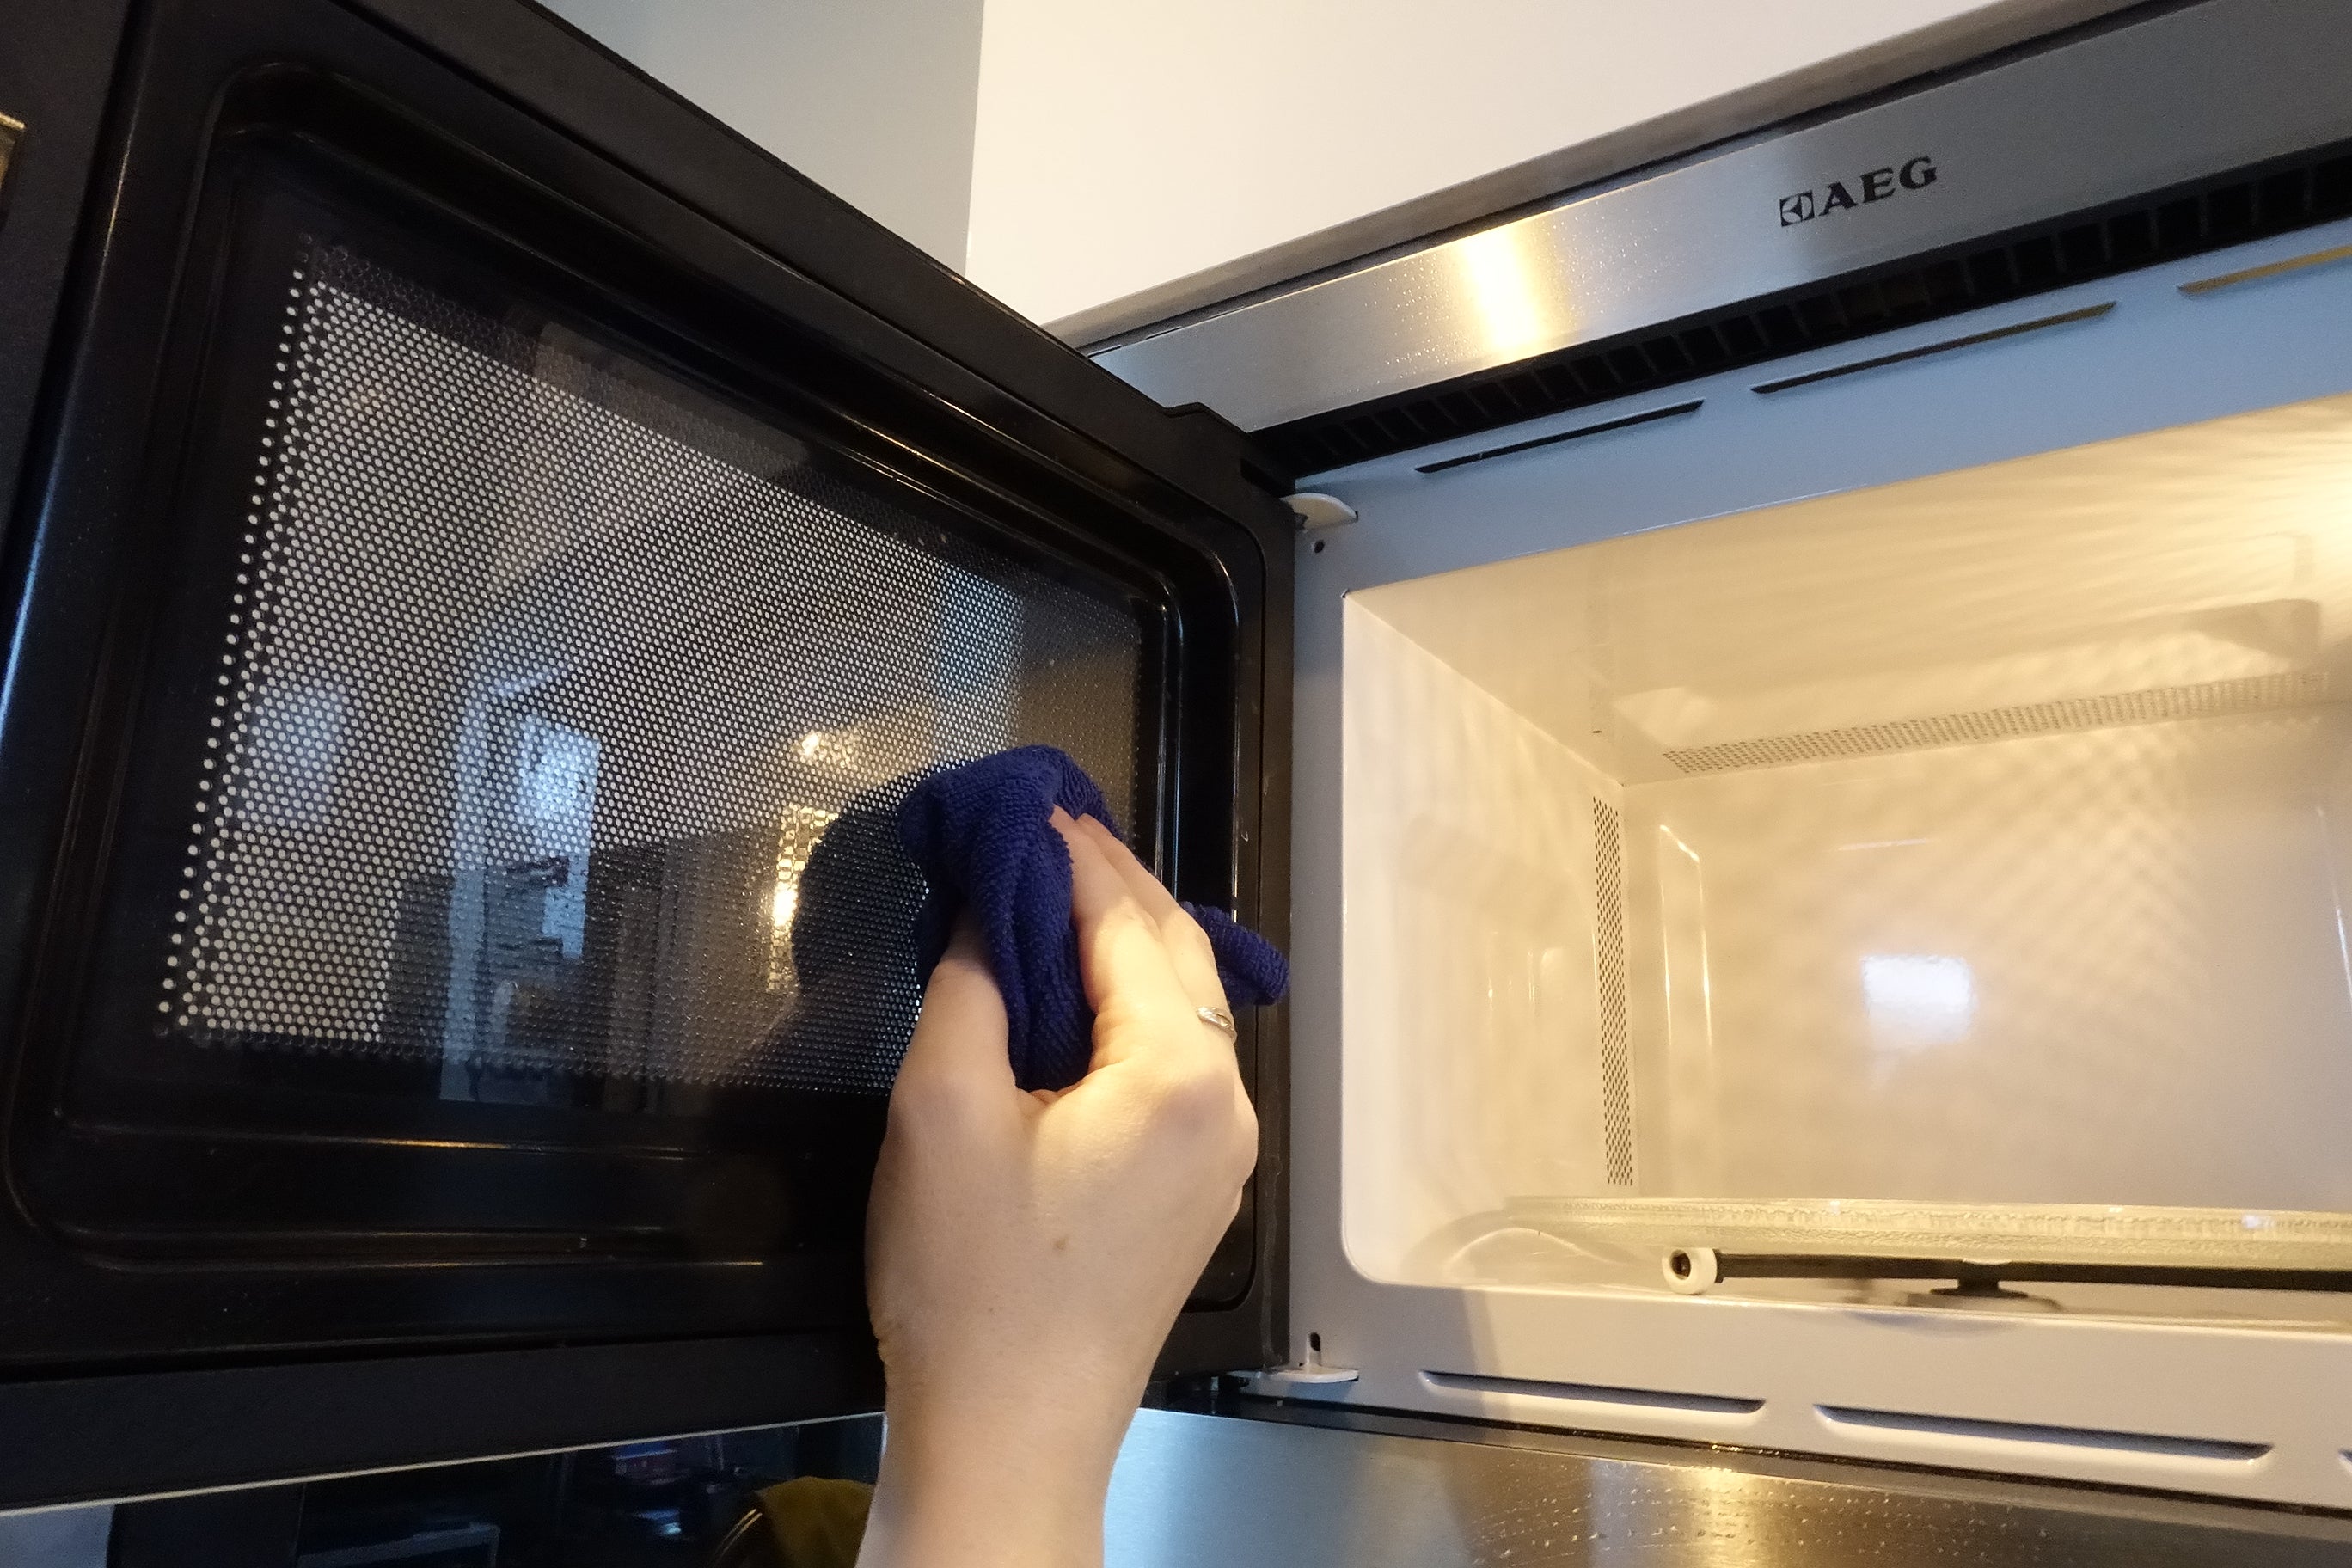
Leave the door closed for a further five minutes, letting the steam work its magic. Then, open the door and use a wet cloth to wipe down the inside of the microwave.
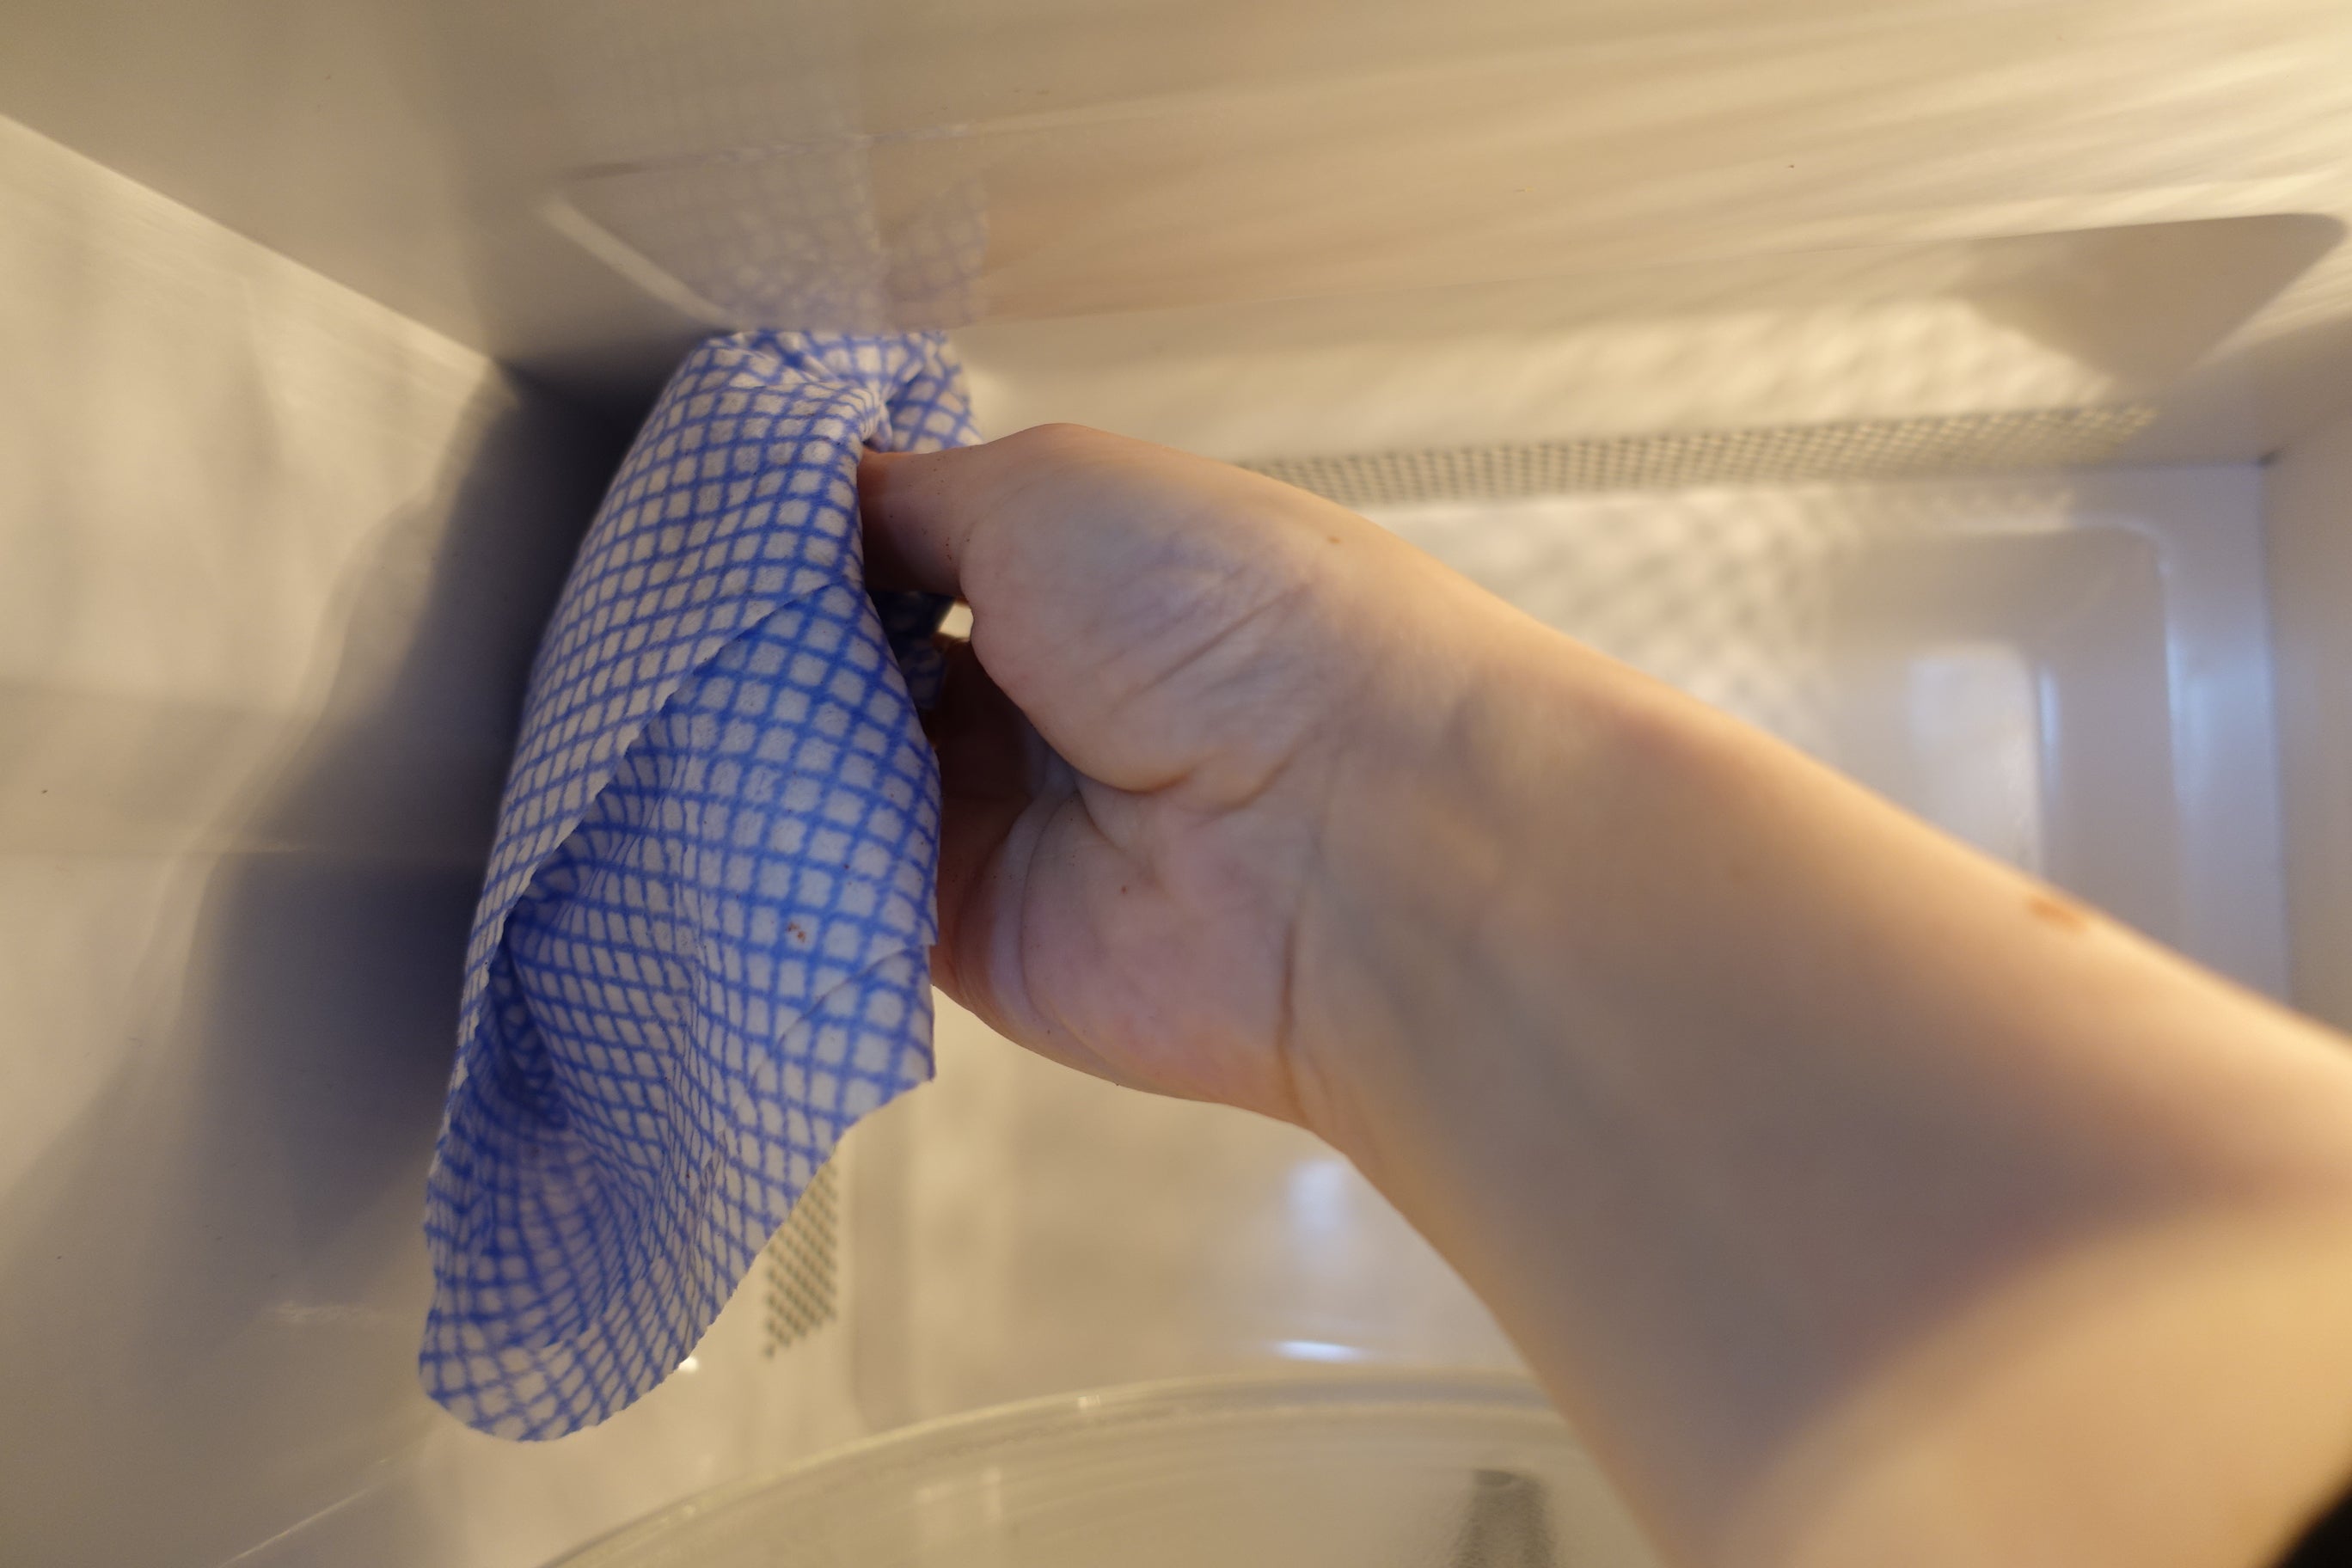
Using this method I was able to clean off the splatters of coconut oil and cinnamon paste in my microwave without needing to apply much pressure. The sweet burnt smell was replaced by a pleasant lemony scent.
Related: Surprising things you can do in a microwave
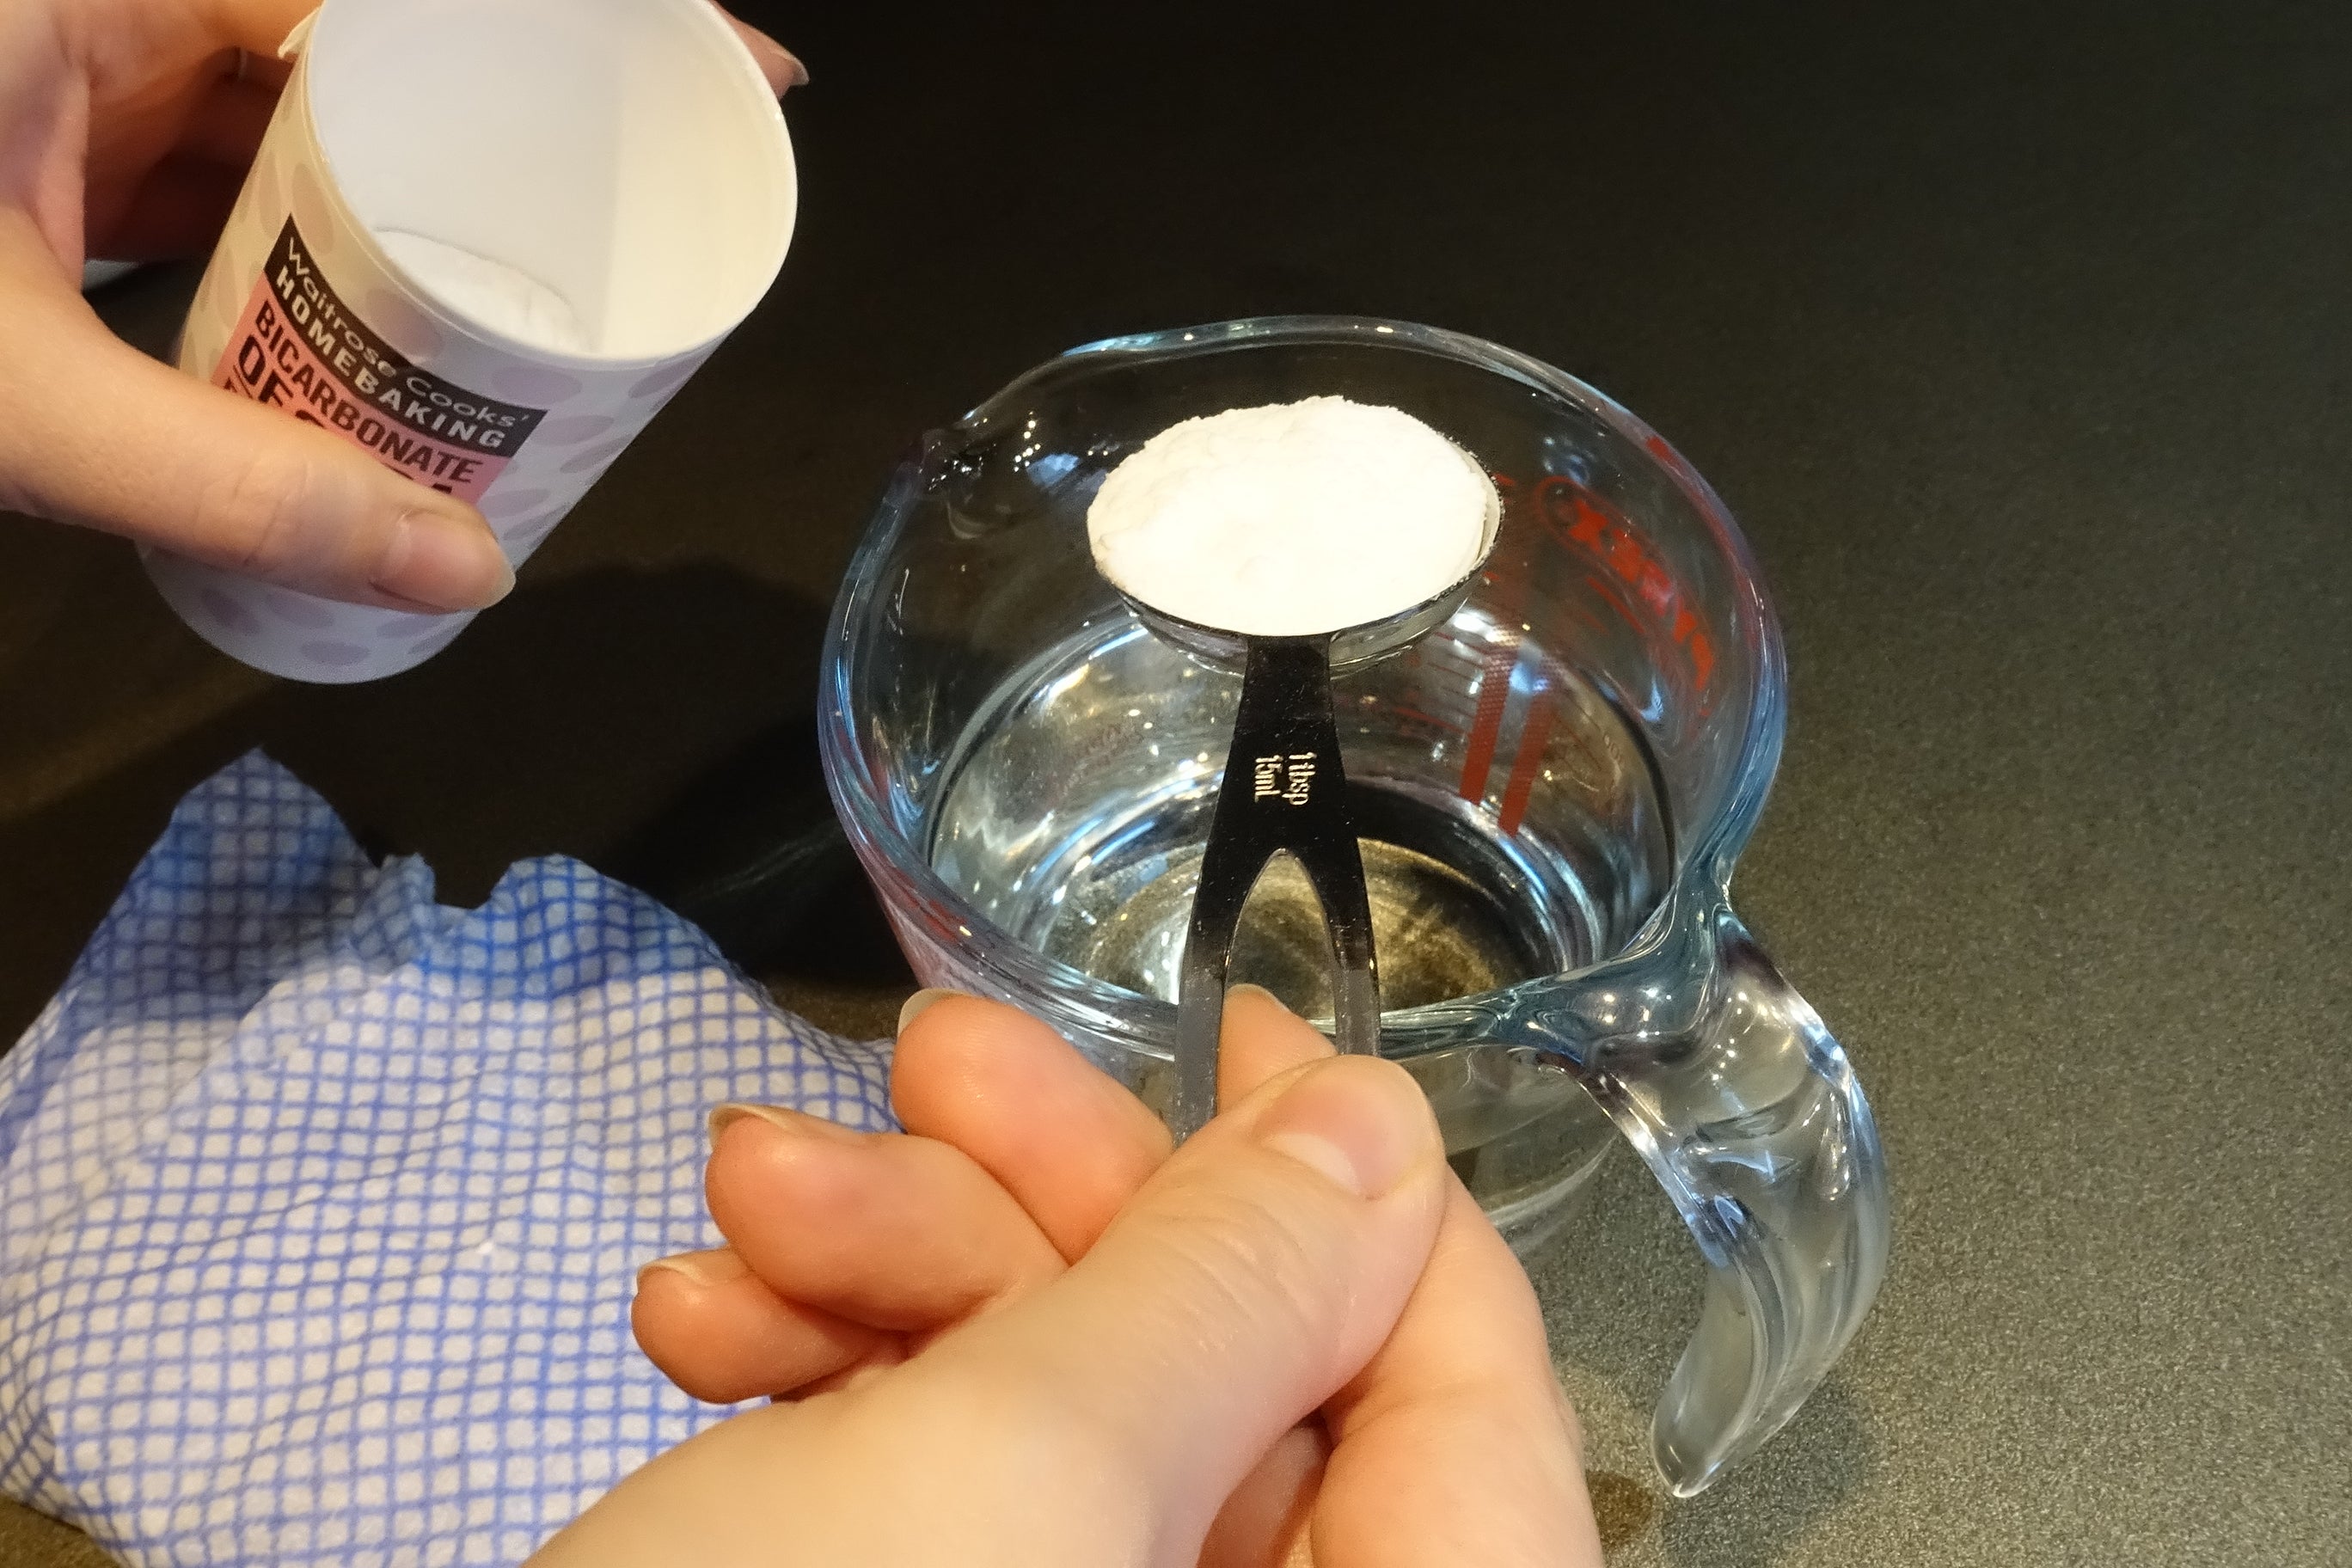
Clean a microwave with baking soda
Baking soda, also known as bicarbonate of soda, is another common household item that can be used to clean and neutralise odours.
In a microwaveable container, add 2tbsp of baking soda into 400-500ml of water and stir until most of the soda has dissolved. Microwave until the water bubbles. (This was about three minutes for me.)
Leave the door closed for five minutes to enable the steam to loosen any stubborn food residue. Then, use a damp cloth to wipe down any grime. Dip the cloth in the warm soda water to assist with any difficult stains. Rinse out the cloth and go over the inside once more to remove any white soda residue if visible.
I needed to apply only slight pressure to remove the dried-up tomato sauce stuck to the sides of the microwave, and the soda seemed to soak up any odours.
Clean a microwave with vinegar
White vinegar, or distilled malt vinegar, is the most common vinegar to use for cleaning. However, you can also use white wine vinegar or apple cider vinegar, which smell slightly better.
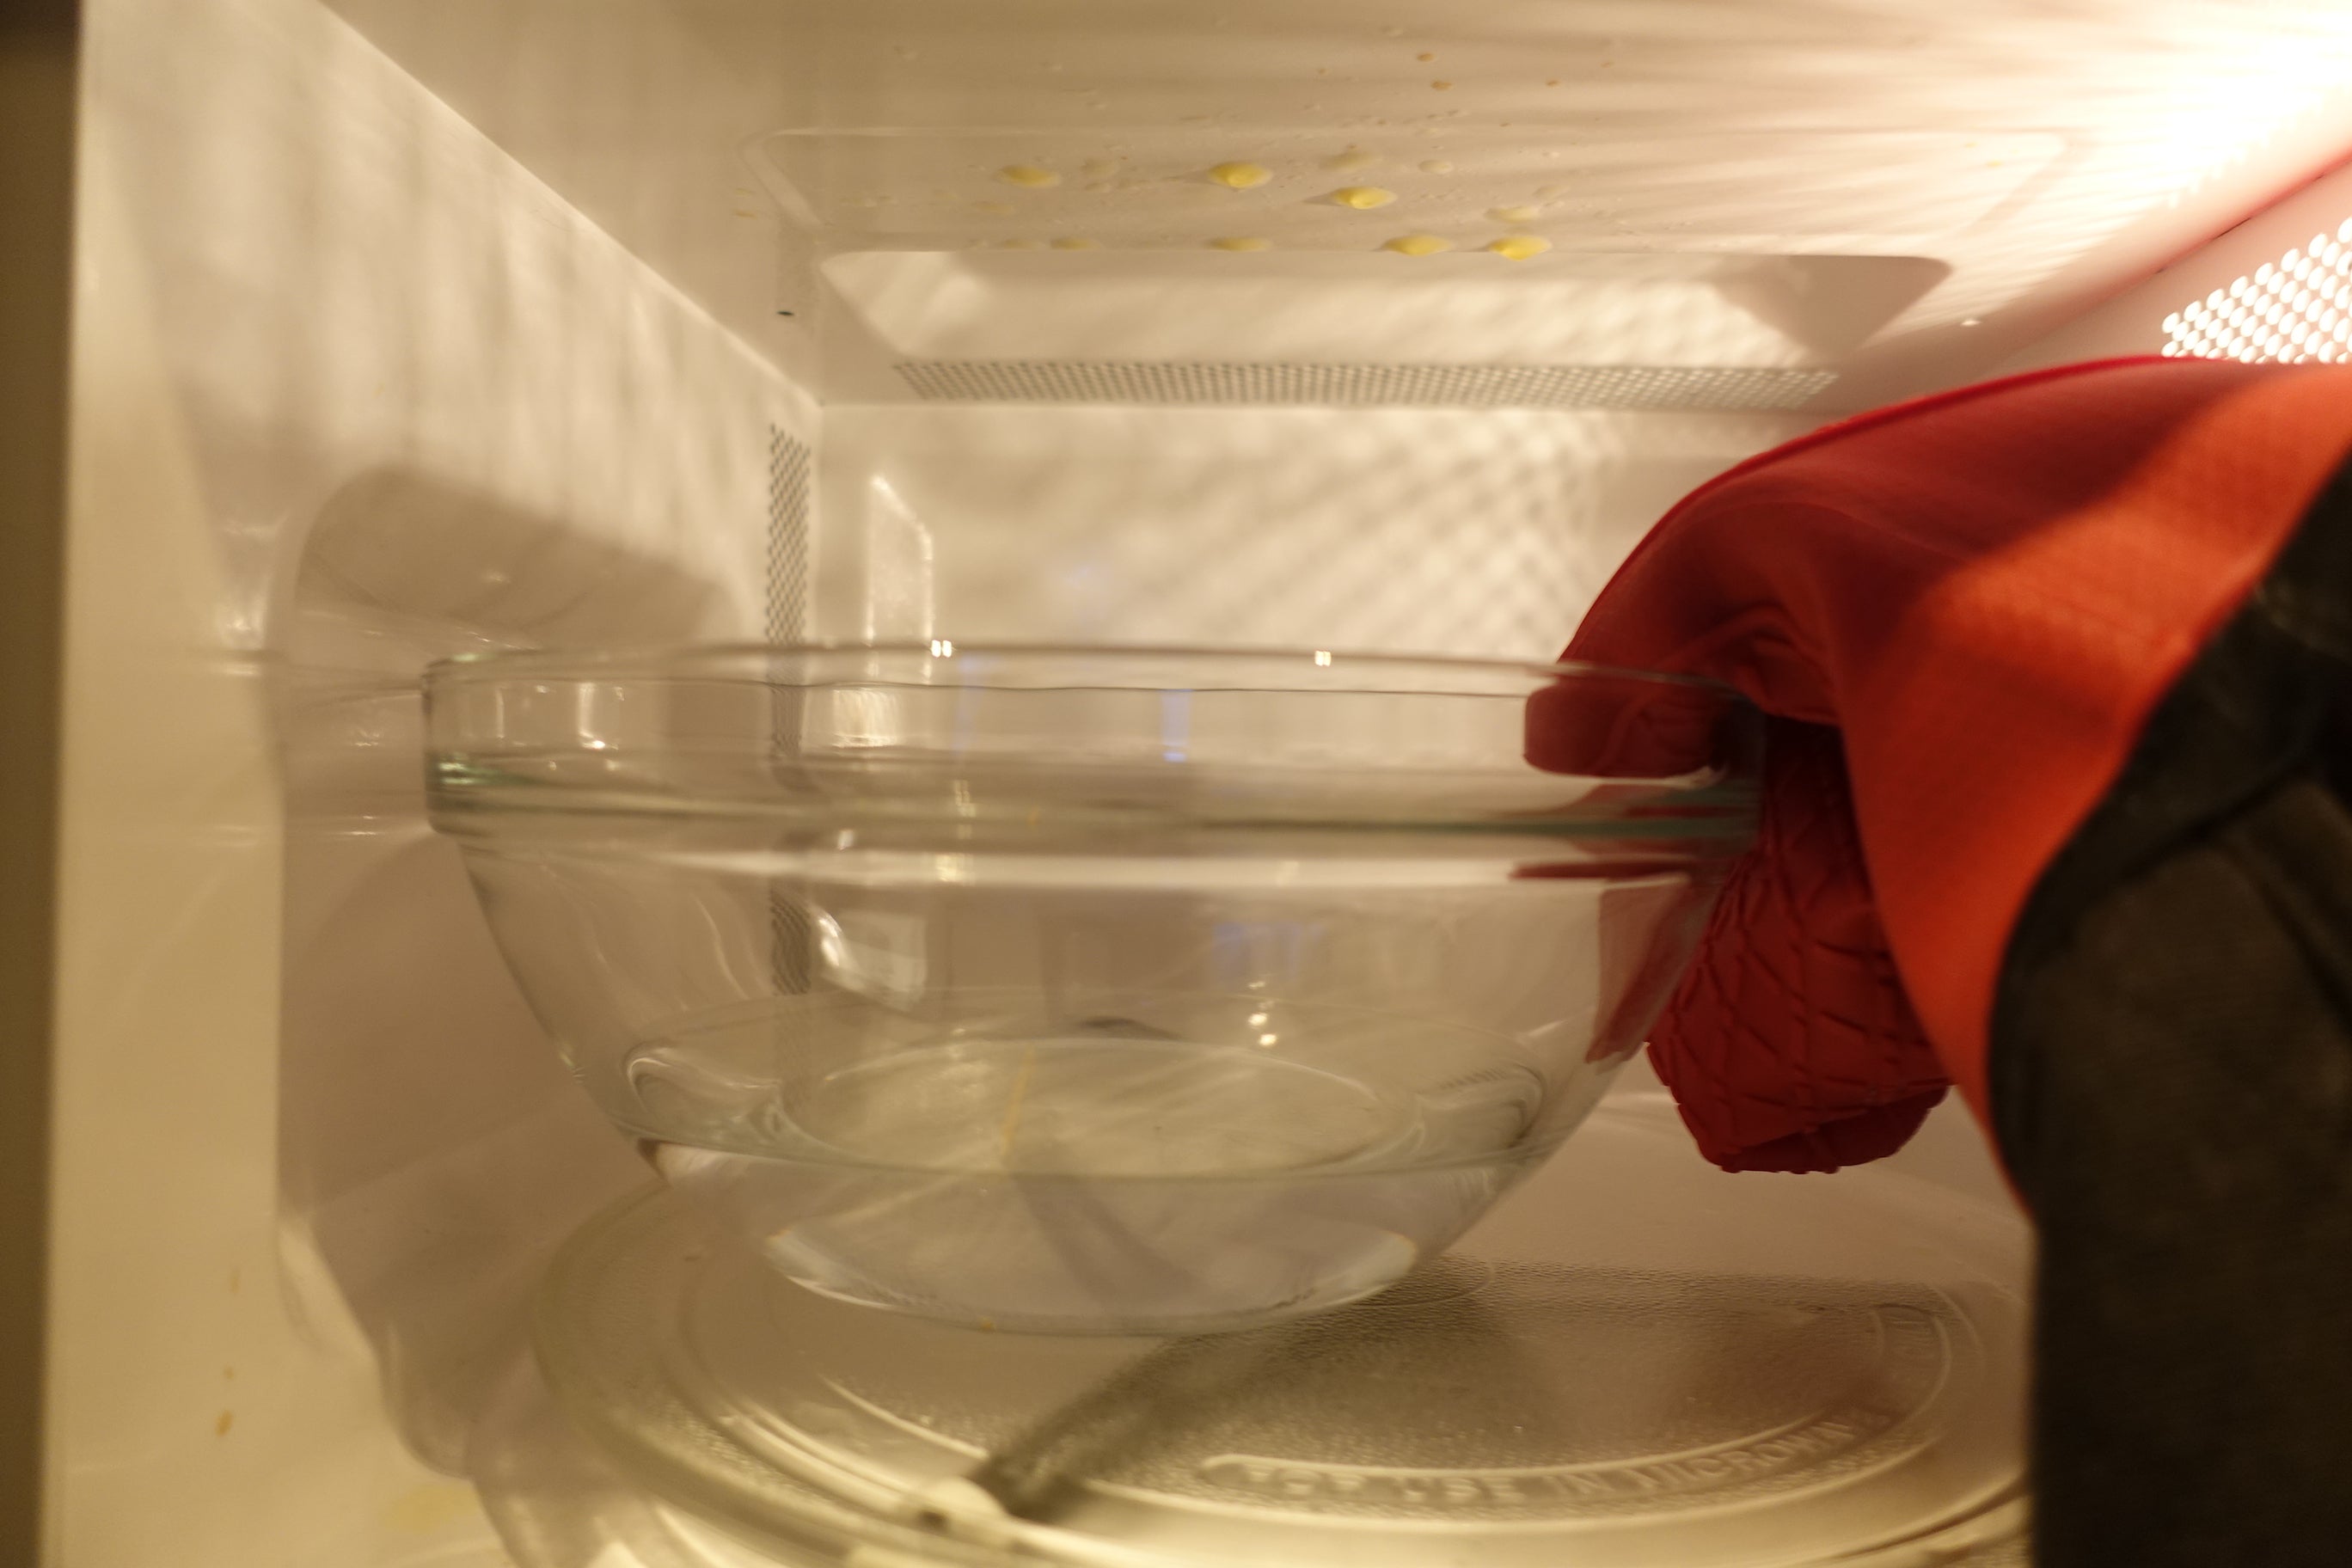
In a microwaveable container, mix three parts water with one part vinegar. (I used around 480ml of water with about 120ml of vinegar.)
Microwaving water for a prolonged period of time can be dangerous since it can become “super-heated” and explode. To diffuse the heat and allow bubbles to form, it’s advisable to place a non-metallic item, such as a toothpick or a wooden spoon, into your container.
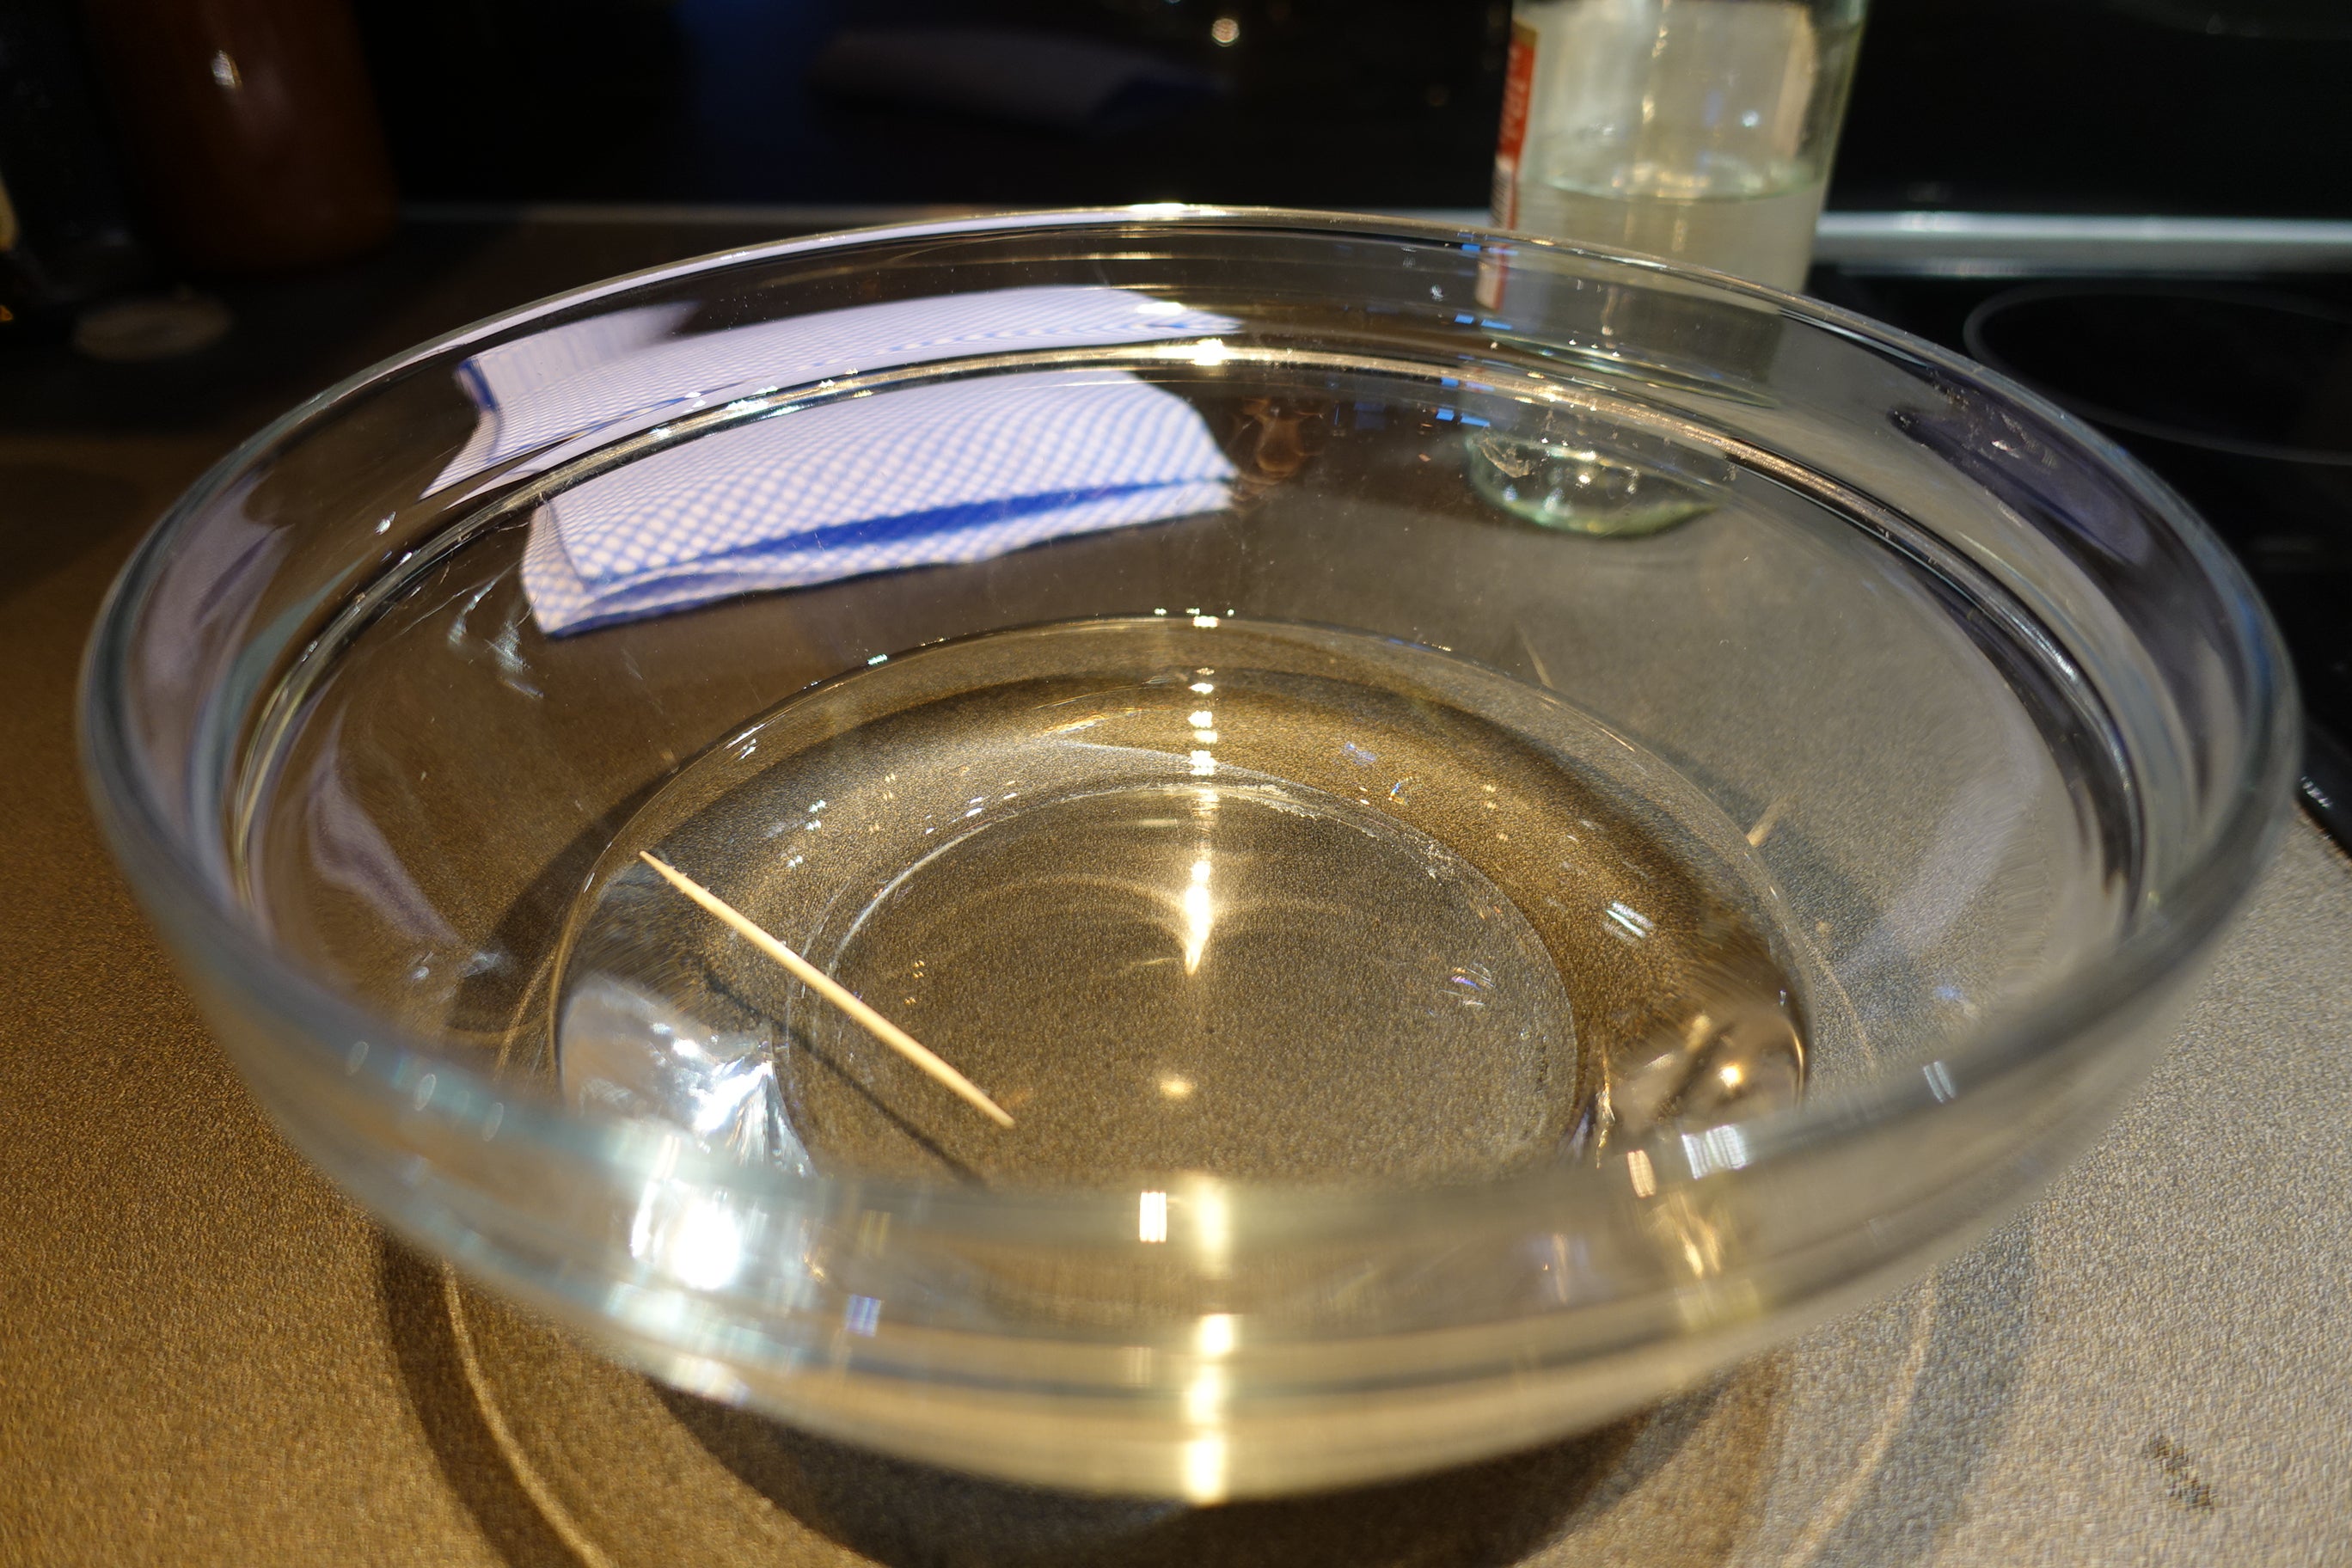
After adding a toothpick to the water and vinegar mixture, I microwaved it for five minutes, allowing plenty of steam to build up. As before, I left the door shut for a further five minutes to let the inside cool a little and for the steam to get to work.
I was able to wipe clean the splatters of butter in a single motion, leaving no greasy residue at all.
The slight downside to using vinegar is the smell, which some people may find repulsive. However, because of the strength of the smell, it can also help to mask more unpleasant odours, such as those from fish or animal fats.
While you’re cleaning the inside of your microwave, remember to remove the turntable plate. You can wipe it with the same cloth, or wash it under running water, using detergent if necessary. Don’t forget to also wipe down the inside of the door.
Cleaning the outside of a microwave
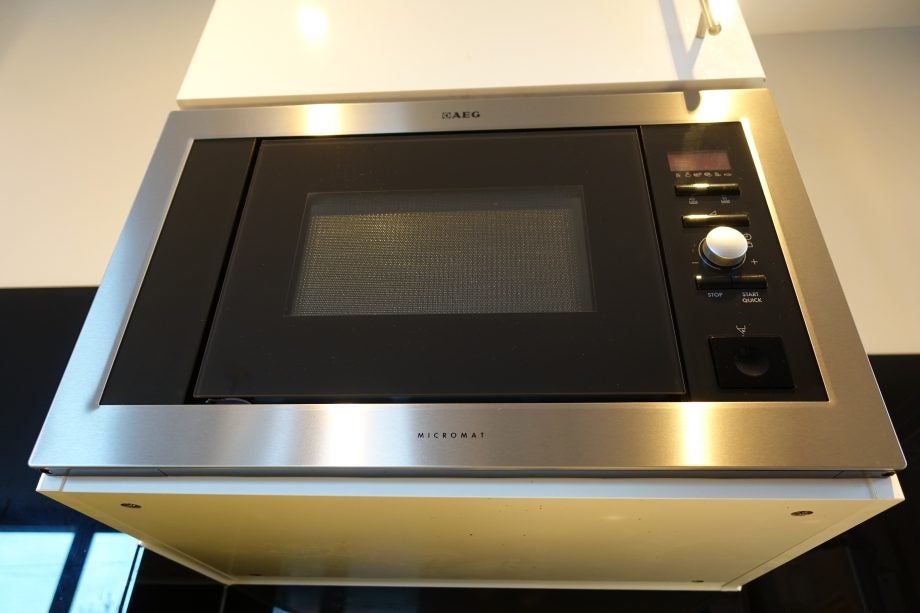
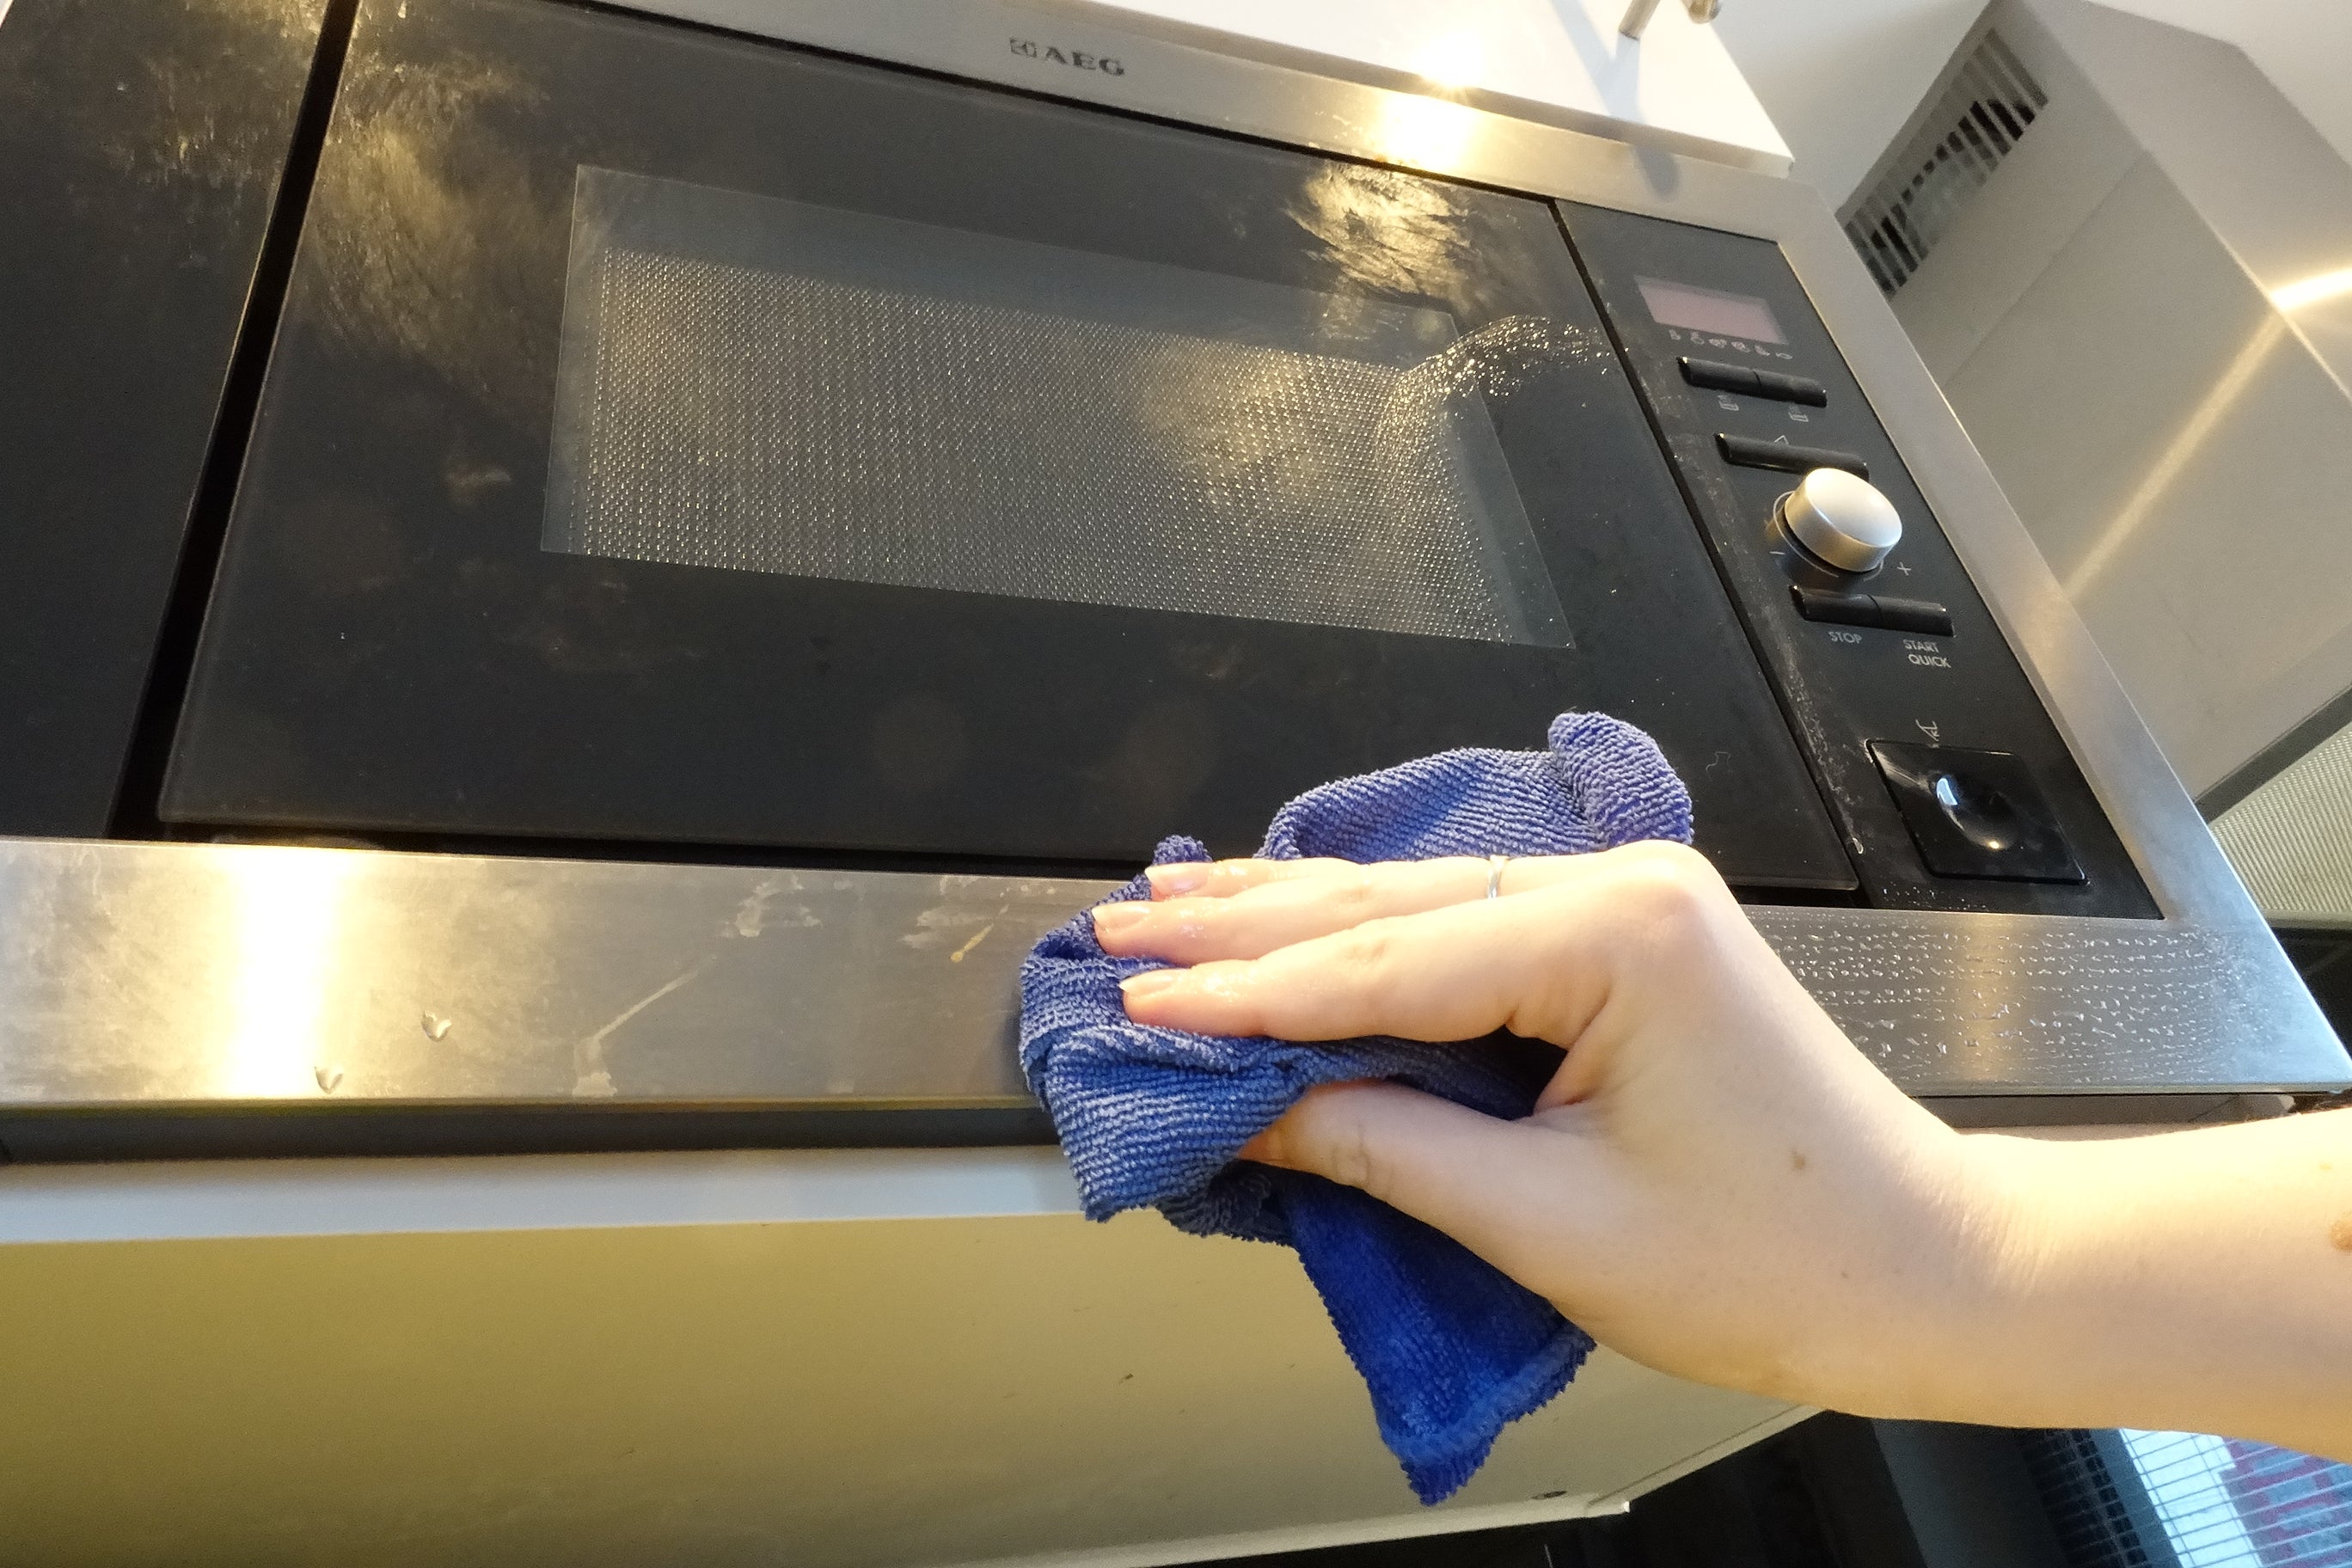
Vinegar can be useful for cleaning the outside of your microwave, too, whose glass and metal surfaces may not take kindly to plain water – particularly if you live in a hard water area.
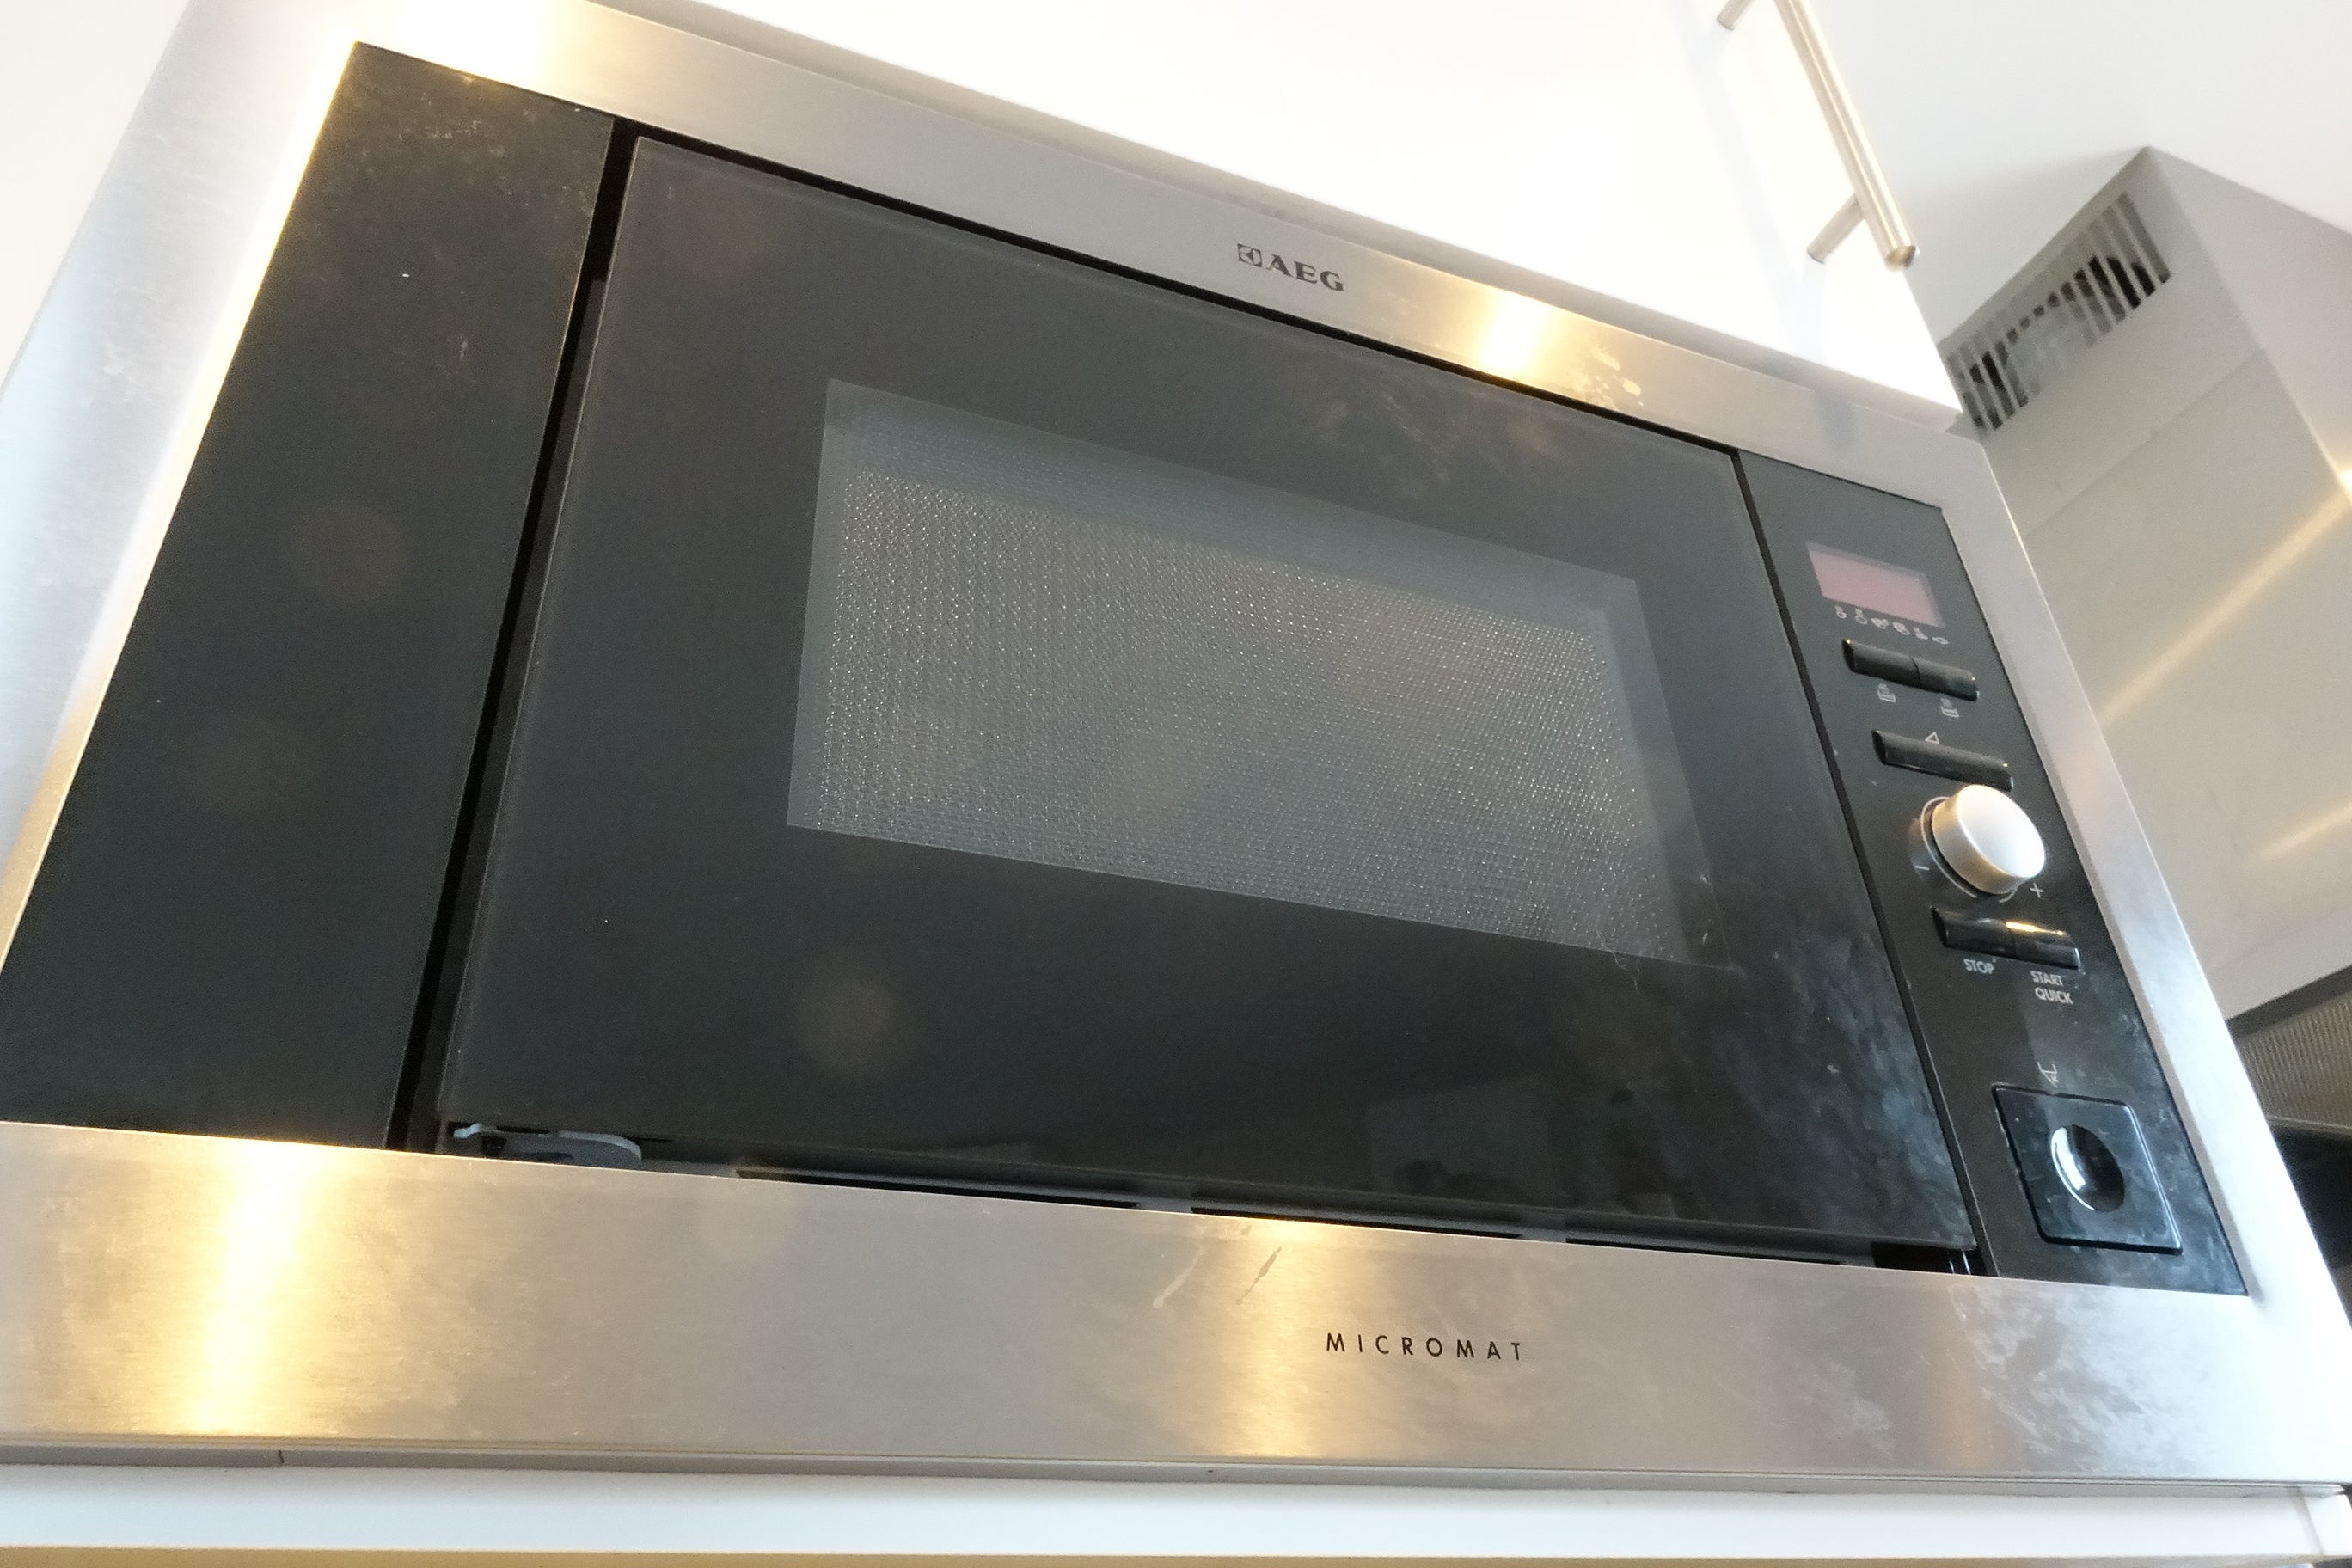
In this instance, I need to clean a glass door and brushed stainless steel edges of my built-in microwave, which had suffered numerous splashes of water and fingerprints.
I added 1tbsp of vinegar to 300ml of water and soaked a microfibre cloth in the solution, wringing it out before wiping it over both the metal and glass surfaces. I followed this up with a dry microfibre cloth to buff the glass and dry the metal.
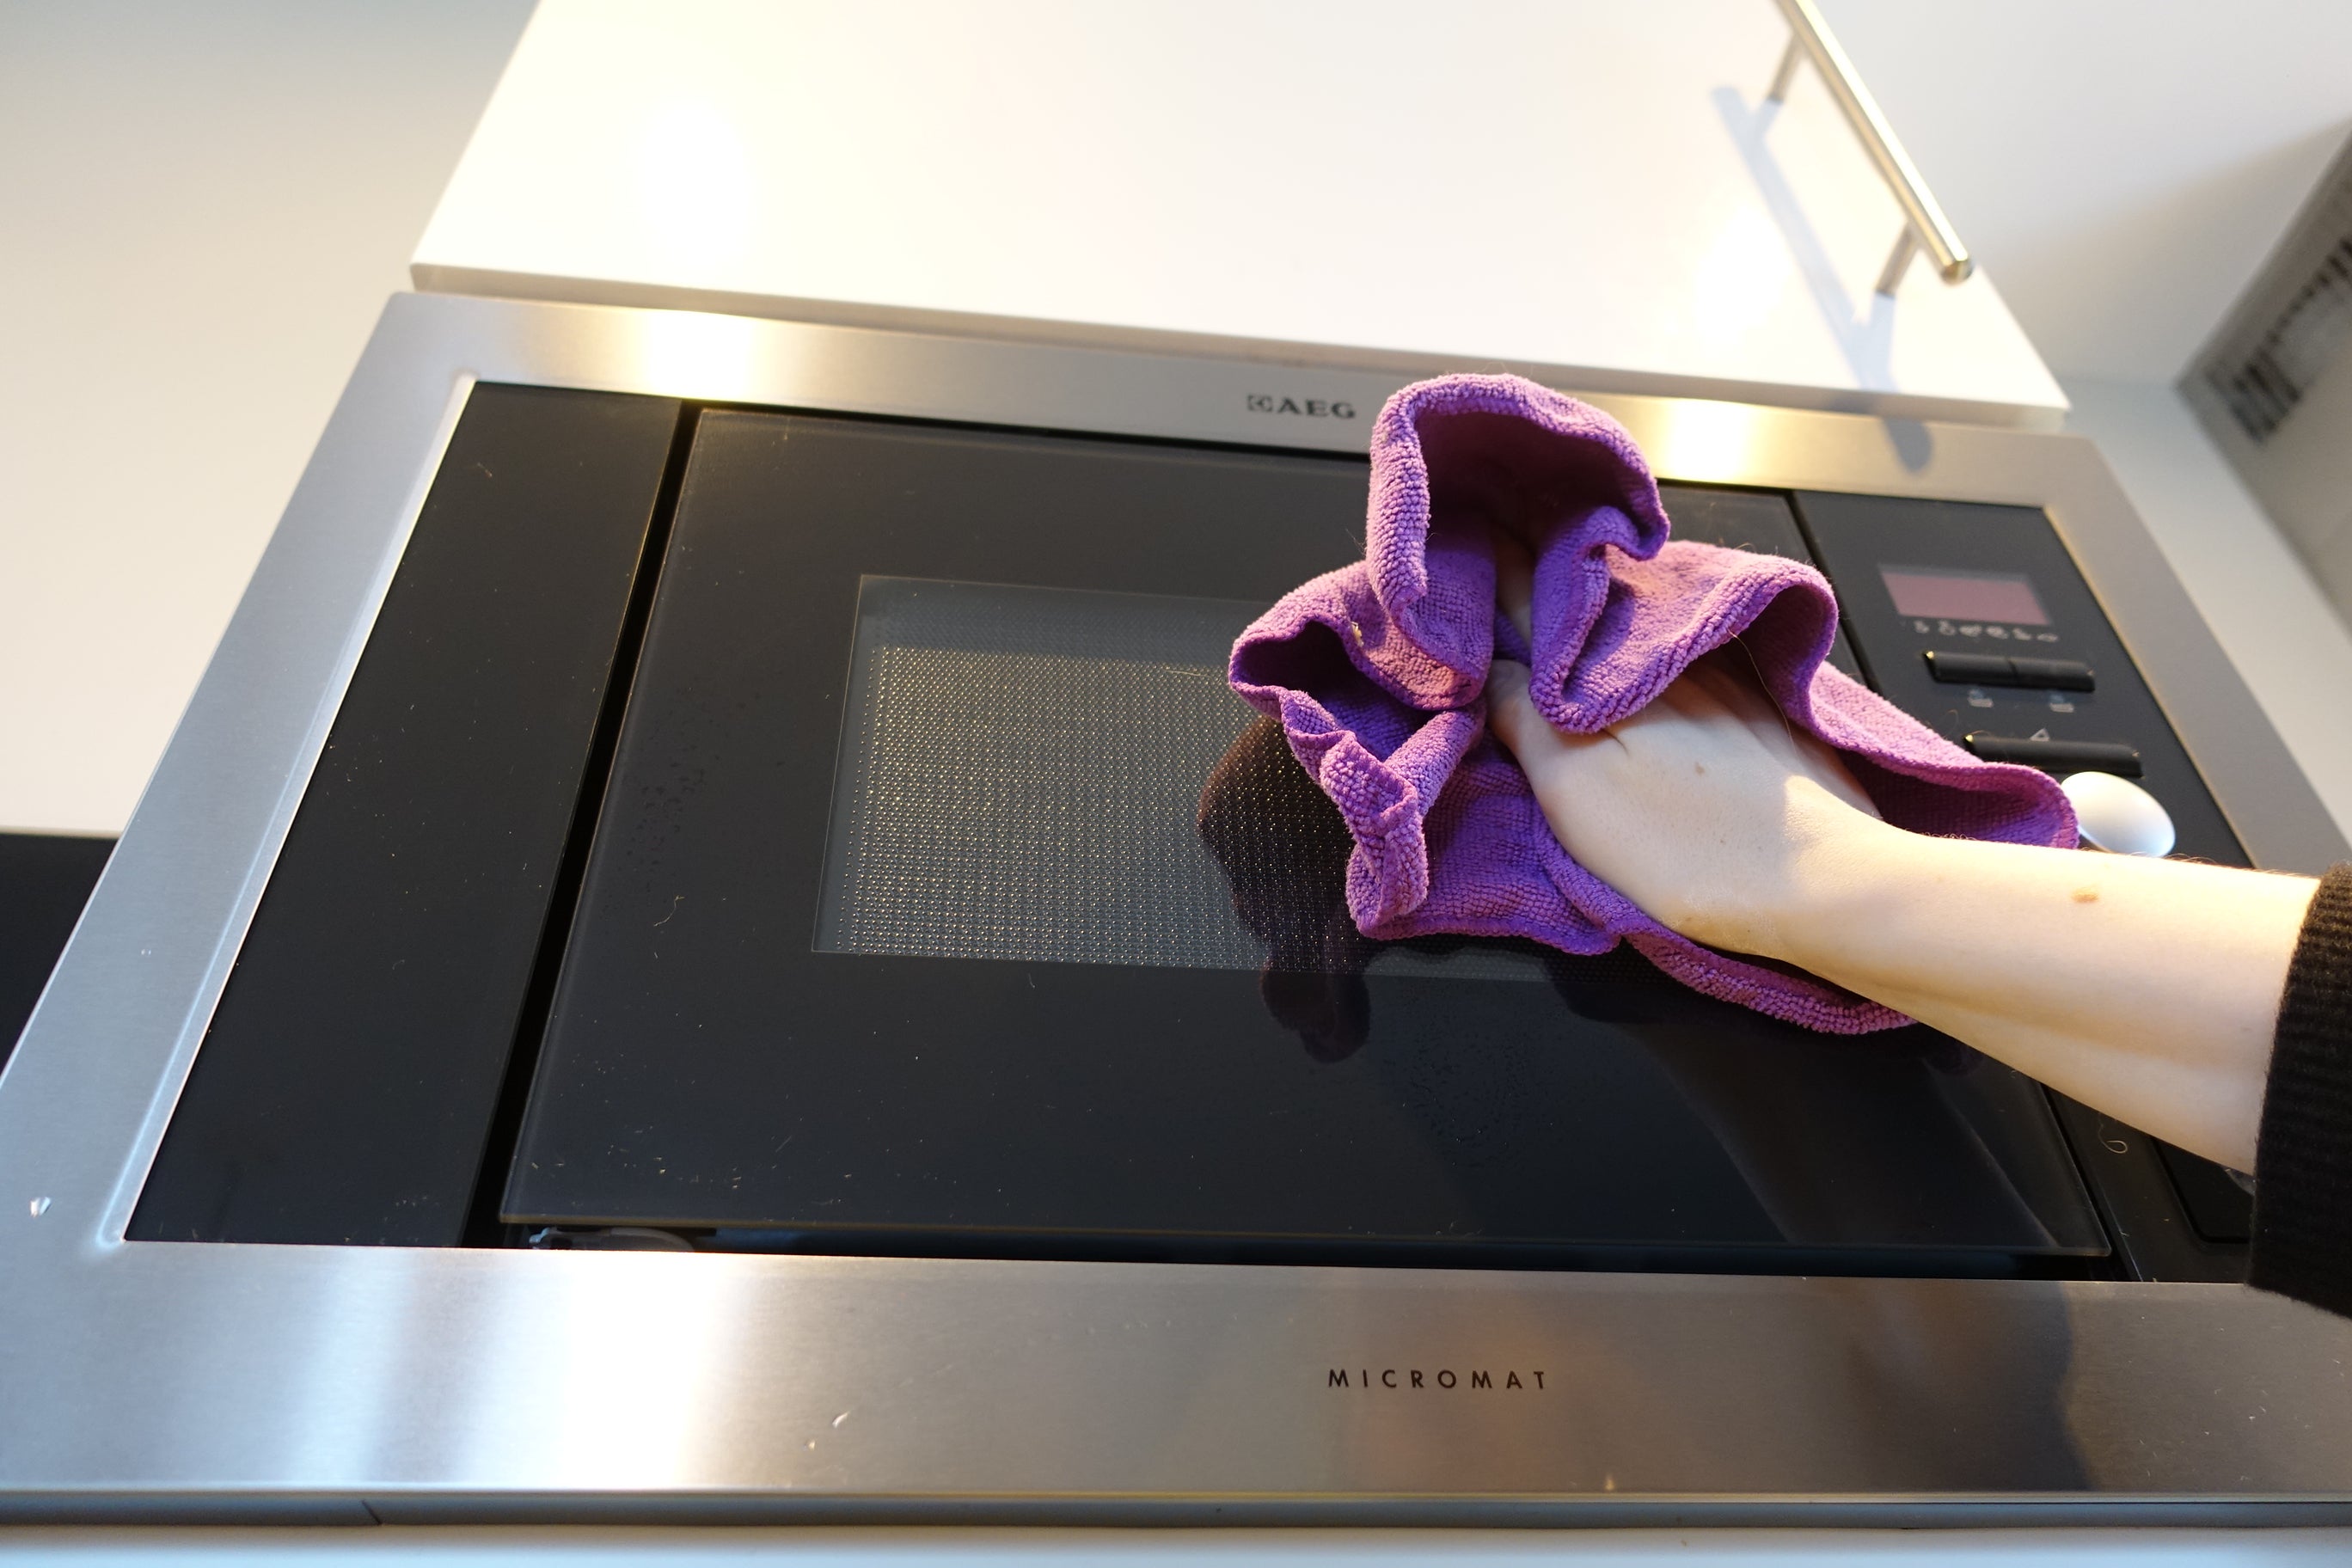
You can find special metal polishing cloths to both clean and buff any stainless steel fittings. Treating your metal surfaces this way can prevent marks and keep them clean for longer.
But adding a little bit of oil – such as olive oil – to a dry cloth and wiping in the direction of the grain will also do the trick. Remove any greasy residue with a dry cloth.
Keeping your microwave clean for longer
To keep your food from exploding or spilling over in the first place, use a ventilated cover, pierced cling film or baking paper with air holes. Keep an eye on unpredictable and fatty foods, such as popcorn and butter. If in doubt, set your microwave on the minimum amount of time and check back.
Leave the door open after microwaving smelly foods, in order to air it out. (It’s likely you’ll be eating said smelly item in your kitchen anyway.) If your microwave is still retaining odours, then try leaving some coffee beans or used coffee grounds in the oven and closing the door until the next time you use it.
And remember, the sooner you clean up any microwave-related accidents, the easier the task will be. By wiping away any spillages as and when they occur, you’re less likely to end up with splatters of dried-on food, which require more welly to clean.

Editorial independence
Editorial independence means being able to give an unbiased verdict about a product or company, with the avoidance of conflicts of interest. To ensure this is possible, every member of the editorial staff follows a clear code of conduct.
Professional conduct
We also expect our journalists to follow clear ethical standards in their work. Our staff members must strive for honesty and accuracy in everything they do. We follow the IPSO Editors’ code of practice to underpin these standards.