
Many people own a Facebook page, whether it’s to promote a business, celebrate a fandom or show off pictures of your pets. But there may come a time that you want to tweak the name of your Facebook page.
You may want to change your Facebook page name to correct a typo, or even just to give it a fresh new look. Either way, Facebook fortunately offers you the option to do so, although you can only make a tweak every 60 days.
Before we guide you through the process of how you can change your Facebook page name, it’s important to note that there are two types of Facebook pages: Classic pages and New pages.
For Classic pages, you’ll need to be an admin to tweak the name, while if you’re using the New page experience, you’ll need Facebook access (task access won’t be enough).
If none of that is an issue, and you’re ready to finally change a page name on Facebook, then follow the steps below.
What you’ll need
- A Facebook page with a name you want to change
- Admin rights to that page
The Short Version
- Open your Facebook page
- Scroll down and click Edit Page Info
- Change the name of your page
- Hit Request Change
How to change a page name on Facebook
Step
1Open Facebook
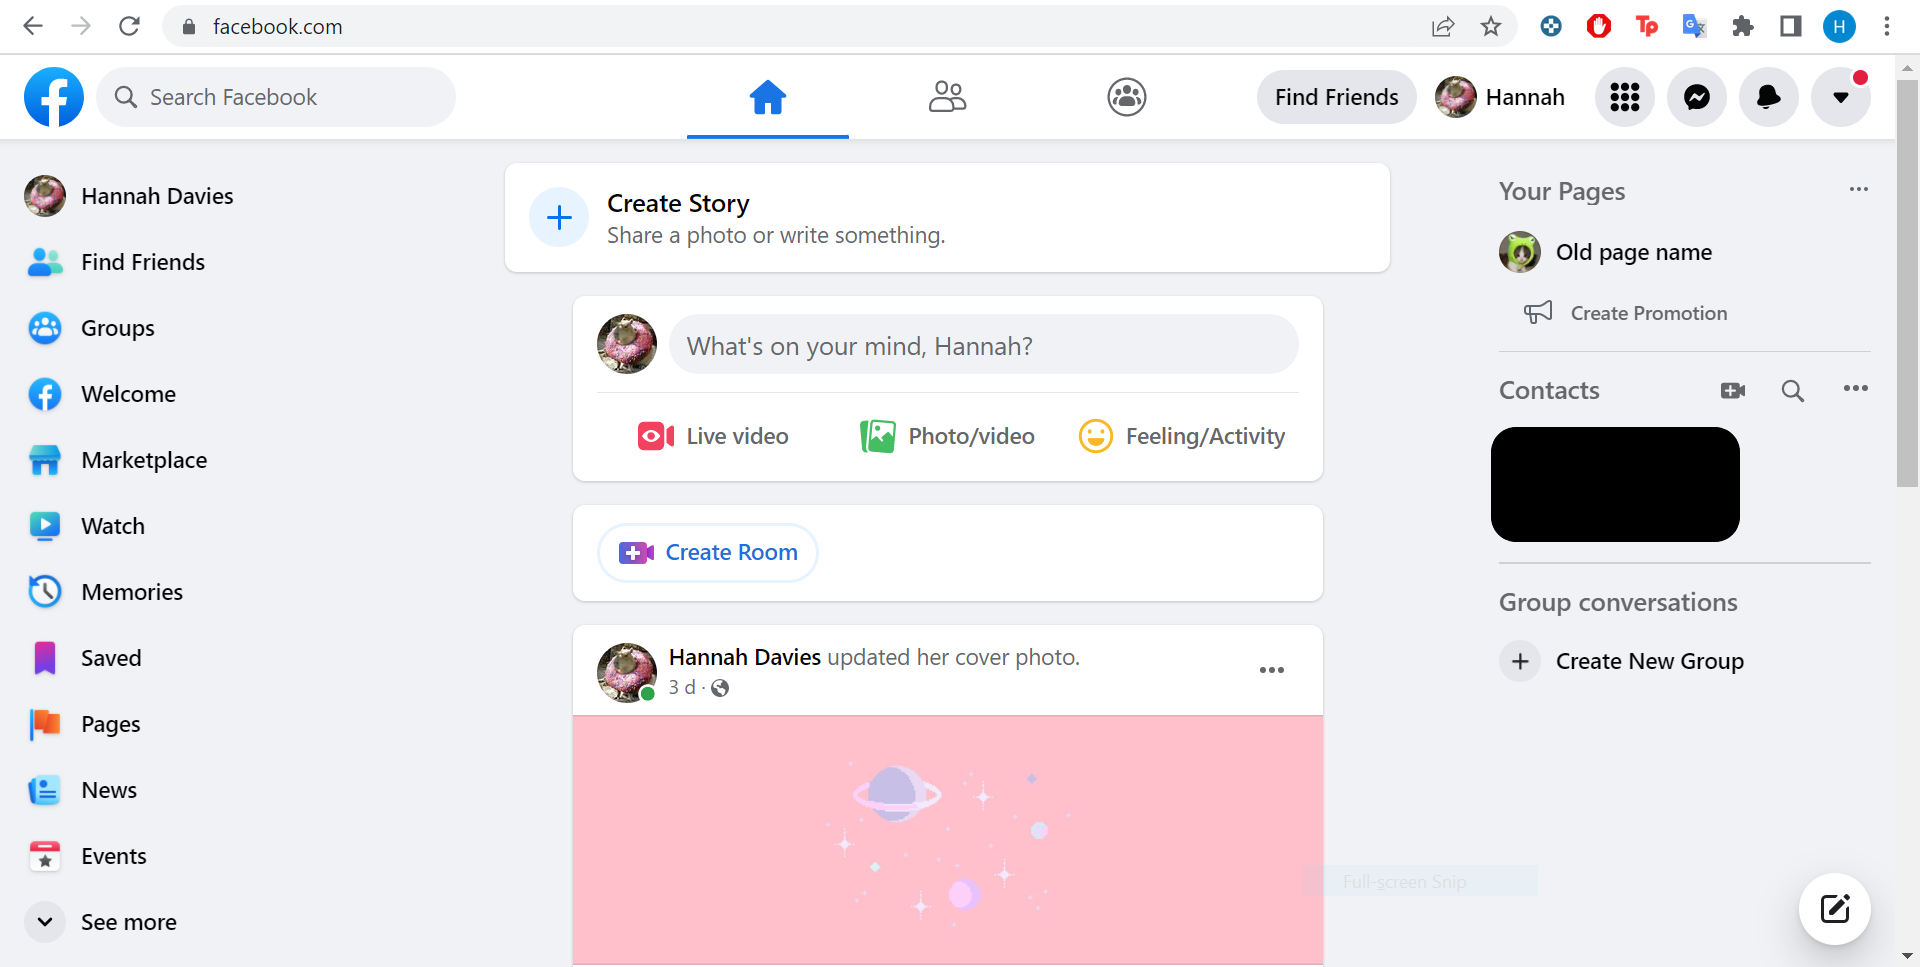
This guide applies to Classic pages. If you’re running a New page, scroll to the bottom of this guide to learn how to change your page name.
Step
2Go to your page
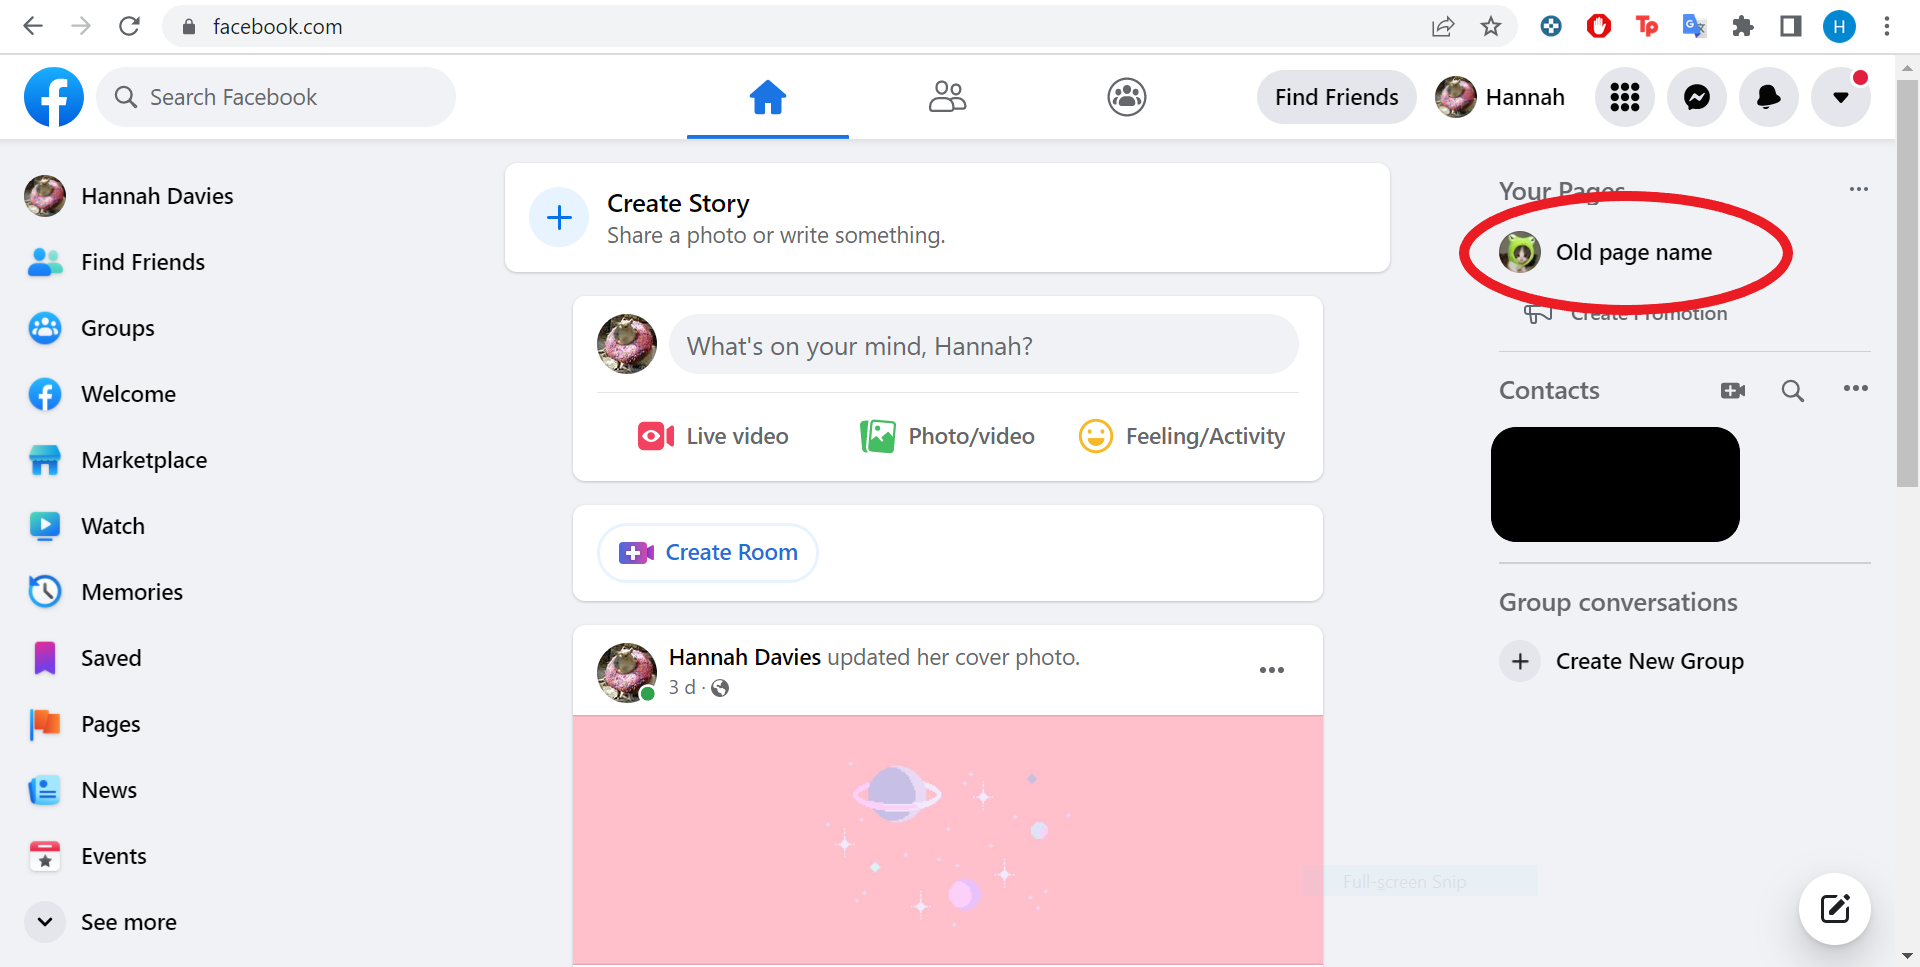
This’ll either be on the right side of the screen under the Your Pages header or in the Pages section on the left.
Step
3Scroll down and click Edit Page Info
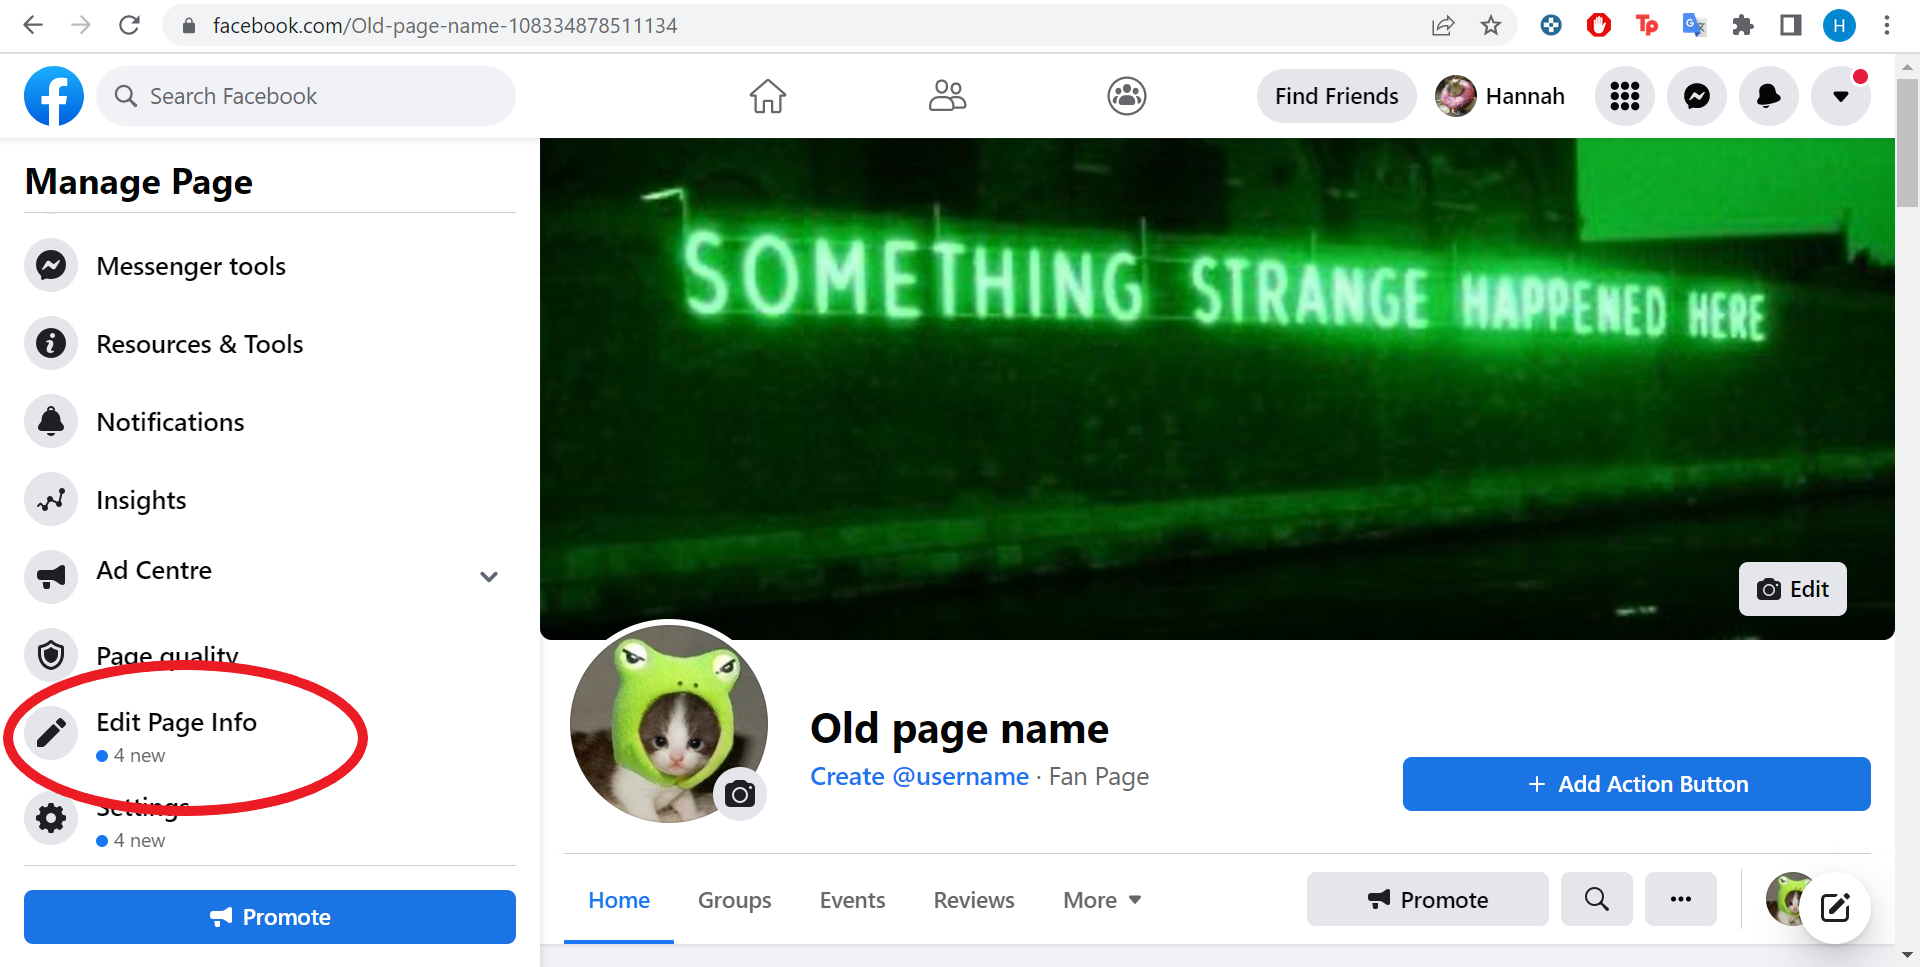
You’ll find this section on the left side of the screen. If you can’t see the option, click Settings instead, and then press Edit next to the name of your page.
Step
4Erase your old page name and enter your new one

Before you edit your name, note that Facebook won’t let you make any further edits for another 60 days, so make sure you don’t make any mistakes. Once done, you can click anywhere outside of the box.
Step
5Hit Request Change to confirm your name change

Then just wait up to three days for the name change to be approved by Facebook.
Troubleshooting
If you can’t see Edit Page Info anywhere on screen, click Page Settings instead and then select Page Info in the left column.
If you’re using Facebook’s New page experience, you’ll need to switch into the page with Facebook Access to request a name change.
Simply, switch into the page, click your page photo in the top right, click Settings & Privacy, select Settings, Click General Page Settings and hit Name. Then enter your new page name, click Review Change and enter your password to complete the change.
You might like…


Editorial independence
Editorial independence means being able to give an unbiased verdict about a product or company, with the avoidance of conflicts of interest. To ensure this is possible, every member of the editorial staff follows a clear code of conduct.
Professional conduct
We also expect our journalists to follow clear ethical standards in their work. Our staff members must strive for honesty and accuracy in everything they do. We follow the IPSO Editors’ code of practice to underpin these standards.