The Type tool is one of the most useful features found in Photoshop, allowing you to add anything from a single letter to paragraphs of text in just a few clicks.
Whether you’re looking to add text to a poster, a watermark to a photo or anything in between, this guide will cover how to use the Type tool in Photoshop.
Not only can you add text, but you can also adjust the font, colour and size of your text with this tool. You can even access newly installed fonts from Adobe Fonts or from third-party sites like DaFont and Google Fonts.
Read on to learn how to add text in Photoshop using the Horizontal Type Tool, or scroll to the bottom of this page for tips on how to add vertical type or rotate your text.
What you’ll need:
- Adobe Photoshop
- A Creative Cloud subscription
The Short Version
- Select the Type tool
- Click anywhere on your image
- Enter your text
- Make any adjustments and click the tick icon
How to add text in Photoshop
Step
1Select the Type tool
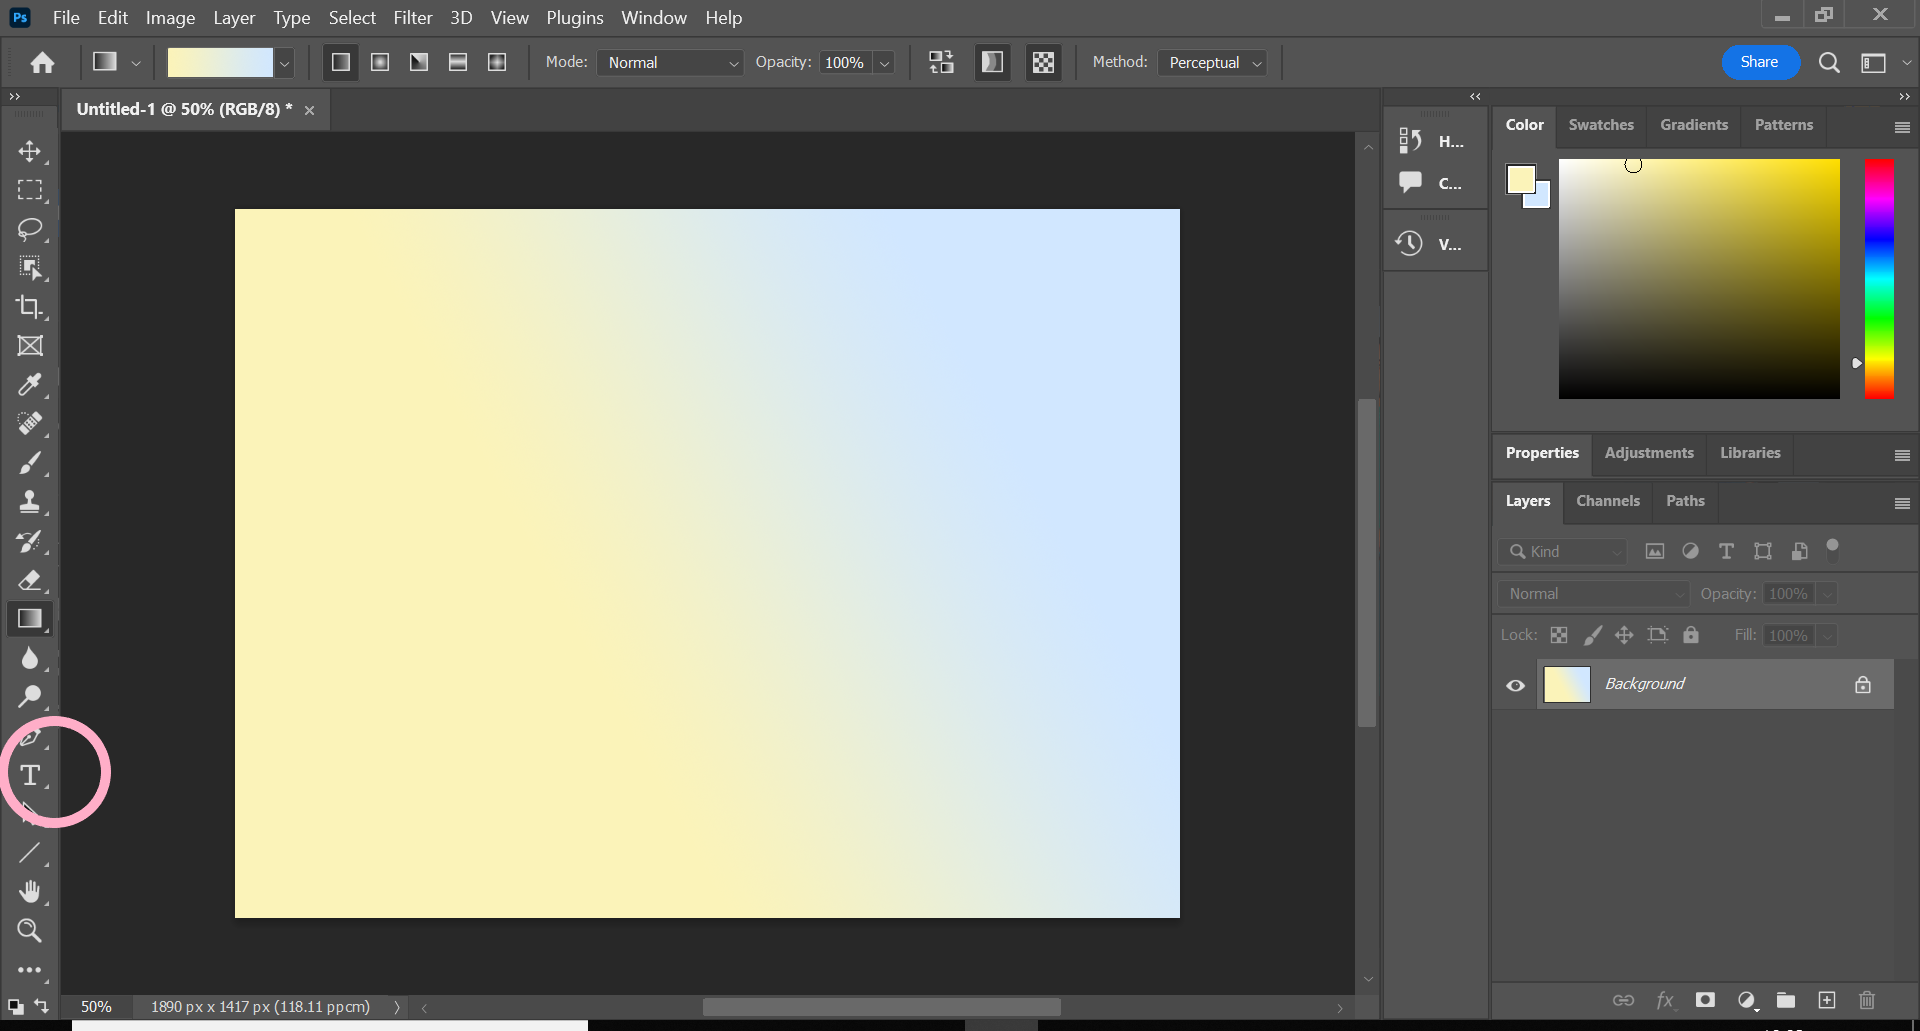
This is the icon that resembles a ‘T’ in the side menu.
Step
2Click anywhere on your image
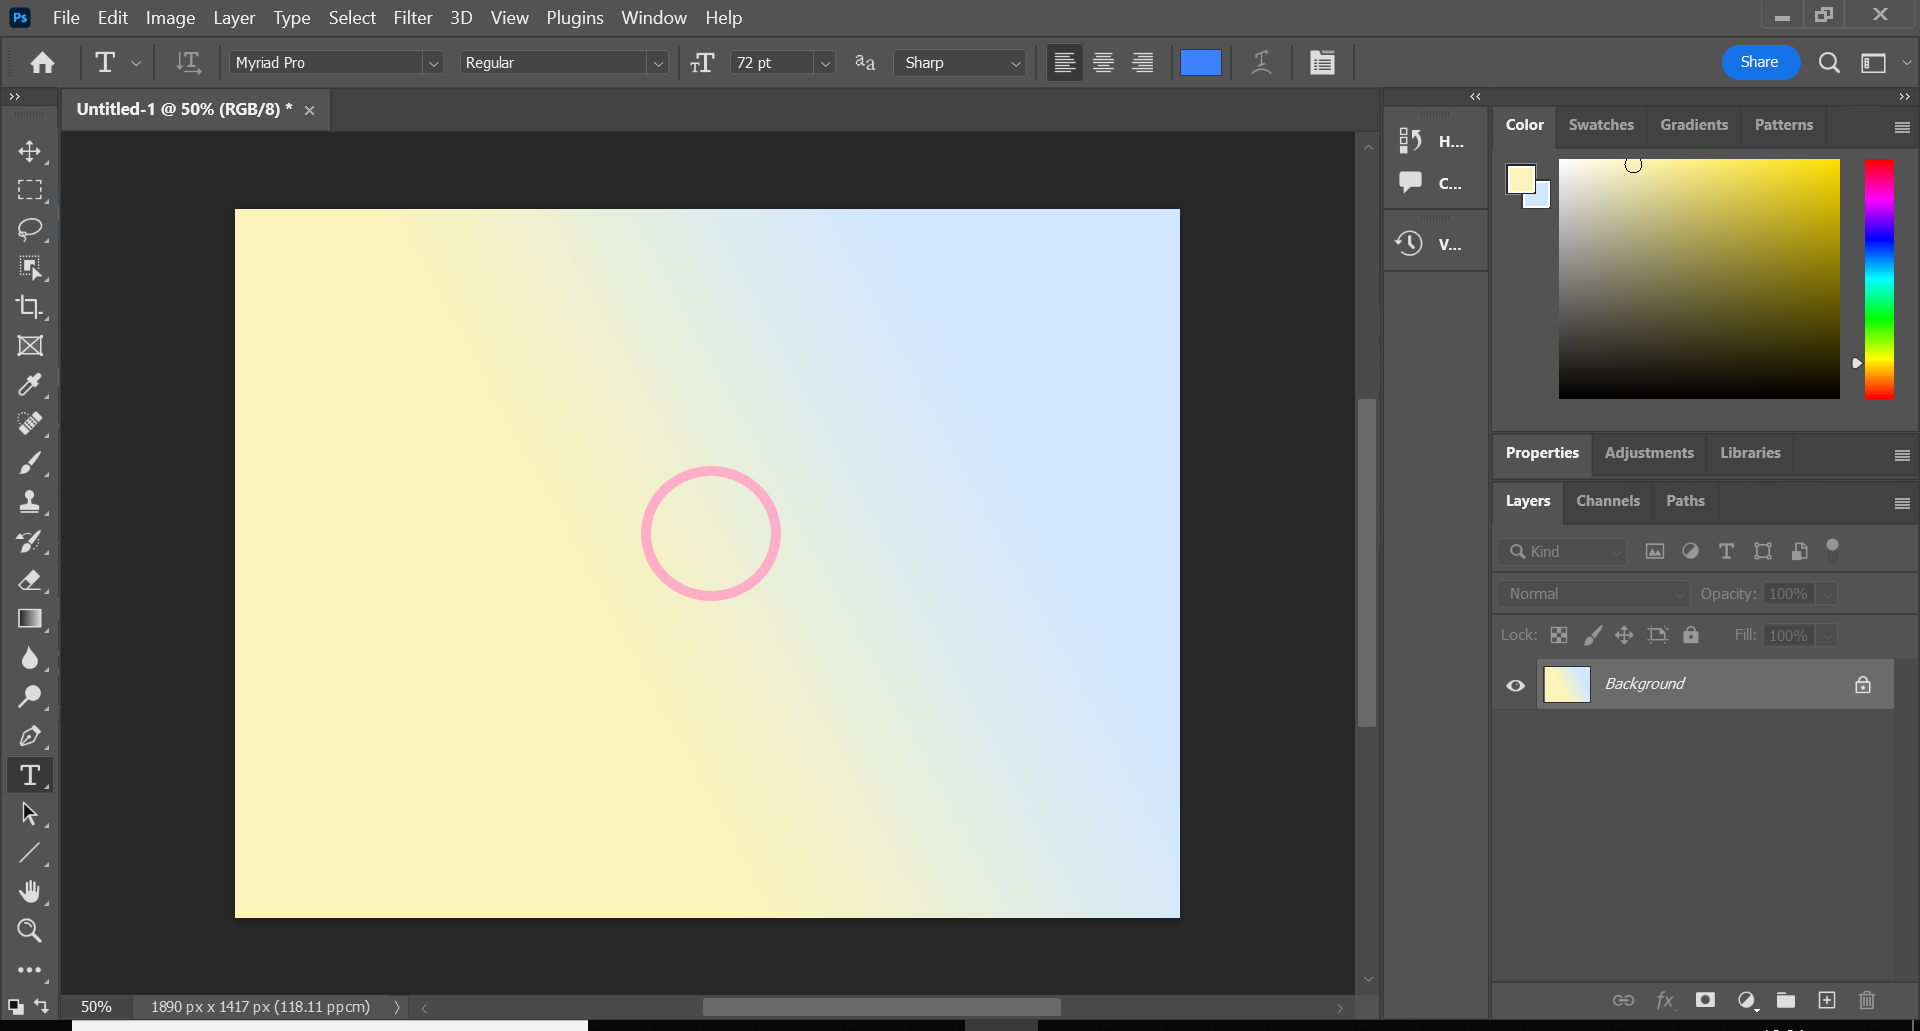
You can click where you want to add text, but you can always resize and resposition it later if its in the wrong place.
Step
3Enter your text

If you need to change the text again later, simply click the Type tool again and click on the text field.
Step
4Click the tick icon to save your text
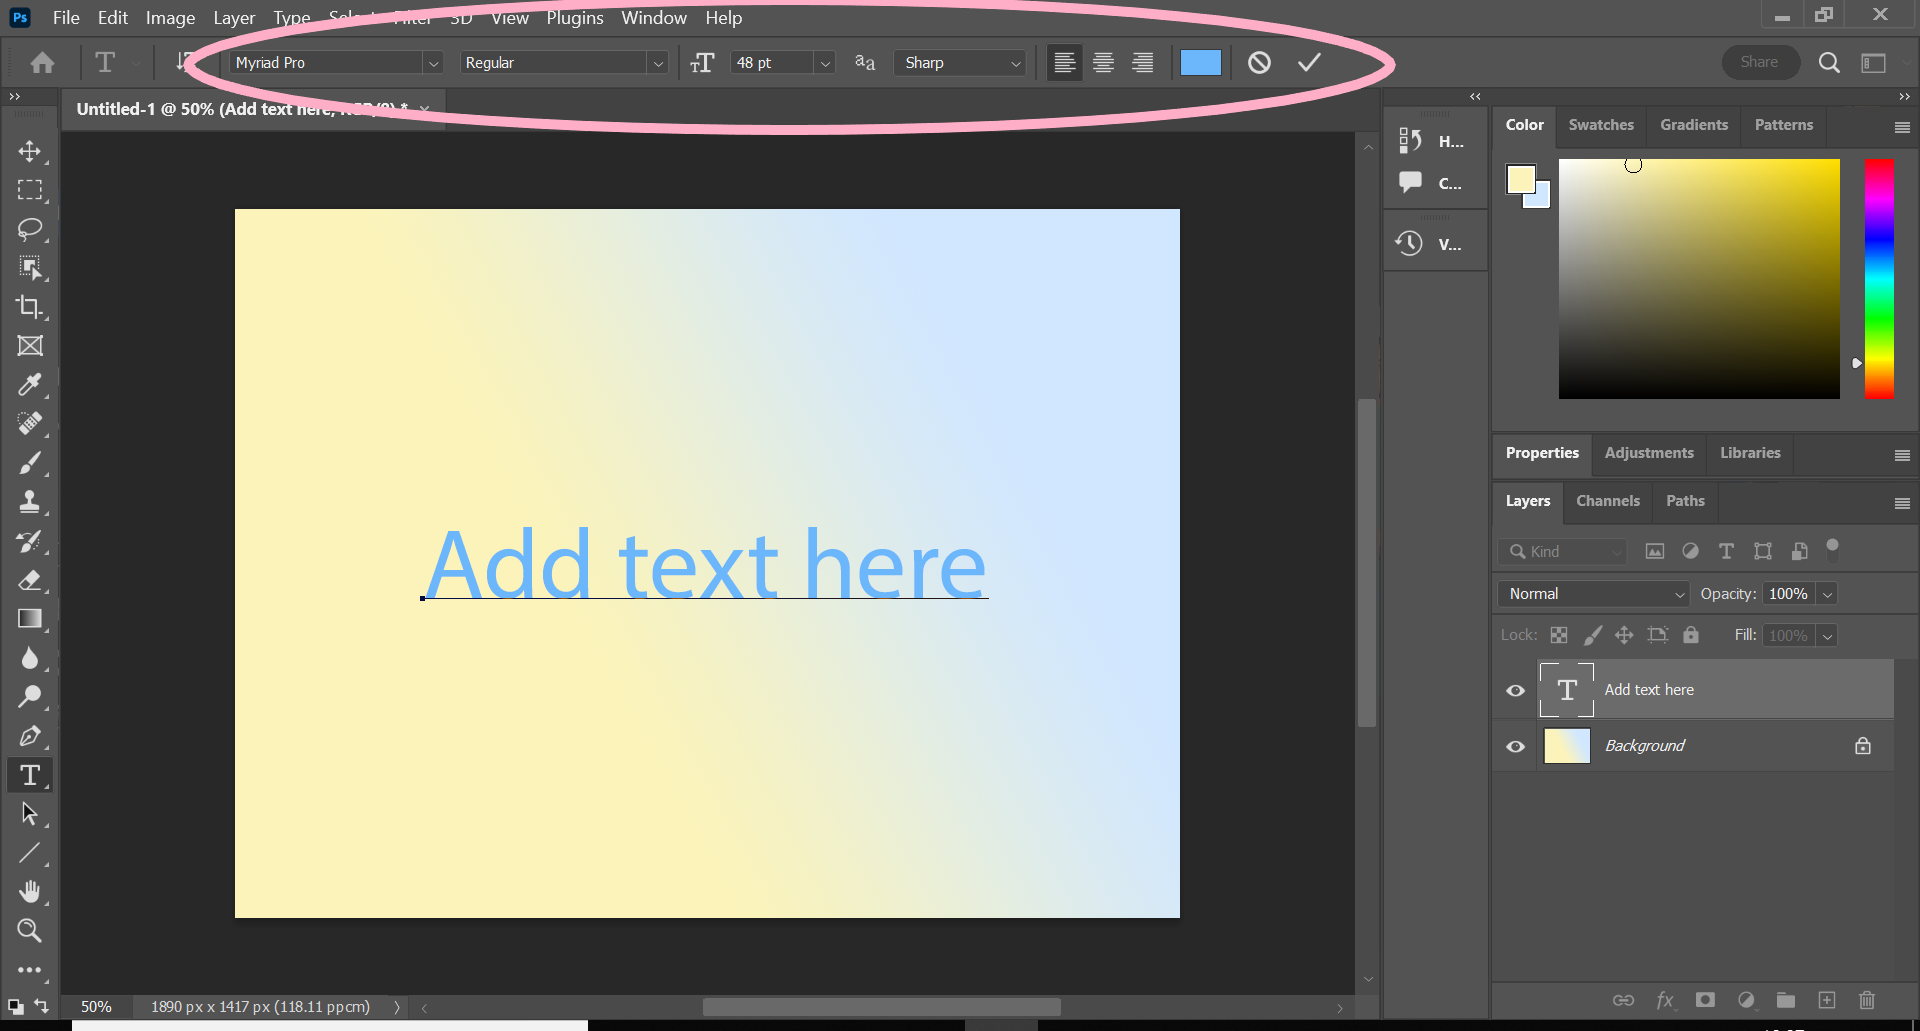
You can also make any adjustments at this stage, including changes to the font, the size and the colour of your text.
Troubleshooting
The Type tool will most likely be set to horizontal by default. To add vertical text, press and hold the ‘T’ icon and select the Vertical Type Tool instead.
To rotate text, just press Ctrl+T/Cmd+T and place your mouse anywhere around the perimeter of the text until you see the curved arrow. Then, click and drag to rotate the text.
You might like…


Editorial independence
Editorial independence means being able to give an unbiased verdict about a product or company, with the avoidance of conflicts of interest. To ensure this is possible, every member of the editorial staff follows a clear code of conduct.
Professional conduct
We also expect our journalists to follow clear ethical standards in their work. Our staff members must strive for honesty and accuracy in everything they do. We follow the IPSO Editors’ code of practice to underpin these standards.