Project Spark tips and tricks
A helping hand when starting out with Project Spark
Project Spark might not be the easiest tool for creating your own game content, but it’s probably the easiest tool that works across a wide range of genres, and that can create highly-sophisticated, visually appealing results.
Getting the most out of it can be a challenge, and – even with the Beta’s restricted content and feature set – it might take weeks before you grasp the more complex stuff and get to grips with Project Spark’s ‘kode’.
There are, however, some ways of easing yourself in gently. We hope this selection of beginner’s tips can help.
See also: Project Spark beta – first impressions
1. Don’t Skip the Tutorial
Run through the Create tutorial and pay attention to every little task. The Project Spark UI is fairly complex and there’s not a lot of comprehensive built-in help. The tutorial gives you all the basics, and covers some pretty crucial things.
2. Use the World Wizard
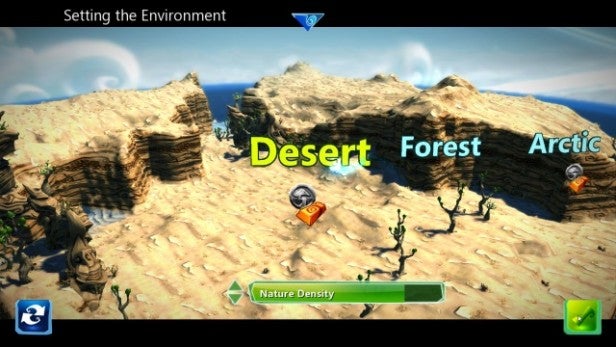
When you start creating it’s tempting to start a new world from scratch, but it’s a lot of work and you might find the experience offputting. Instead, for your first few efforts let the World Wizard take care of the basics before you go back in and finesse. The wizard generates landscapes, carpets them with materials and background props according to your chosen theme, or ‘biome’, and sets up the player character and camera for the type of game you want to play.
It can save you a good hour or so of fiddling around, and it’s easy to edit the result and customise it later. If you can’t see the choice you’re looking for, don’t panic. Press the X button to shuffle the available options.
3. Customise your world
Look in the Pause menu while you edit and you’ll see an option called World settings. It might look transparent and unavailable, but click on it anyway and you should get access.
The World settings menu handles a lot of options that transform the whole look and feel of the world you’re creating. You can change the time of day, add artistic filters and tweak the lighting. All can help you give your Project Spark world a suitably sunny, grim or spooky atmosphere.
4. Sculpt the landscape – slowly
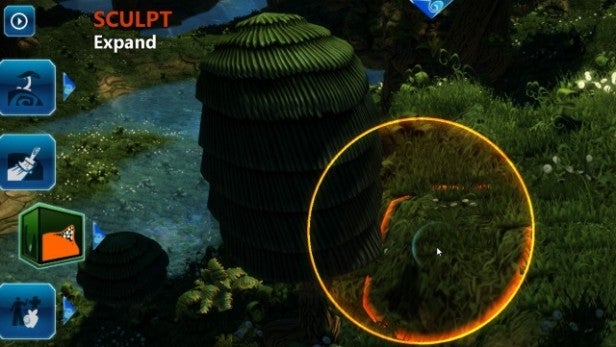
Sculpting the landscape looks like it should be easy, but in fact it takes a bit of practice. The height of the cursor plays a big part in what happens when you press the left or right triggers, as do the settings for Scale and Intensity, which you can adjust with the right analogue stick when you hold the left bumper.
In general, it’s better to keep the Intensity setting fairly low and gently squeeze the trigger when raising or lowering, as this gives you more control over the results, and you can always keep squeezing to keep building or eroding. Set the Scale to match what you’re trying to do, using high Scale settings to create hills or valleys, and low Scale settings to polish the groundwork. It takes time, but you will get the hang of it.
5. Props and properties
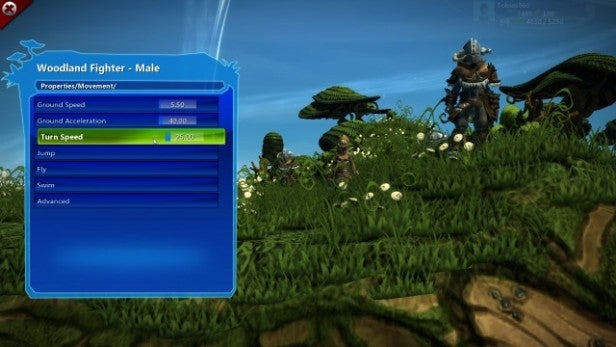
Every object in Project Spark can be edited, both by using Brains to control how it behaves and interacts with other objects, and by adjusting its properties. Press A and switch to the Object tools, then make sure the Add and Edit tool is selected. Highlight an object and you can click the left-bumper to edit it, pressing A to edit the regular properties.
Edit the properties for your hero, for example, and you can click on their Movement properties to change how fast they move, how high they can jump, and even how quickly they accelerate and decelerate. You can have a lead that lumbers around like Marcus Fenix in Gears of War, or a lead that speeds around and jumps like Mario; it’s up to you.
6. Toughen up
You can also use the regular properties to make your hero tougher (or weaker) in combat. Go to the Combat section and you can adjust the strength of different melee and ranged attacks, or boost any character’s health and defensive stats.
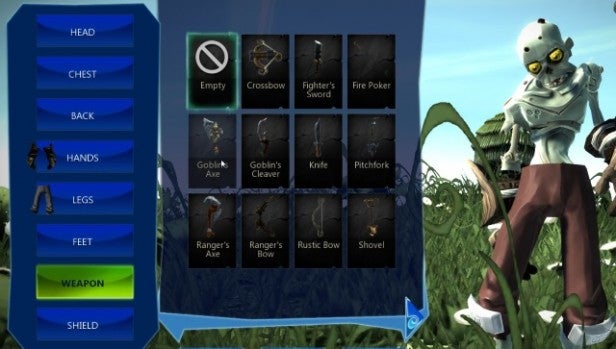
Don’t forget weapons either. Any character can have one added in the Character Studio, or you can place weapons in your world. Weapons themselves have properties, enabling you to make a sword of vast and unspeakable power, or a crossbow that takes out zombies with a single bolt.
7. Tackle Brains the easy way
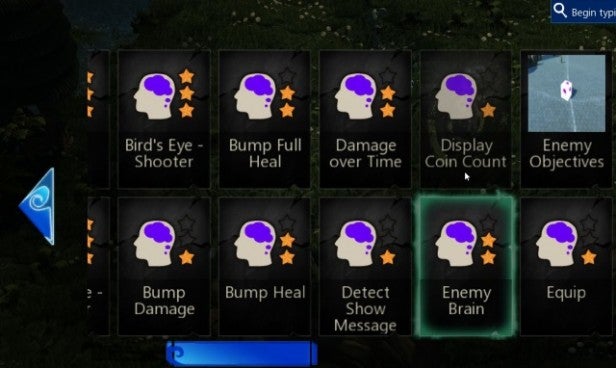
Project Spark’s kode will take you a while to learn, even though the Brains editor cleverly steers you in the right direction by restricting your options depending on the last block you laid down in a line. Luckily, many of the most important props come with ready-made brains, so they can be simply dropped in place. Project Spark also has an excellent gallery of ready-made Brains to cover many of the functions you might need in the average game.
Use these to setup enemies, allies, useful items or objectives, then tweak them if need be. What’s more, you can use different brains from the gallery to re-purpose the different characters. All it takes to change a helpful warrior into an evil bandit is a change of Brains!
8. The left trigger is your friend
Placing and moving objects in a 3D world can be a pain, and you’ll spend a lot of time in the world editor using the X and Y buttons to raise and lower the cursor. However, when you have a prop selected and ready to place, a quick click of the left trigger on the Xbox One will automatically place it at ground height. This makes placing multiple objects a whole lot easier.
9. Keep Testing
Whatever you’re placing or editing or changing in your world, keep coming back to test. You might find that the bridge you’ve just placed is half-floating in mid air, that the pool you’ve just created is impossible to get out of, or that the ranger henchman you’ve just added will stand obsessively firing arrows at a zombie over the hill. Testing will help you find these little issues and fix them quickly, before you go too deep into building your world.
Read more: Best Xbox One games

