
Looking for Overwatch tips and tricks? This is a complete Overwatch heroes guide, so you can pick the best Overwatch characters and crush your opponents with ease. You’ll find advice and counters for your favourite Overwatch hero below, so read on if you’re hoping to up your game.
This guide has been updated with the latest addition to Overwatch: Doomfist. The all-punching, all-smashing hero is certainly one of the trickier characters to learn, so dive into our guide for the latest Doomfist tips and tricks.
Each hero will have a tier rating based on how good they are in the current casual meta-game, as follows:
- Tier 1 – Overpowered; can carry a team; generally good in most maps/match-ups
- Tier 2 – Very good state, but still requires skill
- Tier 3 – Average; requires skill to win; may excel or underperform on certain maps
- Tier 4 – Below average; only useful in certain circumstances, with skilled player
- Tier 5 – Skilled players may struggle to win games; very map/match-up-dependent
This guide lists all 25 playable Overwatch characters in alphabetical order, and will be updated when new heroes are added to the game.
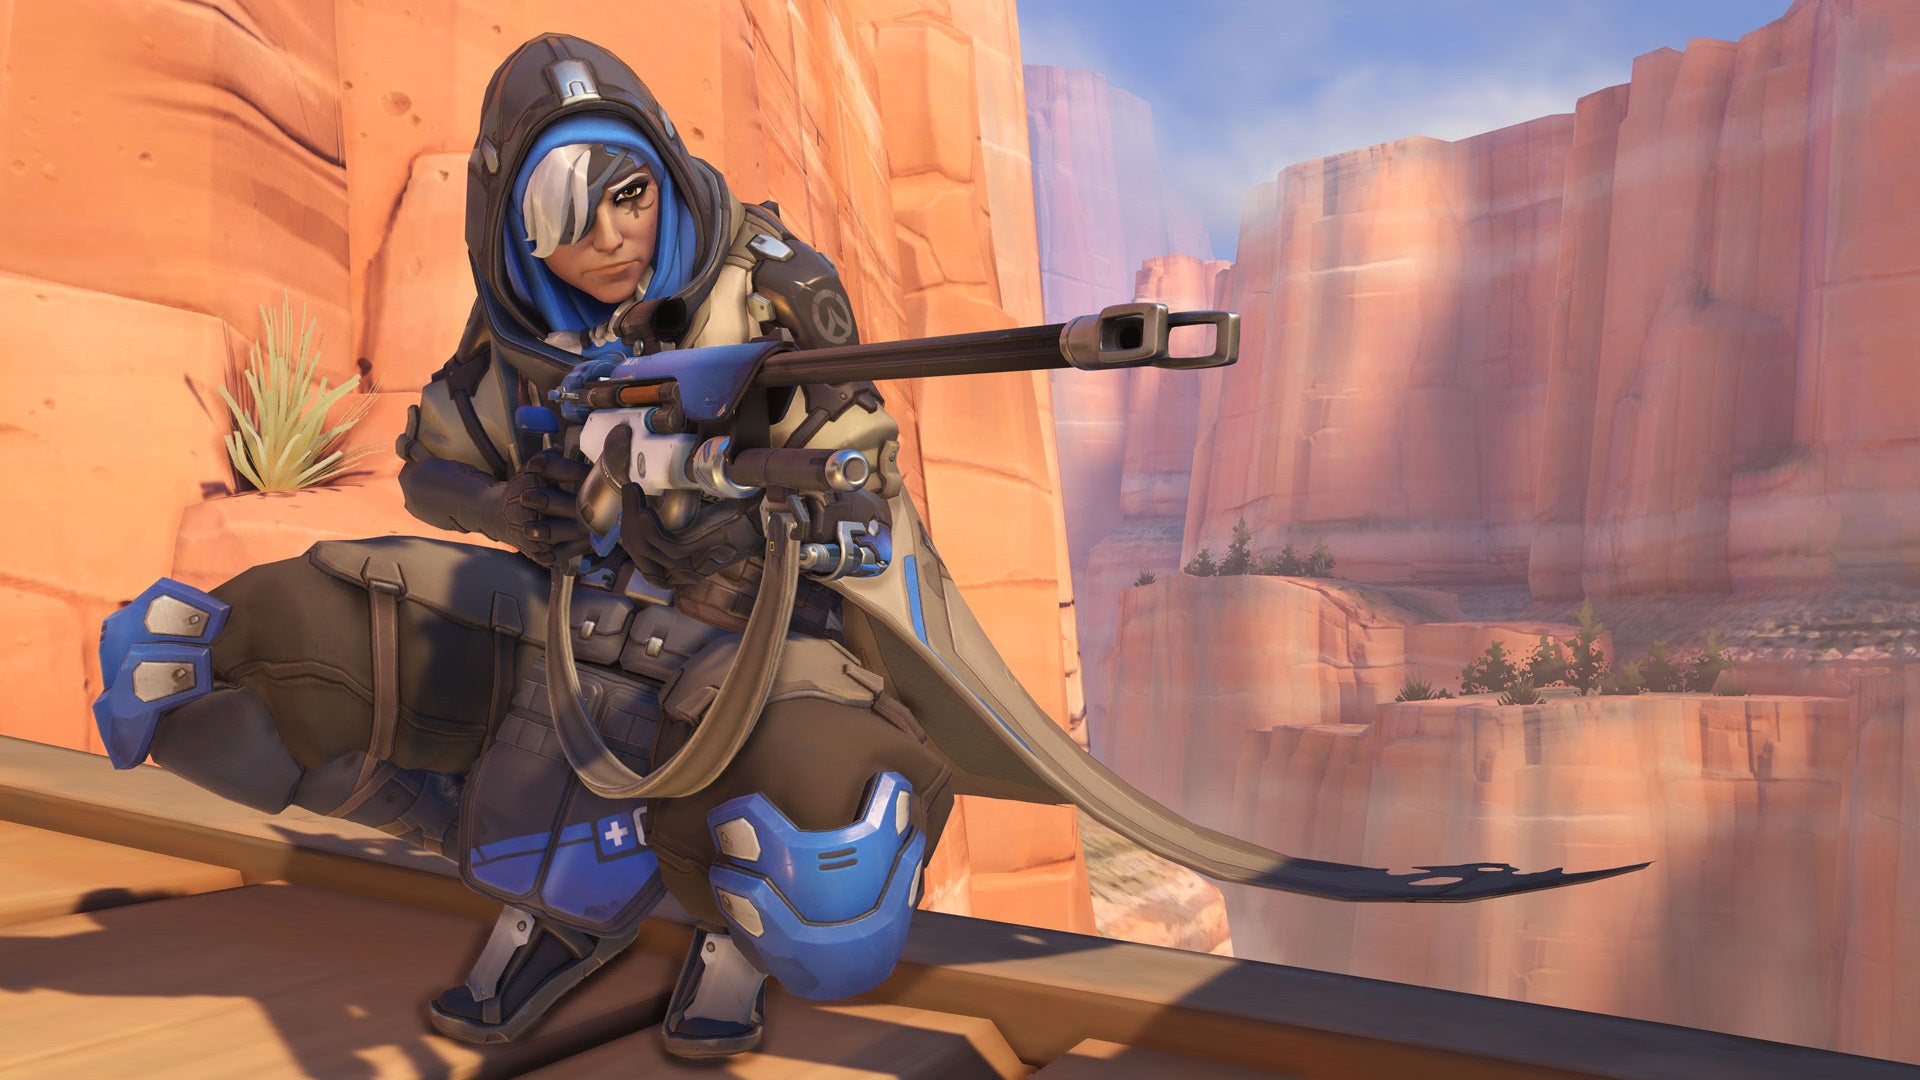
Ana – Overwatch Guide
Our Hero Rating: Tier 3
Class: Support | Difficulty: 3/3
Related: Best Xbox One Games
Credit: Overwatch / Blizzard
Ana was the first new hero to be released as DLC last year. She’s also one of the strangest and unique members of the roster. This one-eyed sharpshooter is a “support sniper”, whose primary fire heals allies and deals damage to enemies. She has tremendous healing output, broad utility, and is effective at long and close range.
Current Play Status
Ana’s big advantage is that she thrives when she’s far from the action, which means she does best on maps with good verticality or extended line of sight. Unfortunately, this also means she’ll struggle on tighter maps like Hollywood or Temple of Anubis. A skilled Ana player is a great asset to any team right now, and her healing is in a good state, so winning is simply about knowing the maps on which she works best.
Abilities
Biotic Rifle – Equipped with a scope, Ana’s rifle can shoot healing darts at teammates or deal damage to enemies.
Sleep Dart – Knock enemies unconscious unconscious. However, the sleeping foe will wake up as soon as you deal damage to them.
Biotic Grenade – Simultaneously heals allies and damages enemies within the area of effect.
Ultimate: Nano Boost – Hitting an ally with Nano Boost improves their movement speed, damage output and damage resistance.
Play style
Ana’s abilities are designed to heal, disrupt and, in the case of her Ultimate, deal huge damage. Keeping her teammates in the fight with basic attacks is her top priority, but players who don’t engage her Sleep Dart and Biotic Grenade to augment teamfights are losing out on vital utility.
Ana has two options: hang back and heal or jump into the fray and heal with un-scoped basic fire. Both have drawbacks. In the thick of it, Ana will struggle to deal damage to enemies, as friendly fire is essentially on for her.
If Ana chooses to snipe from far away then she’s more accurate, but landing Biotic Grenade is more difficult, which is key to keeping groups of allies alive.
Regardless of style, Ana should prioritise healing her allies. Her healing output on D.Va or Reinhardt can keep them alive even when facing heavy fire. Her next job is to shut down enemy pushes by putting key players to sleep, affording her team a brief reprieve or helping them secure the kill.
Her final job is to reinforce pushes by Nano Boosting a well-chosen ally, which can serve as a great distraction, or simply allow them to mop-up with ease.
Related: Upcoming Xbox One Games
- Strong With: A close-quarters healer, like Mercy or Lucio
- Strong Against: Large targets like Winston or D.Va, who are easy to hit with the sleep dart
- Best Ana Counters: Tracer, Widowmaker, Hanzo, Roadhog, Reaper
TIPS
- Nano boost then heal. Nano Boost increases the target’s damage resistance. Add healing to the mix, and they become an unstoppable juggernaut.
- Sleep Dart travels in straight line; use on Widowmaker or Bastion. It’s surprisingly easy to land when your target is stationary! It will also take Bastion out of Sentry mode.
- Don’t attack sleeping targets. Waking a sleeping target is only useful if you can kill them. If not, it’s far more effective to leave them in slumber for the effect’s full duration. By the time they wake up, you could have eliminated their teammates.
- Use Biotic Grenade against healers. Shutting down a hero’s ability to heal can be the death of two-healer comps, which will find themselves lacking the necessary damage to respond. It’s also great at preventing Mei or Roadhog from topping up their own health bars.
- Nano Boost isn’t just for Reinhardt. It’s also fantastic on D.Va, Roadhog, Soldier 76 and Junkrat.
Bastion – Overwatch Guide
Our Hero Rating: Tier 5
Class: Defence | Difficulty: 1/3
Related: Xbox One X
Credit: Overwatch / Blizzard
No hero’s basic attack is quite as devastating as Bastion’s. When entrenched with clear line of sight, he can deal immense damage. This is counterbalanced by immobility in turret mode, making him a sitting duck.
Current Play Status
Despite some much-needed buffing, Bastion is still a deeply broken champion. His sole job is to remain stationary for as long as possible before being nuked out of existence by an enemy team well used to Bastion’s uninventive play-style. His admittedly high damage is not enough to compensate for his lack of mobility, survivability, or utility. A glass cannon that’s only useful as a method of last resort, Bastion may be the most difficult champion to recommend in the game right now.
Abilities
Configuration: Recon – Bastion is fully mobile, outfitted with a submachine gun that fires steady bursts at medium range.
Configuration: Sentry – A stationary powerhouse equipped with a gatling gun. The gun’s aim can be “walked” across multiple targets, dealing devastating damage at short-to-medium range.
Reconfigure – Bastion transforms between its two primary combat modes to adapt to battlefield conditions.
Self-repair – Bastion restores its health; it can’t move or fire weapons during repair.
Configuration: tank (Ultimate) – In Tank mode, Bastion extends wheeled treads and a powerful long-range cannon. The cannon’s explosive shells demolish targets in a wide blast radius.
Play style
Bastion’s immense damage is designed to create no-go areas. At range he can bully pretty much anyone.
Mechanically speaking, he’s one of the Overwatch’s simplest heroes. His objective is to deploy in an easily defensible area and punish approaching heroes with heavy damage whilst healing himself between bouts.
Related: Football Manager Review
He isn’t durable enough to withstand a coordinated attack from multiple angles or persistent long-range sniping, so most Bastion players must wrestle with positioning. Finding the perfect spot to hunker down is the important task.
Movement is also key to Bastion’s success. The enemy will quickly adapt to an immovable Bastion by bringing Junkrat (to shoot around corners), D.Va (to block incoming fire), or Roadhog (to hook him out of Sentry mode). Shifting his position after each engagement keeps the angle of attack a surprise, allowing him to jump on approaching heroes.
- Strong With: Insert
- Strong Against: Insert
- Best Bastion Counters: Pharah, Hanzo, D.Va
TIPS
- Deploy then move. Rinse and repeat to keep your location a secret.
- Bastion can deploy mid-air. By the time you land on the floor, you’re ready to rock. Perfect for dropping behind unsuspecting of heroes.
- Moving platforms aren’t a cure-all. Bastions often set themselves up on moving platforms (Volskaya Industries, Hollywood) or the payload, thinking this will make them less vulnerable. In fact, all this does is reduce accuracy.
- Hooks, darts, and Pulse bombs are the enemy. Roadhog can remove you from Sentry form, as can Ana with a sleep dart. The latter can be fired with great accuracy from great distance, so try to keep out of her line of sight.
- Don’t fire at Genji. His Deflect ability will send your immense damage right back at you.
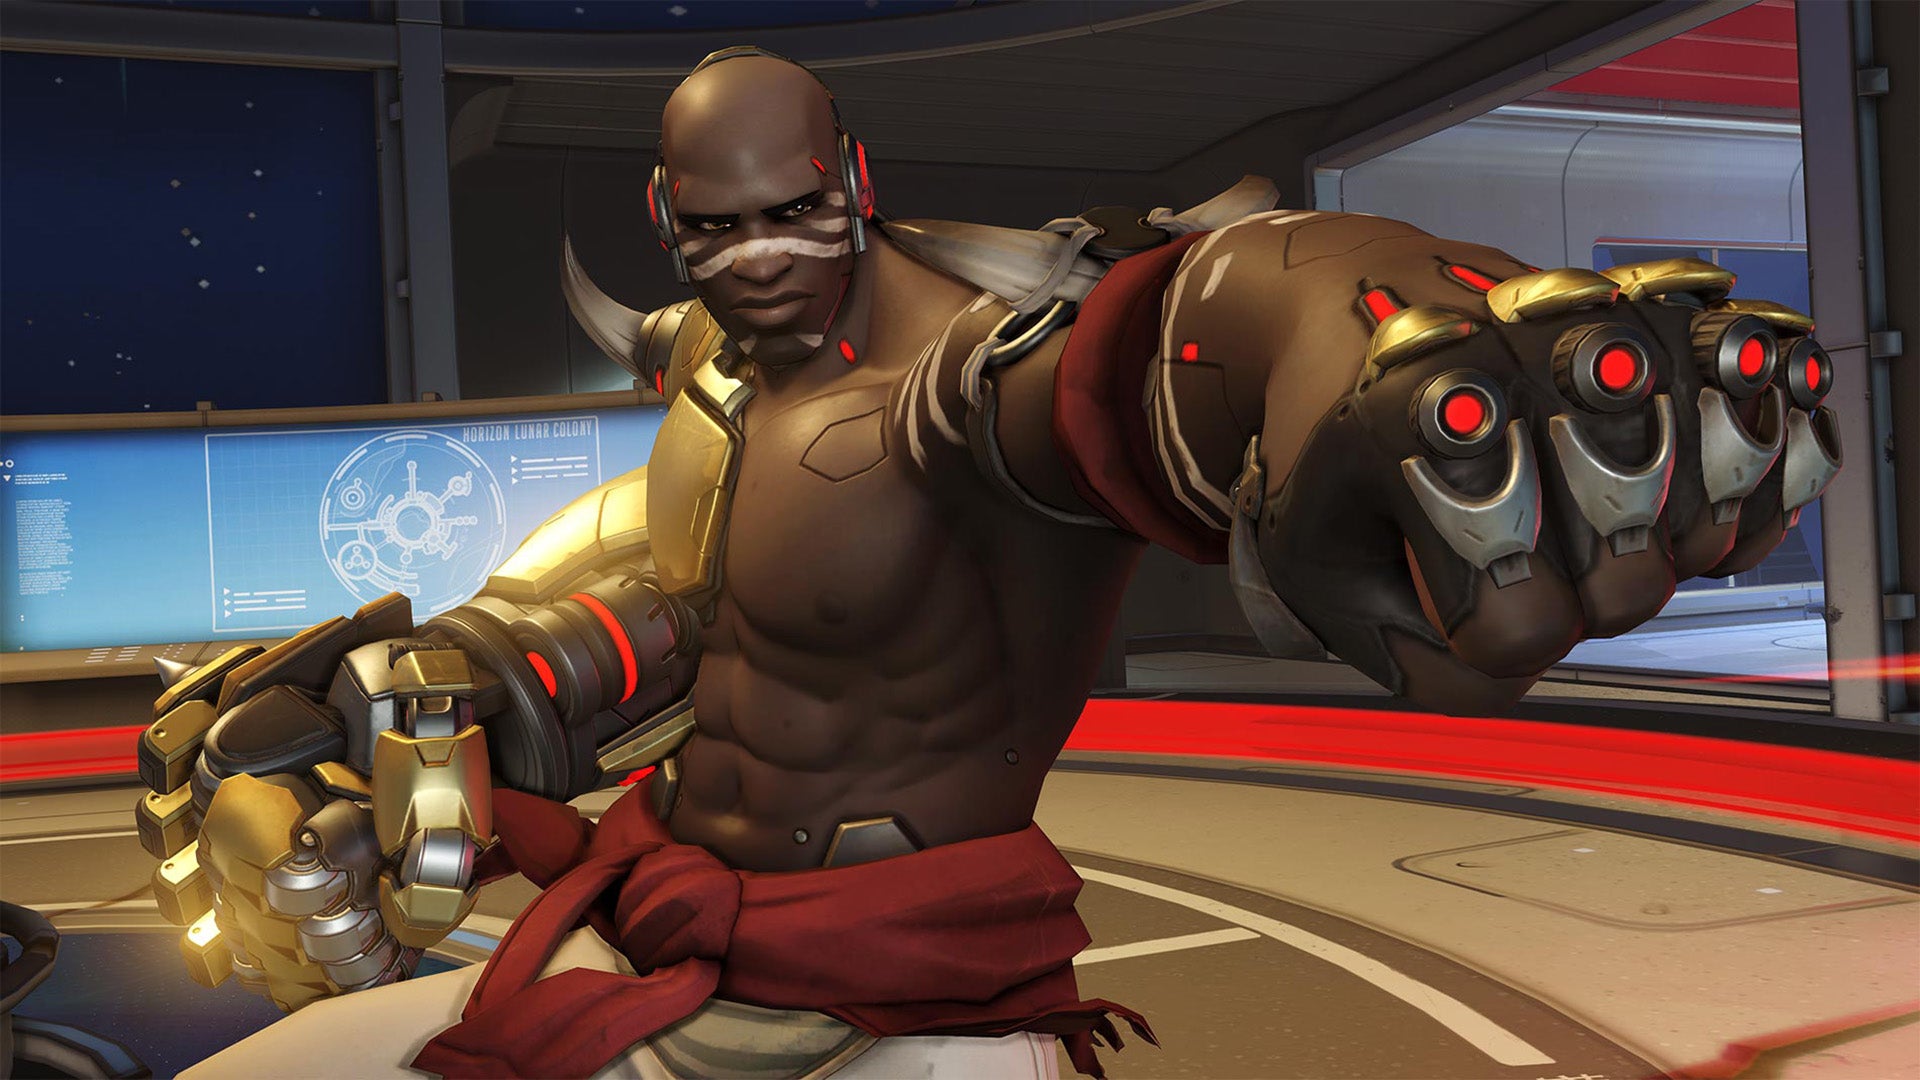
Doomfist – Overwatch Guide
Our Hero Rating: Too soon to say
Class: Offense | Difficulty: 3/3
Related: Best PS4 Games
Credit: Overwatch / Blizzard
A swift and offensive hero, Doomfist is designed to get up close and personal with your enemies, diving it and knocking them about – before darting away and eyeing up your next target.
Current Play Status
It’s too early to say how Doomfist fares in the current meta, as he’s only been in the game for a very short amount of time. We’ll update this section once we get a clearer idea of how he squares up against his Overwatch compatriots.
Abilities
Hand Cannon – Doomfist fires a short-range burst from the knuckles of his fist. Its ammunition is automatically regenerated over a short time.
Seismic Slam – Doomfist leaps forward and smashes into the ground, knocking nearby enemies toward him.
Rising Uppercut – Doomfist uppercuts enemies in front of him into the air.
Rocket Punch – After charging up, Doomfist lunges forward and knocks an enemy back, dealing additional damage if they impact a wall.
Play Style
While it’s not clear where Doomfist will fit in the meta down the line, he has some clear strengths.
For instance, he has very good mobility, being able to dash across the battlefield and move vertically too. This means he can dive in – and importantly, out – of skirmishes with relative ease.
He’s also got some crowd control in his arsenal, being capable of dashing into enemies and knocking them about with his huge metal fist.
Related: Upcoming PS4 Games
Of course, you’ll need to get used to mastering the right combinations for his abilities depending on your given situation, so his 3/3 difficulty rating is certainly justified.
- Strong With: Insert
- Strong Against: Insert
- Best Doomfist Counters: McCree, Mei, Sombra
TIPS
- Learn to chain your abilities. Doomfist can do lots of things, and he can do them very quickly. Keep practicing until you master the right ability chains for the right scenarios.
- Employ patience with your ultimate. Like so many heroes, Doomfist’s ultimate requires timing. The damage isn’t incredible unless you hit lots of targets, so don’t waste it on a single enemy – hold out for a big group that’s stacked up instead.
- You are a squishy-destroyer. Doomfist isn’t built to take down tanks. He’s an assassin who dives in and annihilates a squishy in a few solid whacks. Remember to select a single, weak target and crush them, then back out and choose your next kill.
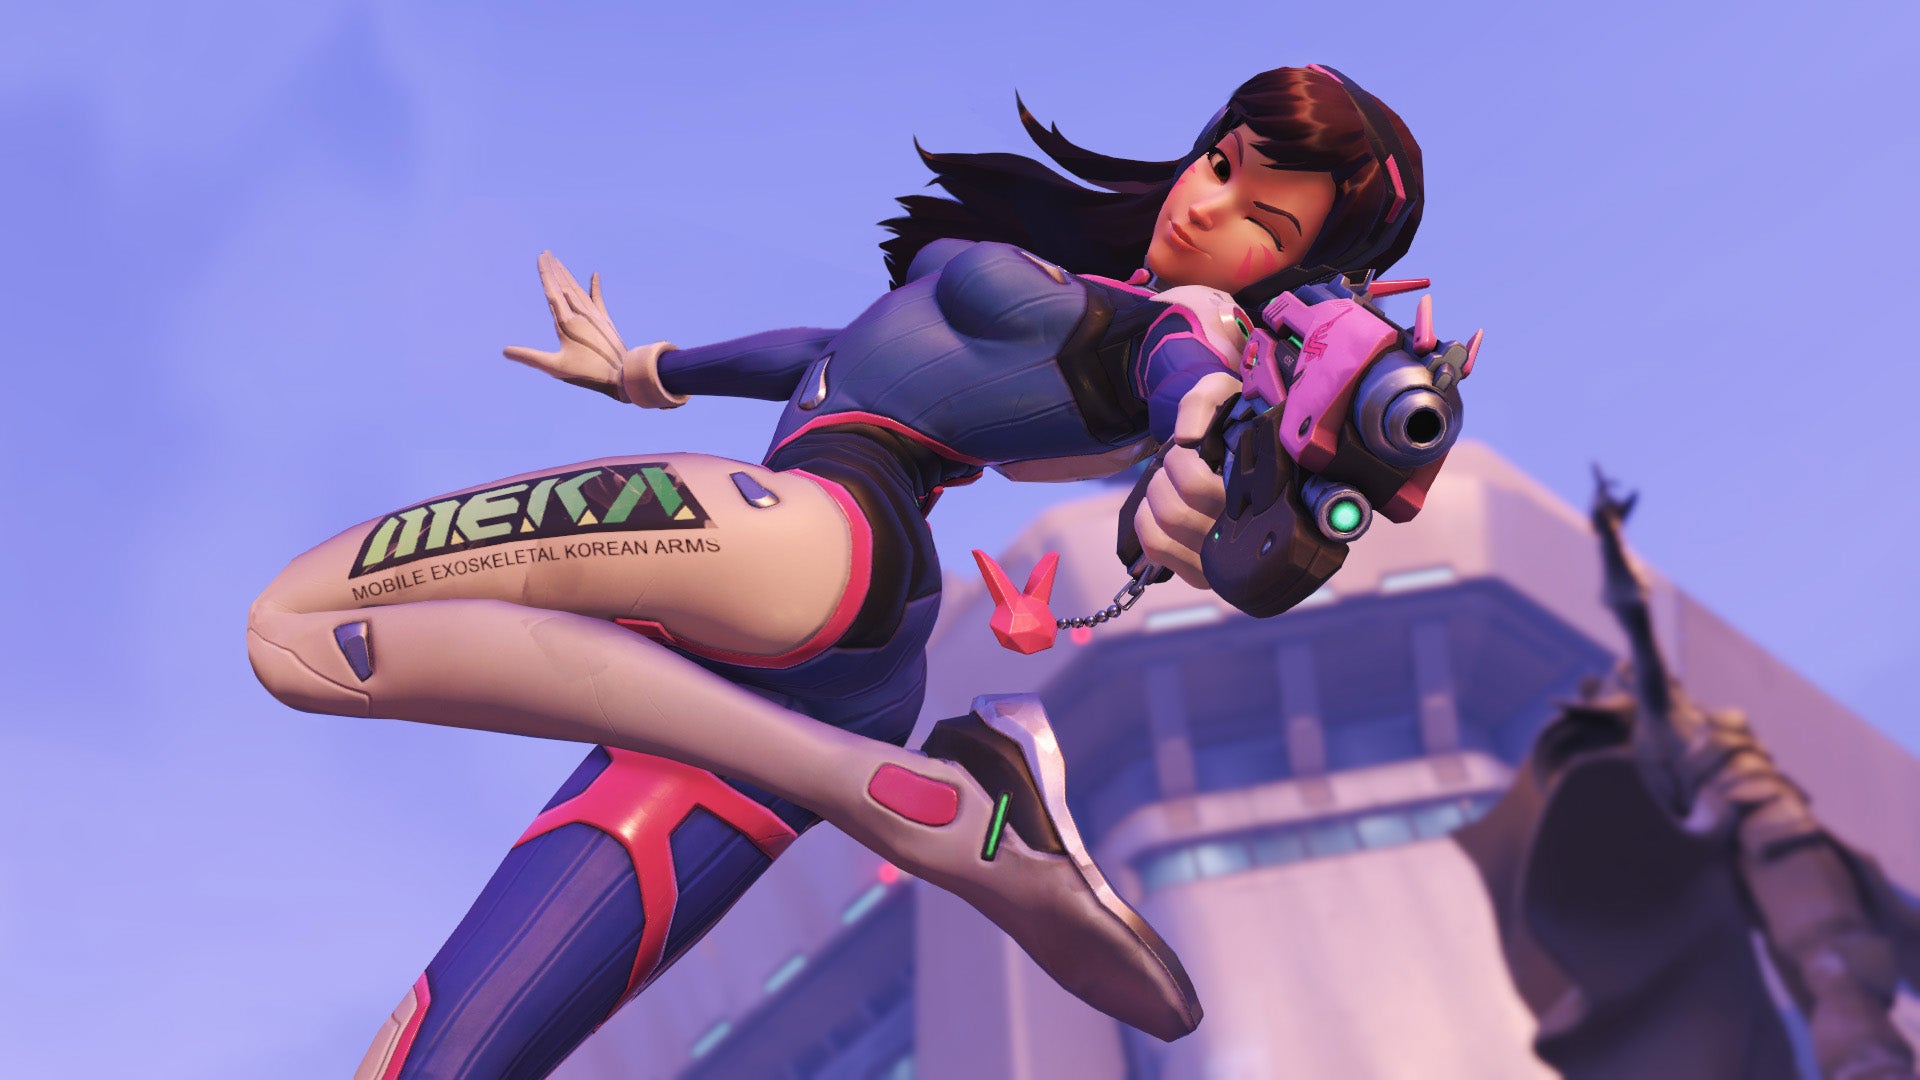
D.Va – Overwatch Guide
Our Hero Rating: Tier 3
Class: Tank | Difficulty: 2/3
Related: PS4 Pro vs Xbox One X
Credit: Overwatch / Blizzard
While incapable of dealing significant damage at long range, she’s highly mobile, can provide consistent mid-level aggression, and soak incoming fire. She’s as comfortable pushing the front line forward as she is mowing down heroes after a quick manoeuvre forward.
Current Play Status
D.Va may not be the powerhouse tank she used to be, but she’s still a strong pick in nearly every team composition. This is mostly a result of people getting used to how her shield and ultimate work, forcing D.Va players to be more tactical about how they approach games. In any case, D.Va is safe for now, with skilled players easily capable of making quick work of their opponents with her.
Abilities
Fusion Cannons – D.Va’s mech is equipped with twin short-range rotating cannons, capable of continuous, high-damage fire without needing to reload – but they slow D.Va’s movement while active.
Light Gun – While outside of her mech, D.Va can continue the fight with a mid-range automatic blaster.
Boosters – Launch the mech into the air. She can turn and change directions or barrel through enemies, knocking them back.
Defense Matrix – D.Va can activate this forward-facing targeting array to shoot incoming projectiles out of the air.
Self-Destruct – D.Va ejects from her mech and sets its reactor to explode, dealing huge damage to nearby opponents.
Call Mech – If her armored battle suit is destroyed, D.Va can call down a fresh mech and return to the fray.
Play style
Her primary use is as a straight-up tank that soaks incoming damage. Sit on the frontline and use Defense Matrix to create opportunities for your team. When this ability is depleted, an allied healer should be working to keep D. Va alive. Being able to stay in the fray makes her perfect for sustaining a prolonged push or defending a narrow choke point.
However, when facing a force spread over a wide area, the effectiveness of Defense Matrix drops considerably. In situations such as this, D.Va can use her boosters to get close to snipers or offence heroes separate from the pack. At point blank range Fusion Cannons pack a punch. Defense Matrix should be used to remove the most immediate threat.
Self-Destruct is one of Overwatch’s deadliest abilities, but also one of the easiest to waste. Be patient, wait for shields to go offline, Reinhardt to be eliminated, or simply the opportunity to force enemies away from the control point.
Related: Destiny 2 review
- Strong With: Insert
- Strong Against: Insert
- Best D.Va Counters: Genji, Reinhardt, Zarya, Mei
TIPS
- D.Va is unpredictable. If the enemy sees Self-Destruct coming, they will run for cover or dive behind Reinhardt’s shield before it explodes. Propel your mech using the boosters to get the jump on them.
- Shove it. Boosting through enemies damages them as well as pushing them back. Very low-health foes can be killed with charge. Opponents near ledges can be bumped into the abyss, too.
- Keep applying pressure. D.Va’s Fusion Cannons have a small enough spread at medium range to quickly wear down Reinhard’s shield. With healing from your support, the opposition will probably retreat before you do.
- Death is not the end. When D.Va’s mech is destroyed, there’s a short delay before it falls to bits and she ejects from the cockpit. It’s possible to activate Self-Destruct during this short window, even though the mech is at 0 health.
- You can absorb pretty much anything. Defense Matrix sucks up basic attacks and some incoming abilities. These include Reinhard’s Fire Strike, Junkrat’s Concussion Mine, and even the Ultimates of Mei and Zarya.
- But of course, there are exceptions. These include the beam of Zarya’s Particle Cannon, Symmetra’s Photon Projector, and Roadhog’s hook, which will still drag you towards him.
Genji – Overwatch Guide
Our Hero Rating: Tier 3
Class: Offense | Difficulty: 3/3
Related: Best PC Games
Credit: Overwatch / Blizzard
Genji is Overwatch’s resident robo-ninja. Capable of throwing stars from distance and slicing with his katana up close, he’s a high-damage, hyper-mobile threat who’s technically demanding and one of the most frustrating heroes to face.
Current Play Status
Genji is actually a really solid pick right now, and could easily be in tier 2 given his insane ability to dive in, nuke a squishy, and dive out in the blink of an eye. The reason why he’s in tier 3 is that he’s a very difficult champion to play well, so most new Genji players will be left grappling with his overwhelming learning curving. In the right hands though, Genji is one of the strongest picks in the game.
Abilities
Shuriken – Quickly shoots three deadly throwing stars. Alternatively can simultaneously throw three shuriken in a wider spread.
Deflect – Genji reflects oncoming projectiles and sends them rebounding towards his opponent.
Swift Strike – Genji darts forward, slashing his katana and passing through foes in his path. If Genji eliminates a target, he can instantly use this ability again.
Dragonblade – His katana receives a significant damage boost for a brief amount of time.
Play style
Genji is best when darting across the battlefield to assassinate lone targets and breach enemy lines. The priority should be taking down high-damage and strategically important foes, such as offensive heroes, supports, and Bastion. This will have the additional benefit of drawing enemy attention, allowing allies to push forward. “Hit and run” best describes effective strategy.
Unlike Soldier 76 and McCree, whose projectiles fire with much greater velocity, Genji’s throwing stars move at trackable speed, with large gaps between bursts. This makes him unsuitable for fighting fast-moving targets at range.
Instead of sitting behind an allied shield, Genji is better suited skirting the edge of battle and occasionally darting into the fray from the flanks. But beware: without ally assistance, this is often risky.
Thankfully, he’s one of the most evasive heroes in the game. By carefully cycling through Deflect and Swift to escape, he can remain a persistent annoyance. This will slowly build his Ultimate – Dragonblade – which is great for clearing the enemy team.
- Strong With: Insert
- Strong Against: Insert
- Best Genji Counters: Winston, Symmetra, Mei
TIPS
- Use abilities sparingly. It’s tempting to fire Swift Strike and then Deflect, but once they’re depleted you’re at risk. Hold back at least one to escape.
- Double-jump. Tracking Genji when he’s double-jumping at close range is a nightmare, s jump, jump, and jump some more.
- You can deflect certain Ultimates. Two Ultimates in the game count as projectiles: those of Mei and Zarya. If you’re quick you can reverse their effect, but this is extremely difficult to pull off.
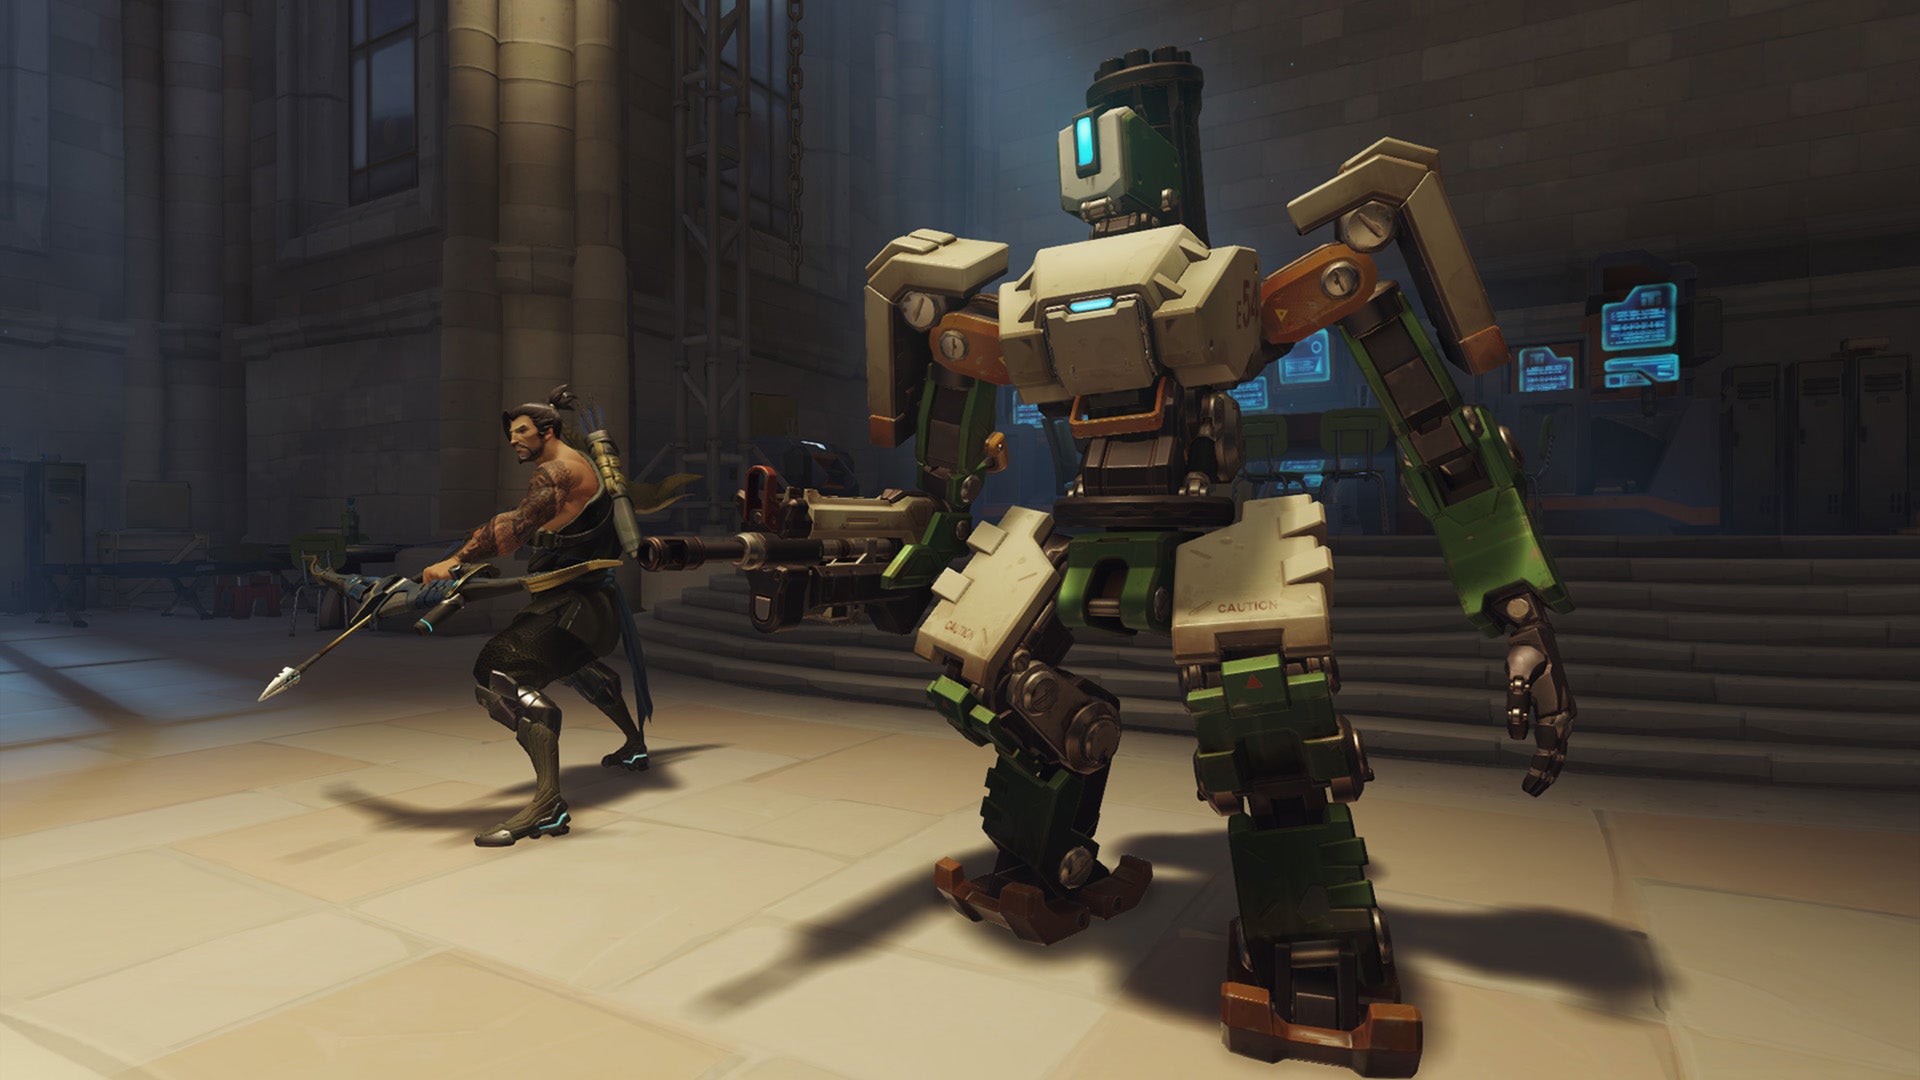
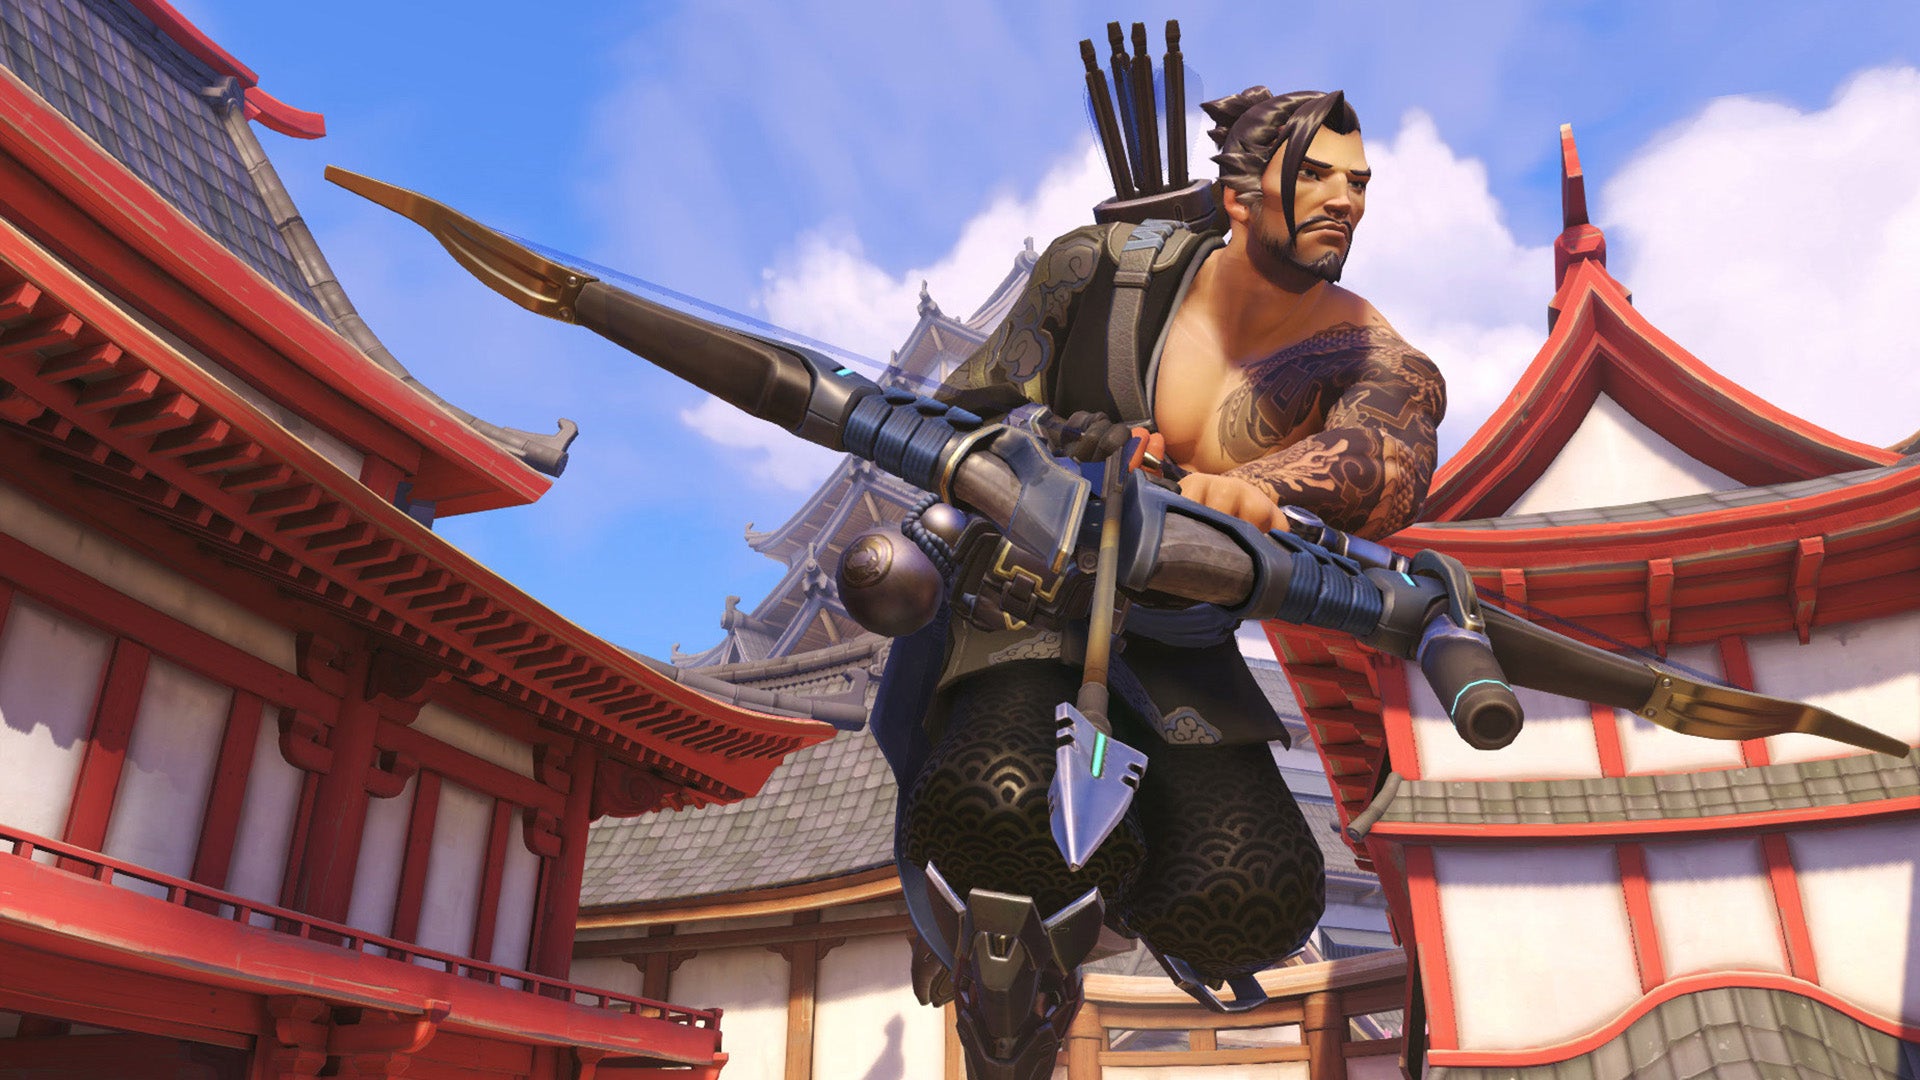
Hanzo – Overwatch Guide
Our Hero Rating: Tier 4
Class: Defence | Difficulty: 3/3
Related: Call of Duty WW2 review
Credit: Overwatch / Blizzard
Hanzo is a sniper without a scope, with one-shot takedown capabilities at long and medium range. He’s a mobile threat, able to climb walls and assume positions that few others can reach.
Current Play Status
Even though he’s been on the receiving end of recent buffs, Hanzo still struggles to make a convincing member of most team compositions. With the 2-2-2 composition of two damage dealers, two healers, and two tanks still dominating the casual arena, defence champions like Hanzo tend to find little use. A sniper with respectable mobility, he’s neither tank nor DPS – and often a bad pick for most compositions.
Abilties
Storm Bow – Hanzo knocks and fires an arrow at his target.
Sonic Arrow – Hanzo’s arrow contains sonar, which can track enemies in a small radius.
Scatter Arrow – Hanzo shoots a fragmenting arrow that ricochets off walls and objects.
Dragonstrike (Ultimate) – Hanzo summons a Spirit Dragon that travels through the air in a line and can pass through walls.
Play style
Hanzo plays very differently to Widowmaker. His ability to secure long-range takedowns is hampered by his lack of scope and arc of his projectiles. He’s still a capable zoner and great at achieving one-shot takedowns, but he should aim to place himself closer to the enemy force than a traditional sniper.
To compensate for his dubious long-range usage, Hanzo’s arrows are a force to be reckoned with. Even when his volleys strike the body, rather than the head, they inflict massive damage, Hanzo a slightly more laissez faire approach to zoning out his opponents.
No matter the game mode, Hanzo should seek out a suitable vantage point from which he can strike squishy targets and Sonic Arrow to guide his volleys to targets as they turn corners. Unlike Widowmaker he can also force enemies out of cover using Dragonstrike and disrupt close-knit formations.
- Strong With: Insert
- Strong Against: Insert
- Best Hanzo Counters: Genji, Widowmaker, Reaper, Tracer
TIPS
- Ult from behind cover. Using Dragonstrike in plain view surprises no one.
- Look for medium-range engagements.
- Low-mobility states can be abused. Earthshatter and Blizzard are hard CC abilities which fix enemies in place.
- Use Scatter Arrow liberally for easy kills. Tracer is hard to target, but a well-placed Scatter Arrow at her feet will swat her with ease. This can even be used around corners.
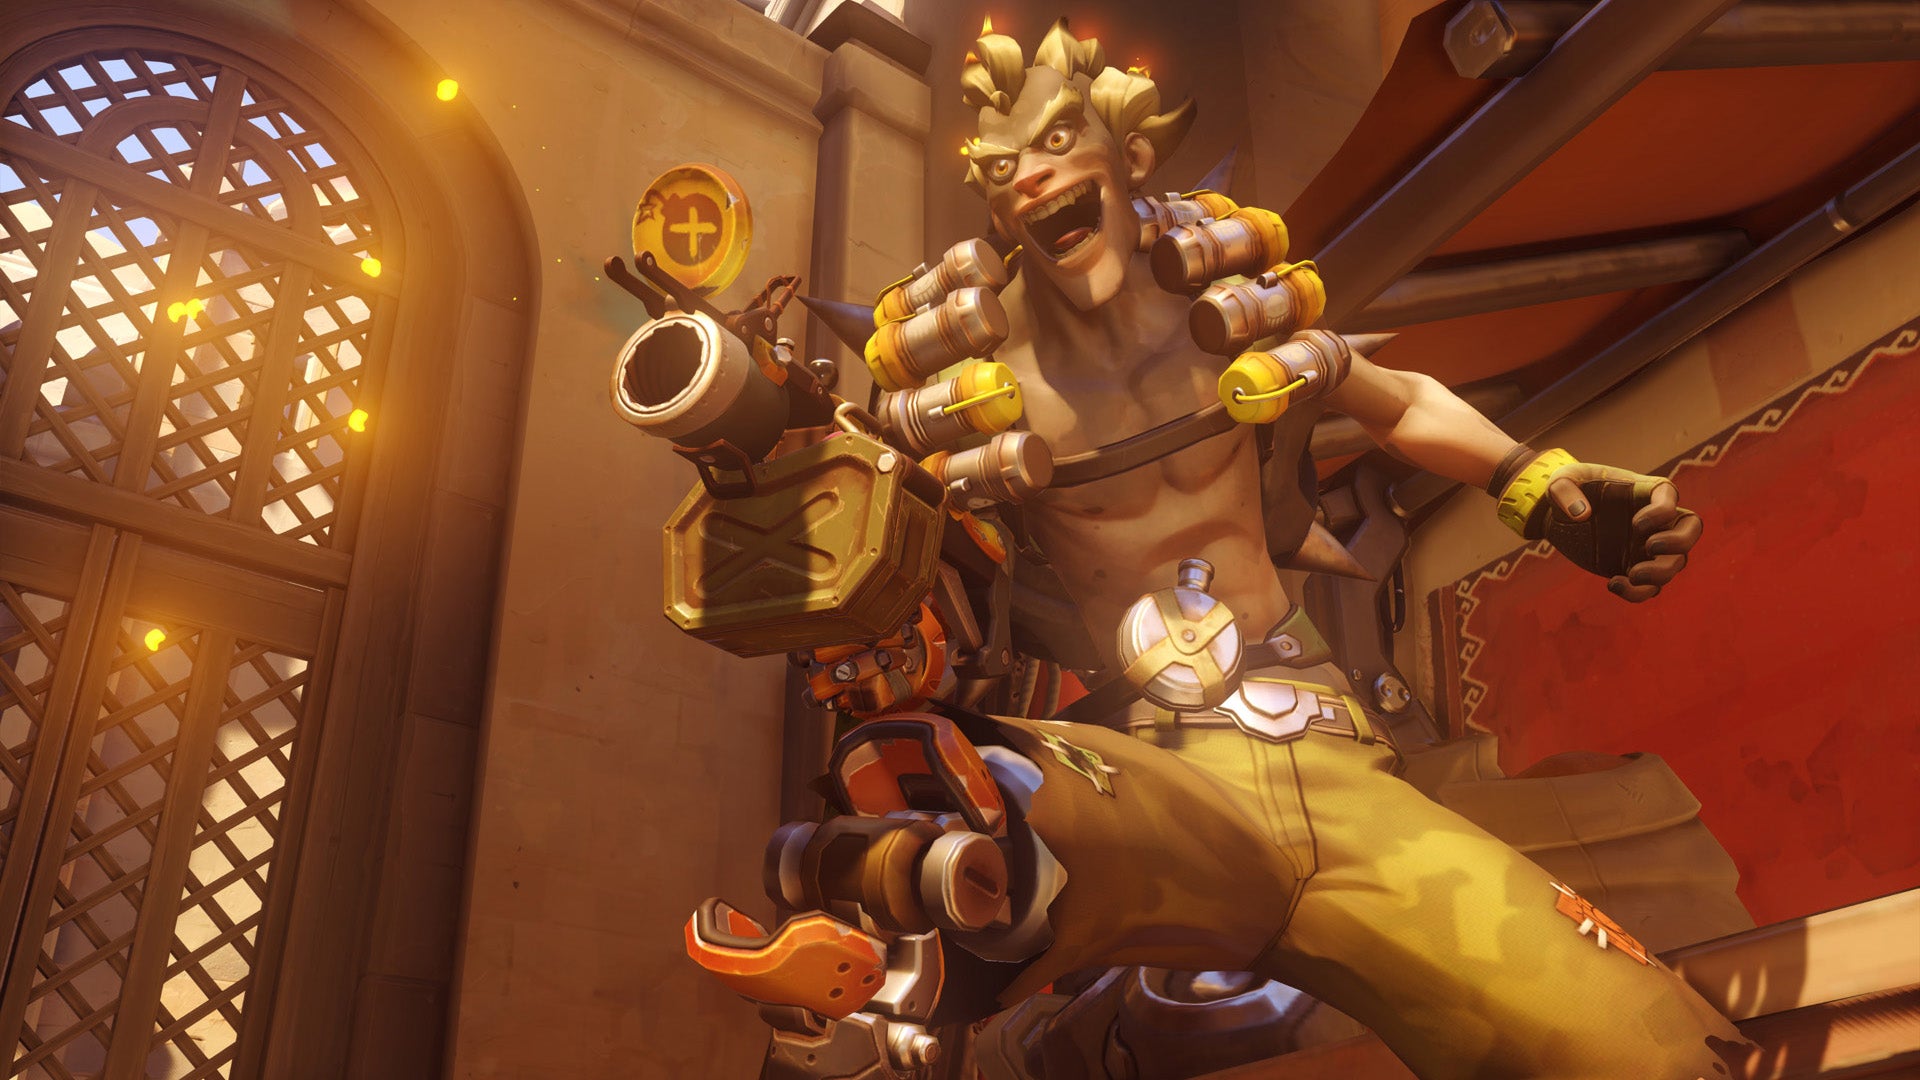
Junkrat – Overwatch Guide
Our Hero Rating: Tier 4
Class: Defence | Difficulty: 2/3
Related: Star Wars Battlefront 2
Credit: Overwatch / Blizzard
Junkrat is the resident Overwatch grenadier, lobbing a consistent stream of bouncy bombs that cause splash damage on impact. He can easily block access to doorways, or make the area around the payload a deadly trap by saturating it with explosions. What he lacks in raw precision, he makes up for in AOE damage – which, when used correctly, make him surprisingly dynamic.
Current Play Status
The current meta massively favours champions with high survivability and high damage, both criteria which Junkrat fails to meet. Sure, he can deal decent DPS in the right circumstances, but he comes unstuck when he has to attack vertically – and his exploding bombs are increasingly predictable. Couple that with his poor mobility, low health, and extensive roster of counters, and it’s easy to see why Junkrat is quickly becoming one of the most junk picks in the game.
Abilities
Frag Launcher – Lobs grenades at significant distance. Can bounce to reach their destination, blow up when they strike an enemy.
Concussion Mine – Junkrat can trigger these to damage enemies and send them flying or propel himself through the air.
Steel Trap – Should an enemy wander too close to the trap, it clamps on, injuring and immobilising them.
Total Mayhem – If killed, Junkrat drops several live grenades.
RIP-Tire – Junkrat revs up a motorized tire bomb and sends it rolling across the map, climbing over walls and obstacles. He can remotely detonate it to deal serious damage, or just wait for it to explode on its own.
Play style
Junkrat’s unique ability to lob grenades from a distance makes him useful for several tasks. He’s great at clearing corridors and narrow choke points, as well as zoning them away from important objectives.
His efficacy when attacking is sometimes questionable, as defenders can spread themselves around an objective or surround a choke point from a distance. Junkrat performs best when he can predict with relative certainty where his targets must travel, or where the impetus is on the opposing team to push forward.
Related: Red Dead Redemption 2 latest news
When holding the point, or defending the payload, Junkrat should seek to zone out enemies or force them to take damage in order to push forward. Pick a doorway, walkway or entry point, and fill it with as many bombs as possible, while also laying Steel Trap and Concussion Mine to ensnare the odd passer-by. This will generally lead to one of two outcomes: either the enemy will push through the barrage and take heavy damage, or they will be forced through another route, squeezing them together.
When the time is right, deploy RIP-Tire, which is probably the easiest ability to secure multi-kills. If used correctly, it can the tide of battle.
- Strong With: Insert
- Strong Against: Insert
- Best Junkrat Counters: McCree, Junkrat, Widowmaker, Pharah, Genji
TIPS
- Time RIP-Tire with Zarya. RIP-Tire performs best against clustered enemies. Use Zarya’s Graviton Surge for a team-kill.
- Bounce bombs off walls to land behind the supports and healers.
- Pair up with Symmetra. Laying Steel Trap in front of Symmetra’s turrets ensures that enemies caught will take a few seconds of damage. Often, the turrets will be enough to kill them.
- Lay Steel Trap on your flanks. Especially in doorways where the likes of Tracer, Genji and Sombra are likely to tread.
- Survive one-on-ones with a quick combo. Throw a mine into another player’s face and detonate it mid-air. As they land, throw grenades towards their feet.
- Concussion Mine can be used to escape. You can blast yourself free of Mei’s and Zarya’s Ultimates using a mine at your feet.
- Hide during RIP-Tire. You’re completely vulnerable during Junkrat’s ultimate. Don’t just pop around the corner; find a decent hiding space to ensure you’re not picked off.
Lucio – Overwatch Guide
Our Hero Rating: Tier 2
Class: Support | Difficulty: 2/3
Related: Wolfenstein 2 review
Credit: Overwatch / Blizzard
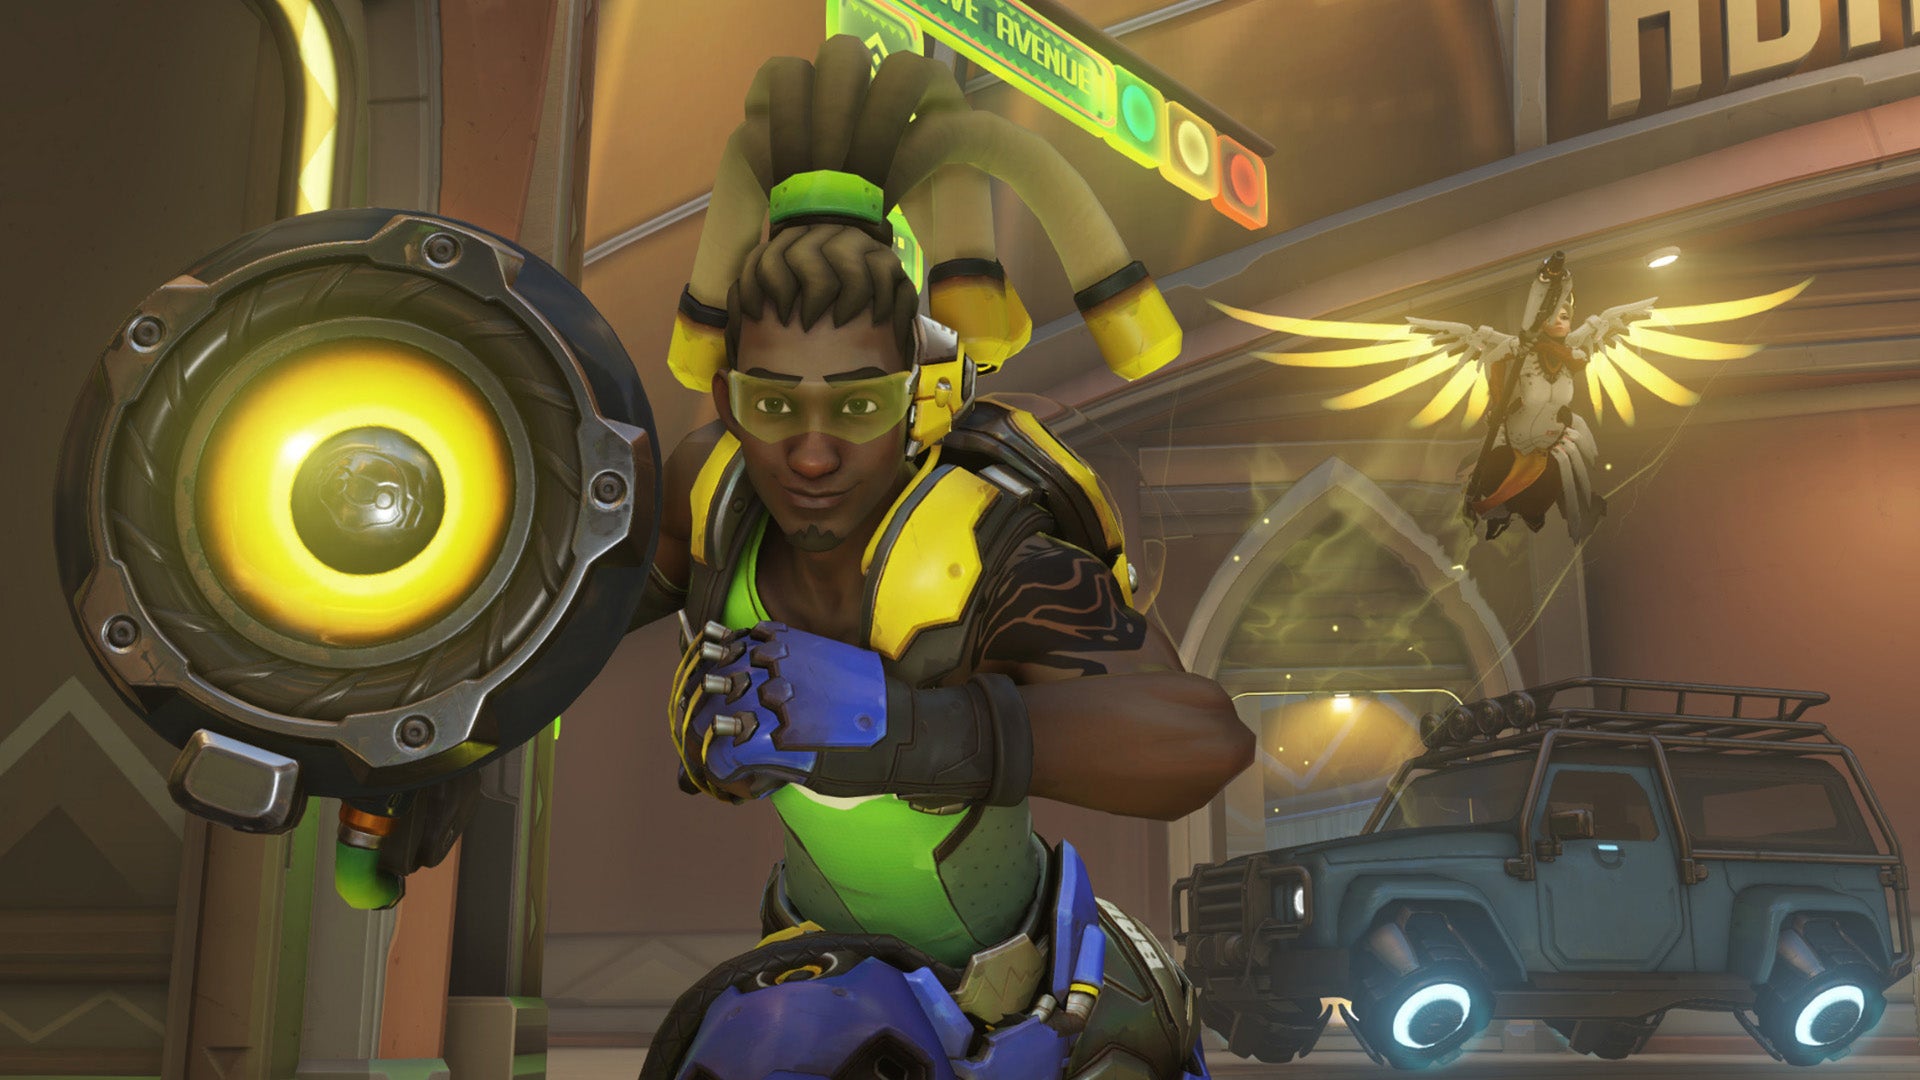
Lúcio is a long-distance, mobile healer whose ability to restore health is unparalleled. He’s the only support hero who can heal the entire team from long range, and his Ultimate is is adaptable. Whatever the situation, it’s probable that Lúcio will be a welcome addition to your squad.
Current Play Status
Lucio has a great kit, so it’s no surprise that he’s seeing lots of play lately. The speed boost is great for getting teams back into action, and his ultimate can turn games around in clutch moments like few others can. Combine all that with his sustained AOE healing and it’s clear why he’s one of the strongest support characters in the game right now.
Abilities
Sonic Amplifier – Lúcio can hit enemies with sonic projectiles or knock them back with a blast of sound.
Crossfade – Lúcio continuously energizes himself, and nearby teammates, with music. He can switch between two songs: one amplifies movement speed, while the other regenerates health.
Amp it up – Lúcio increases the volume on his speakers, boosting the effects of his songs.
Sound Barrier – Protective waves radiate from Lúcio’s Sonic Amplifier, briefly providing him and nearby allies with personal shields.
Play style
Lúcio is one of the hardest heroes to hit, thanks to the speed boost of Crossfade – and as long as he stays alive, he can continue healing his team from distance. A good Lúcio stays alive as long as possible, while providing a distracting target for the enemy team.
To this end, it’s best to stay on the move. Lúcio can run along walls, skate circles around slower heroes, and is sometimes as hard to hit as Tracer. This mobility is also great for hanging on to a capture point while waiting for teammates to respawn.
In situations where this isn’t an option, hanging back behind hardier heroes can keep Lúcio safe while he provides a barrage of supplemental fire. However, his mobility also allows him to dart forward and use Sonic Amplifier to pick off low-health enemies. Extremely skilled Lúcio’s can bring a surprising amount of DPS to a team composition; don’t be afraid to get aggressive when the time is right.
As a pushing tool, no Ultimate is quite as effective as Sound Barrier. As a counter-ultimate, only Zenyatta is as useful at shutting down an assault.
Related: WWE 2K18 review
- Strong With: Insert
- Strong Against: D.Va, Mercy, Zenyatta
- Best Lucio Counters: McCree, Widowmaker, Genji
TIPS
- Focus on snipers. You probably won’t kill them, but obstruct their view and note their position for you allies.
- Wait for allies to respawn before running back to the fight. Don’t waste your speed boost by heading back into battle alone. If you see allies have also died, wait for them to respawn and help them into the fray faster.
- Inform your team your Ultimate’s ready. Your allies can be more aggressive and will probably cluster together.
- Shut down Pharah, Reaper, Soldier, Genji, Tracer and McCree. You can negate the incoming damage of all their ultimates with Sound Barrier.
- But not Sombra. She’s a hard counter to Lúcio, as EMP removes all shielding. Wait for her to deploy an ultimate before you deploy yours, or switch out to another support.
- Pushing off ledges is great, but so is pushing enemies toward allies. Shoving a hero into the waiting arms of your comrades will chew them up.
McCree – Overwatch Guide
Our Hero Rating: Tier 3
Class: Offense | Difficulty: 2/3
Related: NBA 2K18 vs NBA Live 18
Credit: Overwatch / Blizzard
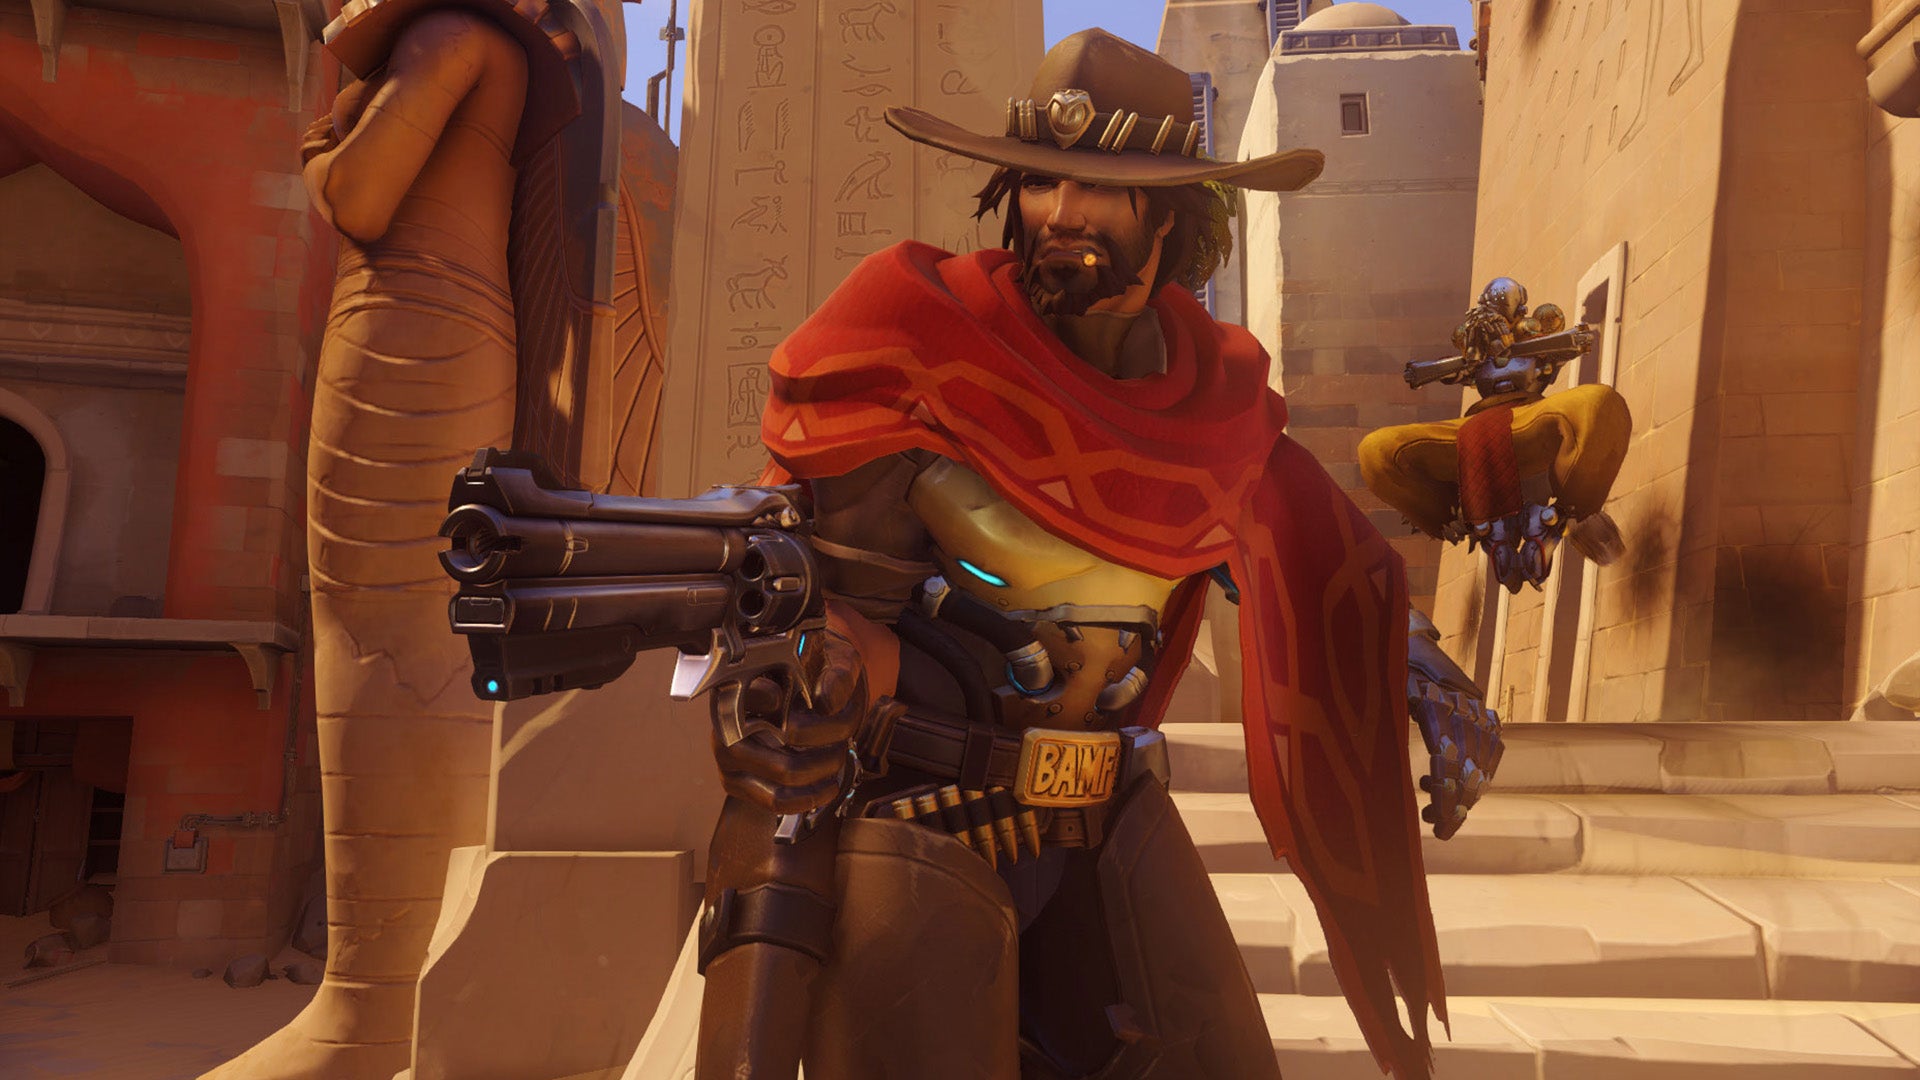
This gunslinger packs a revolver of immense power and is the only offensive hero packing hard crowd control. If you meet McCree in a corridor then one of you is going to end up dead, and it often isn’t the one from the Old West.
Current Play Status
McCree has improved in recent times, but we’re only tentatively placing him in tier 3. To master McCree is still quite difficult, given that he shines best in one-on-one duelling scenarios – which you have to be very tactical about arranging. If you’re not great with McCree, you’ll struggle to provide much value to your team, and so we’d recommend avoiding him in ranked games if that’s the case. A squishy champion that requires lots of skill, McCree is only a Tier 3 champion for high-calibre players.
Abilities
Peacekeeper – McCree’s six-shooter. He can fan the Peacekeeper’s hammer to swiftly unload the entire cylinder.
Combat Roll – McCree dives in the direction he’s moving, reloading Peacekeeper in the process.
Flashbang – Launch a blinding grenade to stun enemies in the nearby area.
Deadeye – McCree takes a moment to aim; when he’s ready to fire, shoots every enemy in his line of sight. The weaker his targets, the faster he’ll line up a killshot.
Play style
McCree’s revolver is effective at short and medium range, but it’s up close that he really shines. Punish any players out of position with a stun, followed by a killing shot. His accurate, high-damage revolver is also suitable for bringing down shields.
The standard McCree combo is thus: Flashbang to stun, Fan the Hammer for the kill, Combat Roll if they don’t die, Fan the Hammer a second time to finish them off.
In most instances, if Fan the Hammer connects with its target twice, this is enough to kill both squishies and tanks alike. Of course, this relies upon McCree moving into close range to deploy Flashbang and ensuring that each bullet from Fan the Hammer hits – a difficult task: the kickback it suffers greatly reduces accuracy.
This duelling potential allows McCree to work his way into position for Deadeye, which deals enormous damage to heroes but suffers from significant build time before firing.
The mark of a great McCree player is knowing exactly when, and where, to use the Ultimate. As it channels, Deadeye is telegraphed with a global audio cue – “It’s high noon” – giving fast opponents time to duck for cover. McCree’s speed of movement is also reduced to a crawl, leaving him vulnerable.
- Strong With: Insert
- Strong Against: Mercy, Mei, Tracer
- Best McCree Counters: Pharah, Zarya, Bastion, Widowmaker, Pharah, Genji
TIPS
- Flashbang can interrupt certain abilities. Including the Ultimates of Reaper, Pharah, Roadhog or another McCree. If you see one of them sidling into position, then consider waiting to deploy Flashbang.
- Keep the gun loaded. The efficacy of Fan the Hammer is dependent on how many bullets remain in McCree’s chamber. With only two bullets left, there’s less chance of success. Diligent reloading is of utmost importance.
- Learn maps. High platforms, narrow doorways, flanking routes – a good McCree should know them all to reach vantage points and deploy Deadeye.
- McCree is dependent on team lineups. The following heroes can render a well-placed Deadeye useless: Zarya, Lúcio, Reinhardt, D.Va. If the enemy team contains two or more of these, you need to consider changing hero, or using Sombra to disable their abilities while you strike.
Mei – Overwatch Guide
Our Hero Rating: Tier 4
Class: Defence | Difficulty: 3/3
Related: NBA 2K18 review
Credit: Overwatch / Blizzard
Mei is a versatile defence hero who excels in almost every situation via crowd-control abilities and sub-zero primary fire.
In addition to dividing the enemy and setting up devastating team combos, she’s a terrific duelist who can go toe-to-toe with any offensive heroes. The question isn’t what can Mei do, it’s what can’t Mei do.
Current Play Status
The current meta heavily favours all-rounders, whereas Mei is quite the niche pick. In certain situations, her high-utility kit is exceptionally useful – who doesn’t love a massive wall of ice and the ability to freeze any enemy? The problem is that she’s very easy to counter, and that often means she’s a useless pick. You can’t freeze anything when you’re dead, Mei…
Abilities
Endothermic Blaster – Mei’s blaster unleashes a concentrated, short-range stream of frost that damages, slows, and ultimately freezes enemies in place. Mei can also shoot icicle-like projectiles.
Cryo-freeze – Mei instantly surrounds herself with a block of thick ice. She heals and ignores damage while encased, but can’t move or use abilities.
Ice Wall – Generate a gigantic wall of ice that blocks lines of sight, obstructs movement, and absorbs attacks.
Blizzard – Deploy a drone that emits gusts of wind and snow in a wide area. Enemies caught in the maelstrom are slowed and take damage; those who linger are frozen solid.
Play style
Mei supports a broad variety of play styles. Some employ her as a disruptor, alternating Ice Wall and Cryo-freeze to halt a payload or buy time. Others enjoy taking her to the flanks and hunting down weaker enemies with Endothermic Blaster. It’s also possible to play her as a ranged DPS (damage-per-second) hero using secondary fire, and snipe players from afar with frozen death-needles.
The most effective method depends on your own skills and the current game mode. During Escort, Mei is capable of halting the payload and surviving better than anyone else. She won’t rack up kills, but will cause endless delays to the opposition. When defending choke points in Hybrid or Assault, Mei is better off playing safe, using Ice Wall to force the enemy through an even smaller choke point.
But some tactics are universal. It’s best not to use Ice Wall and Cryo-freeze at the same time, for instance. Alternate between them. Her close-quarters offensive combo is usually freeze with primary fire, then kill with secondary fire to the head.
- Strong With: Insert
- Strong Against: Insert
- Best Mei Counters: McCree, Widowmaker, Pharah
TIPS
- Separate the enemy. It’s tempting to use Mei’s Ice Wall to simply block paths, but if you can isolate a single enemy on your side of the divide then they have no escape.
- Revenge is best served cold. when facing Lúcio, wait for his Ultimate before deploying yours. Otherwise, he’ll simply drop the beat and negate all damage.
- Walls are wonderful. Walls are effective for blocking Ultimates from D.Va, Roadhog, Soldier 76, McCree, Reaper, Torbjörn and occasionally Pharah.
- Break the ice. Mei’s Cryo-freeze shatters after a set time, making her predictable. Try bursting out early; you’ll sacrifice some health regen, but are more likely to survive.
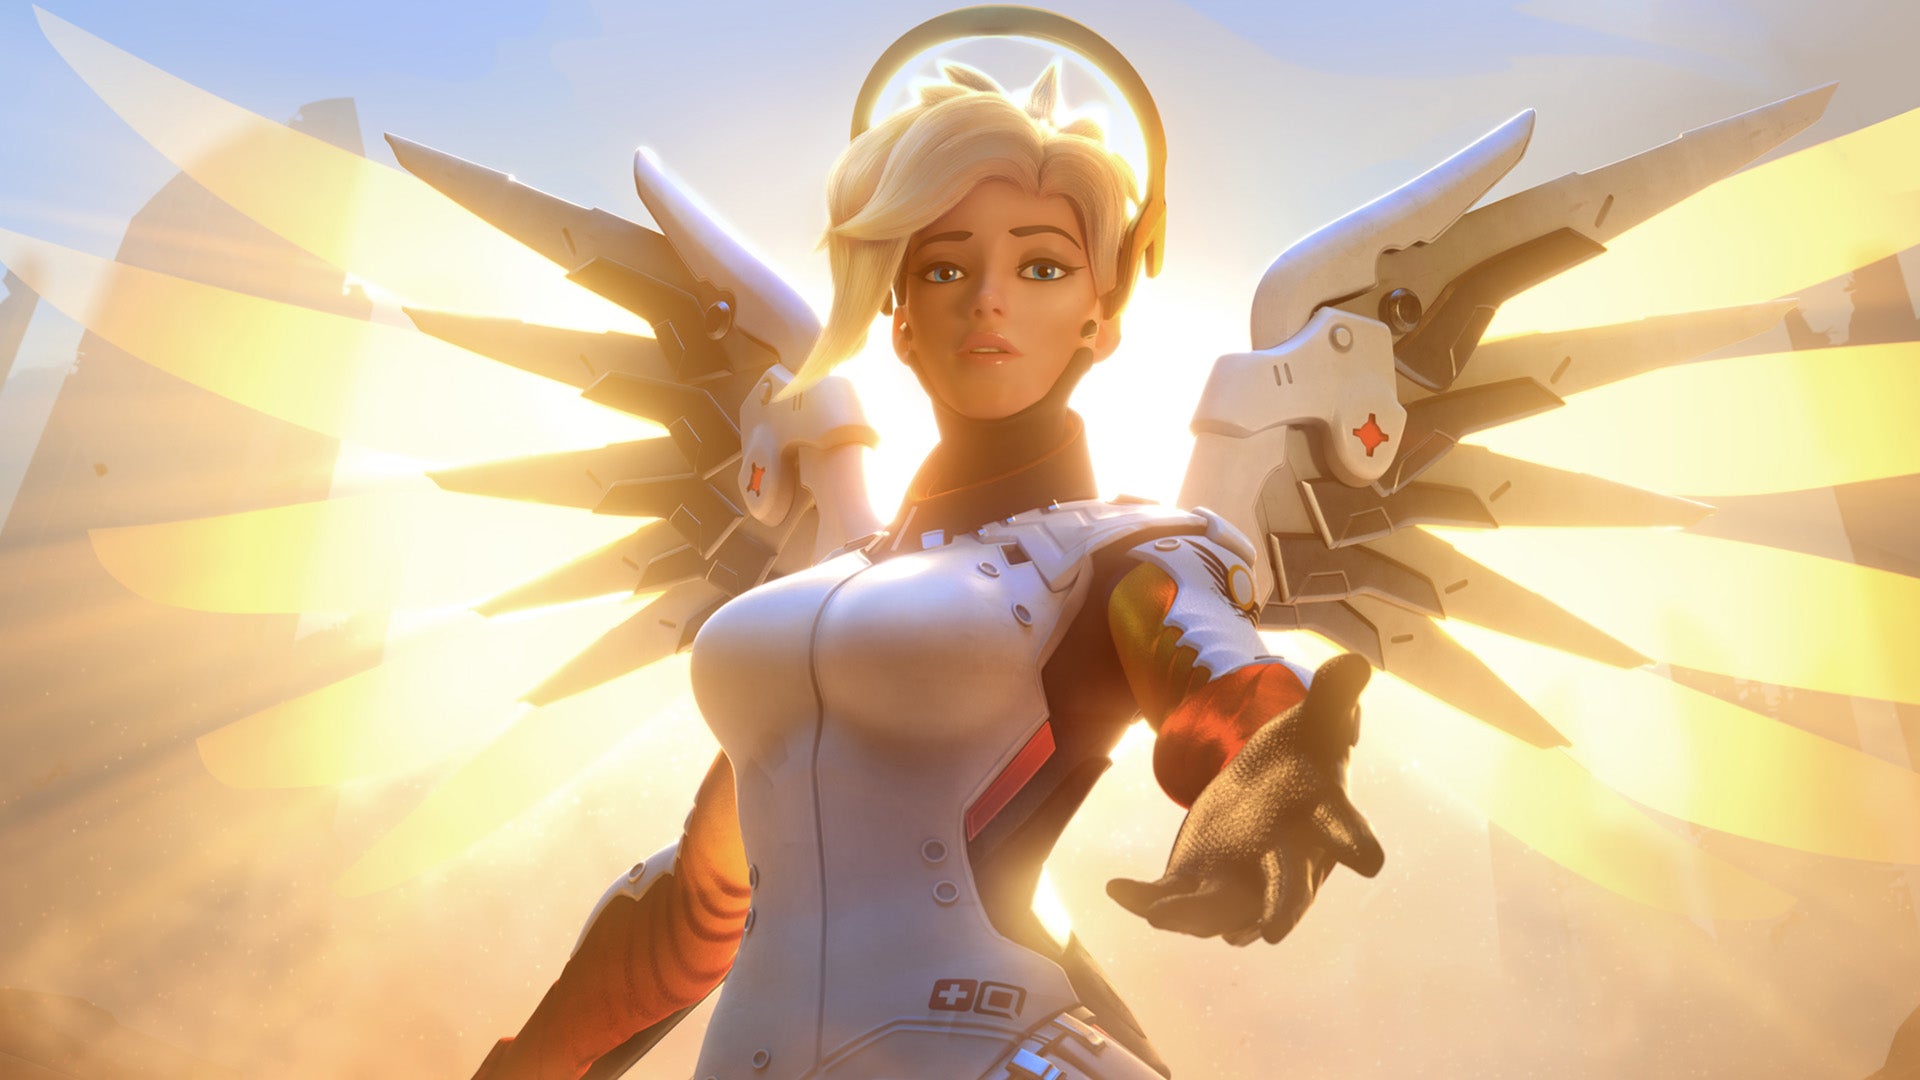
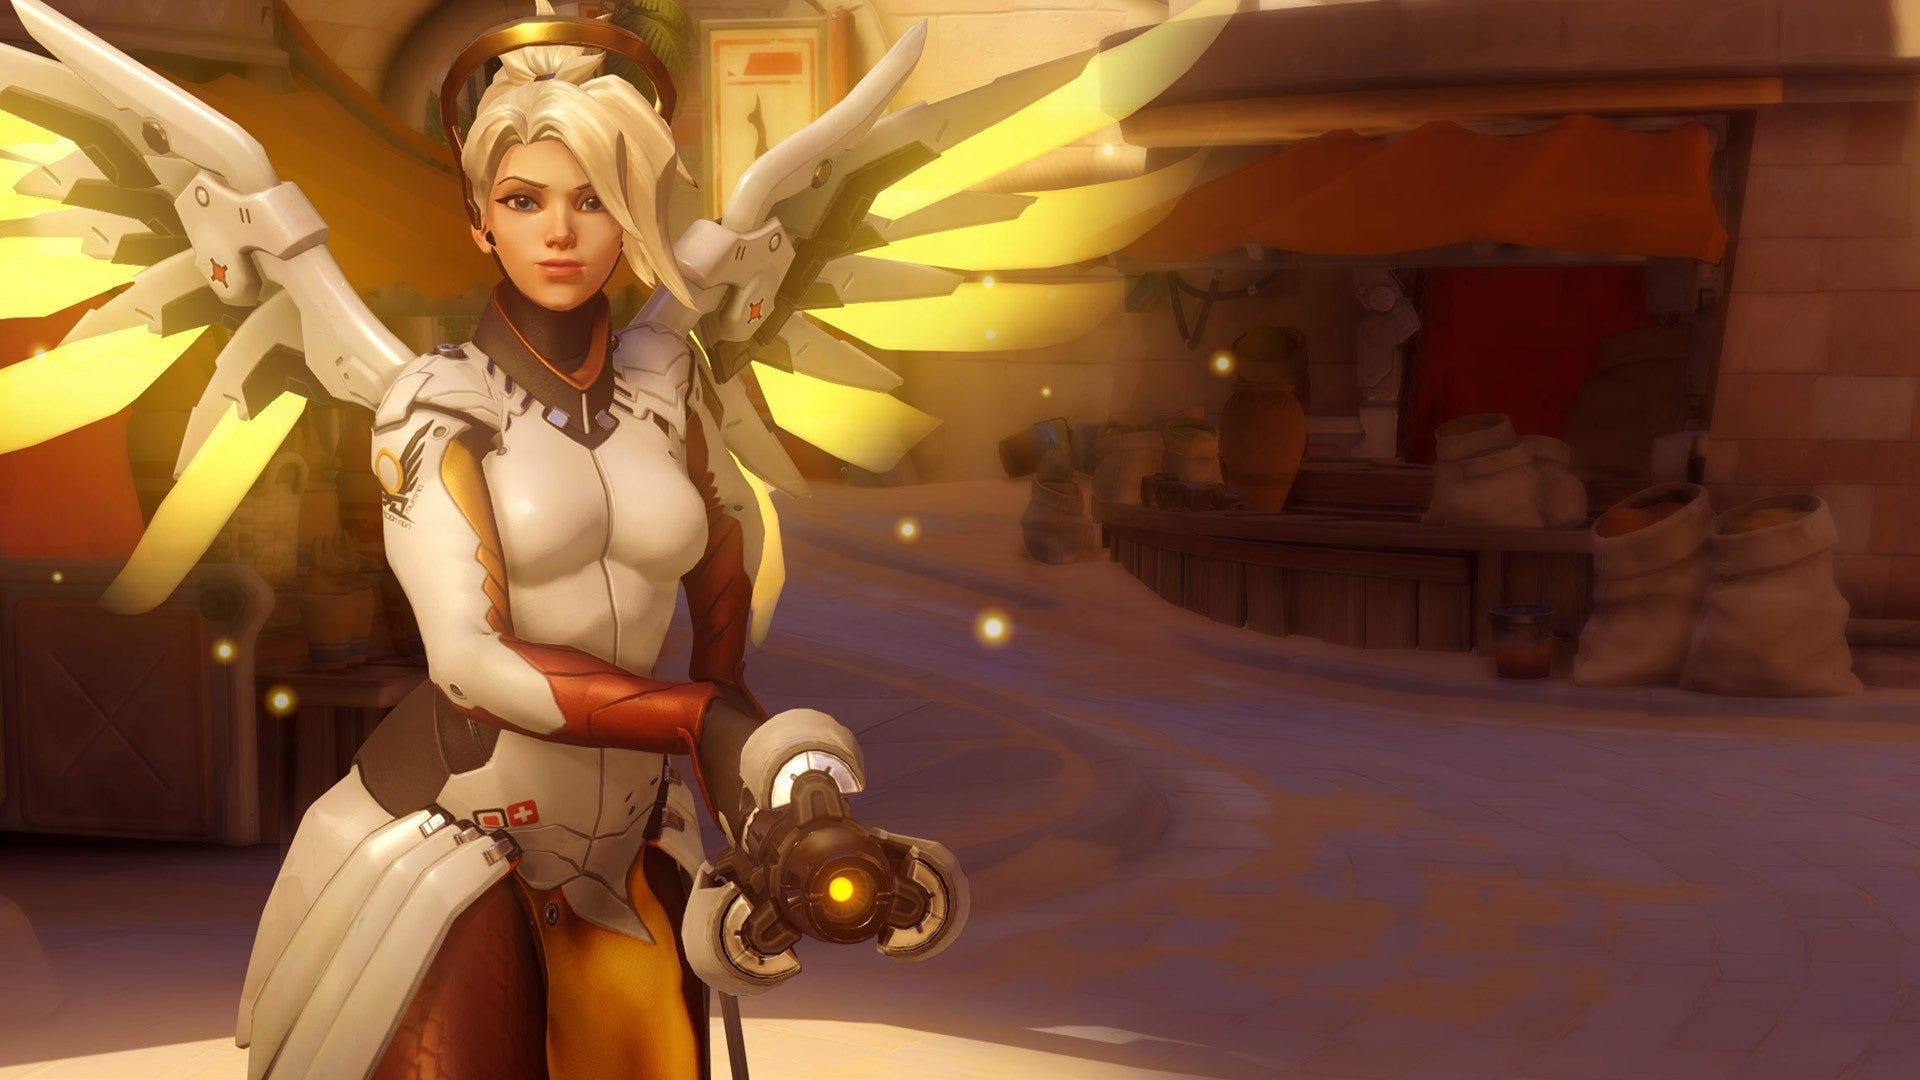
Mercy – Overwatch Guide
Our Hero Rating: Tier 2
Class: Support | Difficulty: 1/3
Related: South Park: The Fractured But Whole review
Credit: Overwatch / Blizzard
Mercy is the only hero in the game whose primary fire isn’t by default a gun. Her Caduceus Staff provides huge healing to a single ally or a significant damage boost. As long she stays alive, her team is a lot harder to kill – and even when her team falls, she can swing lost battles in the opposite direction using Resurrect.
Current Play Status
As always, Mercy remains a strong pick, mostly because of how easy she is to play. One of the few 1/3 difficulty champions, Mercy literally points near an ally and off her healing beam goes. She also has one of the strongest ultimate abilities in the game, being capable of resurrecting her whole team if it’s timed right. It’s still possible to suck as Mercy of course, but you’ll find it much more difficult to play badly as her than any other support – and possibly any other champion in the game.
Abilities
Caduceus Staff – Mercy engages one of two beams that connect to an ally. By maintaining the beams, she can either restore health or increase damage output.
Caduceus Blaster – Mercy shoots a round from her sidearm. It’s best reserved for emergency personal defence.
Guardian Angel – Mercy flies towards a targeted ally, allowing her to reach them quickly and provide assistance in crucial moments.
Angelic Descent – Propelled by her Valkyrie suit, Mercy slows the speed of her descent from great heights.
Resurrect – Mercy brings nearby dead allies back to life with full health.
Play Style
Stay alive. Unlike her fellow supports, Mercy has virtually no tools for effectively defending or being aggressive, and relies upon careful positioning to remain in the fight.
Healing allies from safety is the priority. It’s more important for Mercy to let one stray hero fall than dash in and get killed herself.
The most important reason Mercy should be the very last allied hero in the field is Resurrect. A good Mercy should remain mobile, aware of potential threats, and focus as hard as possible on surviving, even if this means retreating a sizeable distance.
- Strong With: Insert
- Strong Against: Insert
- Best Mercy Counters: Soldier: 76, McCree, Roadhog
Related: Middle Earth: Shadow of War
TIPS
- Patience. It’s a bad idea to use Resurrect a single fallen ally. Wait until a couple more are dead.
- Your allies are vulnerable when being resurrected. Their images appear before they respawn, showing the enemy exactly where they’ll appear. If you’re about to respawn three squishies in front of a Reinhardt, think again.
- Healing + armour = very hard to kill. Armour is restored at the same rate as standard health.
- Caduceus Staff has long range. Sticking next to your healing target is unwise. Try walking behind cover and reinitiating the stream from there.
- Use Guardian Angel to escape. Frozen by Mei? Stuck in a Zarya Ultimate? Never fear: use Guardian Angel to move to a far-away ally.
- In fact, use Guardian Angel all the time. The front line won’t always hold, and assassins will target you first. Use Guardian Angel to dart from ally to ally, keeping you out of their reach.
- You can use Guardian Angel to reach fallen allies. That’s right, it still works on dead people until they’ve respawned.
- Follow the Pharah, wherever she may go. Use Guardian Angel to reach Pharah in the skies, and then Angelic Descent to follow her.
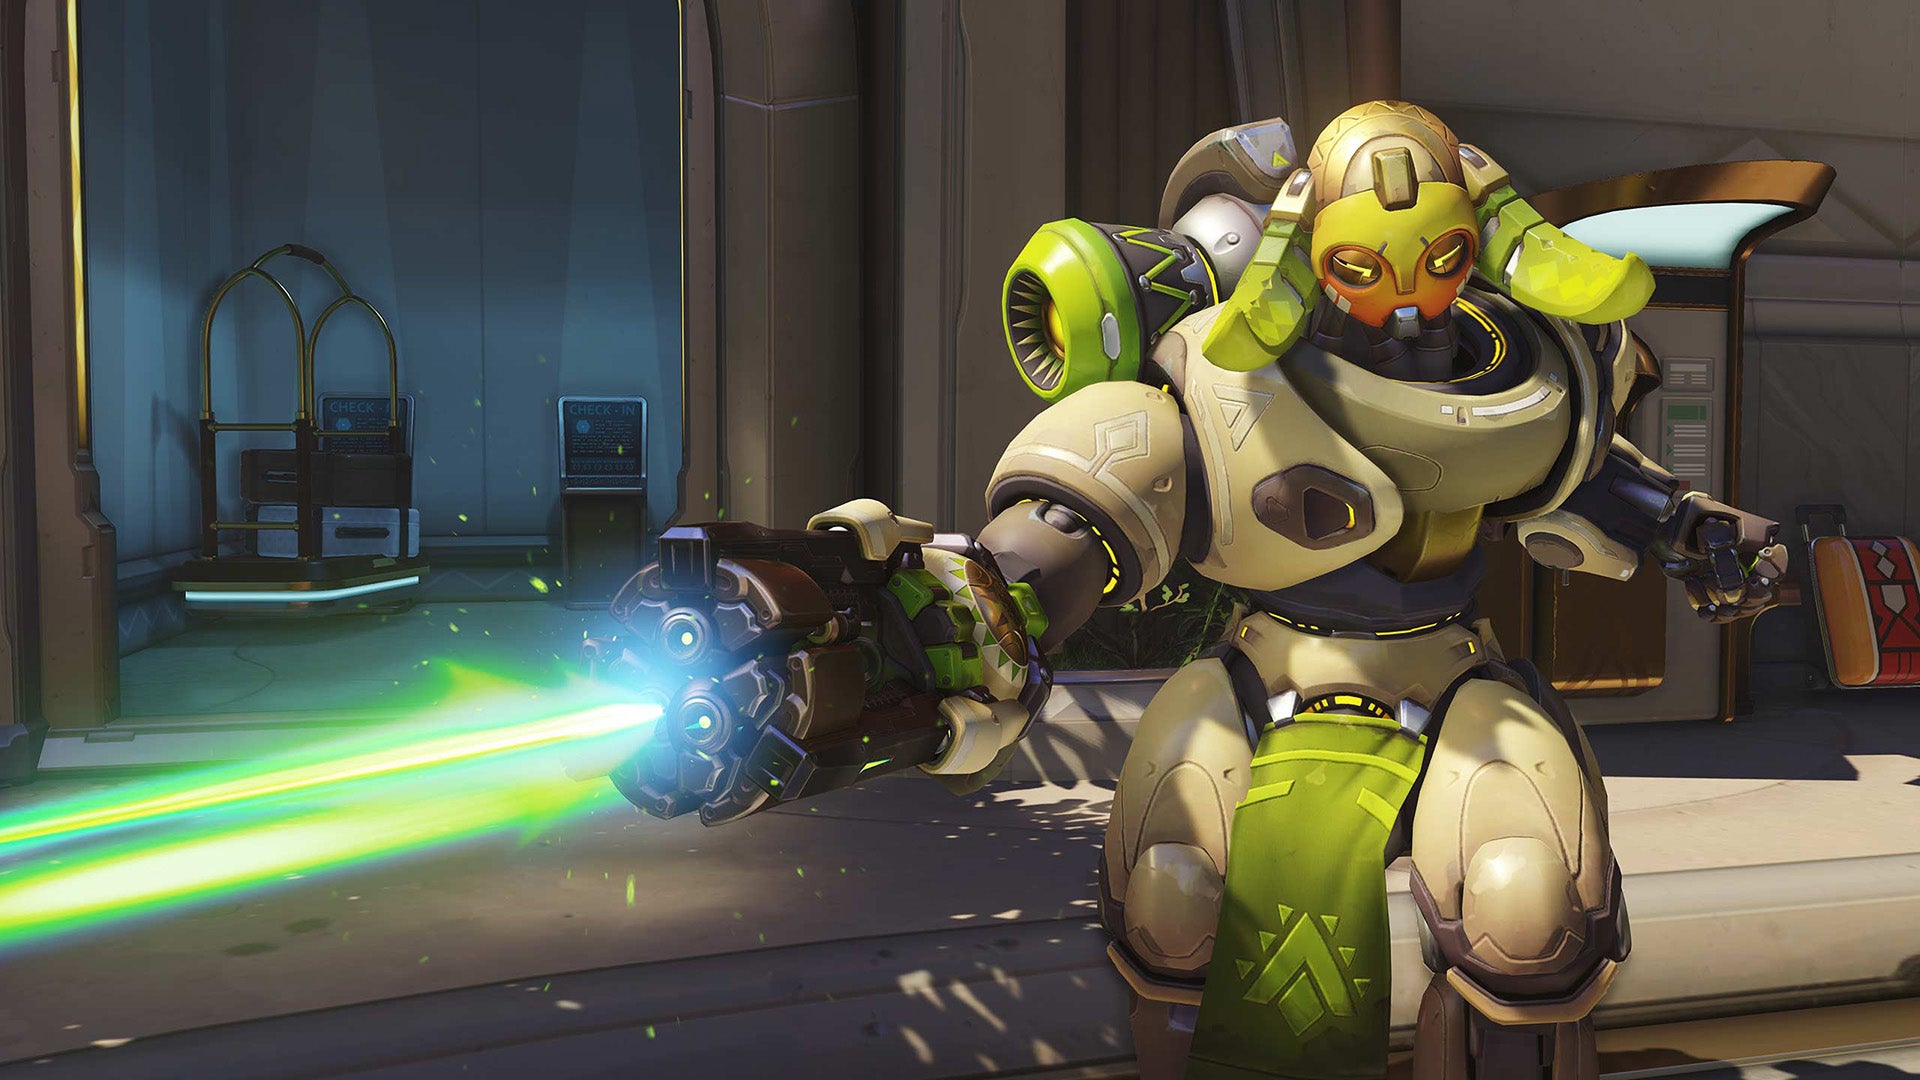
Orisa – Overwatch Guide
Our Hero Rating: Tier 3
Class: Tank | Difficulty: 2/3
Related: SNES Classic Mini latest news
Credit: Overwatch / Blizzard
Orisa is a powerful tank that can deal significantly greater damage than an alternative like Reinhardt, but must be played by someone who understands how to compensate for her limited mobility using choke points.
Current Play Status
Orisa is a big target with a small, one-directional barrier – and that’s her biggest flaw. Even low-damage characters like Tracer and Sombra can cause her some serious headaches simply by flanking her, which is why she’s not higher on the list. But Orisa is still a strong pick in the current meta, given her relatively decent survivability and strong damage.
Abilities
Fusion Driver – Orisa’s automatic projectile cannon delivers sustained damage, but slows her movement while she fires it.
Halt! – Orisa launches a graviton charge which she can detonate, slowing nearby enemies and pulling them towards the explosion.
Protective Barrier – Orisa throws out a stationary barrier that can protect her and her allies from enemy fire.
Supercharger – Orisa deploys a device to increase damage inflicted by allies within her line of sight.
Play Style
Unlike someone like Reinhardt, Orisa is an anchor tank, which means that rather than moving with the team, she chooses a prime location and hopes that the team decides to fight around her. A good Orisa will choose a tactical position to drop her barrier, ideally protecting powerful damage dealers – think Bastion, Torbjörn’s turret, or even a Soldier: 76.
This means she can be a little more difficult to master when playing on offense. Generally, a mobile tank will be a better pick, but Orisa can use her barrier effectively to push, especially if she can arrange a good mid-range line of sight to burst down enemies in – running forward and locking down a corridor zone is prime Orisa territory on offense.
Orisa is much more at home on defence, naturally. She is designed to create choke points, giving damage dealers on her team ample opportunity to savage the enemy while also dishing out impressive levels of pain herself. She’s not perfect for every situation, but can be an immensely strong pick when used in the right way.
- Strong With: Torbjorn, Bastion
- Strong Against: Torbjorn, Bastion
- Best Orisa Counters: Reaper, Tracer, Genji, Sombra, Pharah
Top Orisa Tips:
- Know the map. If you’re new to Overwatch, Orisa probably isn’t for you. She benefits most from players who know best where a defensive encampment should be placed, so knowing a map’s layout and hold points in advance is key.
- Remember that you’re not Reinhardt. Orisa is not built to push up, but instead should lock dock a give position. This means she can be useful for camping on a flank on offense, but shouldn’t just charge forward – because certain death awaits.
- Choose her with sensible comps. Orisa is most powerful when chosen with champions that support her unique package. Solid co-picks for Orisa include Bastion, Zarya, Torbjörn, and Soldier: 76.
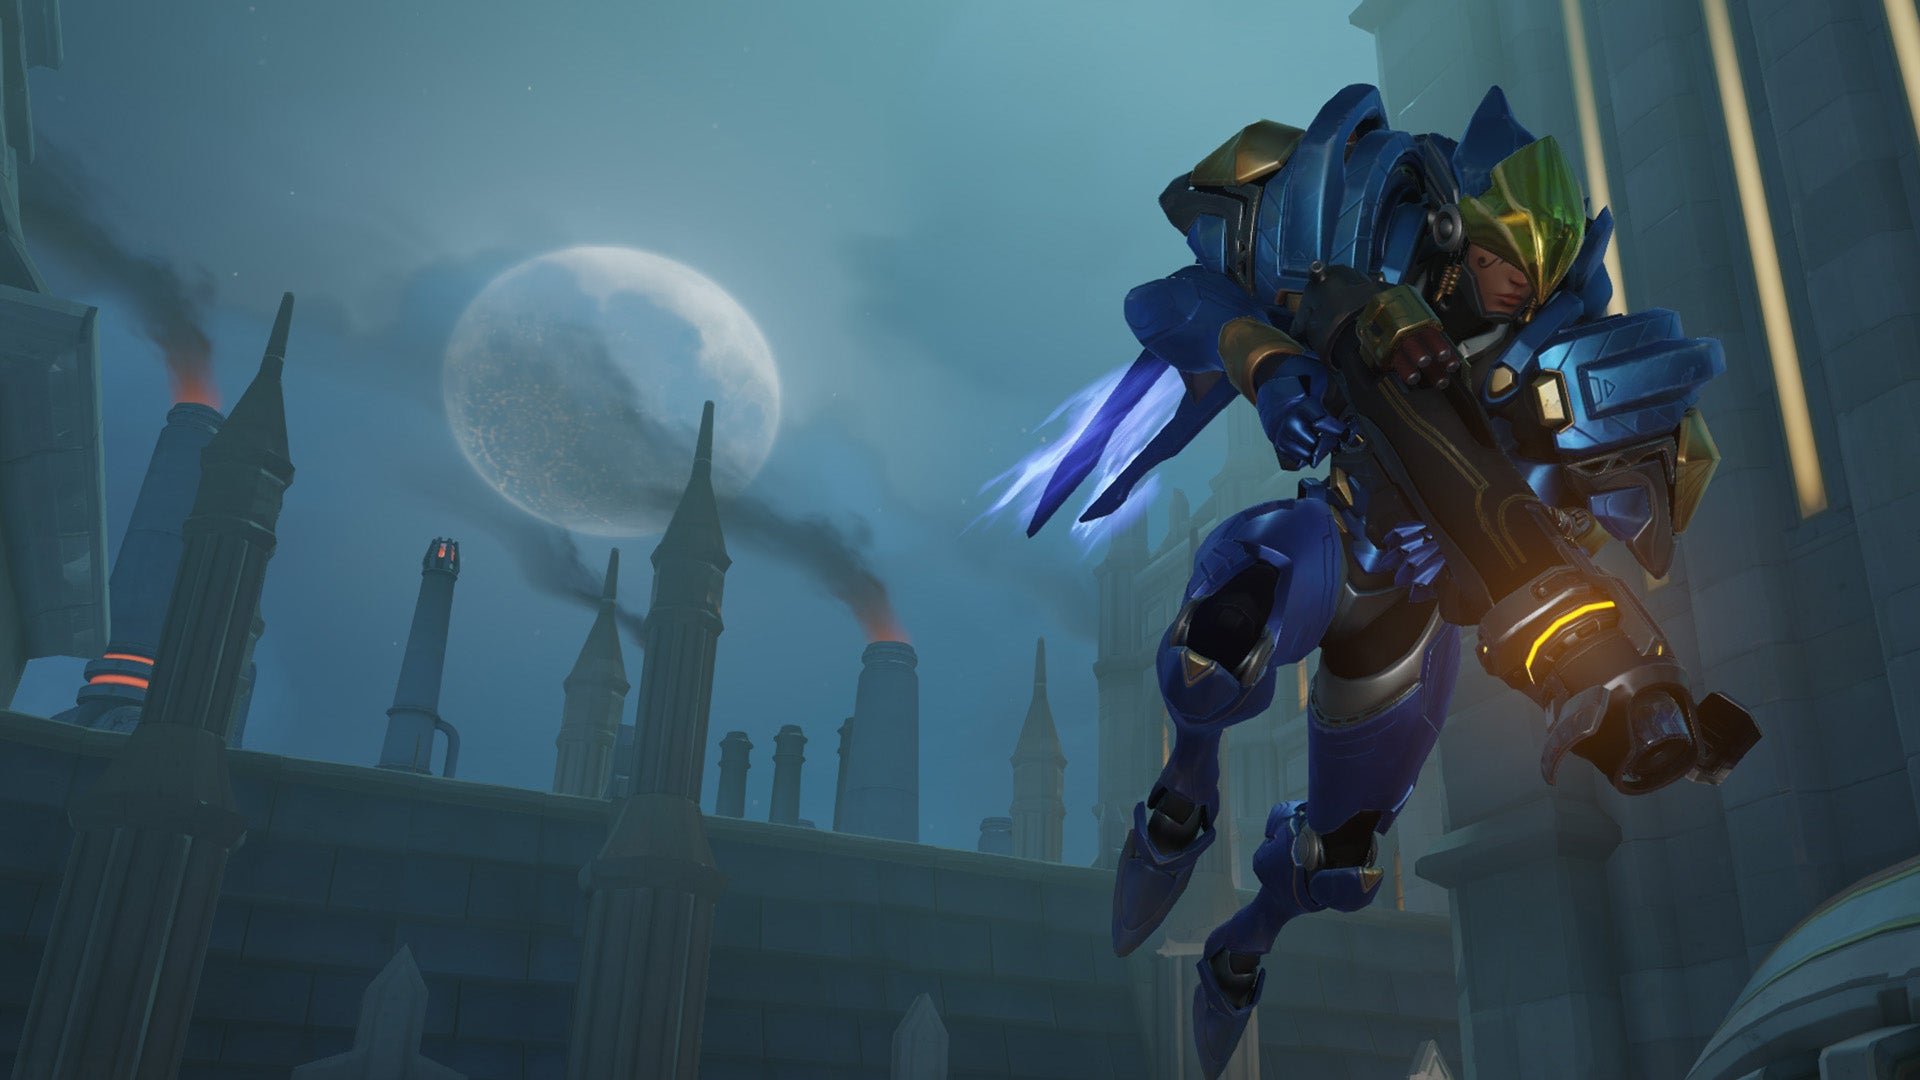
Pharah – Overwatch Guide
Our Hero Rating: Tier 3
Class: Offense | Difficulty: 1/3
Related: FIFA 18 vs PES 2018
Credit: Overwatch / Blizzard
Pharah’s constant hail of missiles is hell to deal with. She can hop over choke points, jump above shields, and reach ledges inaccessible to most heroes.
Current Play Status
She’s had her ups and downs (if you’ll excuse the pun), but Pharah is now finally in a fairly balanced position. With some newly added vulnerability (and a small boost to mobility), Pharah can be an immensely strong pick in the right hands. She certainly performs better on certain maps and against certain champions however, so she may not always be the right choice for any situation. She’s easy enough to pick up, but difficult to master – so certainly one of the heroes everyone should keep working away at in Quick Play, as she’ll find plenty of use in ranked.
Abilities
Rocket Launcher – Pharah’s primary weapon launches rockets that deal significant damage in a wide blast radius.
Jump Jet – Propelled by her suit’s thrusters, Pharah soars high into the air.
Concussive Blast – A wrist rocket that knocks back any enemies it strikes.
Barrage (Ultimate) – A continuous salvo of mini-rockets to destroy groups of enemies.
Play style
Pharah’s primary objective is decimating the enemy backline while providing sufficient distraction for her teammates to push forward. From up high she can deal splash damage behind Reinhardt’s shield, and divide teams using Concussive Blast. With allies pushing forward, and her striking from above, there are few chances for escape.
Rocket Launcher’s projectiles move slower than Soldier 76 and McCree’s firearms, which means Pharah must lead her targets.
However, the fast rate of fire and high damage of rockets makes her a pain for static defences such as Torbjörn’s turret, or a deployed Bastion.
She’s a great siege-breaker, causing the backline to split up, and cutting through most heroes like butter. Her Ultimate, Barrage, is capable of wiping out entire teams, but like McCree and Solider 76, she has to wait for possible enemy barriers to be depleted in order to inflict maximum devastation.
It’s worth noting that Pharah is one of the more fiddy offensive heroes. Managing her fuel, watching the entire battleground from above, and planning where to fire rockets requires great coordination and practice.
- Strong With: Mercy
- Strong Against: Mei, Junkrat, Bastion, Torbjorn
- Best Pharah Counters: Soldier: 76, Widowmaker, Roadhog
TIPS
- Team with anybody. Combining Barrage with Zarya’s Graviton Surge is a team-kill in the making. Blizzard (Mei), EMP (Sombra), Earthshatter (Reinhardt), and Infra-Sight (Widowmaker) are also superb at maximising its effectiveness.
- Fly forever. A change to Jump Jet last year allows Pharah to sustain her flight indefinitely. If the enemy is finding you hard to swat, then remaining up top is a great way of continuing the assault.
- Concussive Blast can kill enemies. Nepal, Lijiang Tower, and Ilios are ripe with opportunities to knock opponents to their death. Use it.
- Mercy is her best friend. Thanks to Mercy’s ability to glide, she can follow Pharah in the air, providing healing and a significant damage boost.
- When airborne, Pharah is vulnerable. Watch out for Torbjörn’s turret, a deployed Bastion, Widowmaker, Soldier 76, and McCree when in the air. All can prove a significant threat.
- Eject! When assailed in open areas, Jump Jet has two benefits. First, it creates distance, making you hard to track. Second, it puts you in the perfect position to counter an ambush with an ambush.
Reaper – Overwatch Guide
Our Hero Rating: Tier 3
Class: Offense | Difficulty: 1/3
Related: Project Cars 2 preview
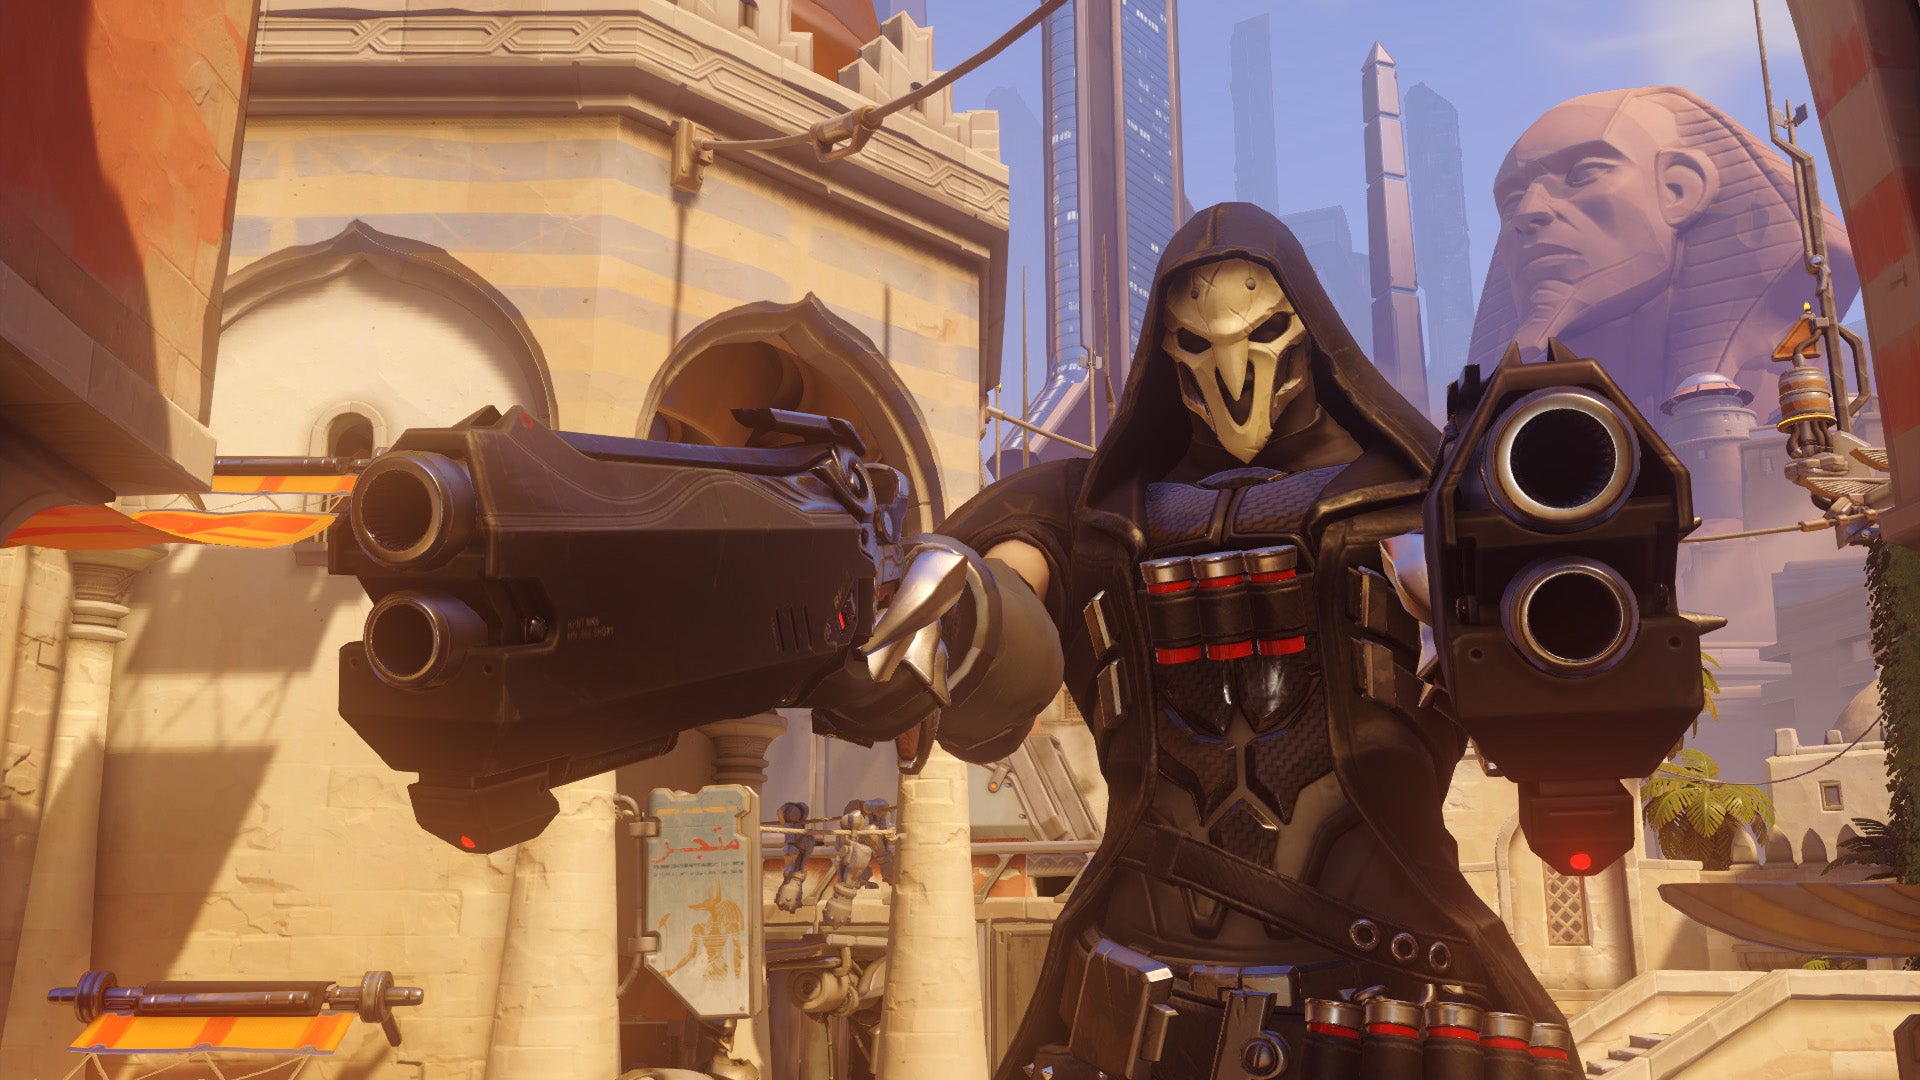
Credit: Overwatch / Blizzard
Reaper is all about eliminating enemies in large numbers. What he lacks in maneuverability he makes up for in extraordinary short-range damage. In a one-on-one fight, few heroes stand a chance against his dual shotguns.
Current Play Status
Reaper deals high damage and he’s difficult to kill, but we’re not convinced by Blizzard’s 1/3 difficulty rating. A possible contender for tier 2, we opted for the middle tier instead because so many people assume he’s a faceroll champion that’s all about spraying bullets. The best Reaper players are tactical about their teleportations, and a bad Reaper (of which there are many) can be a huge burden on a team. In the right hands, he can be hugely powerful, but we recommend getting some practice time with him in before insta-locking him in a ranked game with zero hours play-time.
Abilities
Hellfire Shotguns – Reaper’s twin shotguns.
Wraith Form – Reaper becomes a shadow for a short period of time. While in this form, he takes no damage and is able to pass through enemies; but cannot fire or use other abilities.
Shadow Step – Reaper marks a destination and teleports to it after a short delay.
Death Blossom (Ultimate) – In a blur of motion, Reaper empties both Hellfire Shotguns at breakneck speed, dealing huge damage to all nearby enemies.
Play style
Reaper can strike from any angle, but isn’t “mobile” in the way of Sombra, Tracer or Genji. His Shadow Step requires a safe transition from one location to the other, since he’s still vulnerable as it channels, and unable to use any other abilities.
Traversing the sidelines of a fight unseen and erasing strays is the typical strategy. Using Shadow Step, he can move past the frontline unseen and linger in the outer reaches for assassinations. Most heroes will disintegrate after two or three well-placed shotgun shots. This method is particularly effective on Assault, Hybrid and Escort, where the frontline is more defined than on Control.
Once his Ultimate is charged, move in for the big bang. Death Blossom is Reaper’s chance to drastically turn the tide of any fight, and allow his team to push forward. It’s important that he stays alive; all too often, Reapers are overzealous and throw themselves into a throng of foes, only to quickly die.
- Strong With: Insert
- Strong Against: Winston, Symmetra, Torbjorn, Hanzo
- Best Reaper Counters: McCree, Pharah, Zarya
TIPS
- Zarya can help ensure a successful Death Blossom. A quick Projected Barrier can keep Reaper alive long enough to deliver maximum damage.
- Large targets generally take more damage. The spread on Reaper’s shotguns is large at medium range, but Winston, Roadhog, D.Va and Reinhardt are large enough to still absorb most of each blast.
- Engage death from above. Jumping from a high position and activating Death Blossom on the way down avoids giving away your location (Shadow Step is telegraphed with a sound). The first your enemy will hear of you is “DIE DIE DIE”.
- You can still pick up health packs in Wraith form. When the invulnerability ends, you’ll be back up to strength and ready to engage.
Reinhardt – Overwatch Guide
Our Hero Rating: Tier 3
Class: Tank | Difficulty: 1/3
Related: Echo preview
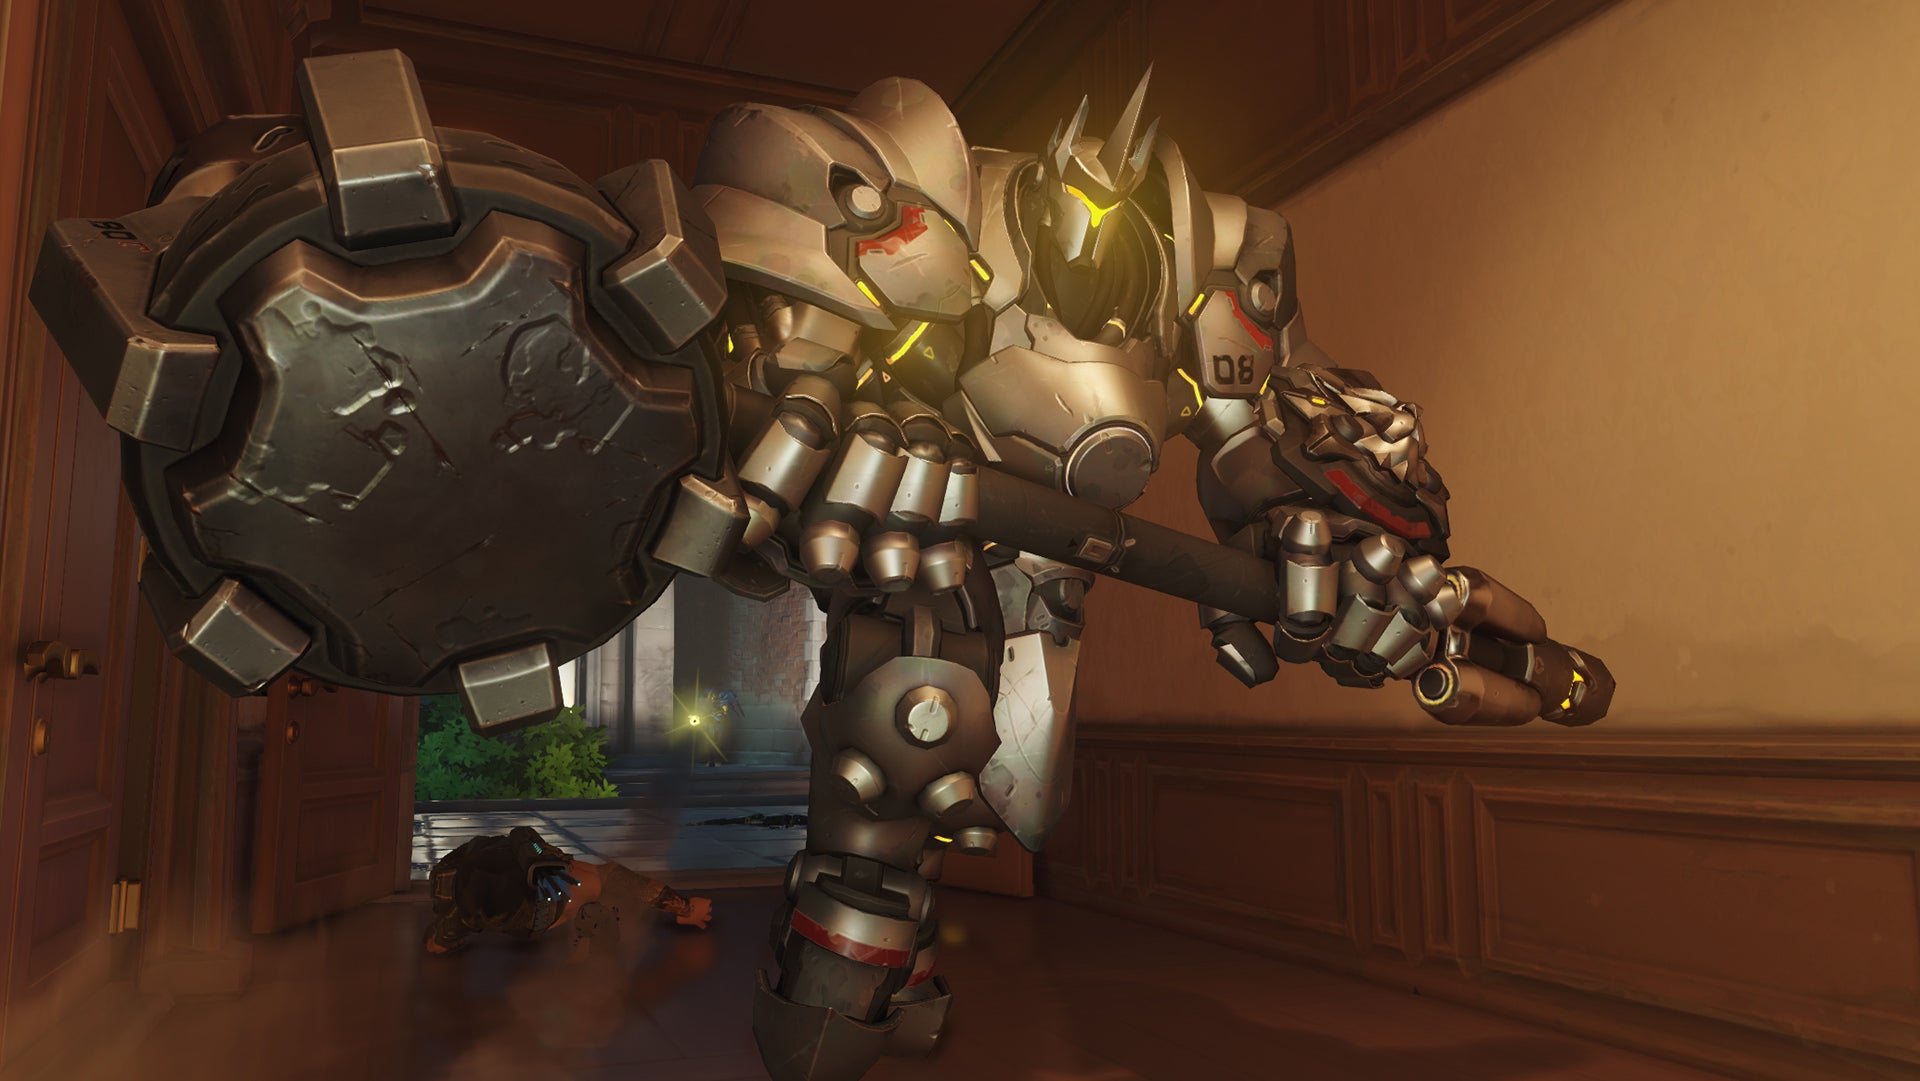
Credit: Overwatch / Blizzard
Reinhardt is the only exclusively-melee hero in Overwatch, and a stalwart of the tank class. Standing in front of his team he blocks incoming fire, while up close he wreaks havoc with an enormous hammer.
Current Play Status
Reinhardt is still a great tank, with his shield being one of the most useful pushing abilities in the game. The problem is that he’s simply been outpaced (literally, even) by more mobile tanks like D.Va or Winston, or tanks with better DPS, like Zarya. While Reinhardt can tank well, that’s literally all he can do, whereas the current meta is favouring more comprehensive characters over these specialist types. Still, a Reinhardt is undoubtedly a solid pick, even if you’re not entirely sure what you’re doing.
Abilities
Rocket Hammer – Able to deal punishing damage in a wide arc with every swing.
Barrier Field – Reinhardt projects a broad, forward-facing energy barrier, which can absorb substantial damage. He can’t attack while deploying the shield.
Charge – Reinhardt charges in a straight line, pinning the first enemy in his path and knocking others aside. If he collides with a wall, the foe he’s carrying suffers extreme damage.
Fire Strike – By whipping his Rocket Hammer forward, Reinhardt slings a flaming projectile that pierces and damages any enemies it touches.
Earthshatter – Reinhardt forcefully slams his Rocket Hammer into the ground, knocking down and damaging all enemies in front of him.
Play style
Reinhardt is enormously dependent on his team. Barrier Field is quickly broken if his allies aren’t applying pressure, and unless they’re clustered behind him, he’s shielding nothing but himself.
He’s also one of the trickier heroes when it comes to engagement. An ill-timed Charge may push an enemy backwards, but fail to kill them while leaving Reinhardt vulnerable in the process.
- Strong With: Insert
- Strong Against: Torbjorn, Soldier: 76, D.Va
- Best Reinhardt Counters: Pharah, Reaper, Tracer
TIPS
- Certain abilities penetrate your shield. Namely Symmetra’s secondary fire, the Rocket Hammer or Fire Strike of another Reinhardt, and Winston’s Tesla Cannon.
- Your shield will block an incoming Earthshatter. For those inevitable Reinhardt vs Reinhardt face-offs.
- An enemy Mercy respawn is the perfect time to Earthshatter. You can see where they’ll respawn, they’ll probably be tightly packed, and if timed perfectly they can’t respond.
- Retreat to force enemies into line of sight. Some Reinhardts have a tendency to stand in the middle of the choke point. This makes your shield an easy target and allows enemies to strike from an angle. Stand a little backward to force them into your allies’ firing line.
Roadhog – Overwatch Guide
Our Hero Rating: Tier 3
Class: Tank | Difficulty: 1/3
Related: Marvel vs Capcom Infinite preview
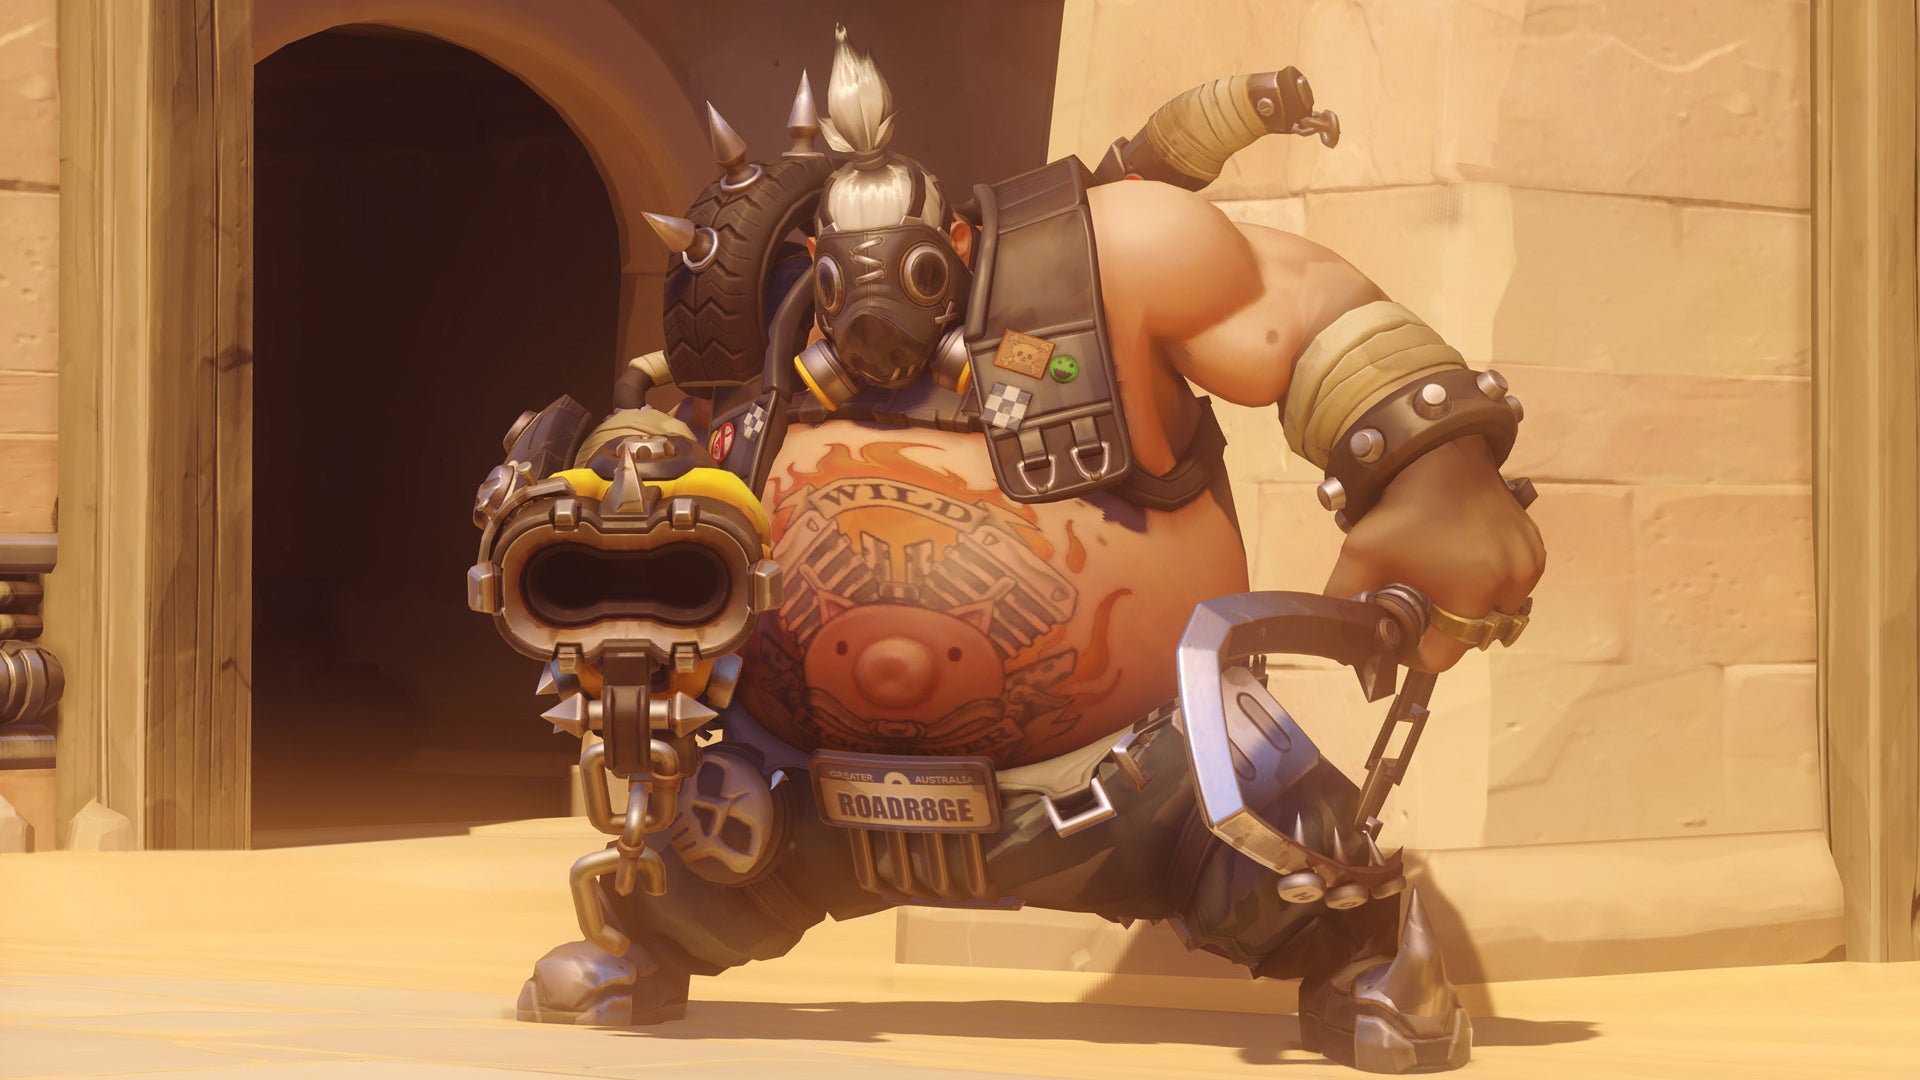
Credit: Overwatch / Blizzard
Roadhog is a durable tank that’s highly dependent on a single combo in order to rack up kills.
Current Play Status
Roadhog has always been – and continues to be – a major menace to squishies and any champions that rely on the middle-distance, even in spite of his recent nerfs. When played well, he can be a formidable tank that can shut down annoying high-tier characters like Pharah or Soldier with relative ease. But Roadhog is easy enough to play sloppily on account of his huge avatar size and easily missable hook, so he’ll remain a mid-tier champ for now.
Abilities
Scrap Gun – Roadhog’s Scrap Gun fires short-range blasts of shrapnel with a wide spread. Alternatively, it can launch a shrapnel ball that detonates farther away, scattering metal fragments.
Take a Breather – Restores a chunk of health over a brief period of time.
Chain Hook – Roadhog hurls his chain at a target; if it catches, he yanks them into close range.
Whole Hog – After cramming a top-loader onto his Scrap Gun, Roadhog pours in ammo. For a short time, he can crank out a stream of shrapnel that knocks back enemies.
Play style
Roadhog’s primary and secondary fire both produce a wide spread, making them inaccurate at long range. He relies upon hooking enemies to ensure that the entire blast connects. When he succeeds, this results in extreme damage, which can knock out most heroes in a single blast.
Key to Roadhog’s success in battle is finding targets to successfully pull, and making every single Chain Hook count. If the enemy composition doesn’t include Reinhardt or Zarya, he can easily reach into the enemy front line and drag opponents. If there are shields to block him, however, he must get more creative.
If Roadhog fails to land his hook he’s vulnerable. His enormous size makes him an easy target for snipers, mid-range marksmen, and guns with a wide spread such as D.Va’s Fusion Cannons.
In most situations, it’s best to hang back with your team and pull lone members of the enemy flock. The advanced Roadhog combo is thus: Scrap Gun once, Chain Hook, Scrap Gun again, melee attack. Only with the help of one or more healers can any hero withstand this when successfully completed.
Whole Hog is one of the trickier Ultimates to learn. Firing in open areas can often simply disperse the enemy team but do minimal damage, leaving Roadhog highly vulnerable to counterattack. It’s better to use enclosed spaces, the power of surprise, and flanking to trap enemies, push them into allies, or send them flying off cliff edges.
- Strong With: Insert
- Strong Against: Mercy, Bastion, Pharah
- Best Roadhog Counters: Mei, Reaper, Zarya, D.Va
TIPS
- Chain Hook interrupts abilities. Ultimates from Pharah, Reaper and McCree can be stopped by hooks.
- You can hook through D.Va’s Defense Matrix.
- Whole Hog pins enemies. Allowing you to unload an entire clip and get easy kills.
- Hooking Bastion takes him out of Sentry mode. At which point, he’s an easy target.
- Roadhog’s clips are small, and reloading is slow. To add to which, his rate of fire is abysmal. Hooking in an enemy when the chamber is empty is more likely to kill Roadhog than his victim.
- You can’t hook through shields. Zarya and Reinhardt can block your hook, or protect a victim after they’ve already been hooked. It’s worth considering another tank if you’re facing either of these heroes.
Soldier: 76 – Overwatch Guide
Our Hero Rating: Tier 2
Class: Offense | Difficulty: 1/3
Related: The Evil Within 2
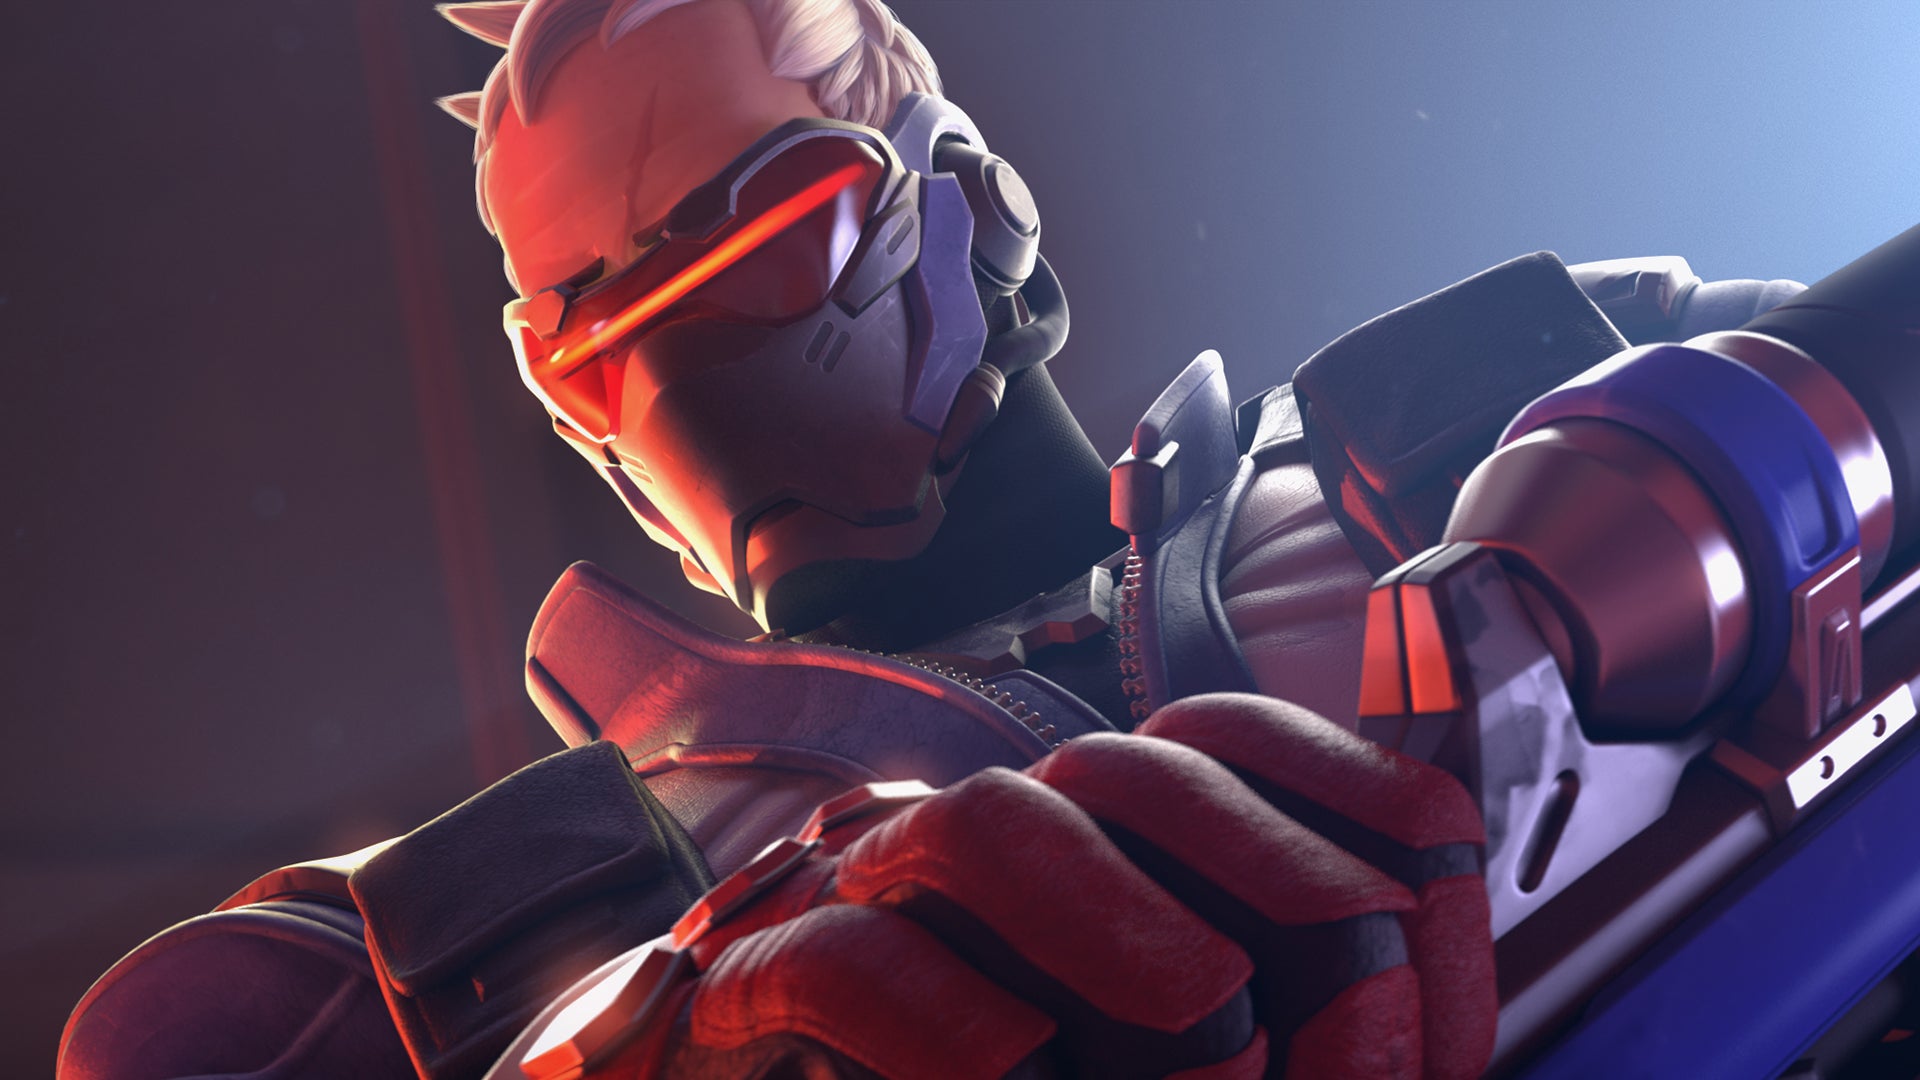
Credit: Overwatch / Blizzard
His Heavy Pulse Rifle is the closest to the automatic weapons of traditional shooters, and his abilities are simple: he shoots, he heals, he shoots some more.
Current Play Status
Soldier benefits from being a really simple character to play and master, because his playstyle is so similar to a traditional shooter. This is partly why Blizzard has had such success in keeping him balanced, because developers deeply understand how this sort of character should feel. With strong DPS, solid movement, and an impressive self/AOE heal, he’s one of the safest picks in the game.
Abilities
Heavy Pulse Rifle – Soldier 76’s rifle remains particularly steady while firing, but accuracy decreases with constant fire.
Helix Rockets – Rockets spiral out of Soldier 76’s Pulse Rifle in a single burst, damaging enemies in a small radius.
Sprint – Rush ahead in a burst of speed. Sprint ends if he takes an action other than charging forward.
Biotic Field – Plant a biotic emitter on the ground, which restores health to 76 and any allies within its field.
Tactical Visor (Ultimate) – Soldier 76’s targeting visor “locks” on the threat closest to his crosshairs. If an enemy leaves his line of sight, Soldier 76 can quickly switch to another target.
Play style
Soldier is most effective at medium range. High damage output but lacking Reaper’s burst fire or Tracer and Genji’s mobility. If caught in a tight spot, he has little recourse but to run away.
Rather than rushing in, Soldier is best served cautiously hugging the allied front line, or attempting a distanced assault from the flanks. When utilising vantage points with plenty of cover, he can easily heal with Biotic Field and continue attacks. As long as he maintains significant distance from enemy tanks, then D.Va, Reinhardt, Zarya and Winston will struggle to maintain a presence without losing.
A good soldier should punish any enemies straying from shields or push too far forward and slowly wear down Reinhardt’s Barrier Field or bait out Zarya’s Projected Barrier. When the hard work is done, use Tactical Visor to wipe entire teams.
- Strong With: Insert
- Strong Against: Pharah, Junkrat, Mercy, Symmetra
- Best Soldier 76 Counters: Genji, Mei, McCree
TIPS
- Use short bursts at long range. Soldier’s Pulse Rifle becomes more inaccurate after a second or so of fire. Firing in small clusters negates this effect
- Use short bursts at long range. Soldier’s Pulse Rifle becomes more inaccurate after a second or so of fire. Firing in small clusters negates this effect.
- Heal your team, too. Biotic Field is an area of effect ability, help your allies.
- Tactical Visor is best used reactively. Lúcio can easily drop the beat to negate all incoming damage, and Mercy can resurrect the gaggle of heroes you just sent packing. Wait for these kinds of Ultimates to dissipate before using your own.
- Ana and Mercy make Tactical Visor extra terrifying. Coordinate with your team to add a Nano Boost or Mercy damage buff to your ultimate.
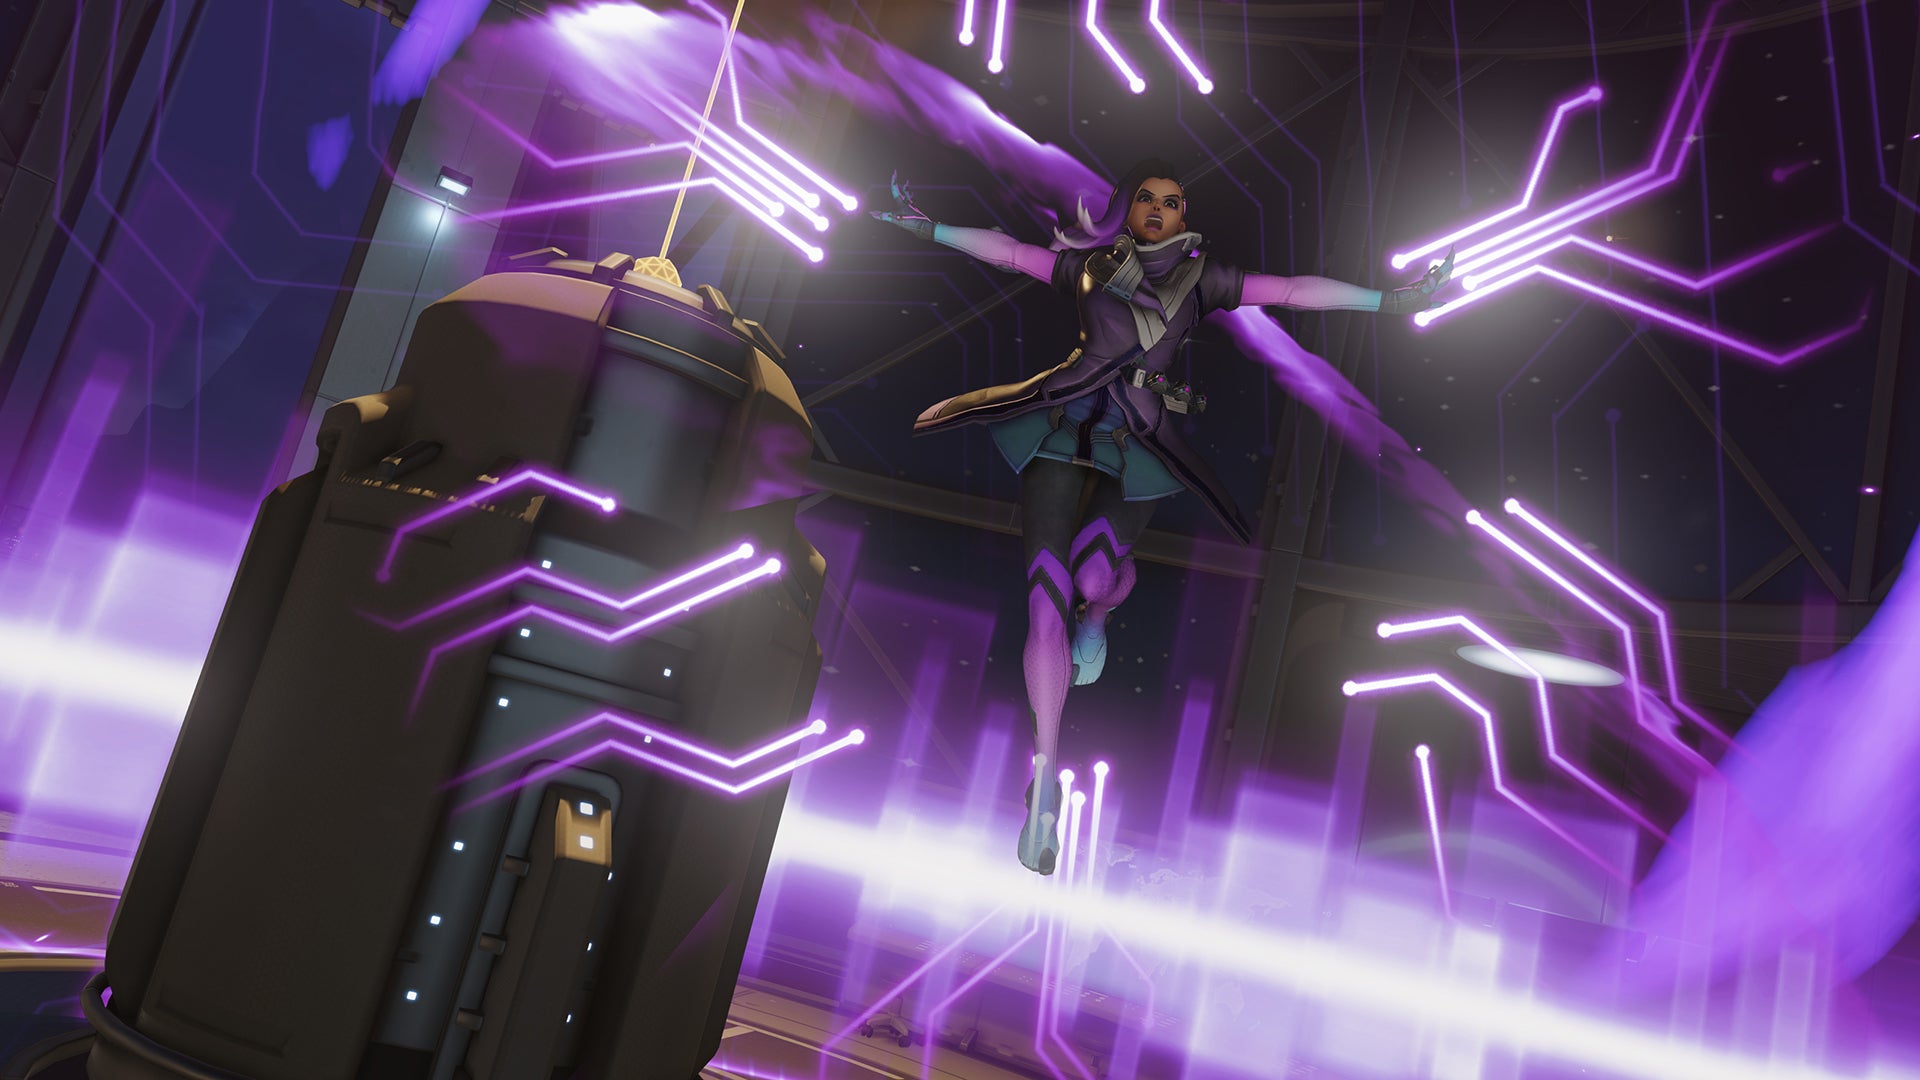
Sombra – Overwatch Guide
Our Hero Rating: Tier 5
Class: Offense | Difficulty: 3/3
Related: Assassin’s Creed: Origins preview
Credit: Overwatch / Blizzard
Debuted during Blizzcon 2016, this relatively new addition to the roster has the potential to be more disruptive than anyone else; Sombra can hack enemies, locking them out of their abilities, shutting down shields, and leaving an opening for her team to go on the offensive.
Current Play Status
It’s possible to make game-changing players with Sombra, but they’re few and far between. She’s got very minor utility, paltry damage, and she’s seriously squishy. When you’re looking for offense characters, there’s no reason why you’d pick her over any of the others, and that’s why she’s tier 5. A grim pick for any team, we’d recommend avoiding unless you’re a 200-hour Sombra die-hard.
Abilties
Machine Pistol – Sombra’s fully automatic machine pistol fires in short-range spread.
Hack – Sombra hacks enemies to temporarily disable their abilities, or hack first-aid kits to make them useless to opponents.
Thermoptic Camo – Sombra becomes invisible for a short period of time, during which speed is boosted. Attacking using offensive abilities or taking damage disables camouflage.
Translocator – Can instantly return to the beacon’s location while it’s active (including when it’s in mid-flight).
EMP – Sombra discharges electromagnetic energy in a wide radius, destroying enemy barriers and shields and hacking all opponents caught in the blast.
Related: The Sims 5 wishlist
Play style
Sombra’s purpose is to disrupt the enemy team. The Machine Pistol’s mediocre damage and a utility-heavy toolkit make her more suited to hit-and-run tactics that could result in kills – but don’t expect to be mowing down opponents.
Before Sombra, the only true counters to Reinhardt and Lúcio’s Sound Barrier were timing and positioning. Her addition is designed to provide teams with tools that shut down defensive enemy compositions with the potential to turtle, shield, and heal their way to victory. EMP offers a short window during which allies can unleash hell.
But perhaps this is also Sombra’s biggest weakness. Individualistic play styles reduce her efficacy. Hacking leaves her vulnerable to attack, and an ill-timed EMP lacking backup achieves little.
Regardless, when played effectively Sombra uses her stealth to move into position and hacks to shut down vital abilities. The key to making Sombra work is getting in, causing a little upset, dealing reasonable damage, and then getting out unharmed.
Yes, she’s stealthy, but Sombra can also be extremely effective on the front lines. If there are no Reinhardt shields present to block her hack, she can effectively disrupt while in full view, and then simply peel back behind her allies. The considerable range on hack makes this strategy viable.
- Strong With: Insert
- Strong Against: Bastion, Widowmaker, Reinhardt
- Best Sombra Counters: Mei, Pharah, Winston
TIPS
- EMP doesn’t stop transformational Ultimates. This means that Torbjörn, Bastion, Winston and Soldier 76 remain in their transformational state and are unaffected.
- EMP shuts down all shields. This means the more enemies with shields on their team, the more effective Sombra is.
- Hacking from stealth is relatively slow. Sombra must decloak and then hack – both of which take time. Decloaking also makes an audible sound to nearby enemies. Sometimes, it’s worth decloaking in nearby cover and then hacking.
- Hack health packs. Be sure to hack all health packs nearest the enemy group. It’s also worth noting that multiple health packs can be hacked at any time.
- Translocator has a time limit. After approximately 14 seconds, the translocator stops working. It’s best to use it right before a fight to give yourself plenty of wiggle room.
- Coordinate, or go to waste. It bears repeating that a solo-Sombra isn’t useful. She should be talking to her team, or at the bare minimum watching their progress to deploy EMP at the perfect moment.
- Hacking doesn’t stop all healing. Mercy and Ana can continue to use primary fire when hacked.
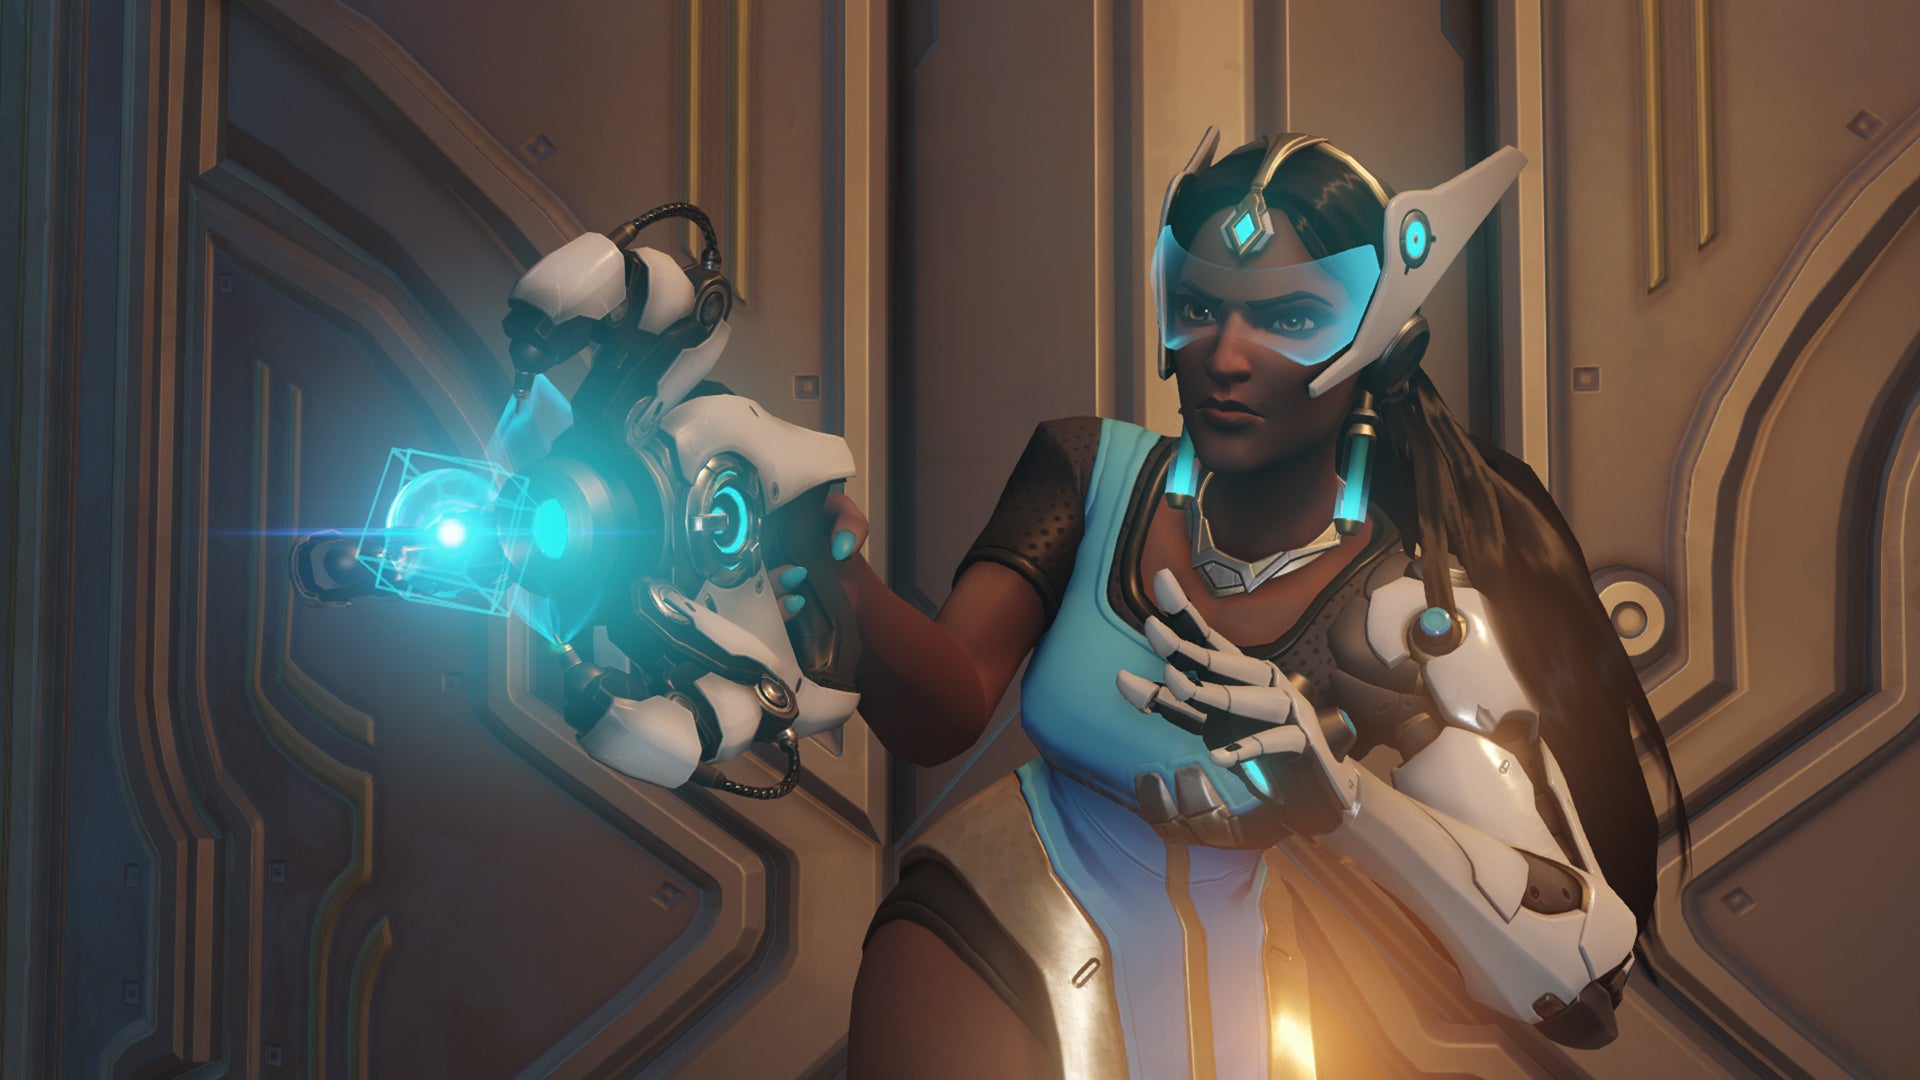
Symmetra – Overwatch Guide
Our Hero Rating: Tier 5
Class: Support | Difficulty: 2/3
Related: Ni No Kuni 2 preview
Credit: Overwatch / Blizzard
Symmetra is a builder who excels at shutting down access to certain areas of the map. By lacing choke points and doorways with turrets, she can kill weaker heroes and make hardier ones more vulnerable. Her kit is designed to control the objective, buy time and keep her allies in the fight.
Current Play Status
The problem is that while Symmetra’s burst damage is very high, she’s easy to shut down. So while she might perform well in lower ELOs, more high-ranking players who are used to playing against Symmetra won’t break a sweat swatting her. This feels more like an inherent problem with her kit, so it might be necessary to increase the range of her orbs or give them more health – or increase her own weapon’s range instead. Either way, she’s a dud pick for now in all but the lowest depths of ranked play.
Abilities
Photon Projector – Emits a short-range beam that homes in on a nearby enemy, dealing continuous damage that increases the longer it’s connected. The projector can also release a charged energy ball for high damage.
Sentry Turret – Sets up a small turret that automatically fires speed-reducing blasts at the nearest enemy within range. Several turrets can be built at once.
Photon Barrier – Project a moving barrier that absorbs damage as it travels forward.
Teleporter – Symmetra places a teleporter exit pad at her current location, and connects it to an entry pad at her team’s starting point. Allies can travel through instantly, enabling them to return to the fight after respawning.
Shield Generator – A wide-radius generator that provides increased shielding to her entire team.
Play style
Her initial focus is blocking choke points and providing suppressing fire to keep enemies from breaching the frontline. To this end, it’s important to begin any game with well-placed turrets that won’t be destroyed immediately, supplemented by regular bouts of Photon Barrier and alternate fire.
However, with Symmetra’s Ultimate she takes on a more support-like role. Protecting her Teleporter or Shield Generator is of the utmost importance, and the utility they provide is invaluable to a defending team. Once these structures are in place, assisting allies at the choke point is still important, but ensuring the survival of her machines is paramount.
If entrenched in a secluded area with six deployed turrets and all her abilities available, Symmetra is a fierce opponent – especially if she catches a scout unawares.
- Strong With: Insert
- Strong Against: Genji, Mercy
- Best Symmetra Counters: McCree, Widowmaker, Reaper, Soldier 76, Pharah, Winston, Junkrat
TIPS
- Don’t underestimate the damage of Photon Projector. Post-Symmetra’s rework, it’s truly deadly.
- Spread your turrets. This makes them harder to destroy and increases the chance they’ll net a kill.
- Get Junkrat to place traps beneath turrets.
- Photon Barrier can be used aggressively. If an ally is pursuing the enemy, send out a barrier to keep them safe.
- Use secondary fire to lock down an entrance. Placing turrets around a doorway and then firing orbs through it constantly is a pretty sure-fire way of stopping any breaches.
- Your secondary fire penetrates Reinhardt’s shield.
- Place turrets in scenery to be super sneaky. On maps such as Hollywood, you can place turrets near bushes, behind boxes and inside alcoves, which makes them hard to see.
- Jump like a madman, because you can! The great thing about aim-free fire is you don’t need to track anyone. Jumping about will make you hard to hit, but won’t affect your accuracy.
- Protect your Teleporter and Shield Generator. Once they’re up, they’re probably more important than watching the choke point. Either head there yourself or move your turrets there to protect it.
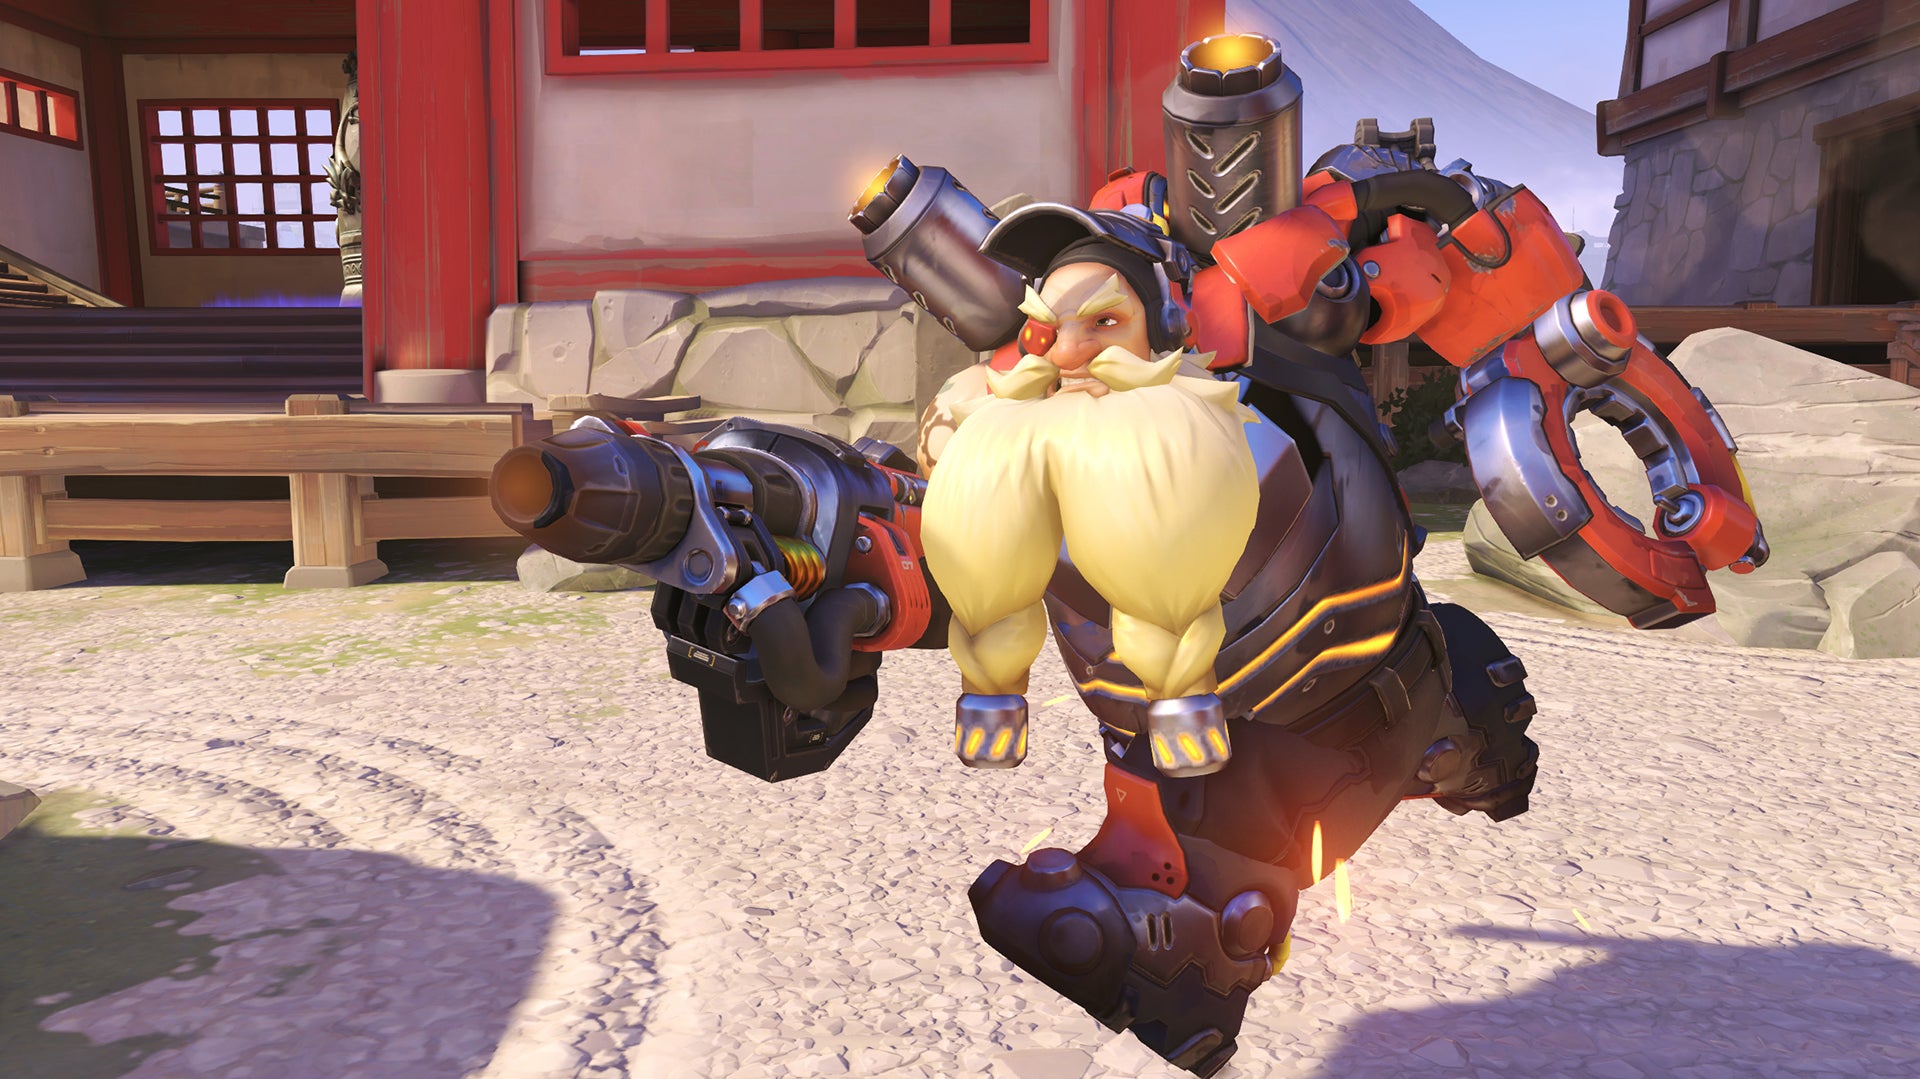
Torbjörn – Overwatch Guide
Our Hero Rating: Tier 4
Class: Defence | Difficulty: 2/3
Related: Forza Motorsport 7 preview
Credit: Overwatch / Blizzard
His turret is an excellent defensive tool that punishes attacks from the flank and keeps his team safe. A well-placed and protected turret can counter the mobility of certain offensive heroes, and allow your team to focus their efforts elsewhere.
Current Play Status
Torbjörn suffers from exactly the same problem as Bastion: familiarity. Players have long grown used to turrets, and will shut them down swiftly in ranked play. Torbjörn is marginally more useful than Bastion however, in that he himself can roam freely – and also supply armour to the team. A clever Torbjörn can certainly be frustrating to play against, but he’s generally a weak pick in the current meta.
Abilities
Rivet Gun – Torbjörn fires rivets at long range, or ejects molten metal in a short, close-range burst.
Forge Hammer – Can build, upgrade and repair turrets. Can also be swung as a weapon.
Build Turret – Torbjörn constructs an enemy-tracking auto-cannon. Forge Hammer can repair or upgrade it, increasing its health and adding a second cannon barrel and a rocket launcher.
Armor Pack – Deploys armor upgrades; either he or his allies can pick it up.
Molten Core – After overheating his personal forge, Torbjörn gains a significant amount of armor and scrap. He also attacks – and builds and repairs – turrets far faster than normal.
Play style
Torbjörn’s turret must be placed in the ideal locations in order to win the day.
Without sufficient protection, a turret can be easily dispatched at distance or by a hyper-mobile hero like Genji. However, if placed too close to allies, the turret’s zoning potential is wasted.
Correct placement depends on the map, mode and enemy squad. When in a secure position, Torbjörn should generally remain close enough to conduct repairs whilst firing a constant volley of rivets at the opposition. The total attrition this adds to a team comp is considerable.
Don’t be afraid to move the turret and set up in a fresh location after each engagement. When enemies over extend or attempt to push, activate Molten Core.
- Strong With: Insert
- Strong Against: Mercy, Winston, Tracer
- Best Torbjörn Counters: Hanzo, Soldier 76, Widowmaker, Reaper, Pharah
TIPS
- Offensive Torbjörn is ineffective. Placing a turret works briefly, but opponents quickly adapt.
- Customise your controls. Configure a single button to switch between Rivet Gun and Forge Hammer – this saves the hassle of navigating buttons mid-fight.
- Line of sight is your friend AND your enemy. Turrets have limited range.
- Molten Core lets you tank temporarily. Killing Torbjörn in this state is extremely difficult.
- Upgrade your turret before activating Molten Core. The damage bonus is considerable.
- Throw armor packs onto well-trodden paths. No one will take armour that’s hidden.
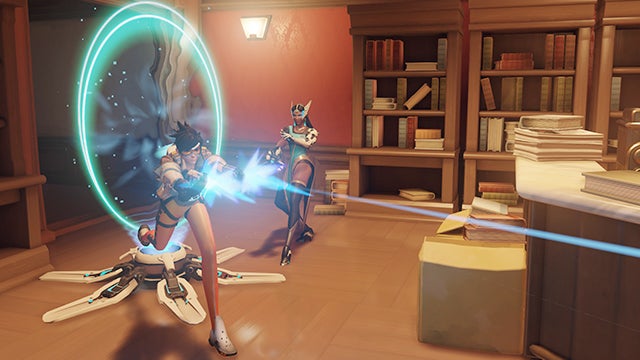
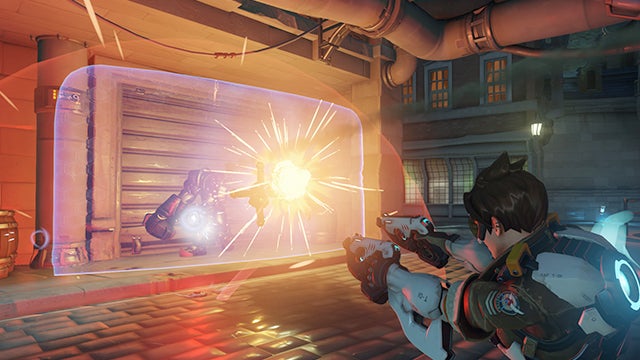
Tracer – Overwatch Guide
Our Hero Rating: Tier 4
Class: Offense | Difficulty: 2/3
Related: God of War PS4 preview
Credit: Overwatch / Blizzard
Tracer’s hyper-mobility makes her difficult to hit and almost impossible to chase. With Tracer around, no lone player is safe, no backline can’t be reached, and everyone must remain on high alert.
Current Play Status
Like Genji, Tracer can dominate heavily when in the hands of a very skilled player. But without significant player competence, Tracer is generally a dud pick, offering little in the way of damage or utility. Once a formidable enemy, Tracer now suffers from players being overly familiar with her teleportation tricks – so only the very best need apply.
Abilities
Pulse Pistols – Dual pistols with rapid fire.
Blink – Tracer zips through space in the direction she’s moving. She stores up to three Blinks which recharge every few seconds.
Recall – Rewings time only for herself, returning health, ammo and position on the map to a few seconds before.
Pulse Bomb – Tracer lobs a large bomb that sticks to any surface or opponent, dealing high damage to enemies within its blast radius.
Play style
Tracer’s task is threefold: breach enemy defences; harass; kill vital targets. Blink affords greater mobility than any other hero. At lightning-speed she can zip past enemies and fire from the flank. When facing a particularly entrenched formation, her ability to zoom through a Reinhardt shield and attack from the rear is invaluable.
Pulse Pistols deal considerable damage, making low-health targets easy kills, but Tracer’s value goes beyond assassination. She can effectively split up teams by forcing them to focus on her and an oncoming group at the same time.
- Strong With: Insert
- Strong Against: Hanzo, Widowmaker, Mercy, Bastion
- Best Tracer Counters: McCree, Mei, Pharah, Torbjörn, Roadhog
TIPS
- Keep two Blinks on standby. Depleting all charges of Blink limits your options for escape. Try to keep the meter at two.
- Blink out of sight. By Blinking through another player, rather than around them, you remove yourself from their field of view, making avoiding damage easier.
- Say bye-bye to Bastion. If an enemy Bastion is zoning out your entire team, move in and land a single Pulse Bomb on his robo-noggin. There’s virtually nothing he can do about it.
- Beware Winston, Symmetra, Sombra. Winston and Symmetra possess aim-free primary fire. Dodging using Blink isn’t really an option, so stay away from them if possible. As for Sombra, a quick hack will leave you a sitting duck, so be sure to Blink away if you see it coming.
- Destroy that teleporter. No hero is better placed to find and destroy the enemy teleporter than Tracer. If you hear the audio cue indicating one has been placed, go hunting.
- Melee attacking is practical for Tracer. If you’re zooming around someone with your pistols and they’re low on health, it’s easy to finish them off with melee.
- Pulse Bomb won’t finish off tanks. Roadhog can survive with minimal health left, as can D.Va. Zarya can simply shield herself.
Widowmaker – Overwatch Guide
Our Hero Rating: Tier 5
Class: Defence | Difficulty: 2/3
Credit: Overwatch / Blizzard
Widowmaker is a reimagining of the sniper archetype with a few minor additions. She can one-hit headshot kill enemies through her scope, but is also relatively mobile and has the ability to see through walls.
Current Play Status
Unless you’re a very skilled Widowmaker, it’s impossible to shut down enough enemy players quickly enough before your sniper hideout is compromised. Most players understand that finishing a Widowmaker off very quickly is the best strategy, and her poor mobility makes it very easy to do so. Overly vulnerable and generally tricky to master, Widowmaker is only useful on a handful of maps, and only in the hands of a truly skilled player.
Abilties
Widow’s Kiss – Should targets appear at close-to-medium range, the rifle can also be fired in fully automatic mode.
Grappling Hook – When the hook connects with a scalable surface, she’s quickly drawn towards it, allowing her to expand her view of the battlefield, and evade or flank targets.
Venom Mine – A venom mine which can stick to nearly any surface. When a target wanders within range, it explodes to release poison gas.
Infra-sight – A recon visor allows to see targets through walls and objects for a moderate amount of time. This enhanced vision is shared with allies.
Play style
Widowmaker’s playstyle is the easiest to learn, but trickiest to master. Her objective is to find a safe spot to snipe targets. This way, she can shut down the main entries towards an objective and crowd control the enemy.
Easier said than done, however. Widowmaker is susceptible to counter sniping, mobile heroes, and struggles against high-health and shields. With regard to the first two, finding the ideal vantage point is key. This largely depends on the map, some of which provide high platforms that can be easily mounted using Grappling Hook; others require a more creative approach. A good Widowmaker should know every map.
Outside of this, Widowmaker is simply as good as the player. The best are the most uncanny shooters, able to consistently land headshots.
- Strong With: Insert
- Strong Against: Pharah, Junkrat, McCree, Mercy, Hanzo
- Best Widowmaker Counters: Reinhardt, WInston, Reaper, Genji
TIPS
- She’s hard to hit. At extreme distance, Widowmaker is so small that only other snipers are accurate enough to take her down.
- Venom Mine is an early warning system. Its damage is paltry, but will alert you to incoming enemies, giving you time to escape.
- Target weak heroes. You’ll eliminate them with one shot, leaving only tanks.
- Kill healers first. These are always your most important targets. Tanks generally come last.
- Your Ultimate should be used selflessly. Teammates can make use of Infra-sight. This is especially useful for Hanzo (for sniping), Junkrat (firing around corners and finding victims for RIP-Tire), and Roadhog (for Chain-hook).
Winston – Overwatch Guide
Our Hero Rating: Tier 1
Class: Tank | Difficulty: 2/3
Related: State of Decay 2 latest news
Credit: Overwatch / Blizzard
A highly mobile tank that can jump from one corner of the battlefield to the other. In Overwatch he has a specific role all of his own: killing squishies. His damage output is minimal, but escaping from his Tesla Cannon can prove impossible for less mobile heroes.
Current Play Status
Winston is gloriously chic right now, and with good reason. He’s got great mobility, a massive health pool, a weapon that deals conal damage, and a massive avatar that soaks up the attention of the enemy team – much to your damage dealer’s benefit. Throw in his ‘E’ bubble and an ultimate that makes him nigh-unkillable and you’ve got a champion that will work well on any map, with any team.
Abilities
Tesla Cannon – Fires a short-range electric barrage.
Jump Pack – Lunges Winston through the air, dealing significant damage and staggering nearby enemies when he lands.
Barrier Projector – Winston’s Barrier Projector extends a bubble-shaped field that absorbs damage until it’s destroyed. Allies protected by the barrier can return fire from within it.
Primal Rage – Winston embraces his animal nature, significantly boosting his health and making him very difficult to kill. This strengthens his melee attack, allowing him to use abilities more frequently.
Play style
Winston is designed to leap in, zap a couple of vulnerable enemies and leap out again. He has low durability since Barrier Projector is fairly weak and he’s the biggest target in the entire game. If he’s going to help on the front line, he needs assistance from another tank.
His mobility and stickiness really shines. Jump Pack has a short cooldown that allows him to dive onto Mercy, Ana or Zenyatta, and retreat if necessary. The aim-free nature of Telsa Cannon ensures a minimum damage taken during that time. Once he’s on you, he’s hard to shake.
Winston should focus on the squishiest targets available, prioritising support heroes before all others. Once he’s done his job, Barrier Projector will probably have failed, so it’s time for another Jump Pack and swift retreat.
When Primal Rage is fully charged, he can clear objectives with ease. Winston shouldn’t focus on securing in these instances – unless his enemies are near a sheer drop – but instead begin disrupting the enemy formation, keeping high-utility heroes busy, and gaining a foothold on the payload or capture point.
- Strong With: Insert
- Strong Against: Genji, Symmetra, Tracer
- Best Winston Counters: D.Va, Bastion, Reaper
TIPS
- Almost nothing stops your Tesla Cannon. This includes Reinhardt’s Barrier Field and D.Va’s Defense Matrix.
- Primal Rage is about disruption. Focus on heroes that protect or deal intense amounts of damage.
- Buffs and healing make Winston a huge threat. With Orb of Harmony or Nano Boost, mobility and multi-target damage become far more intimidating.
- Move through Barrier Projector – it blocks from both sides. If an enemy attempts to enter your barrier to attack you, retreat slightly to outside the dome. It prevents them from firing out, as well as firing in.
- Remove snipers from their nests. Leap on a sniper, slam up your barrier, then engage your Tesla Cannon. If you don’t kill them, you’ll still force them out of position.
Zarya – Overwatch Guide
Our Hero Rating: Tier 1
Class: Tank | Difficulty: 3/3
Related: Shenmue 3 latest news

Credit: Overwatch / Blizzard
Zarya is a feast or famine tank. When her abilities are carefully managed, she is incredibly durable and destructive. But without the right strategic approach, she’s largely ineffectual. Her Particle Cannon delivers variable damage: the more incoming fire her shields absorb, the stronger it gets. If both of these succeed, she protects her team and gains an enormous buff. If she fails, she’s unable to hit hard enough.
Current Play Status
Like Winston, Zarya’s greatest asset is how difficult she is to kill – but her weapon packs a serious punch too. When she’s focused by an entire team then she’ll die quickly enough, but you’re unlikely to find such teamwork in the lower ELO tiers. Left unchecked, Zarya will tear through your team one-by-one, and can easily carry a team to victory against the unprepared.
Abilities
Particle Cannon – Unleashes a short-range beam of destructive energy. Alternatively, Zarya can lob an explosive charge to strike multiple opponents.
Particle Barrier – The Particle Cannon can emit a personal barrier that shields Zarya against incoming attacks, redirecting their energy to enhance her weapon’s damage and the width of its beam.
Projected Barrier – Surrounds a teammate with an energy barrier that simultaneously absorbs fire and boosts the power of her Particle Cannon.
Graviton Surge – Launches a gravity bomb that draws in enemy combatants and deals damage while they’re trapped.
Play style
Zarya has a two-step objective in most matches. First, she should shield herself and her teammates, helping them push; then use the enhanced damage on her Particle Cannon to unleash hell.
It’s all about counter-play and careful monitoring of allies. Precisely timed barriers on herself and her allies requires awareness of who’s in danger and what abilities are being deployed.
Jumping in front of teammates to use Particle Barrier (and soak some damage) is sometimes warranted, but it’s often easier to apply Projected Barrier to a teammate from distance. Playing Zarya as a solo-tank who charges into the field alone is unlikely to succeed.
Be cautious: use your secondary fire from a distance, and slowly charge your cannon.
Her Ultimate has a huge amount of synergies, and can discombobulate the most organised defence. As with her standard abilities, patience is key. If she bides her time and coordinates with allies, a team-kill is possible.
- Strong With: Insert
- Strong Against: D.Va, Winston, Symmetra
- Best Zarya Counters: Mei, Pharah, Reinhardt
TIPS
- Some heroes can escape Graviton Surge. Genji, Pharah, Tracer, D.Va, Reaper, Widowmaker and Reinhardt.
- Particle Cannon penetrates D.Va’s Defense Matrix. It also penetrates Genji’s Deflect.
- Use Barrier on Reinhardt, even when his own barrier is active. It still charges your Particle Cannon.
- Shield an ally after Roadhog has hooked them. He will likely still fire at them and you’ll reap the reward.
- Escape Mei with Barrier. The freezing effect will be blocked. Then press the counterattack with your newfound energy.
- Particle Cannon’s secondary fire also knocks enemies aside. Use this to disrupt Widowmaker and Hanzo.
Zenyatta – Overwatch Guide
Our Hero Rating: Tier 2
Class: Support | Difficulty: 3/3
Related: Spider-Man PS4 latest news
Credit: Overwatch / Blizzard
Zenyatta is the most offensively capable of the support heroes. His primary mechanics are his orbs, which he can place on allied heroes to heal, and offensive heroes to weaken. His Orbs of Destruction are long range, and he can focus on dealing consistent damage more readily than other supports.
Current Play Status
Zenyatta arguably has the most balance kit of any of the supports, because he’s capable of putting out the highest sustained support damage and a solid amount of healing too. That means he’s almost always a safe pick, which is why he’s tier 2. He didn’t quite make it into tier 1 though, because he’s simply too difficult to just pick up and play. Zenyatta requires a good deal of practice before taking him into ranked play, so he’s not completely overpowered by virtue of his tougher learning curve.
Abilities
Orb of Destruction – Zenyatta projects his destructive energy orbs either individually, or in a rapid-fire volley after a few seconds spent gathering power.
Orb of Harmony – Zenyatta casts an orb over the shoulder of a targeted ally. So long as Zenyatta maintains line of sight, the orb slowly restores health to his ally. Only one ally can receive the orb’s benefit at a time.
Orb of Discord – Attaching the orb of discord to an opponent amplifies the amount of damage they receive for as long as Zenyatta maintains line of sight. Only one opponent can suffer the orb’s effects at a time.
Transcendence – Zenyatta enters a state of heightened existence for a short period of time. While transcendent, Zenyatta can’t use abilities or weapons, but is immune to damage and automatically restores his health and that of nearby allies.
Play style
Zenyatta is about balance in both concept and play style. He needs to carefully juggle his offensive capability with healing his allies and debuffing his enemies. This makes him suitable for players who can monitor multiple tasks at once.
The high accuracy and speed of his Orbs of Destruction make him suitable for hanging around the allied backline and sniping, or reducing health bars from relative safety. Orb of Discord will allow his teammates to churn through the toughest of enemies.
A successful Zenyatta picks the right target for an Orb of Discord – usually this means the tank that’s holding fast the enemy’s defence. Roadhogs will crumble, D.Va’s will go bang, and Reinhardts who choose to charge will be dead before they’ve moved a couple of metres.
- Strong With: Insert
- Strong Against: Mercy, Lucio
- Best Zenyatta Counters: Tracer, Pharah, Soldier 76, McCree, Reaper, Widowmaker, Roadhog, Winston
TIPS
- Duel with Orb of Discord. Apply it immediately and aim for the head. The resulting damage is high.
- Use Transcendence to counter enemy Ultimates. The so-called “no fun zone” can rain on the parade of Mei, Zarya, Soldier 76 or Reaper.
- But beware Ultimates that deal immediate damage. Tracer’s Pulse Bomb, D.Va’s Self Destruct, or Junkrat’s RIP-Tire will still kill targets within your healing field.
- Regularly switch targets with your Orb of Harmony. It’s easy to become focused firing offensively and forget that you’re a healer. Look around, and keep everyone topped up.
- Push forward with Transcendence. Even if the allied team is at full health, use your ultimate to initiate a strong forward push.
Related: Days Gone latest news
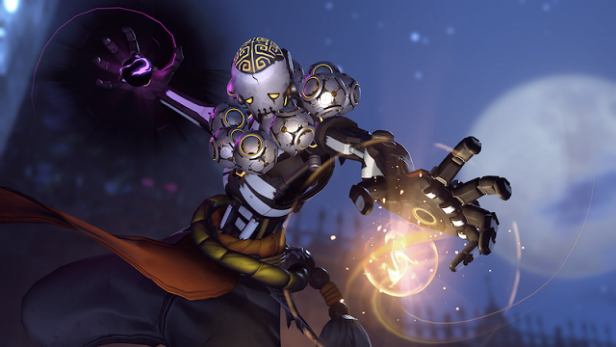
Overwatch Glossary
Here are some key terms you might find in this guide or else where that may be useful to learn:
AOE: Area of affect; a term used to describe a type of ability that affects a given area, rather than a targeted enemy.
DPS: Damage-per-second, a way of measuring damage output over time
ELO: A rating system originating from chess, with variants used often in competitive gaming ranking systems. High ELO means highly skilled, and low ELO means the opposite.
Healer: A character type that restores a teammate’s health.
HPS: Heals-per-second, a way of measuring healing output over time
LOS: Line of sight – for example, Ana thrives with great line of sight; Roadhog’s hook will miss without line of sight.
Meta/Meta-game: The state of gameplay, based on current rules, how strong or weak certain champions are, and the sort of tactics and playstyles that are most or least effective based on all variables in the game.
Splash damage: Secondary damage that affects enemies in an area after an initial impact.
Support: A character type that provides extensive utility, including shields. Typically has poor damage and/or defensive stats.
Tank: A character type with high defensive stats. Intended to absorb as much damage as possible, allowing teammates to deal damage safely.
Related: Best PC games
Tell us who your favourite Overwatch hero is on Facebook or Twitter.
Editorial independence
Editorial independence means being able to give an unbiased verdict about a product or company, with the avoidance of conflicts of interest. To ensure this is possible, every member of the editorial staff follows a clear code of conduct.
Professional conduct
We also expect our journalists to follow clear ethical standards in their work. Our staff members must strive for honesty and accuracy in everything they do. We follow the IPSO Editors’ code of practice to underpin these standards.