How to take a screenshot on Mac

Understanding and knowing how to screenshot on Mac is a rather useful skill, and one that will come in handy at some point during your time with Apple’s laptops.
Whether you need to take a quick snap of the screen to show someone a quick picture, or you’d like to capture a specific portion, then we’ve got you covered.
Thankfully, the art of screenshotting is rather simple, whether you’re running MacOS Monterey, Big Sur, Catalina, or ones even further back, as the keyboard shortcut for doing so is nicely convenient. You can choose to either capture the entire screen or choose which specific section you’d like to snap, and this can even be helpful to show you the beginnings of screen-recording, too.
Hardware used
- 2020 13-Inch MacBook Pro
- MacOS Big Sur
- MacOS’ Built-In Screenshot Tool
The Short Version
- Use the screenshot tool manually (Cmd+Shift+5)
- Capture the entire screen (Cmd+Shift+3)
- Capture a section of the screen (Cmd+Shift+4)
- Capture a specific window (Cmd+Shift+4+Space Bar)
Step
1Use the screenshot tool manually – (Cmd+Shift+5)
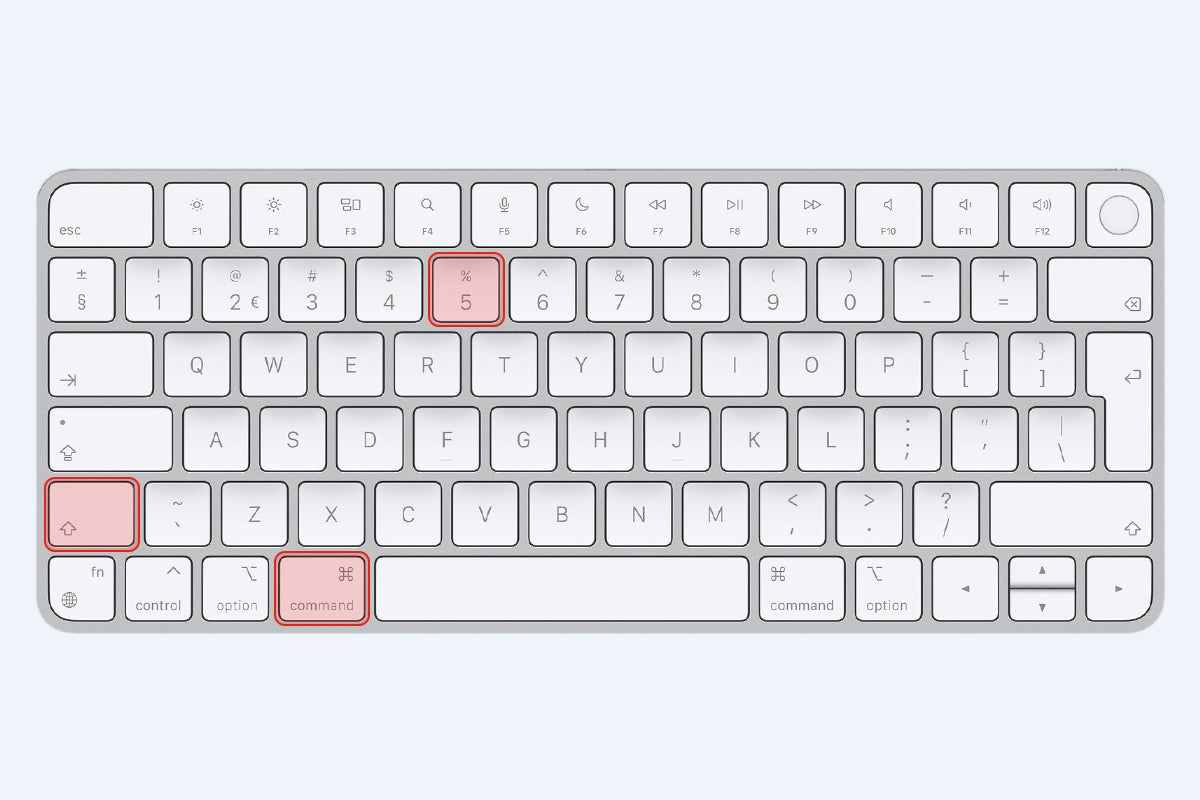
MacOS is an operating system known for keeping things simple and luckily, Apple has included a convenient screenshot tool that you can bring up by pressing the keyboard shortcut Cmd+Shift+5. If you’ve got a MacBook with a Touch Bar, you can also do it from there.
Doing so will bring up a menu, from which you can conveniently choose to either capture the entire screen, capture a specific window or a window. Once you select which specific option you’d like and you’ve pressed down on it, the cursor will change to a camera icon, signifying you’re taking a screenshot. Following this, press the ‘Capture’ button, and the tool will snap your screen, and by default, it should be saved to your desktop. This default save location can be changed in the Options menu within the Screenshot app.
Step
2Capture the entire screen – (Cmd+Shift+3)
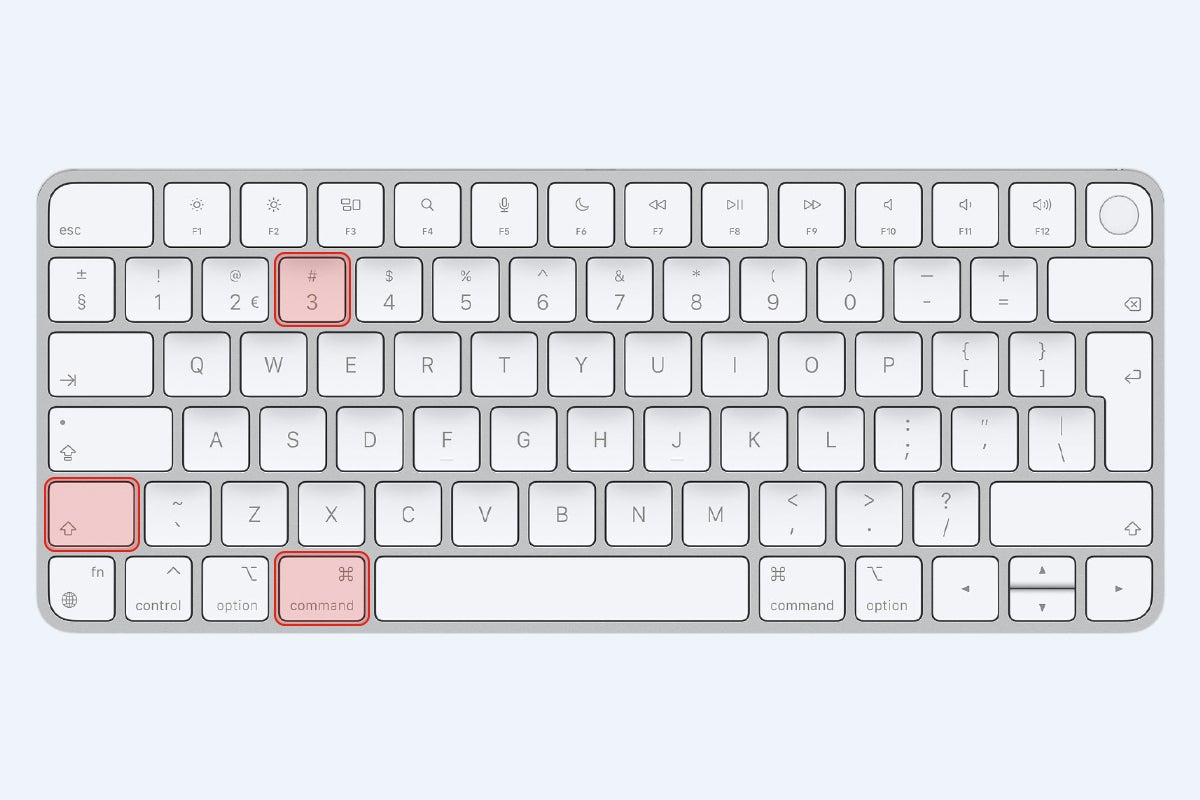
For capturing the entire screen with one speedy shortcut, hold down the Command, Shift and no. 3 key, and your screenshot will be saved directly to the Desktop, and be tagged with a file name with a timestamp of the date and exact time of the screenshot.

Step
3Capture a section of the screen – (Cmd+Shift+4)
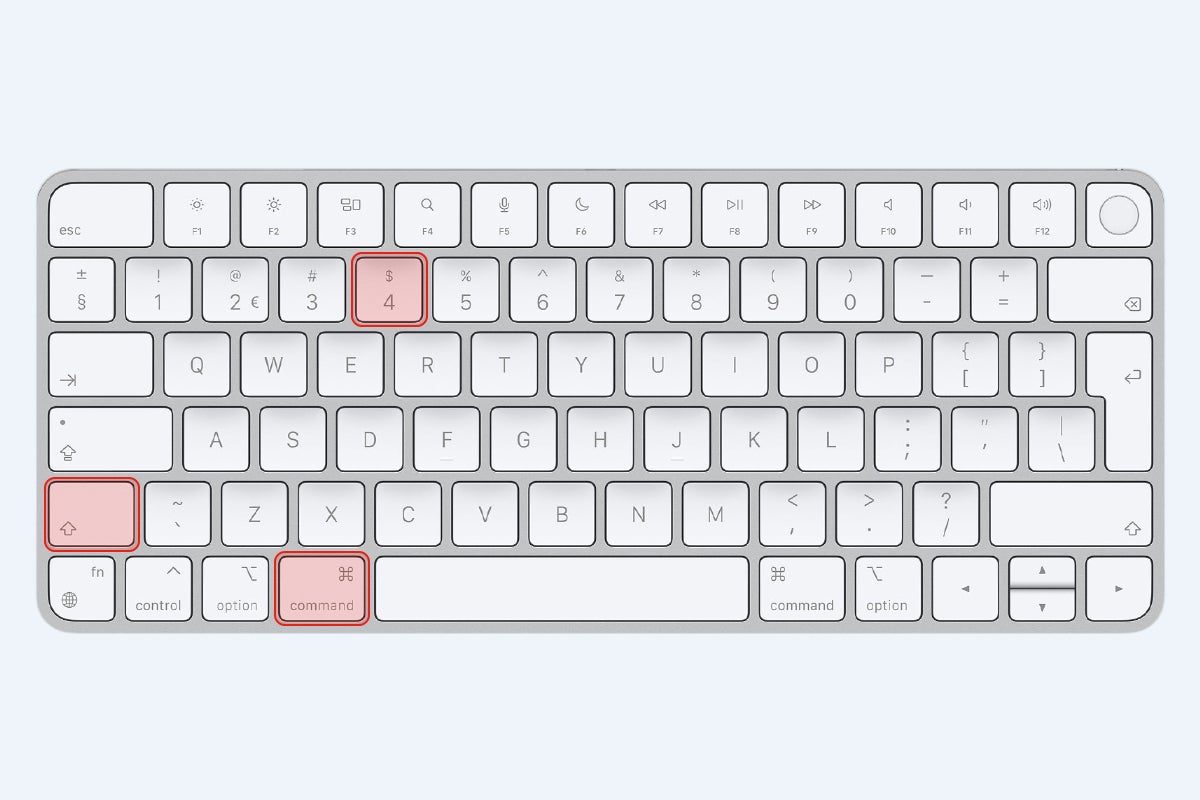
If you don’t want to capture the entire screen and just a specific section, then pressing Command, Shift and the no. 4 key will bring up a crosshair that you can use to drag and select the portion you’d like to screenshot. If you do need to cancel and change the selected portion, simply press the Esc key, and you can then drag boundaries to capture again.

Step
4Capture a specific window – (Cmd+Shift+4+Space Bar)
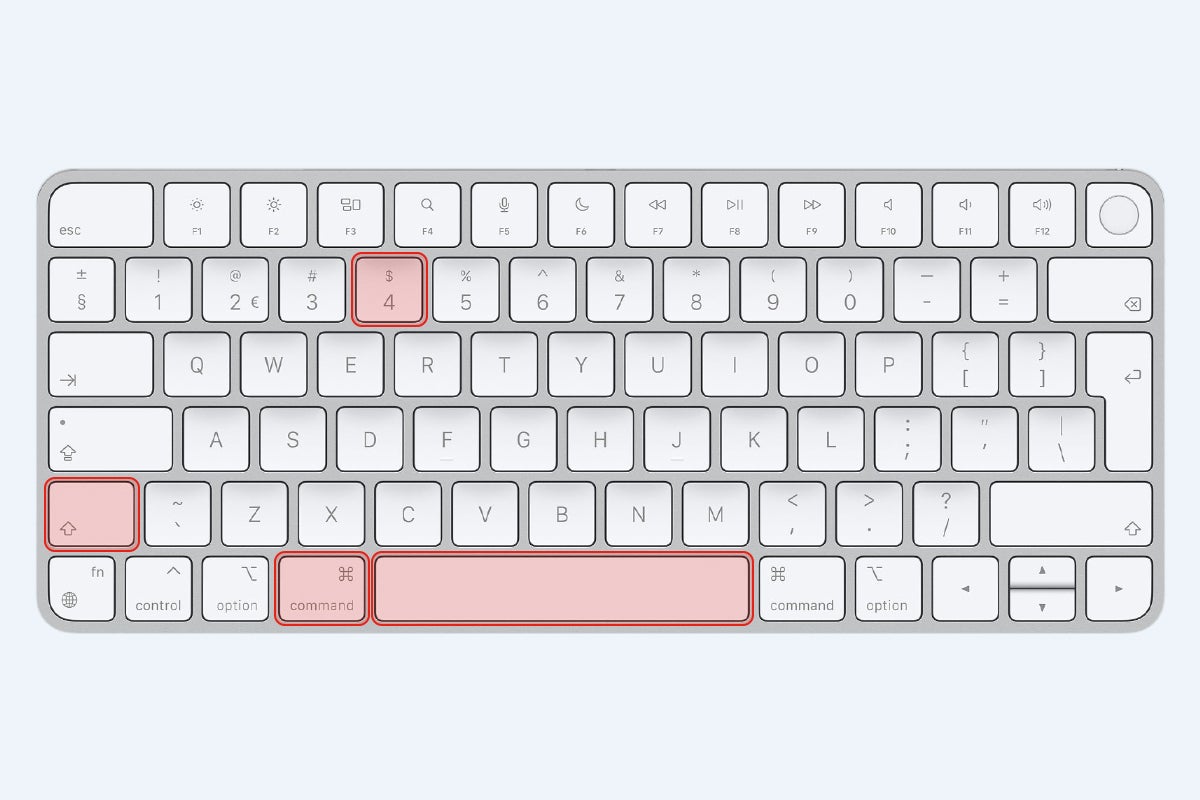
For just capturing one specific window, it’s a case of using a similar shortcut to capturing a specific section. This time around, you can use Command, Shift, the No. 4 key, and the Space Bar. Holding these down will change the cursor to a camera icon, and then you can then click the window or menu you’d like to capture. This will be indicated by a blue veil appearing atop the selected menu. If, for any reason, you do need to cancel and try again, then pressing the Esc key will allow you to reselect a window.

FAQs
To make sure the keyboard shortcuts for screenshotting are enabled, head into System Preferences, and then into the Keyboard section. Following this, click on the third table labelled Shortcuts, and then to the fourth option down on the left entitled Screenshots.
If they’re enabled, you should see all the available options feature blue ticks next to them. If not, be sure to tick all the boxes so that they became enabled.
If you can’t take a screenshot on your Mac using the usual shortcuts, you can use the Preview menu which is the default program that opens when you open an image file. To do so in Preview, click File, and then go down to Take Screenshot from the drop-down menu.


