
Android Pay is now live in the UK, here’s how to set it up
After months of eagerly waiting, Android Pay is finally available in the UK. Google’s mobile payment solution has launched with the support of a number of banks, and will work on any Android phone running KitKat 4.4 with an NFC chip inside.
WATCH: We take Android Pay for a spin to see how well it works
Looking to get Android Pay set up on your phone? Well, we’re here to help. It’s a simple process, with only a few steps, but here’s everything you need to know.
1. Download the Android Pay app
First off, let’s download the app. Head into the Play Store and search for ‘Android Pay’, if your phone is compatible it’ll give you the option to install it. Tap ‘Install’ and it’ll start downloading. it’s a small app, just 5MB, so shouldn’t take to long.
Related: Android Pay vs Apple Pay

2. Make sure you have NFC switched on
Your Android phone uses its NFC chip to make mobile payments, so before you start adding your cards you’ll need to make sure it’s turned on. Most Android phones have it on by default, but you can check this by heading into the Settings and then NFC. Toggle the switch, and you’re golden.
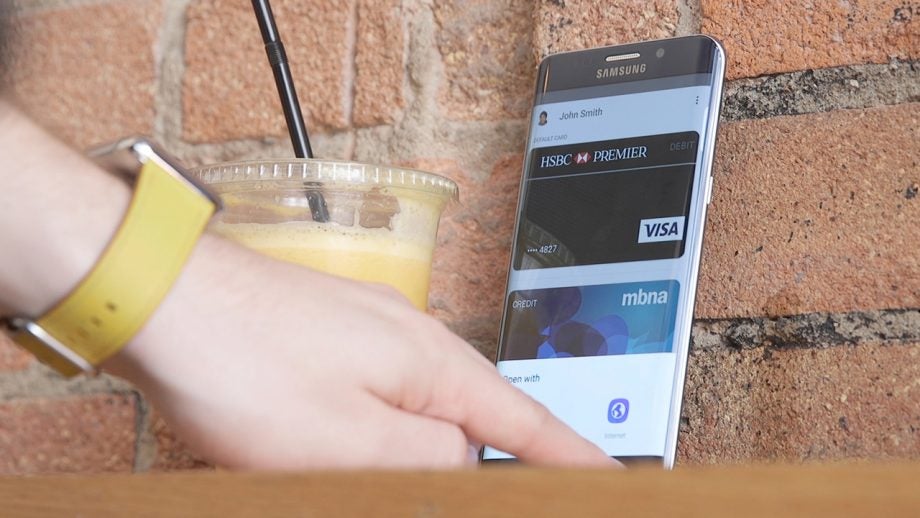
3. Open the Android Pay app, and start adding cards
Next, search out the recently installed Android Pay app on your homescreen and open it. Tap the circular ‘+’ button in the lower right hand corner and you’ll be given the chance to add a new card. If you’ve already got a card associated with your Google account just tap it and it’ll set-up, if you want to add a new one hit ‘Add another card’.

Instead of forcing you to type in the details on your card, the app will let you take a picture of it and it’ll scan in all the information. If you prefer to add it yourself, there’s an ‘Add manually’ option. Next, add in your CVC and address and hit ‘Save’.

4. You’re almost ready
The app will now contact your bank and set things up – some cards may require an extra verification process – and then you’re ready to go. Your added card will now appear in the app, and you can add more than one if you wish.
5. Pay, pay, PAY!
Once your card has appeared in the app, it’s ready to use. Just head to any payment terminal that supports contactless, unlock your phone and hold it to the reader. Voila! You’ve paid. You’ll get a handy notification pop up on the screen to show how much you’ve spent. Android Pay also fully supports the TFL network, so it can replace your Oyster card on the tube.
Have you tried out Android Pay yet? Let us know in the comments below
Editorial independence
Editorial independence means being able to give an unbiased verdict about a product or company, with the avoidance of conflicts of interest. To ensure this is possible, every member of the editorial staff follows a clear code of conduct.
Professional conduct
We also expect our journalists to follow clear ethical standards in their work. Our staff members must strive for honesty and accuracy in everything they do. We follow the IPSO Editors’ code of practice to underpin these standards.