How to remove a virus or malware from a Windows PC
We show you how to salvage a PC after it’s suffered a serious virus infection.
Most people credit the internet with the birth of the virus, however the first PC-based virus actually appeared back in 1986, called Brain. Even the concept of a self-replicating invasive program can traced as far back as 1949 in a paper by John von Neumann.
Although the internet has a lot to answer for, it’s merely the host or infection mechanism that carries a virus from one machine to the other. Those of you old enough to remember a time before the internet will undoubtedly recall that computer viruses spread through dodgy and infected floppy disks – those usually bought from a computer fair, or some such open collection of data.
Some of the early viruses weren’t too much of an issue, and could be removed simply by manually deleting the infected file via a DOS command prompt. These days the virus is an evolved entity and can work collectively with other infected PCs across the internet to form a single powerful weapon that can bring down companies, utilities, and even entire power grids.
Thankfully nothing of such magnitude has happened yet, although some instances have come pretty close. And it’s not just the common virus, it’s also the collective known as malware, which includes ransomware, Trojan horses, spyware, keyloggers, adware, and other forms of malicious software designed to bring your PC to its digital knees.
Related: How to secure your home network from hackers
Most anti-virus software and services do an admirable job, even Windows Defender has improved significantly over the last couple of years. But every so often something gets through and infects a PC. Once it’s in there, due to the modern make-up of malware, it’s often very difficult to remove.
A modern piece of malware can ingrain itself so deeply into the core operating system that an installed anti-virus and malware client can have great difficulty in removing it. So, how do we combat such infections? Thankfully, there is a way.
The rescue disc
If malware has infected your PC and there’s nothing your installed client can do to remove it, then you’re going to have to boot into an environment outside of Windows to deal with it.
There are numerous rescue environments available from most, if not all, of the major anti-virus and security companies. For our example though, we’ll be using the widely acclaimed Bitdefender Rescue CD.
Related: Best free Antivirus
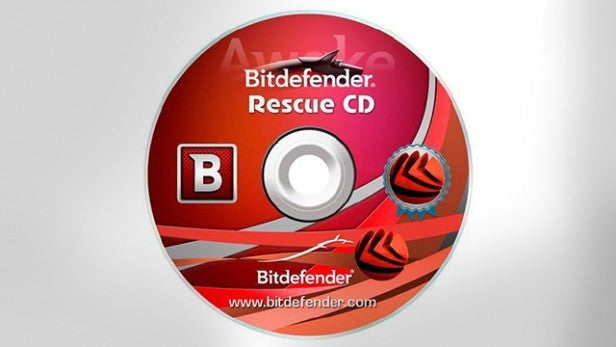
Ideally you’ll use a separate PC to the one that’s currently infected, since any traces of the malware could be transferred. But if you’re stuck then you have little choice in the matter – although you could ask a friend to make the rescue disc for you, or at a push ask a local computer company to help create one.
Step 1 (using a USB flash stick as the rescue boot device)
Download Stickifier, which is an executable (no installation needed) program that allows you to transfer a CD image to a USB stick. You can, of course, use one of the many other examples, such as Universal USB Installer. If you’re planning on burning the rescue environment to a CD though , you can skip this step.
Stickifier can be found at download.bitdefender.com/rescue_cd/latest/stickifier.exe.
Step 2 (needed for both the USB boot and CD boot device options)
You’ll now need to get hold of the Bitdefender Rescue CD image, which is in the form of an ISO.
This is the bootable environment which contains the same level of anti-virus and malware scanning and protection that the full product offers.
The ISO is about 660MB in size, so it’s small enough to fit on to a CD. You can download the latest version from here.
Step 3
Once the image has downloaded you have two choices: you can burn the ISO to a CD and use the CD to boot into the rescue environment, or you can transfer the image to a USB stick and boot into it that way.
Either way is perfectly acceptable. The USB option will be faster of the two but the CD option will probably work with the majority of PCs, since UEFI tends to dislike booting from unauthorised USB sticks.
Step 4 (transferring the ISO to a USB stick)
If you’ve opted for the USB boot environment, then, with Stickifier previously downloaded, double click its icon in the Downloads section of your PC.
Related: How to become anonymous online
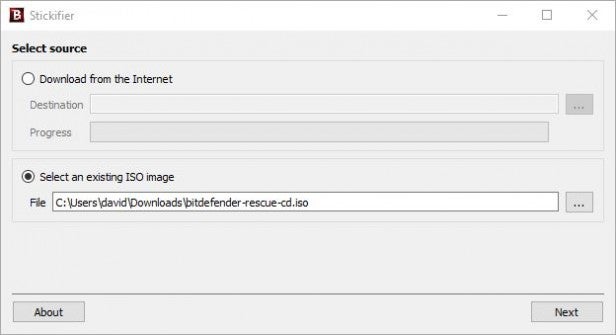
Accept the administrative User Account Control – depending on your version of Windows – and from within Stickifier choose the ‘Select an existing ISO image’ option and click on the browse button next to the File section (looks like ‘…’) to locate the ISO you downloaded from Step 2.
Related: How to play the coolest retro games on your PC for free
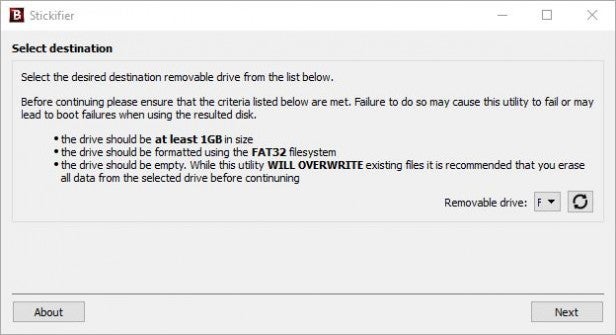
Insert your USB stick (if you haven’t already), and click Next to select the destination in Stickifier. To choose your USB stick, click on the pull-down menu next to the Removable Drive option and select the drive letter of your USB stick. If it’s not there, click on the Refresh button next to the pull-down menu.
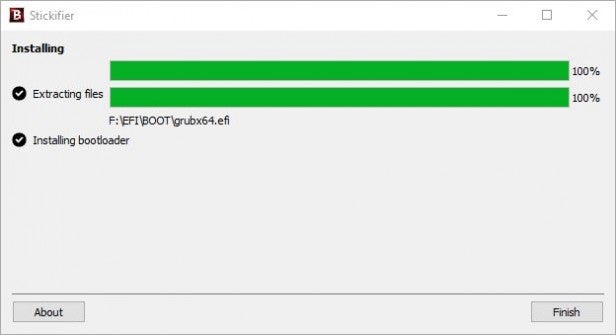
When you’re ready, click on the Next button to continue. Stickifier will now extract the contents of the rescue ISO and transfer them to the USB stick while also making the device bootable. Once the process is done you can click on the Finish button.
Step 5 (burning the ISO to a CD)

If you want to burn the ISO to a CD instead, then right-click the ISO downloaded from Step 2 and choose ‘Burn disc image’ from the menu.
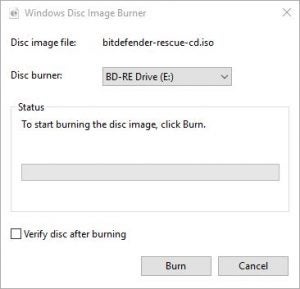
With the Windows Disc Image Burner now open, insert a blank CD and click on the Burn button to start the process. As in Step 4, this will extract and burn the contents to the CD while also making the disc bootable.
Step 6 (booting into the rescue environment with either the USB or the CD)
With the now bootable USB stick or CD in-hand, insert either one into the malware infected PC and reboot it.
To get the PC to boot to the newly created media, you’re going to have to tell it which device to boot from. By default it’ll boot to your hard drive, so you’ll have to force it to do otherwise.
It’s not quite as complicated as it sounds, really. Most motherboards offer the option to press F11 or sometimes F12, at the initial power up to allow you to choose the First Boot Option. Obviously you’ll need to make sure the chosen medium is physically inserted into the PC to begin with – the CD in the tray, or the USB stick in its relevant port.
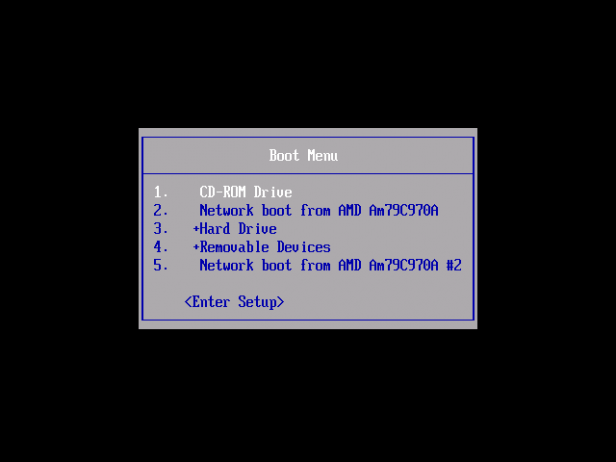
If, after pressing one of the F-keys to access the boot choice, you’re presented with a menu of possible boot devices, make sure you highlight the correct CD or USB from the list and press Enter to continue the boot process.
Sadly, not all motherboards are created equally, and where most will offer an F11/12 Quick Boot menu option, some won’t. In these cases you’ll need to hit either Delete or F2 to enter your BIOS and enable the CD or USB as the first boot option. In short, it’s best to consult your motherboard manual for more information.
Step 7
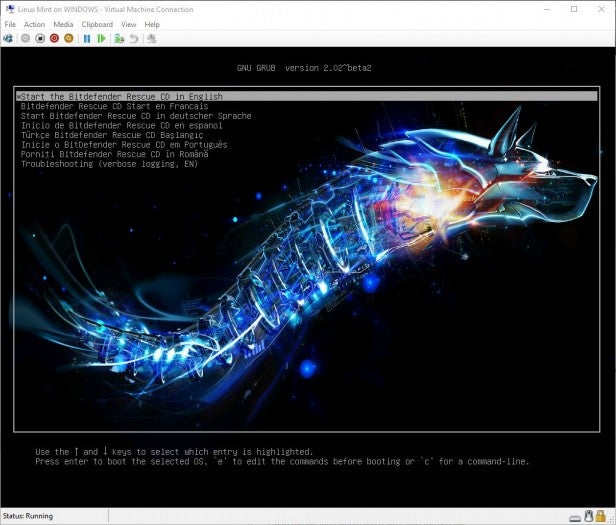
When you first boot the CD or USB you’ll be presented with a Bitdefender option menu with a number of languages available, and a Troubleshooting option.
For our purposes, we’ll be starting the environment with the first option: Start the Bitdefender Rescue CD in English. Just press Enter to load the rescue environment.
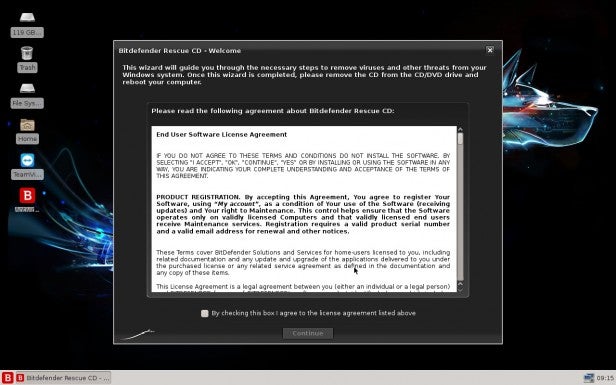
When the rescue environment has finished booting, you’ll have a Linux based desktop with a Welcome notice from Bitdefender; whereby you can click on the License agreement tick box followed by the Continue button.
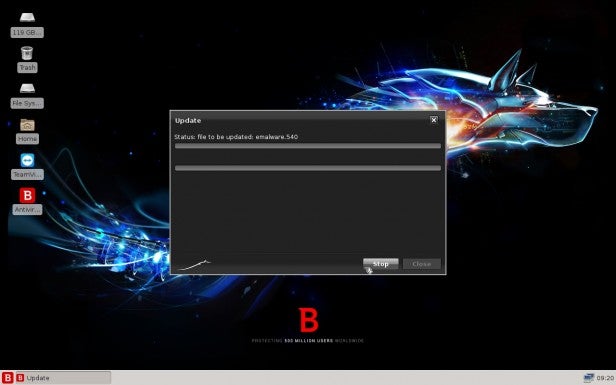
If your PC has an active Ethernet connection, the Bitdefender environment will begin to update itself from the main Bitdefender AV servers. Once the update process is complete, Bitdefender should load up the anti-malware client to scan the available drives installed in the infected PC.
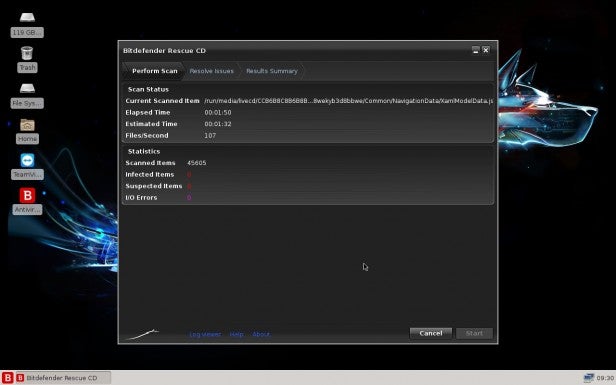
The scanning process will automatically start, using the latest AV engines and updates, and it will scan all sections of the drive(s) installed. It shouldn’t take too long. However if you have a large drive with a lot of data stored on it, expect to wait a while.
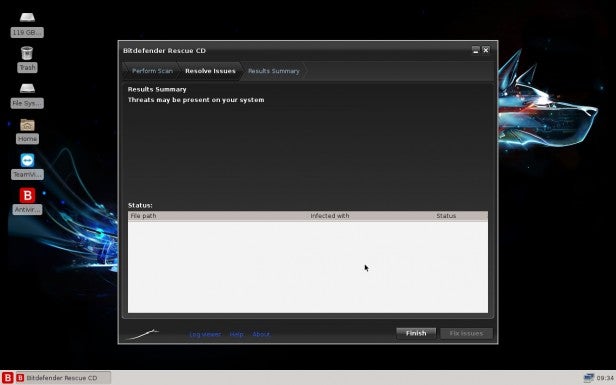
When the scan has completed you’ll have a list of any issues found, along with a button in the lower right of the Bitdefender window, ‘Fix Issues’, that will attempt to wipe the malware off the system.
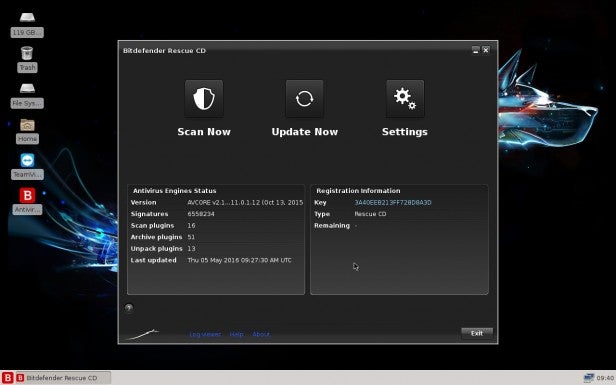
If everything is okay, click on the Finish button followed by Done, then Exit to close the client. You can either run the client once more to double-check, or shut the PC down by clicking in the bottom left of the desktop – the ‘B’ button – and choosing Log Out followed by Shut Down.
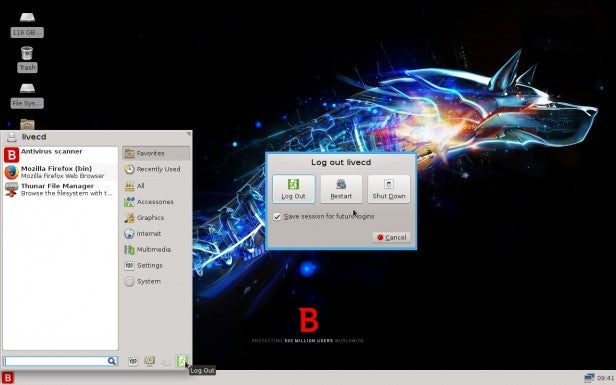
Clean machine
With luck the Bitdefender client will have detected any viruses and removed them from the infected PC.
You can now reboot the PC back into Windows, and run another virus scan using your usual installed AV client. Hopefully you won’t have to go through that process again.

